Are you tired of "convenience" foods silently munching away at your hard-earned cash and leaving a trail of wasteful packaging behind? Not to worry — I have a giant laundry list of DIY hacks for you!
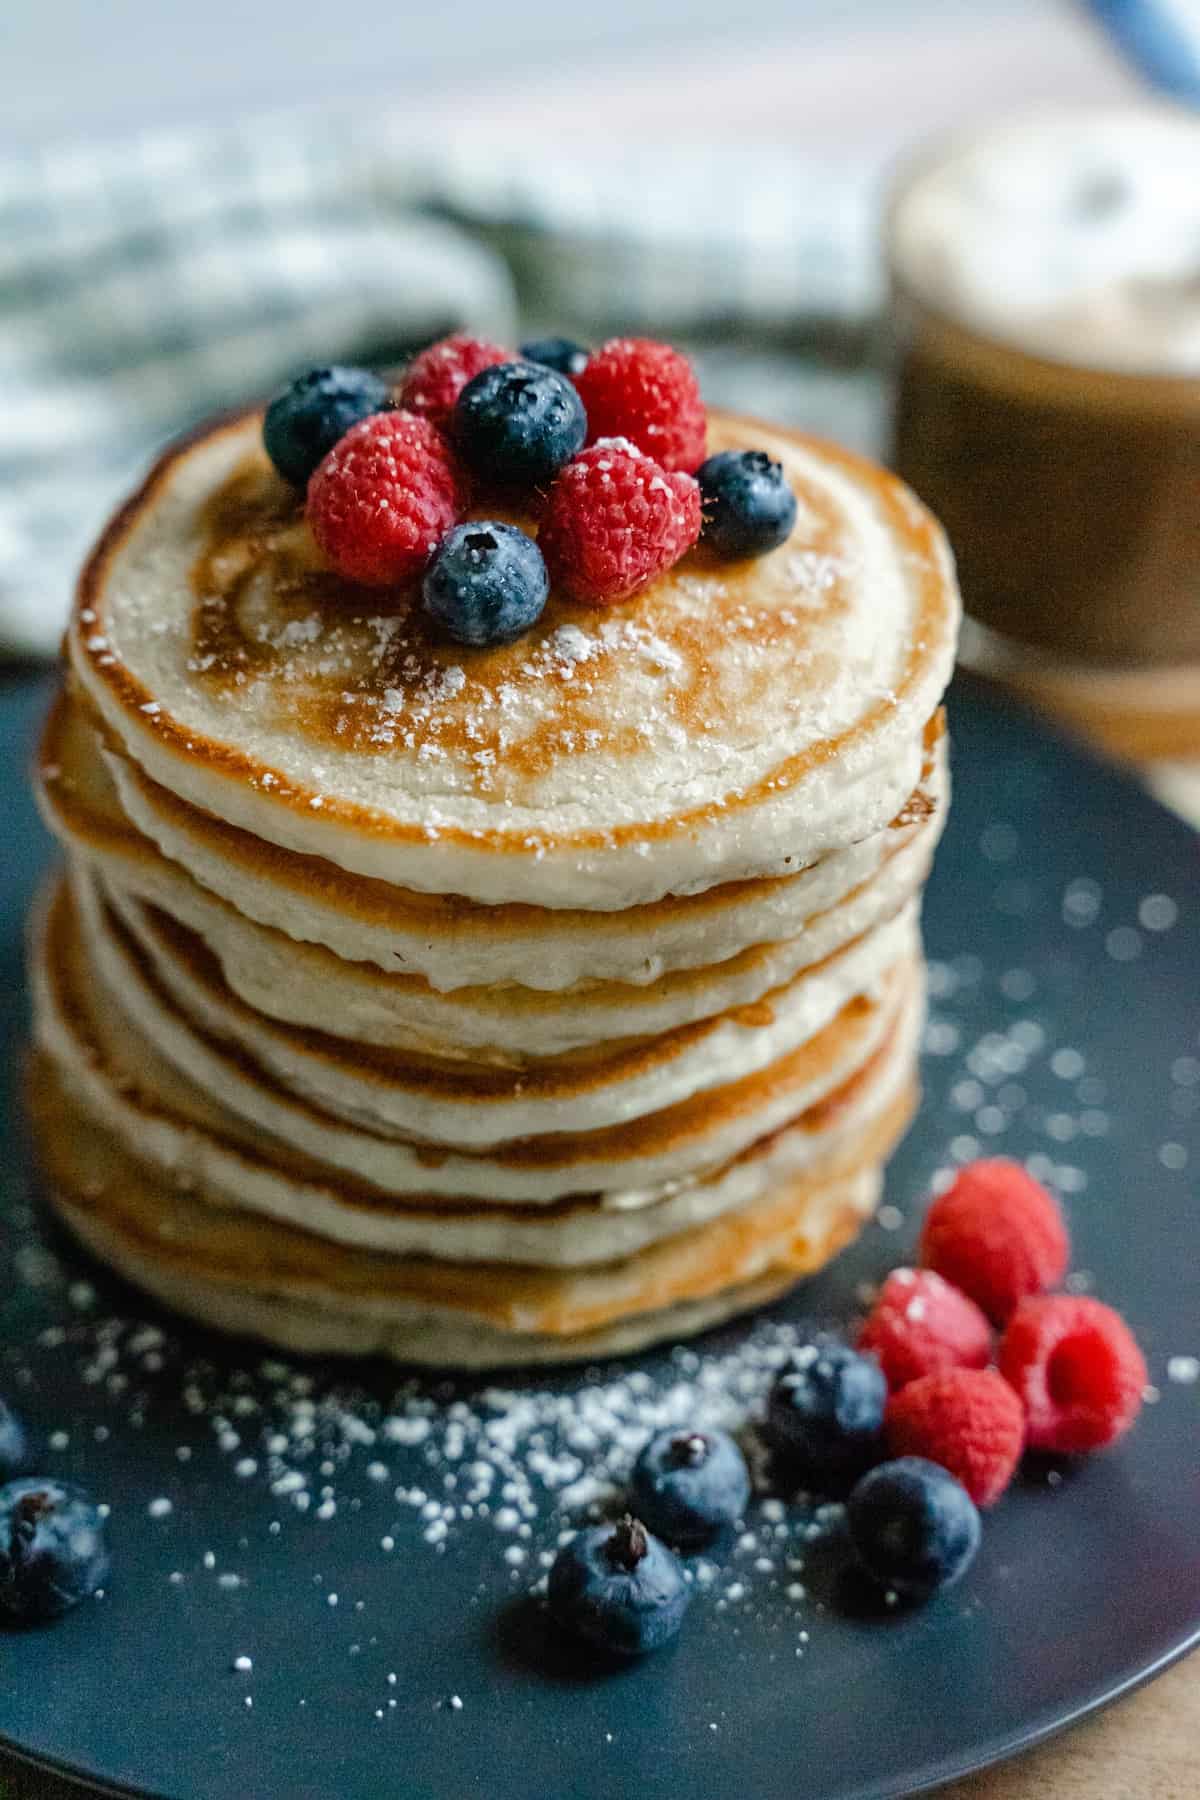
From homemade instant oatmeal packs to frozen waffles and yogurt cups to pancake mix, there are tons of easy ways to cut back on your grocery bill without sacrificing a tasty, convenient breakfast. With just a little planning and low-lift effort, we can reclaim our wallets and the planet, and finally ditch the packaging for good! 👍
Jump to:
- Why You Should Consider DIY-ing Convenience Foods
- Equipment Needed
- Breakfast Hacks
- Instant Oatmeal Packets
- Overnight Oats
- Microwave Pancake Mugs
- Premade Frozen Waffles & Pancakes
- Breakfast Sandwiches
- Breakfast Burritos
- Fruit on Bottom (or Top) Yogurt Cups
- Just Crack An Egg Cups
- Smoothie Packs
- Granola
- More Ways To Slash Your Grocery Budget
- 💬 Reviews
Why You Should Consider DIY-ing Convenience Foods
DIY-ing your own convenience foods isn't just a passing trend; it's a game-changer that brings a host of benefits to your table and beyond. Get ready to enter a world of savings, health, and eco-consciousness. 🌱🍴💰
- Budget-Friendly - It's all about the money, honey! Making your own grab-and-go meals and pantry staples is a surefire way to save you some serious dough — especially in the age of shrink-flation. Store-bought packaged foods may seem convenient at the moment, but their prices can quickly add up. With a little planning and some pantry staples, you'll be amazed at how much cash you'll stash away while keeping tasty treats within reach.
- Better-For-You - Aside from saving you lots of $$$, making your own "convenience" foods can also be super beneficial for your health. When you DIY your convenience foods, you control what goes into them. Say too-de-loo to mysterious additives and excessive preservatives lurking in all those highly-processed store-bought goodies.
- Eco-Friendly - Let's not forget our dear planet Earth! By DIY-ing your own convenience foods, you dramatically cut down on wasteful packaging. Opting for reusable containers is such an easy and attainable way to minimize your environmental footprint and contribute to a greener future.
And here's the cherry on top – being a DIY queen doesn't have to be difficult! You don't need to be a seasoned chef to master these recipes. With countless simple and quick tutorials available online (like here on the blog!), you can whip up these delightful goodies in no time. Let's get started!
Equipment Needed
If you want to replicate the grab-and-go convenience of your favorite store-bought snacks, you’ll need to invest in some good storage solutions. Here are the essentials:
- Parchment Paper and/or Foil.
- Pro Tip: Reuse foil by gently washing between uses. When it's finally done, wash and dry thoroughly before crumpling and recycling.
- Mason Jars (or other airtight, pest-proof, heat-proof lidded jars)
- Zip-Top Snack or Sandwich Bags (preferably reusable)
- Pro Tip: Unless you're springing $10+ for a Stasher, these are NOT dishwasher safe, no matter what the packaging says. The heat from the drying cycle seems to make it impossible to rezip when you're done. Make sure to hand-wash for longevity. Just squirt a drop of soap in, fill ⅓ of the way with warm water, seal, and squish around, then dump and rinse.
Breakfast Hacks
As someone who's intimately familiar with the struggles of being a non-morning person, I understand the precious value of those extra few minutes of sleep. That's where DIY breakfast foods swoop in to save the day!
With a repertoire of grab-and-go meals at your fingertips, you can conquer those early hours without sacrificing a hearty and satisfying start to your day. These quick and easy breakfast hacks are not only time-savers but also brilliant dupes for those tempting store-bought favorites, all while costing you a fraction of the price.
From scrumptious overnight oats and homemade energy bars to flavorful frozen breakfast burritos and berry-licious smoothie packs, I've got you covered with a plethora of options that cater to your tastebuds and your wallet. So, say goodbye to the morning rush and embrace the convenience of your own DIY breakfast creations! 🍳🍓🥞
Instant Oatmeal Packets
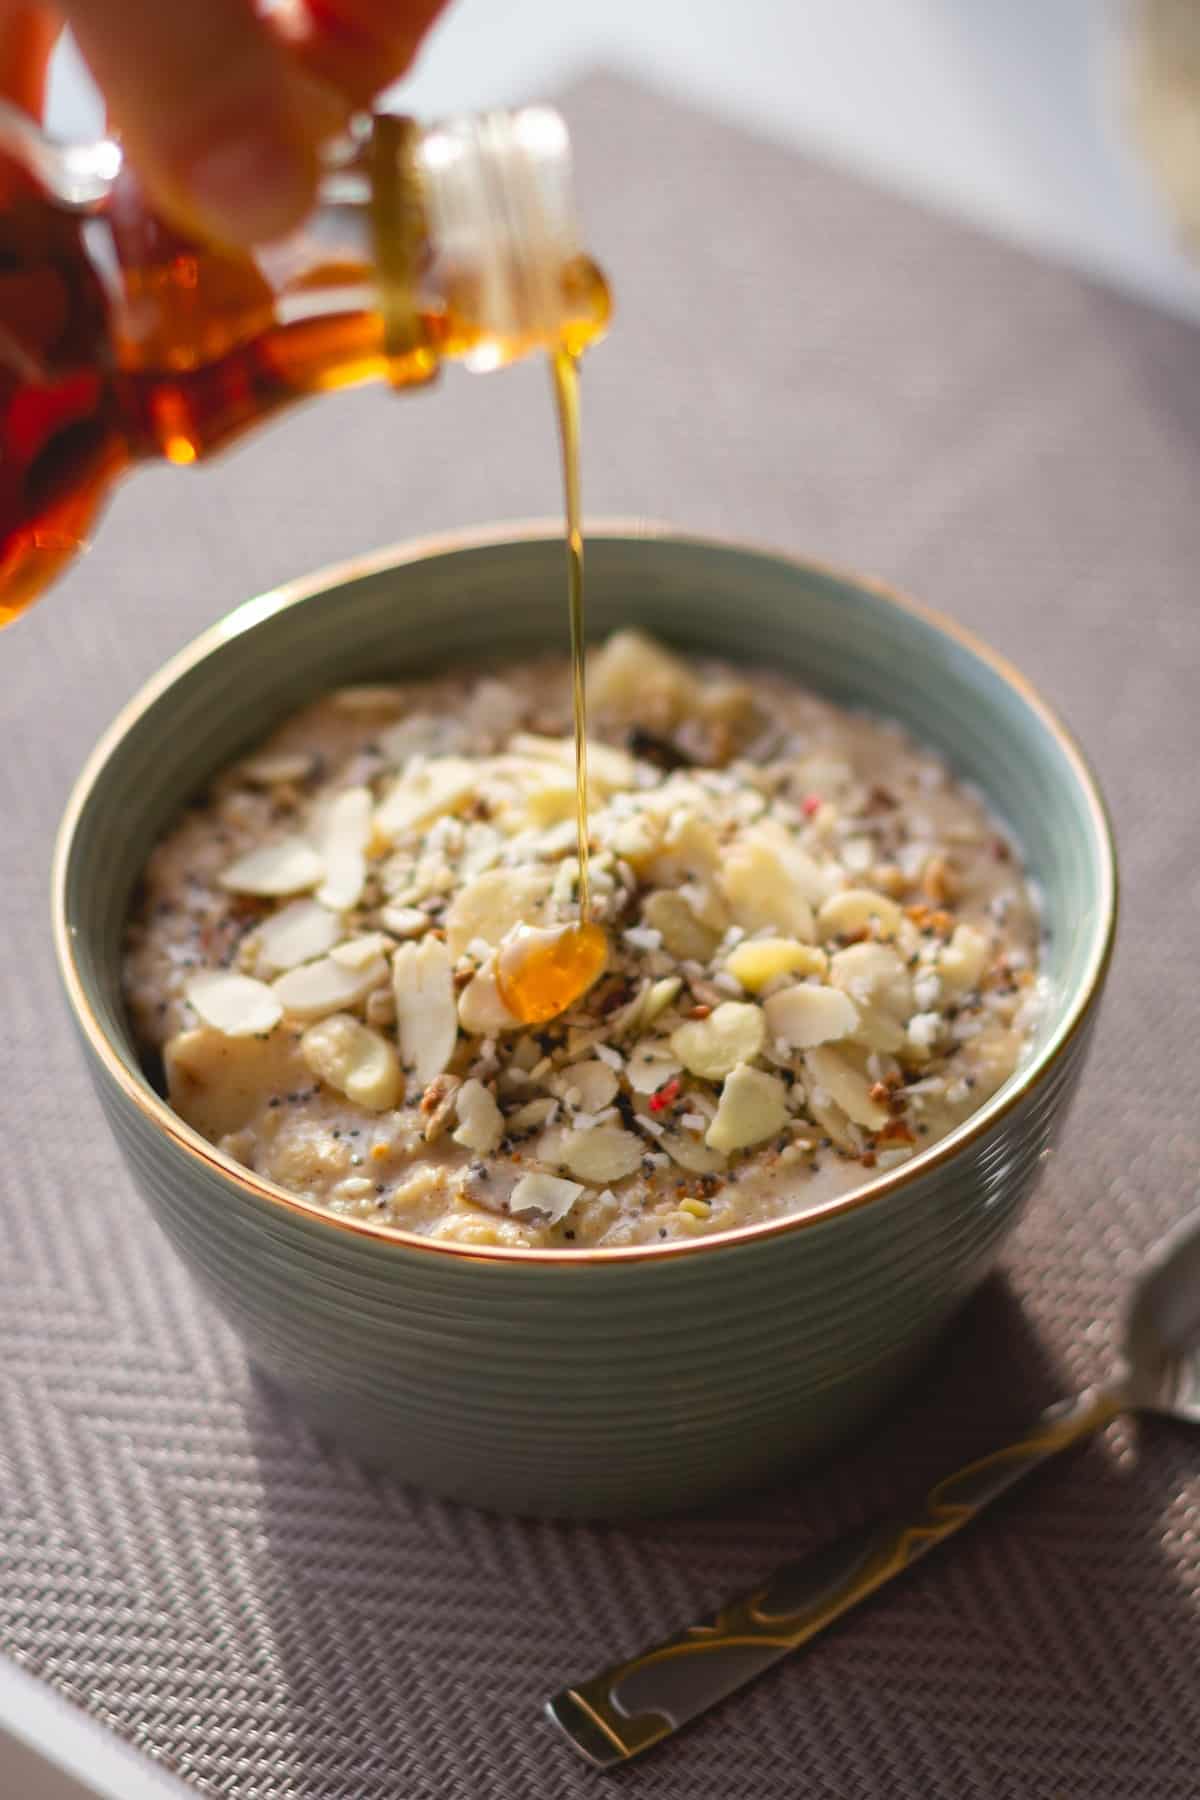
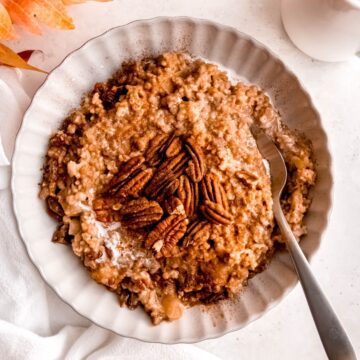
Say goodbye to store-bought instant oatmeal packets that are either packed with sugar or carry a hefty price tag (or both!) – it's time to become the master of your breakfast destiny with homemade instant oatmeal packets.
The basic ratio is 1 part instant oats to 2 parts liquid, allowing you to customize portion sizes to match your morning appetite. I typically opt for ⅓ cup of instant oats, but if you're feeling extra hungry, go all-in with ½ cup for a more substantial serving. Divvy the instant oats into the containers of your choice and add a pinch of salt to each.
PRO TIP: While you can store your instant oatmeal packets in zip-top snack bags, why not go the extra mile and store them in small mason jars so all you have to do is add water and stir?
From there, you can customize your pre-made shelf-stable porridge bowls with all the tasty fixin’s your heart desires. Here are just a few flavor renditions to try out:
- Apple Cinnamon: 1 teaspoon cinnamon sugar + 1 Tablespoon dried apple pieces or chopped apple chips
- Maple and Brown Sugar: 1 teaspoon maple sugar + 1 teaspoon brown sugar
- Raisin Nut: 1 Tablespoon raisins + 1 Tablespoon toasted, chopped nuts (almonds, walnuts, pecans)
- Tropical Coconut and Pineapple: 1 Tablespoon sweetened shredded coconut + 1 Tablespoon dried pineapple bits
- Chai Spiced: ½ teaspoon chai spice (or a pinch each of ground cinnamon, cardamom, and ginger) + 1 teaspoon brown sugar
- Banana Nut: 1 Tablespoon dried banana chips, chopped + 1 Tablespoon toasted, chopped nuts (e.g. pecans, walnuts) + ½ teaspoon cinnamon sugar
- Berry Blast: 1-2 Tablespoons dried berries (strawberries, blueberries, raspberries)
- Peanut Butter and Jelly: 1 Tablespoon dried peanut butter powder + 1 tablespoon dried berries of choice
- Chocolate Banana: 2 teaspoons cocoa powder + 1 Tablespoon dried banana chips, chopped + 1 teaspoon sugar
- Pumpkin Spice: 1-2 teaspoons maple sugar + ¼ teaspoon pumpkin spice blend
In total, you’ll want about 1-2 tablespoons of add-ins per packet. Feel free to swap in the sugar-free sweeteners of your choice (e.g. stevia or monkfruit). You can also bulk up the protein by adding about a tablespoon of powdered egg whites or collagen powder to each jar, or add flax or chia seeds for a vegan option.
Oh, and here's a delicious recipe for Maple Vanilla Cinnamon instant oats from my friend Frances at Cooking With Our CSA!
Overnight Oats
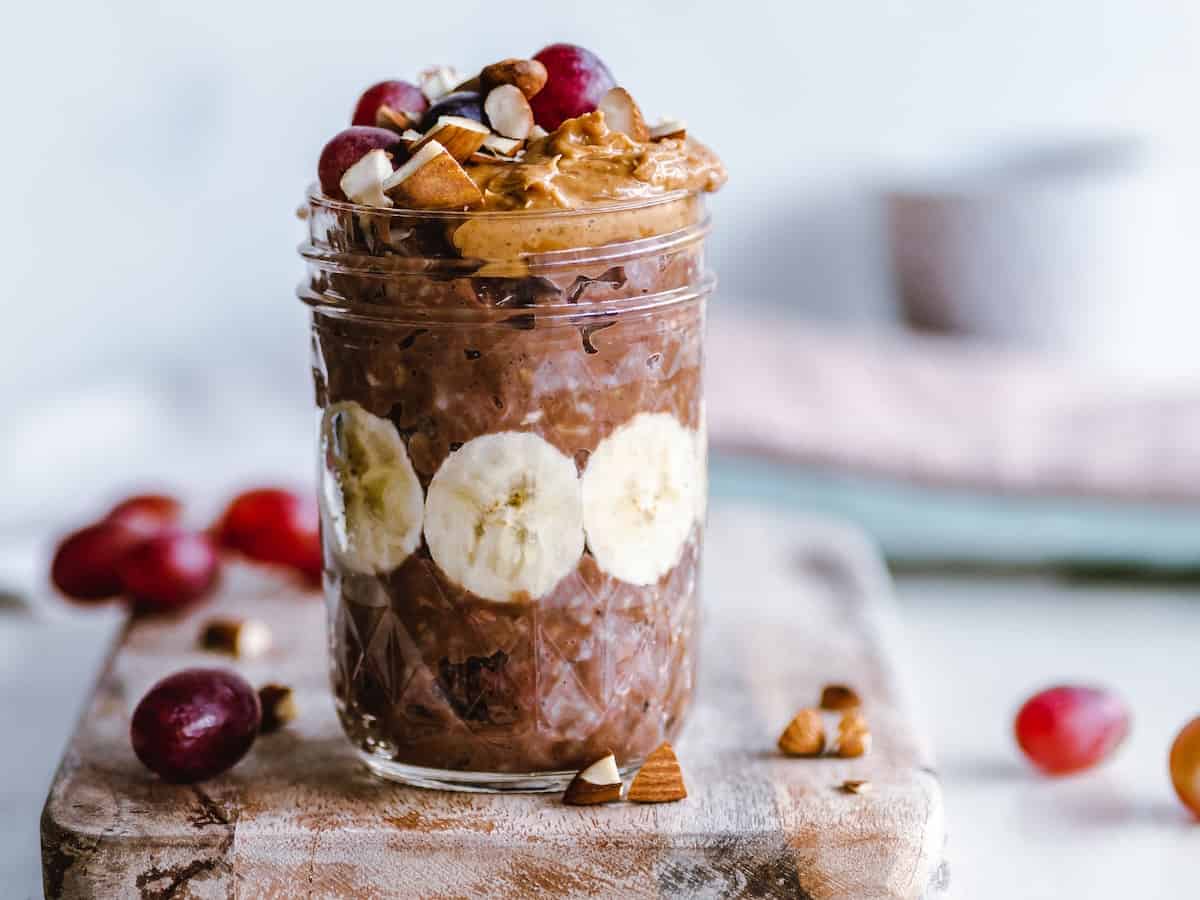
When I first laid eyes on the premade packages of Mush at the store, I was straight-up flabbergasted at the price tag. $3+ for a single serving of oats?? No, thank you — especially when making your own is as easy as remembering a ratio of 1:1 rolled oats to liquid.
Much like your instant oatmeal packets, just divvy out ½ cup of old-fashioned rolled oats into 8oz mason jars and add a pinch of salt to each. Next, add your favorite mix-ins.
Note: You’ll want to choose your mix-ins wisely, opting for shelf-stable ingredients if you’re looking for long-term dry storage. If you’re preparing them with liquid, note that some ingredients (e.g. fresh bananas or berries) shouldn’t be added until right before serving to prevent them from oxidizing or going bad.
Here are a few ideas to get you started:
- Blueberry Almond: milk + 1 Tablespoon sliced almonds + a drizzle of honey + handful of fresh blueberries (add within 3 hours of serving) or 1-2 Tablespoons dried blueberries
- Peanut Butter Banana: milk + 1 Tablespoon creamy peanut butter (or powdered peanut butter) + ½ teaspoon cinnamon sugar + ½ sliced banana (add right before serving) or 1-2 Tablespoons chopped dried banana chips
- Strawberry Coconut: coconut milk + 1-2 Tablespoons sweetened shredded coconut + ¼ teaspoon vanilla extract + handful of fresh sliced strawberries (add within 3 hours of serving) or 1-2 Tablespoons freeze-dried strawberries
- Chai Latte: milk & black tea + ¼ - ½ teaspoon chai spice + a drizzle of honey or maple syrup
- Mocha Madness: espresso & milk + 2 teaspoons cocoa powder + a dash of agave syrup
- Raspberry Lemon Cheesecake: plain yogurt or kefir (or milk) + a few rasps of lemon zest + a drizzle of agave or honey + handful of fresh or frozen raspberries (add within 3 hours of serving) or 1-2 Tablespoons freeze-dried raspberries
- Apple Pie: milk + 2 Tablespoons apple compote or apple butter + a pinch of apple pie spice + 1-2 Tablespoons crushed graham cereal (add right before serving for some texture!)
- Mango Tango: coconut milk + toasted coconut flakes + a squeeze of lime juice + ½ diced mango or 2 Tablespoons chopped dried mango
- Carrot Cake: milk + 2 Tablespoons shredded carrots + 1 Tablespoon chopped walnuts + a sprinkle of nutmeg and cinnamon + 1-2 teaspoons brown sugar
A few notes to keep in mind about serving overnight oats:
- If you want to prep the oats for eating within the next 3-4 days, add ½ - ¾ cup liquid (e.g. milk, water, yogurt, or juice), stir, put a lid on, and pop the jars in the fridge. They can also be frozen for up to 2 months.
- If you want to keep the overnight oat jars on hand for later, make sure to opt for shelf-stable mix-ins, then store in the pantry for up to 2 months. When you’re ready to serve, add ½ - ¾ cup liquid, stir, and place in the fridge for a minimum of 6 hours or up to 4 days.
Microwave Pancake Mugs
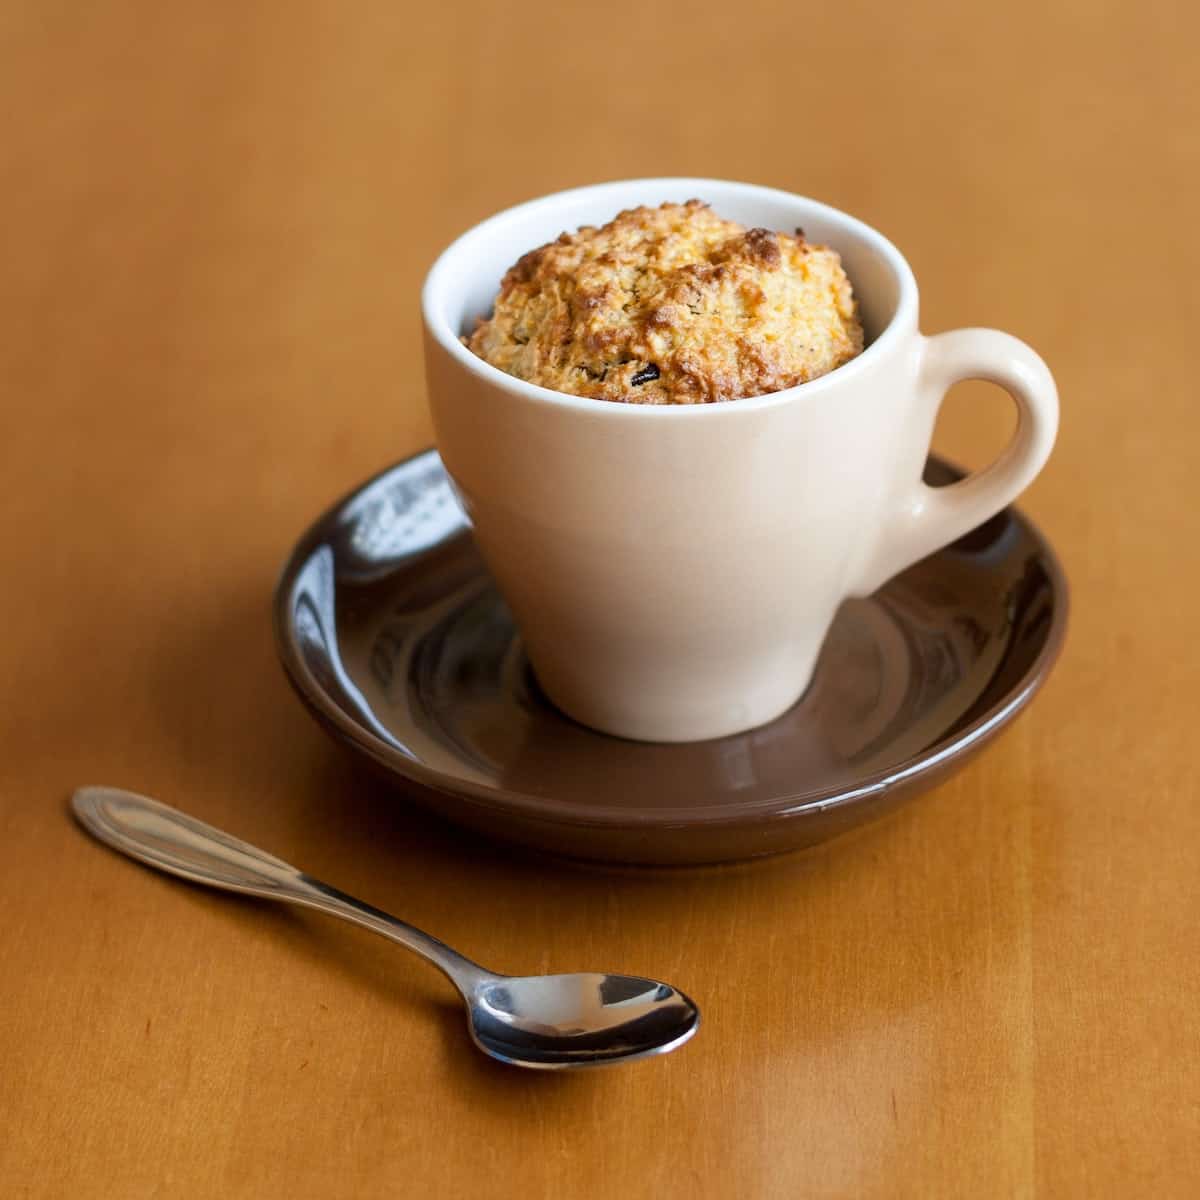
Microwave mug pancakes are super convenient, but there’s no reason to spend $2 a pop! Simply grab your favorite pancake mix and some mason jars, then make your own.
Depending on the pancake mix you use (it’ll depend on the brand and the flavor), you’ll need between ¼ - ⅓ cup of pancake mix in each jar. I like to keep a few stacked in the pantry for when I’m in need of an easy 90-second breakfast!
When you’re ready to make the pancake, add 3 tablespoons (45mL) of water or the milk of your choice and stir to combine until smooth.
Microwave for 45-90 seconds (depending on your microwave), or until puffy and cooked through in the center. You can use an instant-read thermometer if you’re not sure; the mix should hit 160F.
Remove from the microwave and top with whatever your heart fancies – chocolate chips, maple syrup, sliced bananas, flavored whipped cream, or berries – then dig in and enjoy!
Premade Frozen Waffles & Pancakes
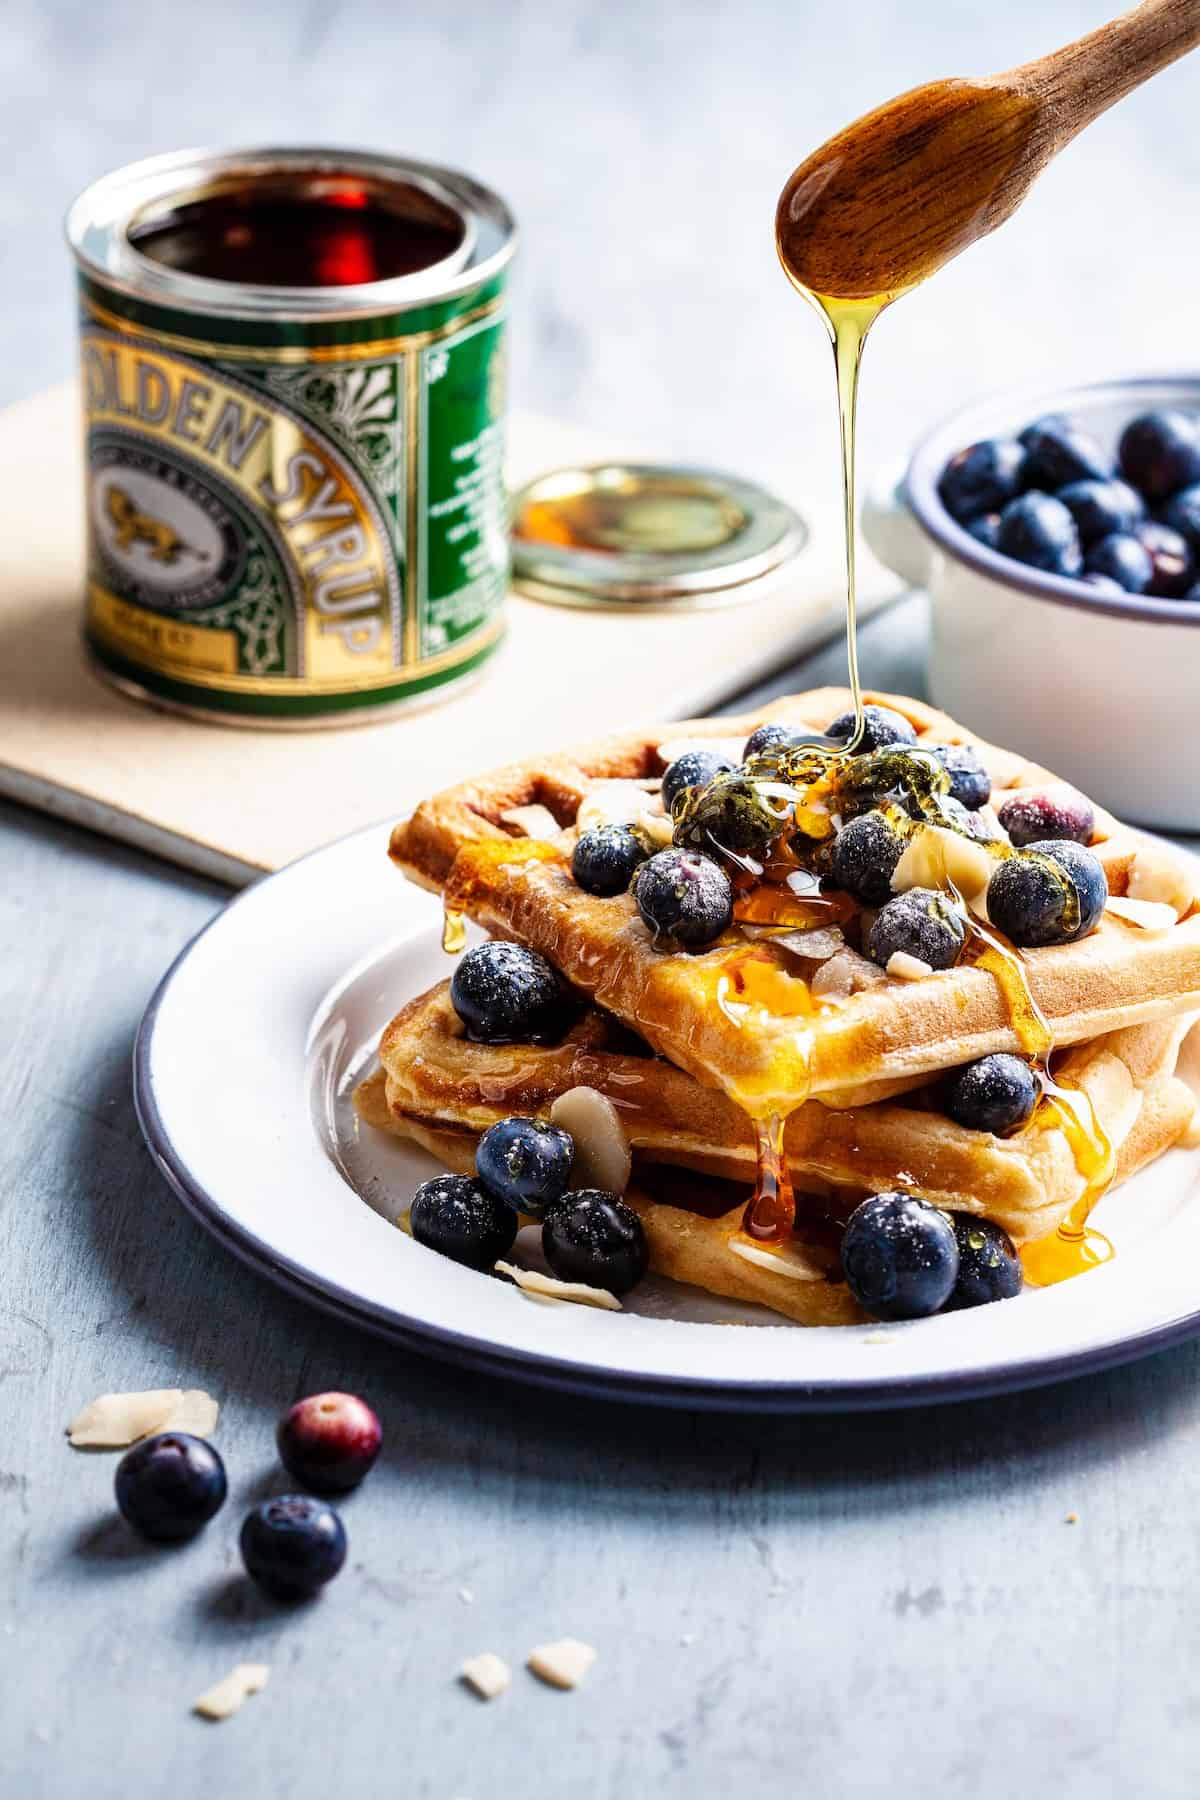
Leggo that Eggo and make your own frozen waffles and pancakes! Feel free to use your favorite recipe, or even mix up a batch from a baking mix. As the flapjacks or waffles come off the pan, let them cool completely on wire racks.
Using parchment between each layer to prevent them from sticking, stack your cooled pancakes or waffles in a freezer-safe container, removing as much air as possible. Pop the container in the freezer for up to a month!
Whenever the craving strikes, pull out the number of breakfast treats you’re in the mood for, then toast them in the toaster oven (preferred) or microwave until warmed through.
Breakfast Sandwiches
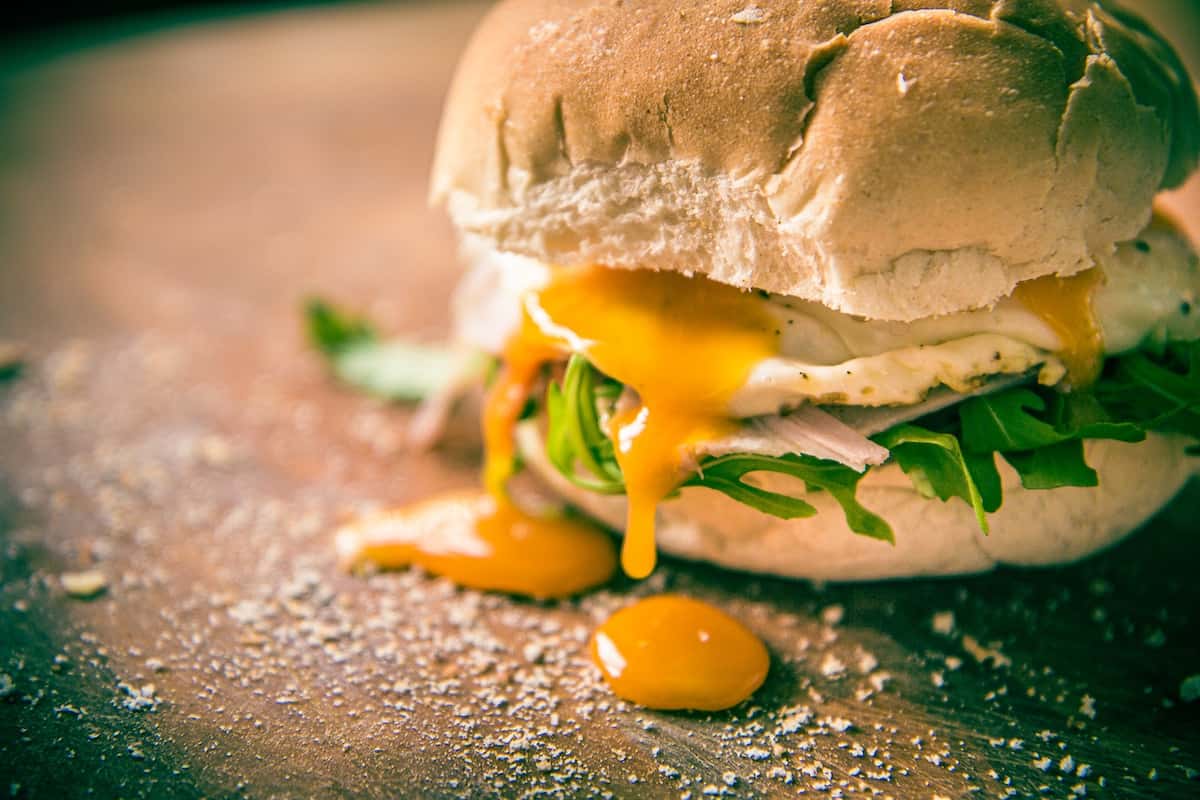
Whether a bodega BEC (bacon, egg, and cheese) or a McGriddle is your go-to breakfast sandwich, you can easily recreate a homemade freezer version. With your DIY frozen breakfast sandwiches ready to go, you can now enjoy a warm and tasty breakfast in no time, even on the busiest of mornings! 🍳🥓🥯🥪
To make them, you’ll need:
- English Muffins, Brioche Rolls, Biscuits, Croissants, or Waffles
- Sheet Pan Scrambled Eggs (feel free to add your choice of mix-ins!) or Fried Eggs
- Note that for frozen breakfast sandwiches, even if you *start* with an over-easy egg, by the time it's reheated, it'll be over medium-well to over-hard. If you want a proper "dippy" egg, you'll want to fry/boil/poach it on the spot, but everything else can be assembled ahead of time. For added convenience, I love the Dash Egg Maker.
- Sliced Cheese - Definitely stick with sliced, not shredded, for the best structural integrity.
- Cooked Breakfast Meats (or Plant-Based "Meats") - Any kind of bacon, sausage, deli meat, or even roasted veggies are great here.
While there are literally hundreds of ways to make these breakfast sandwiches, here are a few of my favorite flavor combos:
- Classic Egg and Cheese:
- English muffins
- Fried or scrambled eggs
- Sliced cheddar or American cheese
- Sausage and Pepper Jack:
- Biscuits or English muffins
- Cooked breakfast sausage patties or links
- Sliced pepper jack cheese
- DIY McGriddles:
- Waffles or sweet English muffins (e.g. cinnamon raisin)
- Crispy maple bacon
- Fried or scrambled eggs
- American cheese
- Ham, Egg, and Swiss:
- Croissants
- Sliced ham or Canadian bacon
- Fried or scrambled eggs
- Sliced Swiss cheese
- Veggie Delight:
- Whole wheat English muffins
- Sautéed spinach, mushrooms, and bell peppers
- Fried or scrambled eggs
- Sliced provolone or mozzarella cheese
To make them, assemble your breakfast sandwiches by adding a layer of eggs, cheese, and meats or veggies between your preferred carb. Wrap tightly with foil or parchment, then label and place in a freezer-safe bag or container, removing as much air as possible.
To reheat the frozen breakfast sandwiches, remove the foil or parchment paper. Wrap the sandwich in a damp paper towel, then microwave on high for 1-2 minutes, or until the sandwich is heated through and the cheese is melted (microwave times may vary — you may need to do this a few times).
If you prefer a crispier texture, you can also toast the thawed sandwich in a toaster oven or regular oven for a few minutes.
Breakfast Burritos
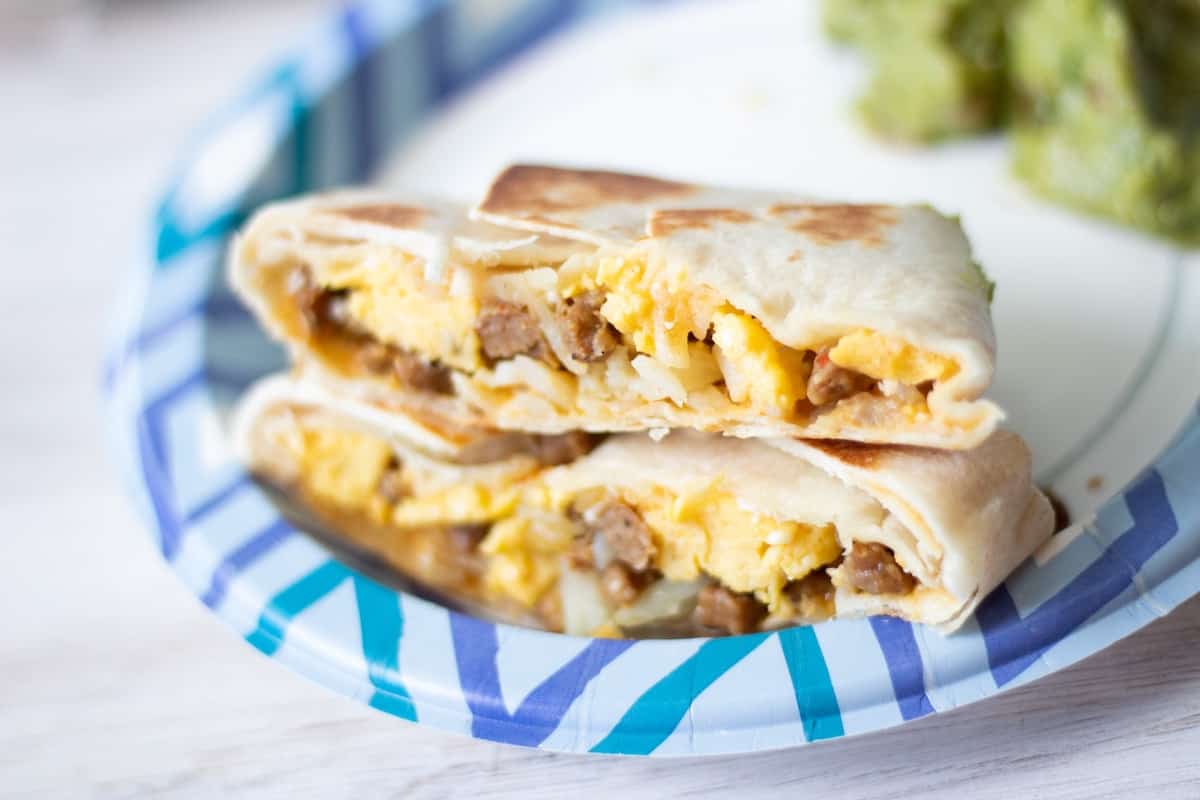
Similar to making freezer breakfast sandwiches, you can also make your own frozen breakfast burritos! As an added bonus, they’re easier to eat on your commute than breakfast sandwiches.
With a freezer full of delicious DIY frozen breakfast burritos at the ready, you'll always have a satisfying and flavorful breakfast option at your fingertips! 🌯🍳🥓🥬🧀
Here are some mouthwatering ideas to fill your burritos with:
- Classic Breakfast Burrito:
- Scrambled eggs
- Crispy cooked bacon
- Sautéed bell peppers and onions
- Shredded cheddar cheese
- Sausage and Hash Brown:
- Cooked breakfast sausage
- Hash brown potatoes
- Scrambled eggs
- Cheese of choice
- Veggie Lover's Delight:
- Sautéed spinach, mushrooms, and zucchini
- Black beans
- Scrambled eggs
- Chunky salsa
- Ham, Egg, and Cheese:
- Sliced ham or Canadian bacon
- Scrambled eggs
- Sliced Swiss or Gouda cheese
- Sautéed onions
- Southwest Fiesta:
- Spicy black beans
- Sautéed corn and diced tomatoes
- Scrambled eggs
- Pepper jack cheese
- Greek-inspired:
- Cooked gyro meat or grilled chicken
- Sliced cucumbers and tomatoes
- Hummus or tzatziki sauce
- Crumbled feta cheese
To assemble your DIY frozen breakfast burritos, gently warm the tortillas (or egg white wraps) in a microwave or on a skillet to make them more pliable. Place the ingredients in the center of each tortilla, leaving some space at the edges for folding.
Fold the sides of the tortilla over the fillings, then roll the burrito tightly from the bottom. Wrap each burrito in parchment paper or aluminum foil, then label it with the filling type and date you made it. Place them in a freezer-safe container or resealable bag, then pop in the freezer for up to 2 months.
To reheat the frozen breakfast burritos, remove the parchment paper or aluminum foil. Wrap the burrito in a damp paper towel to retain moisture, then microwave on medium heat for 2-3 minutes, turning it over halfway through cooking until the burrito is heated all the way through.
Fruit on Bottom (or Top) Yogurt Cups
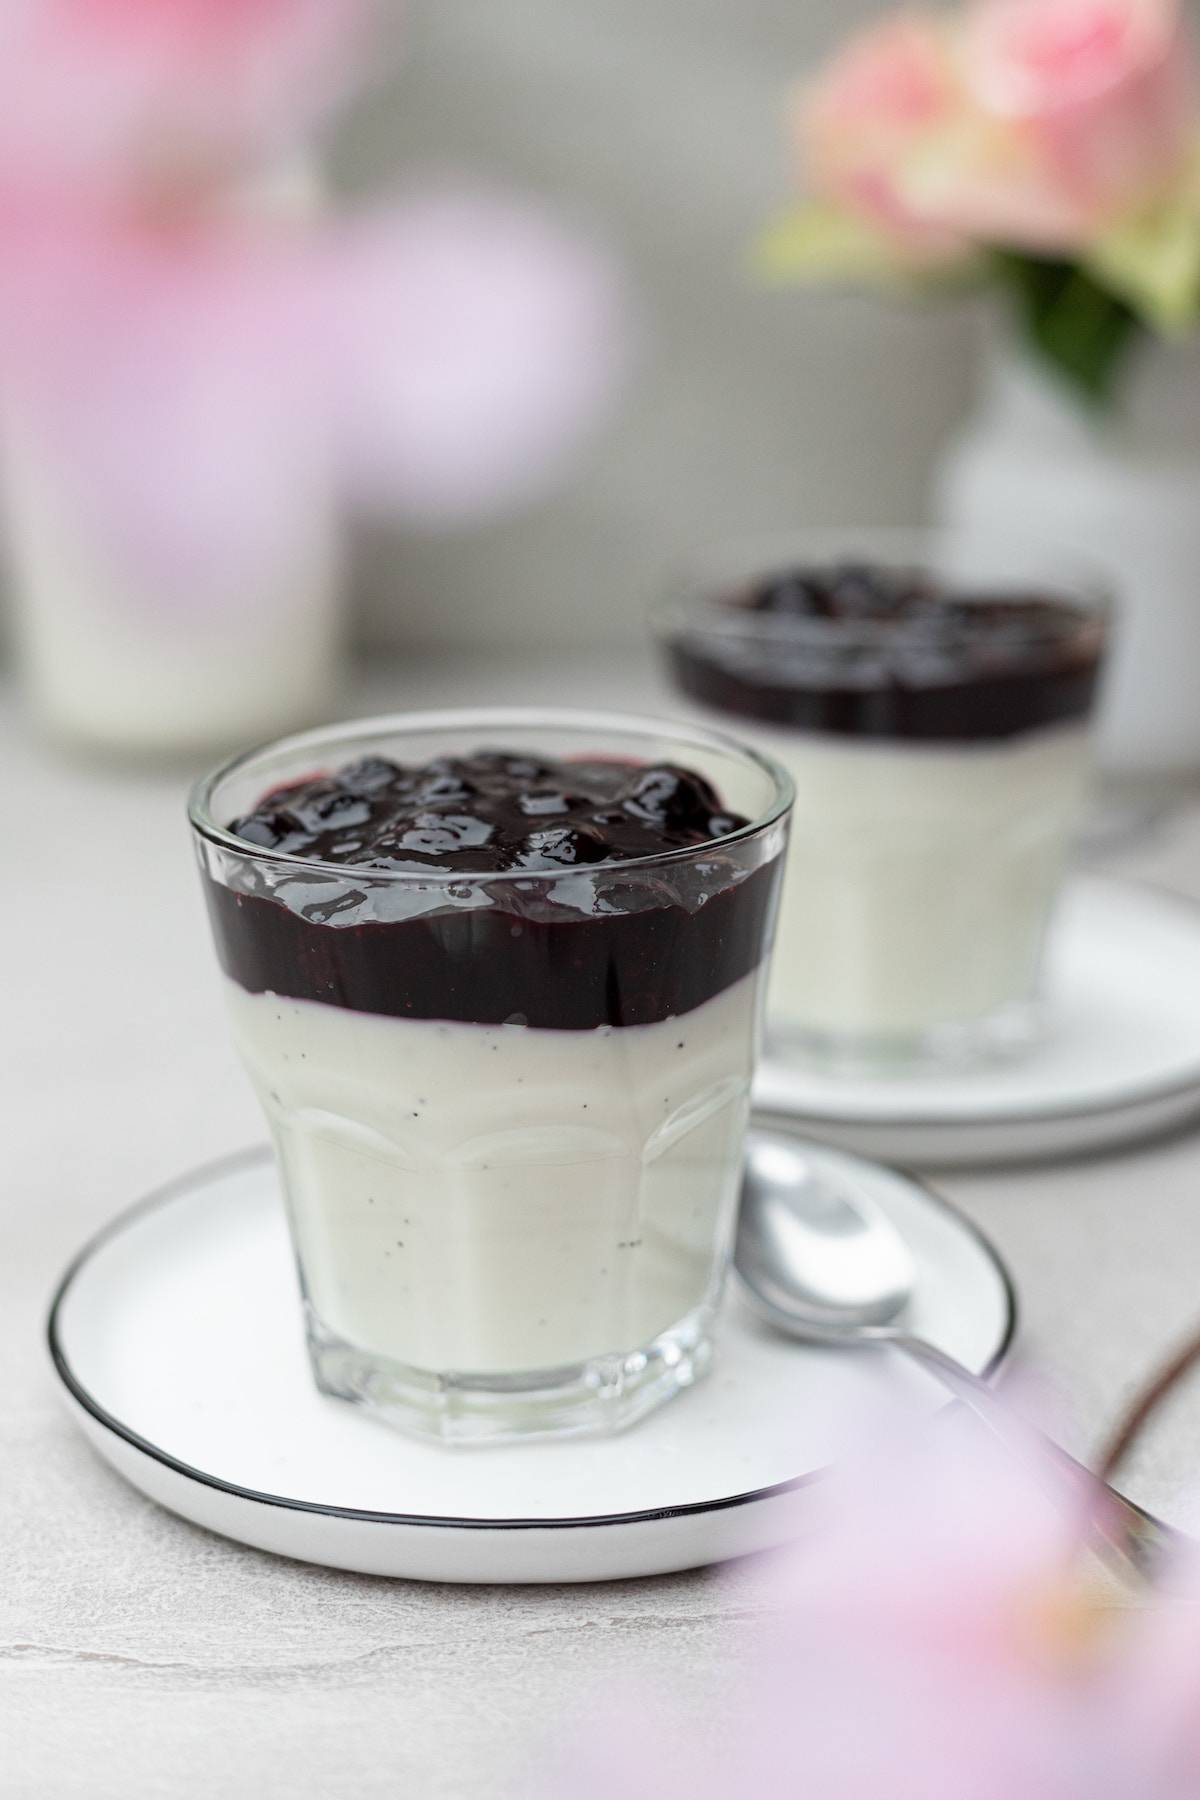
Individual yogurt cups are so stinkin’ spendy. Who wants to spend over a dollar for a single portion? Not this gal. I personally like to buy a giant tub of plain, whole-milk Greek yogurt, which I can turn into tasty yogurt cups or use as a lighter, protein-packed sour cream replacement.
Again, line up your 8oz mason jars. Add a tablespoon or two of your favorite jam or fruit preserve or a handful of frozen berries and a sprinkle of sweetener, then top with about ½ cup of yogurt. Screw on the top, pop it in the fridge, and voila! Grab-and-go yogurt cups for a fraction of the price.
Oh, and if you love those yogurt cups that come with crunchy bits to tip in? You can make your own version of those, too! Just grab a few of your favorite fruit cups, eat the contents, then wash & dry the containers.
Put the dry, crunchy bits (e.g. granola, cereal, nuts, mini chocolate chips, etc) in the emptied, cleaned, and dried fruit cup, top with the metal insert of a wide-mouth mason jar lid, shiny side down, then carefully flip the cup and lid on top of your fruit-on bottom before screwing on the metal ring.
The crunchy bits will stay nice and dry till you’re ready to eat, plus all the goodies stay confined to one grab-and-go container. BRILLIANT!
Pro Tip: Only have regular-mouth mason jars? Empty single-serve pudding cups are a better fit than single-serve fruit cups. 😉
Just Crack An Egg Cups
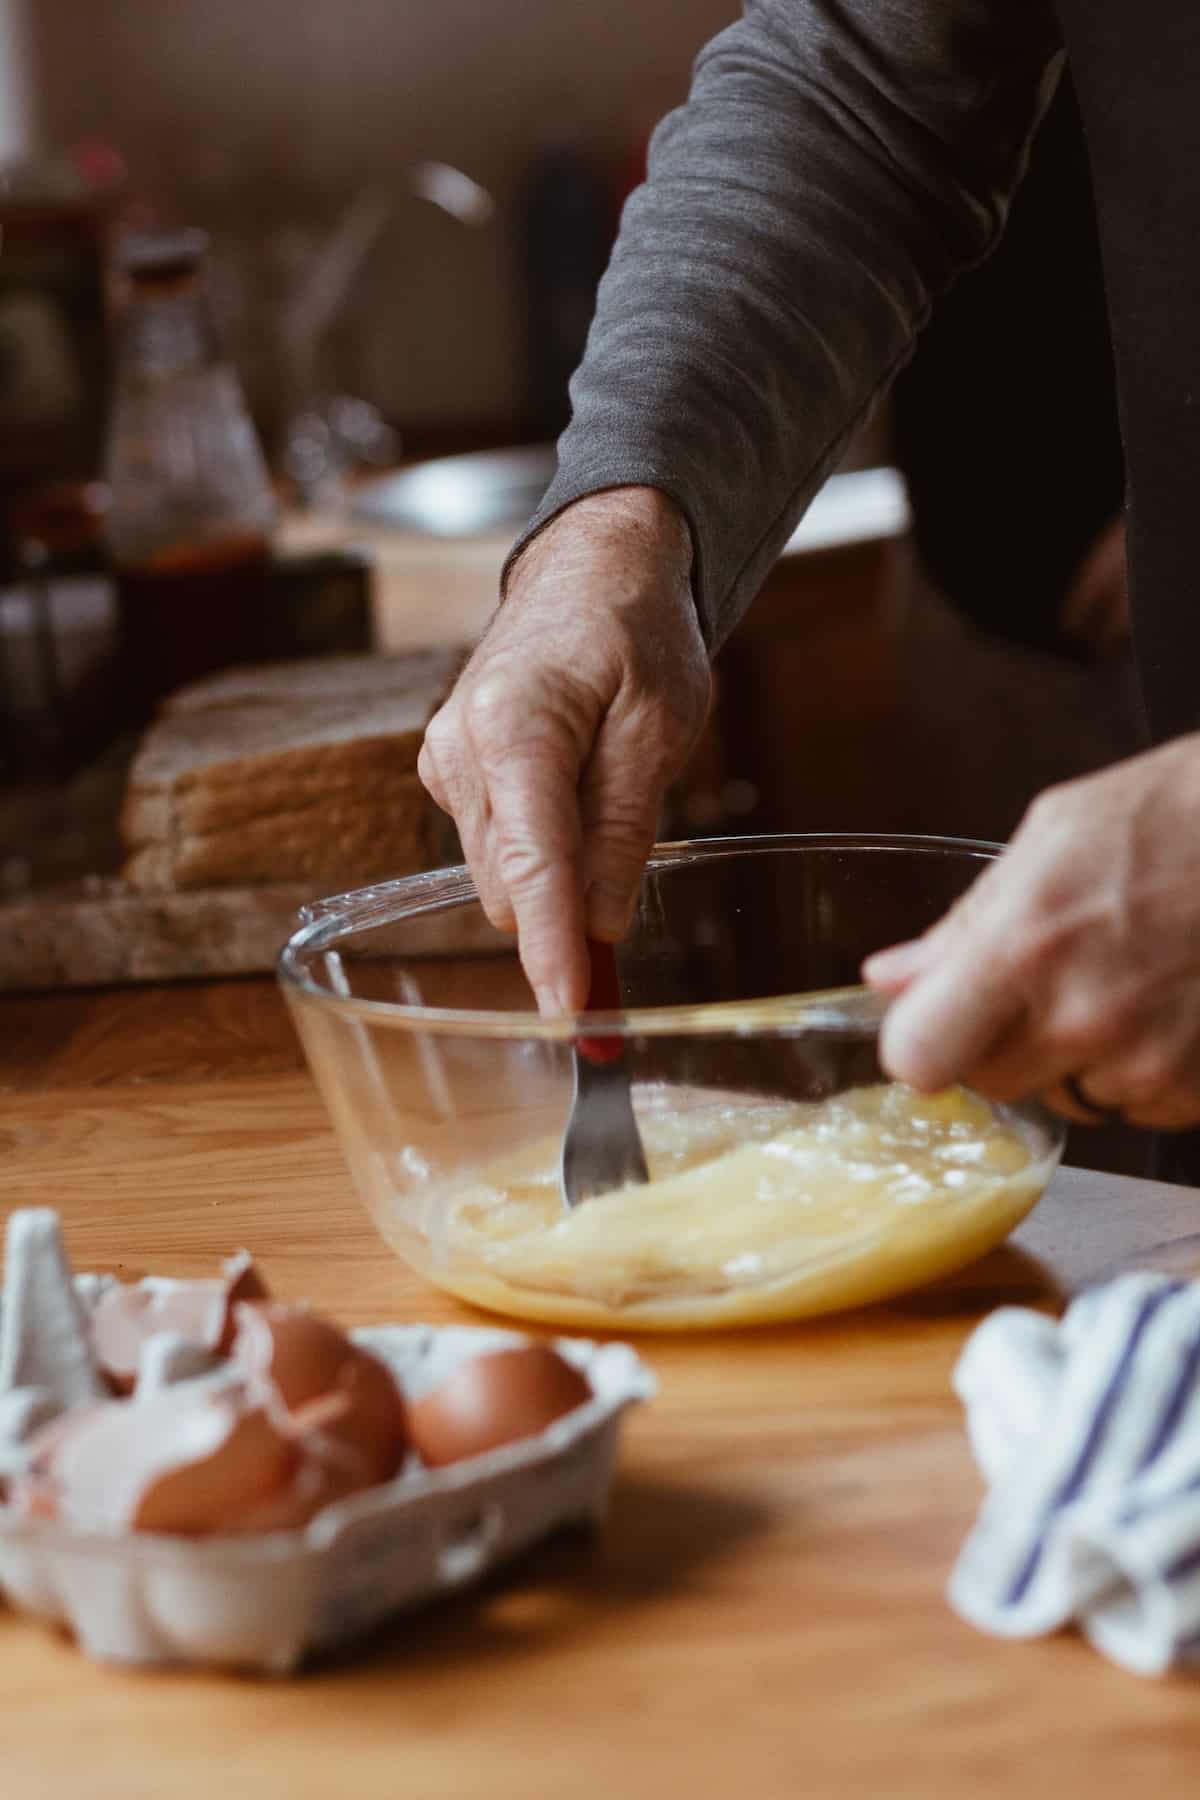
While I love whoever came up with “Just Crack An Egg” cups – I had never considered microwaving an omelet before! – there’s no need to shell out $2-3 per serving. Instead, grab your trusty 8oz mason jars and let’s make them from scratch. 🍳🧀🥦🥓🍅
Now’s the fun part — add your favorite scramble additions. I like to use an assortment of cooked meats (ham, sausage, bacon), shredded cheese, and veggies. In total, I suggest using:
- 3 Tablespoons of veggies,
- 2 Tablespoons of shredded cheese,
- ½ ounce of cooked meat (or extra veggies or plant-based meat),
- ½ teaspoon of butter, and
- ¼ - ½ teaspoon herbs or spices
- ¼ teaspoon each of kosher salt & freshly ground black pepper per jar.
Here are a few flavor variations to try:
- Western Sunrise: diced ham + diced roasted or raw peppers + diced onions + shredded cheddar cheese
- Bacon Fiesta: bacon bits + diced tomatoes + jalapeño slices + shredded pepper jack cheese
- Sausage Supreme: crumbled breakfast sausage + sautéed mushrooms + diced red onions + Swiss cheese
- Mediterranean Delight: chopped spinach (cooked or raw) + diced tomatoes + crumbled feta cheese + Kalamata olives
- Broccoli Cheddar Bliss: cooked broccoli florets + shredded cheddar cheese + a pinch of garlic powder
- Italian Garden: crumbled Italian sausage + diced zucchini + sun-dried tomatoes + mozzarella cheese
- Tex-Mex Fiesta: crumbled chorizo + black beans + diced avocado (add right before serving) + a dollop of salsa (add right before serving)
- Greek Goddess: diced roasted red peppers + artichoke hearts + crumbled goat cheese + fresh or dried herbs
- Veggie Medley: sautéed kale + diced roasted sweet potatoes + caramelized onions + Parmesan cheese
- Ham and Swiss Surprise: diced ham + sautéed leeks or onions + Swiss cheese + a sprinkle of thyme
To assemble, simply layer the omelet fillings of your choice in the mason jars, leaving enough space for the eggs. Screw on the lids and keep them in the fridge for up to 5 days, or in the freezer for up to a month. (If you freeze them, make sure to let them defrost overnight in the fridge before serving.)
When you're ready for breakfast, remove the metal lid, crack two eggs into the cup, scramble everything together with a fork, and cover with a damp paper towel. Microwave in 30-45-second bursts, stirring between each one. Continue to microwave until the eggs are mostly set but not dry. Serve immediately!
If you prefer your eggs are already cooked in the morning, try making my Instant Pot Egg Bites instead.
Smoothie Packs
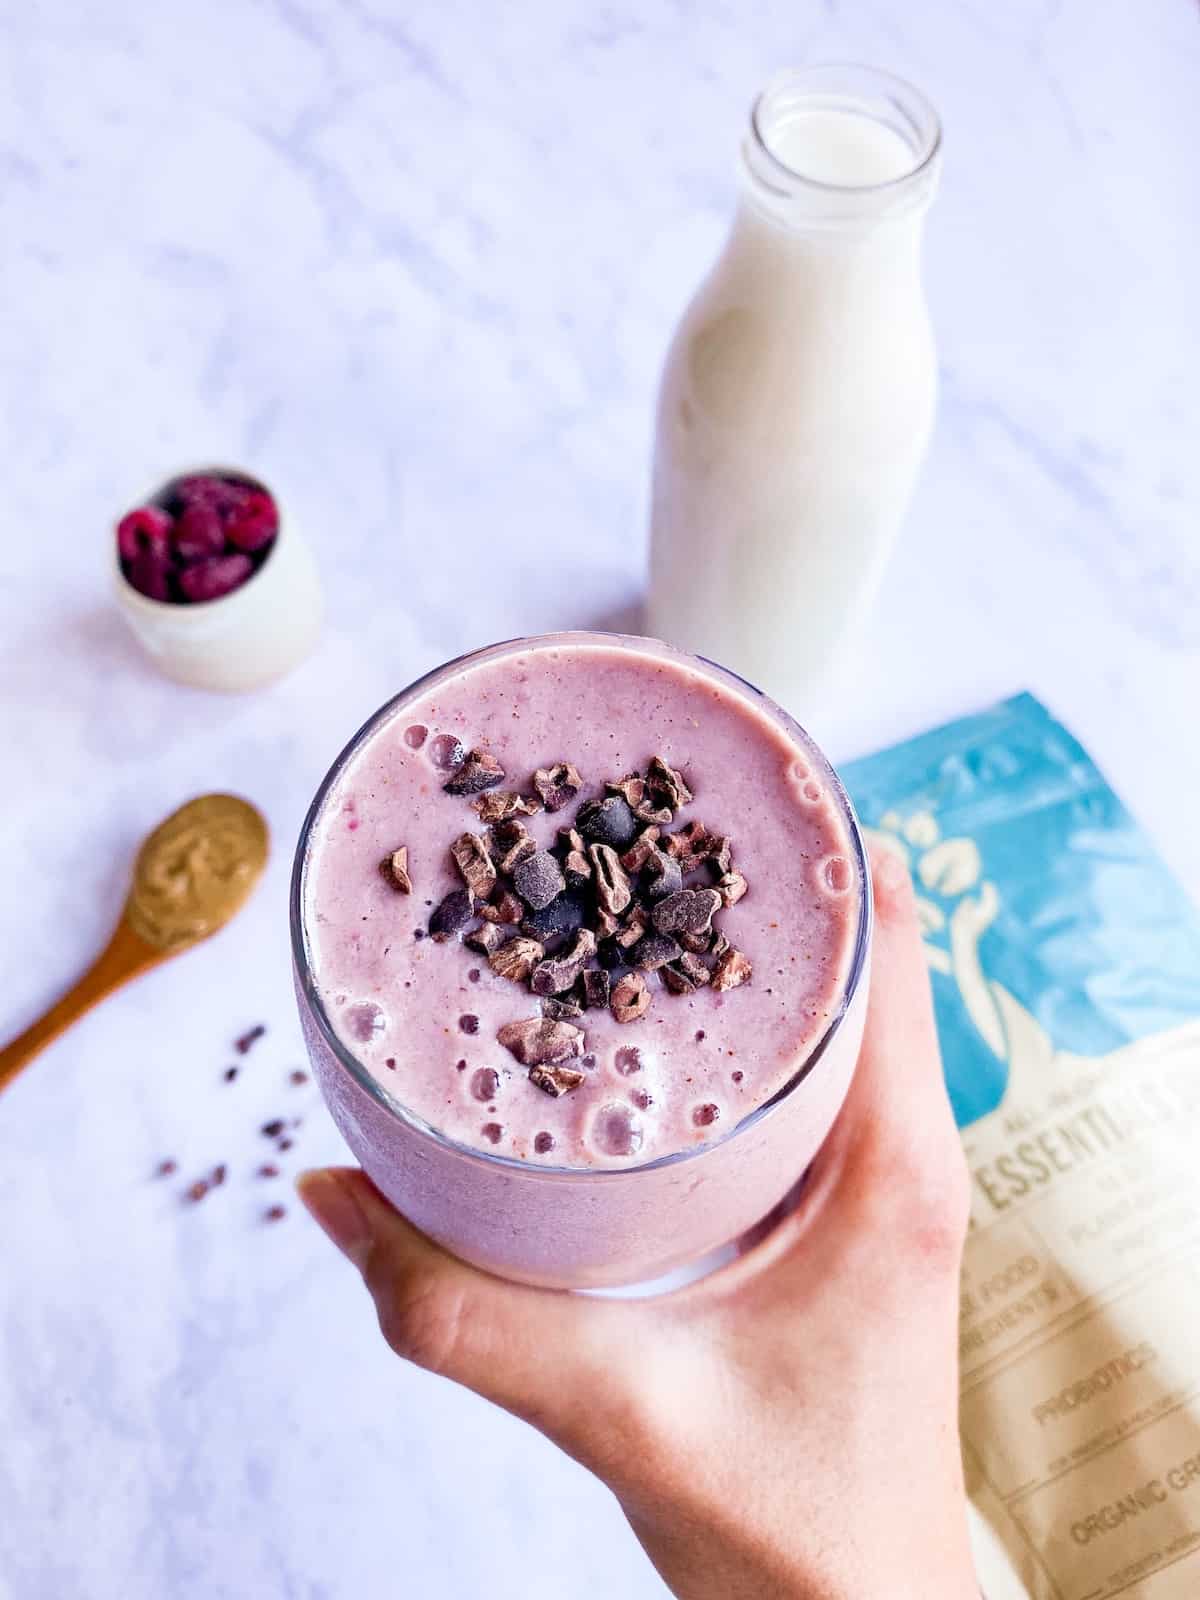
Freezer smoothie packs are a game-changer for busy mornings or when you're craving a quick and nutritious pick-me-up. But, rather than spend a whopping $7 per smoothie 🤯, spend a few minutes making your own for less than $2 apiece.
These homemade freezer smoothie packs will make your mornings a breeze, and you'll have a variety of delicious and nutrient-packed options at your fingertips! 🍌🍓🍃🥥🥦 Once assembled, they keep well in the freezer for about a month.
Here’s the basic ratio for ingredients:
- 2 cups fruits/veggies (e.g., berries, bananas, spinach, kale, cauliflower, etc.)
- 1 Tablespoon nut or seed butter (e.g., almond butter, peanut butter, sunflower seed butter)
- 1 Tablespoon seeds (e.g., chia seeds, flaxseeds, hemp seeds) + 1 teaspoon powders (e.g., cacao powder, maca powder, protein powder) — optional, for added nutrients and flavor
- 1-1.5 cups liquid (e.g., almond milk, coconut water, regular water, etc.)
To create your freezer smoothie packs, simply portion out the non-liquid ingredients into individual freezer-safe bags or containers. When you're ready to blend, just empty the contents into your blender, add your liquid, and blend to creamy perfection.
PRO TIP: If you’d like to add soft ingredients like purées (e.g. pumpkin purée) or yogurt, I suggest adding them right before blending ~or~ freezing them into silicone ice cube trays until they’re frozen before adding them to your freezer packs. This will ensure the good stuff makes it into the blender instead of staying smeared on your bags.
Here are a few fun flavor ideas to get you started:
- Tropical Paradise:
- ½ Cup each frozen pineapple chunks & frozen mango chunks
- 1 Cup fresh spinach or kale
- Coconut milk or coconut water
- Chia seeds
- Berry Blast:
- 1 Cup each frozen mixed berries (strawberries, blueberries, raspberries) & fresh baby spinach
- Milk or juice of choice
- A spoonful of almond butter
- Flaxseeds
- Chocolate Almond Joy:
- 1 Cup each frozen banana slices & frozen cauliflower florets (trust me, it's sneaky and adds creaminess!)
- Almond milk
- Unsweetened cocoa powder
- Almond butter
- Shredded coconut
- Peanut Butter Banana Power:
- 1 Cup each frozen banana slices & fresh baby spinach
- Peanut butter
- Unsweetened almond milk or water
- A scoop of protein powder (vanilla or chocolate)
- Cherry Almond Bliss:
- 1 Cup each frozen cherries & fresh baby spinach
- Almond milk
- Almond extract (for an extra almond kick)
- A sprinkle of chia seeds
Granola
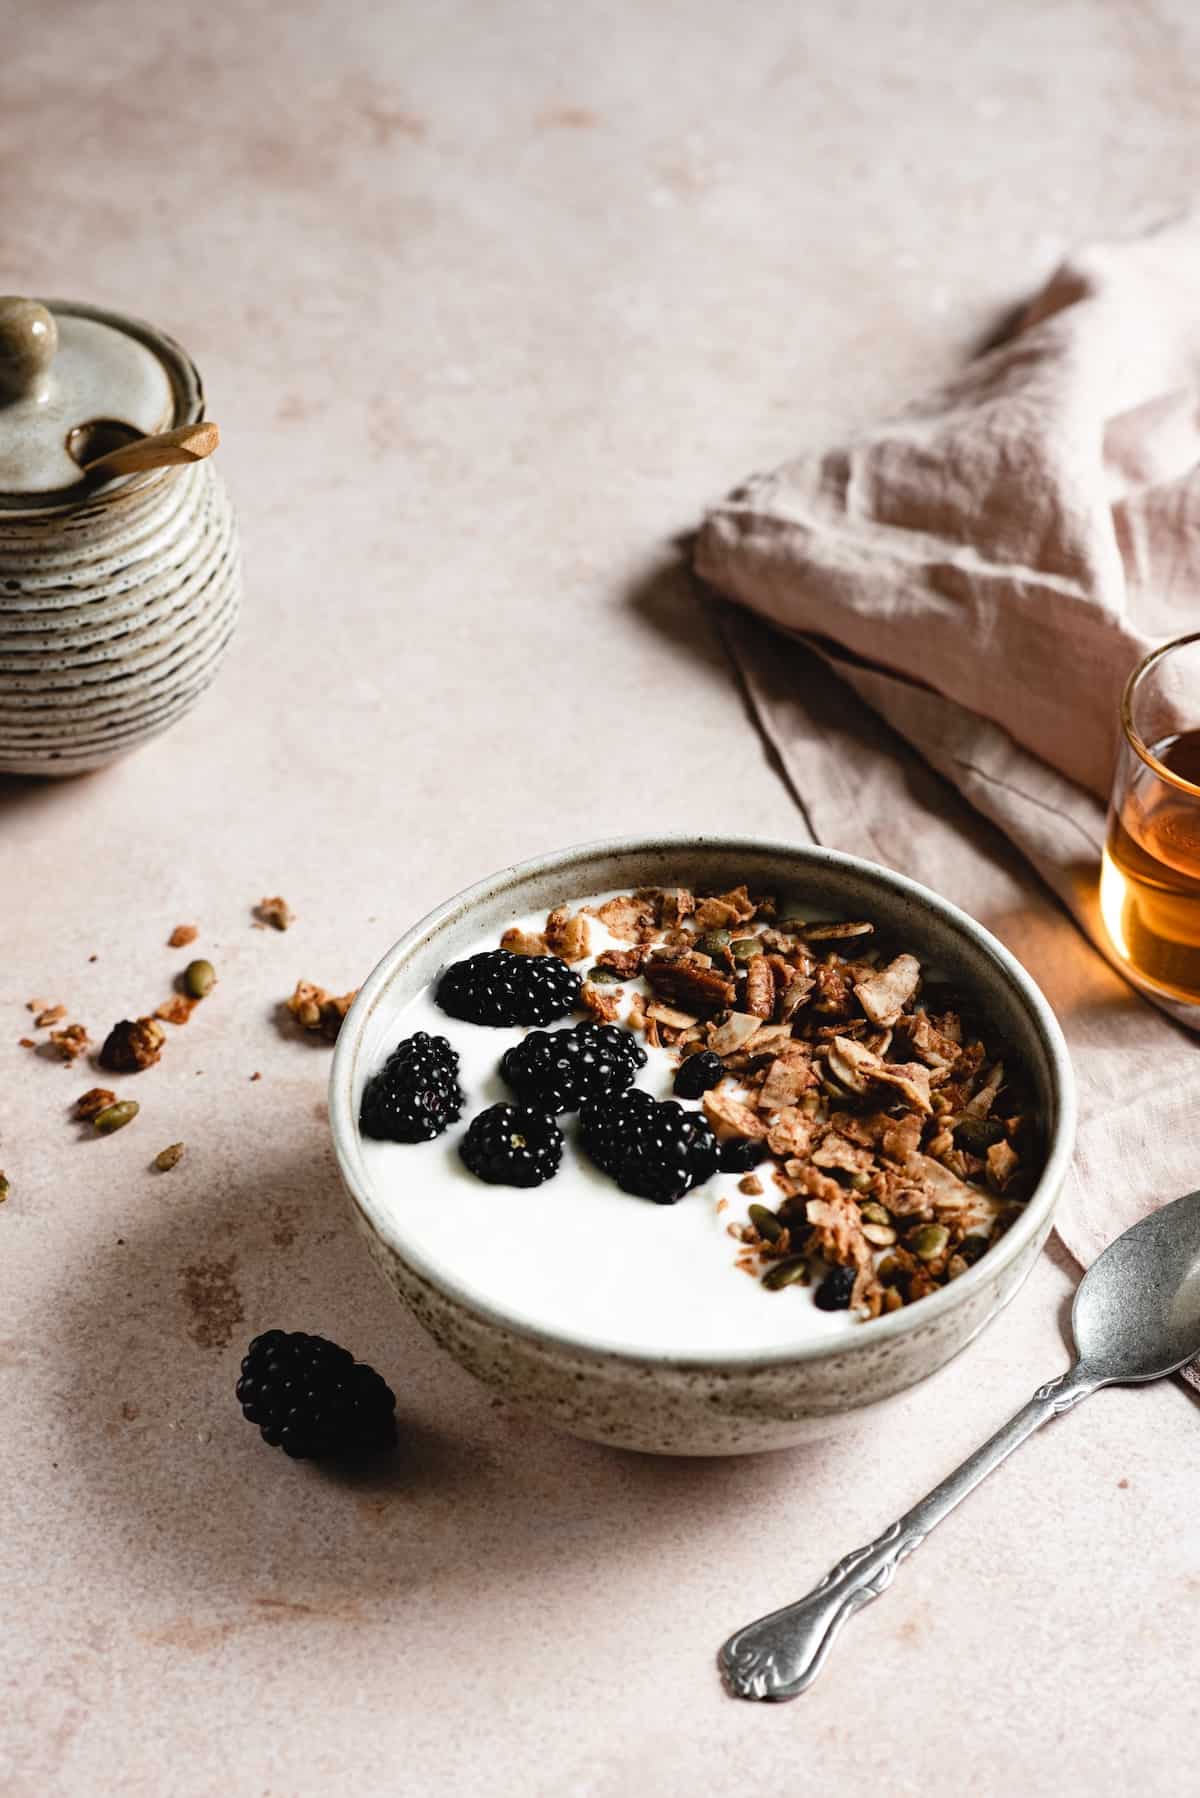
Can someone please explain to me why granola is so friggin’ expensive? It’s like 90% oats, which are cheap AF! Anyway, rather than spending an arm and a leg to buy “fancy” granola from the store, you can easily make your own.
While there are tons of recipes to choose from, this customizable big-batch recipe is what I love to make during the holidays so I always have a treat on hand for any unexpected visitors. (Pssst! It also makes for an amazing edible gift!) Feel free to halve the recipe if needed.
More Ways To Slash Your Grocery Budget
For more yummy recipe ideas delivered straight to your inbox, sign up for my email newsletter! I promise to never sell your information, plus you'll get a FREE Grocery Guide loaded with tons of tips, tricks, and printables to make being the CFO (Chief Food Officer) of your family a little easier. You can also follow my kitchen adventures on Instagram, Facebook, or Pinterest.




Comments
No Comments