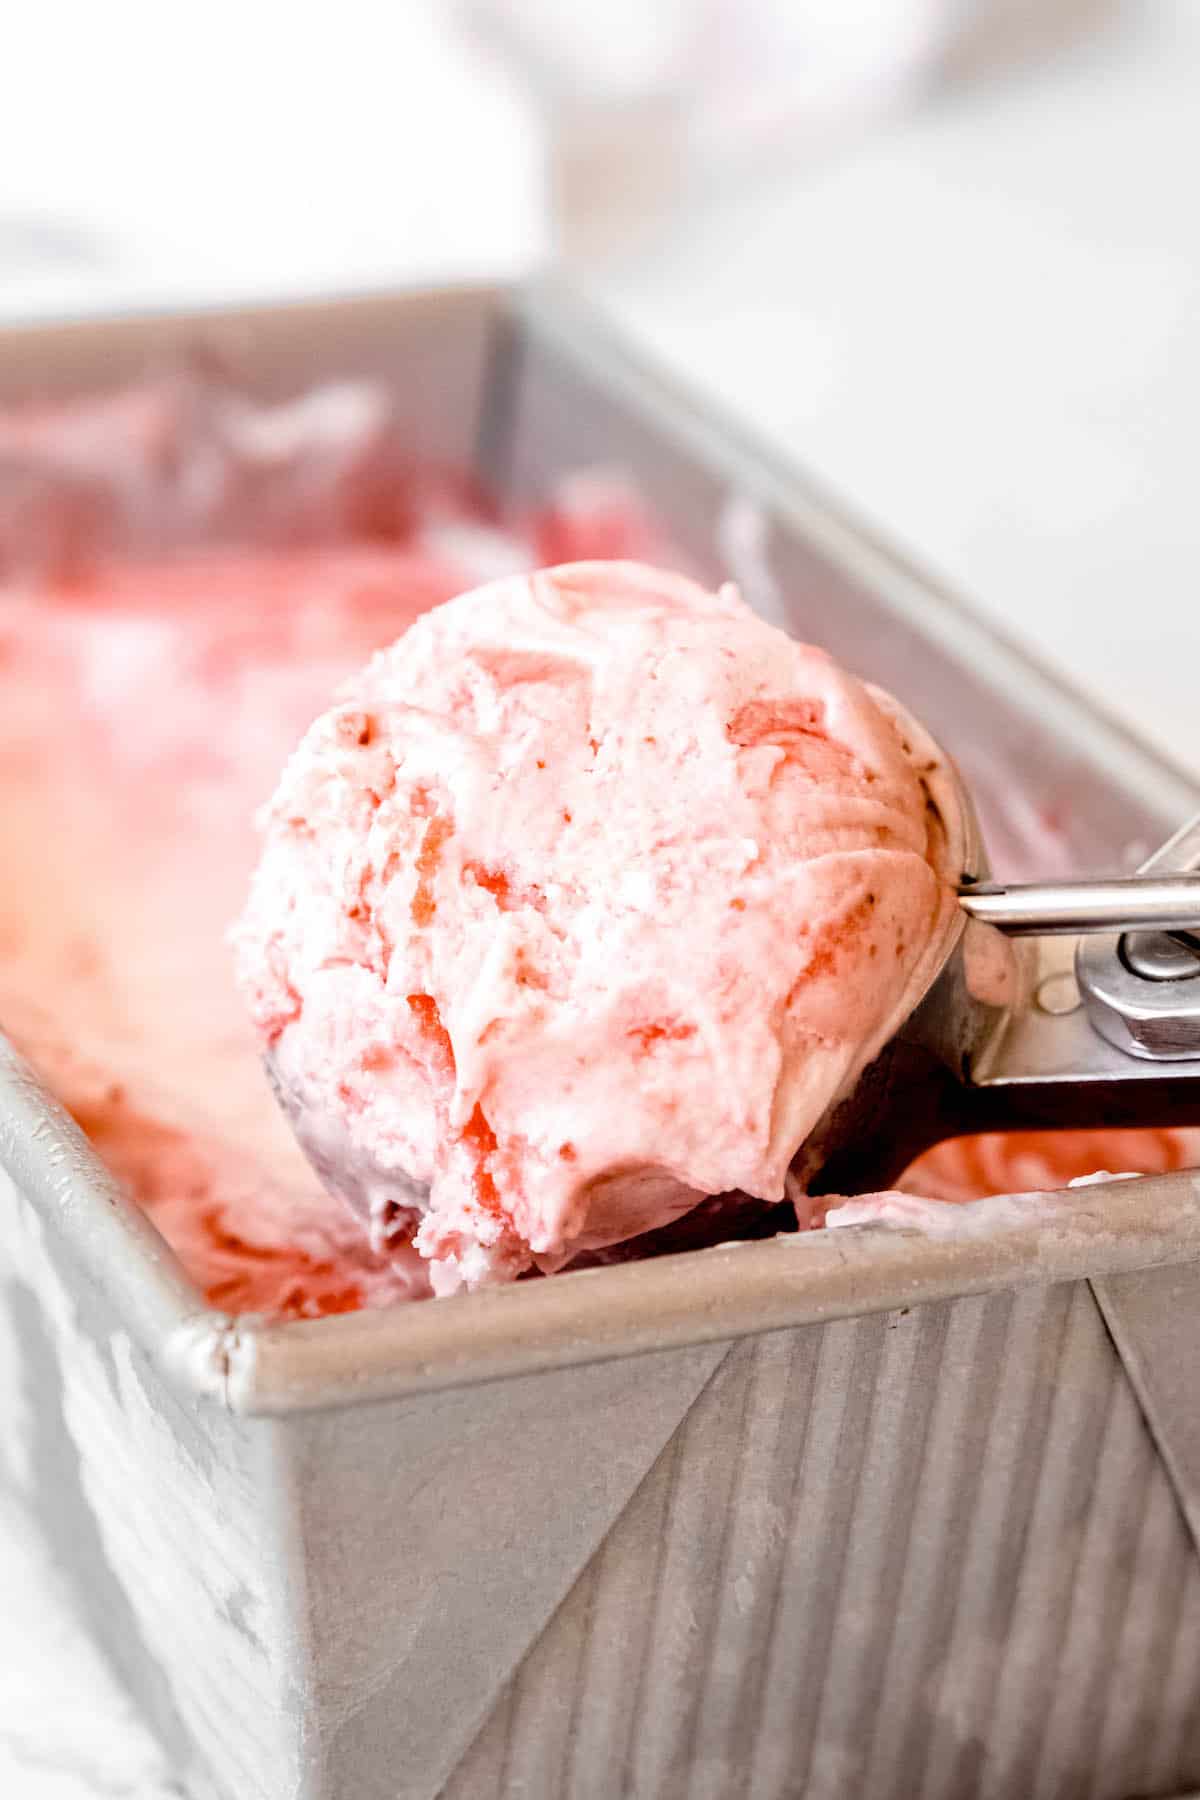
Relive your childhood glory days with my easy Strawberry Swirl Ice Cream recipe! Featuring a creamy-tangy-sweet vanilla buttermilk base and a luscious swirl of vibrant berry goodness, this simple, egg-free recipe tastes even better than the strawberry swirl ice cream cups I remember from being a kid.
When the sun is blazing, the absolute last thing I want to do is turn on the oven. I don’t know about y’all, but we’re burning up here in Tennessee. With temps in the mid-high 90s and approximately a bajillion percent humidity, even stepping outside feels like an act of bravery. 🥵
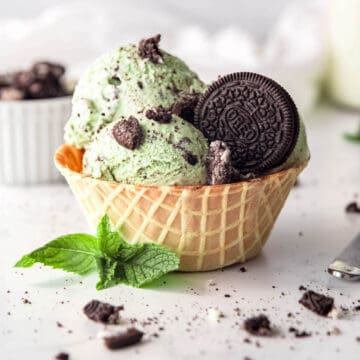
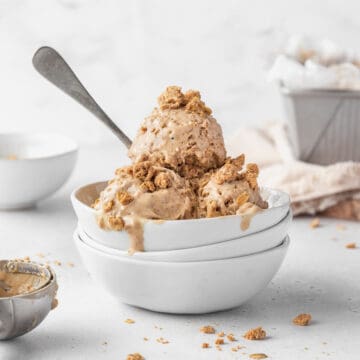
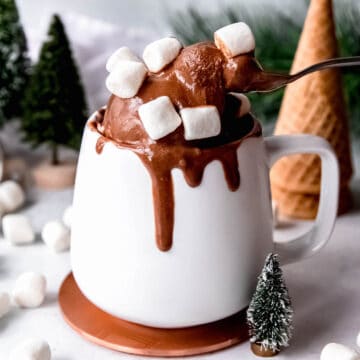
So, while summer hasn’t yet *officially* started, if there’s such a thing as ice cream season, it is definitely in full swing. But, TBH, in our house it’s always ice cream season. From chocolate marshmallow to mint cookies and cream, oatmeal cream pie to pumpkin cheesecake ice cream, I’m pretty sure there’s a scoop for every occasion.
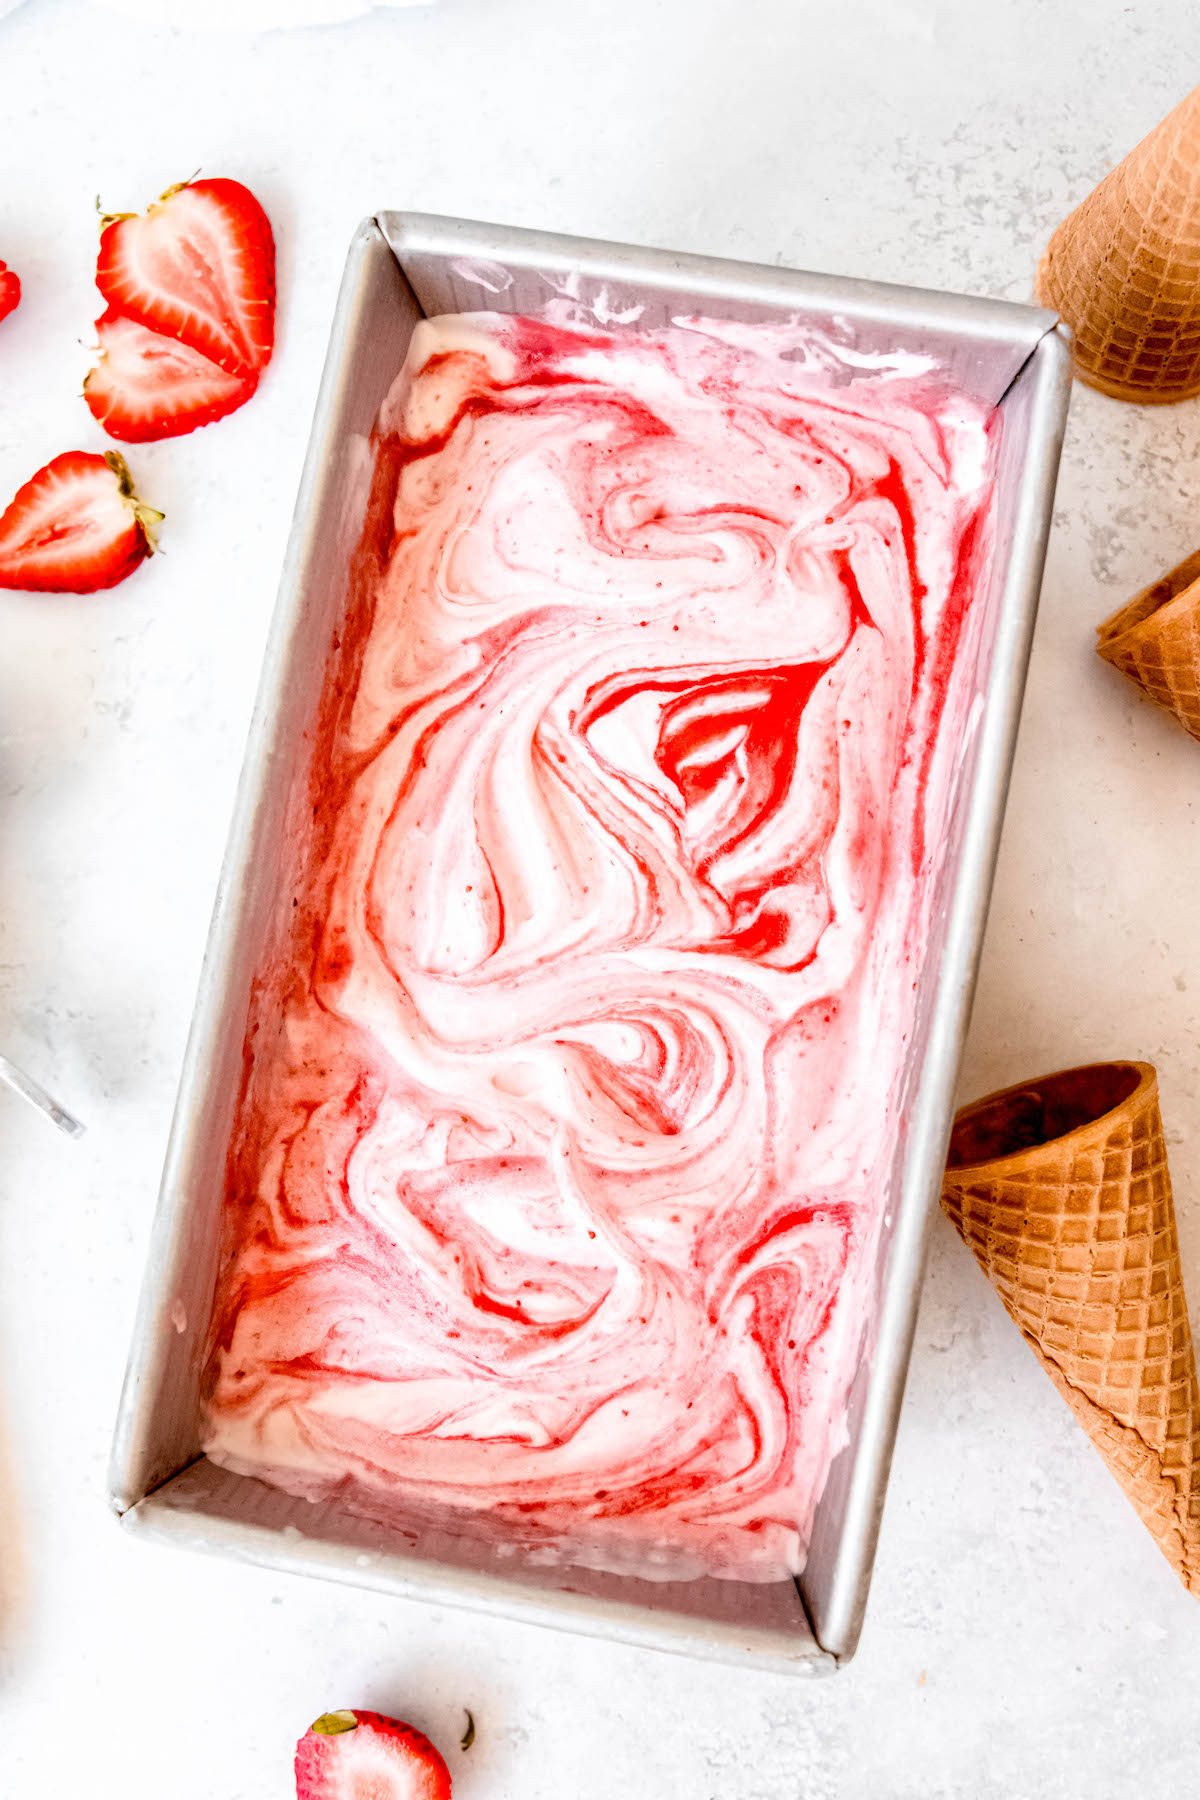
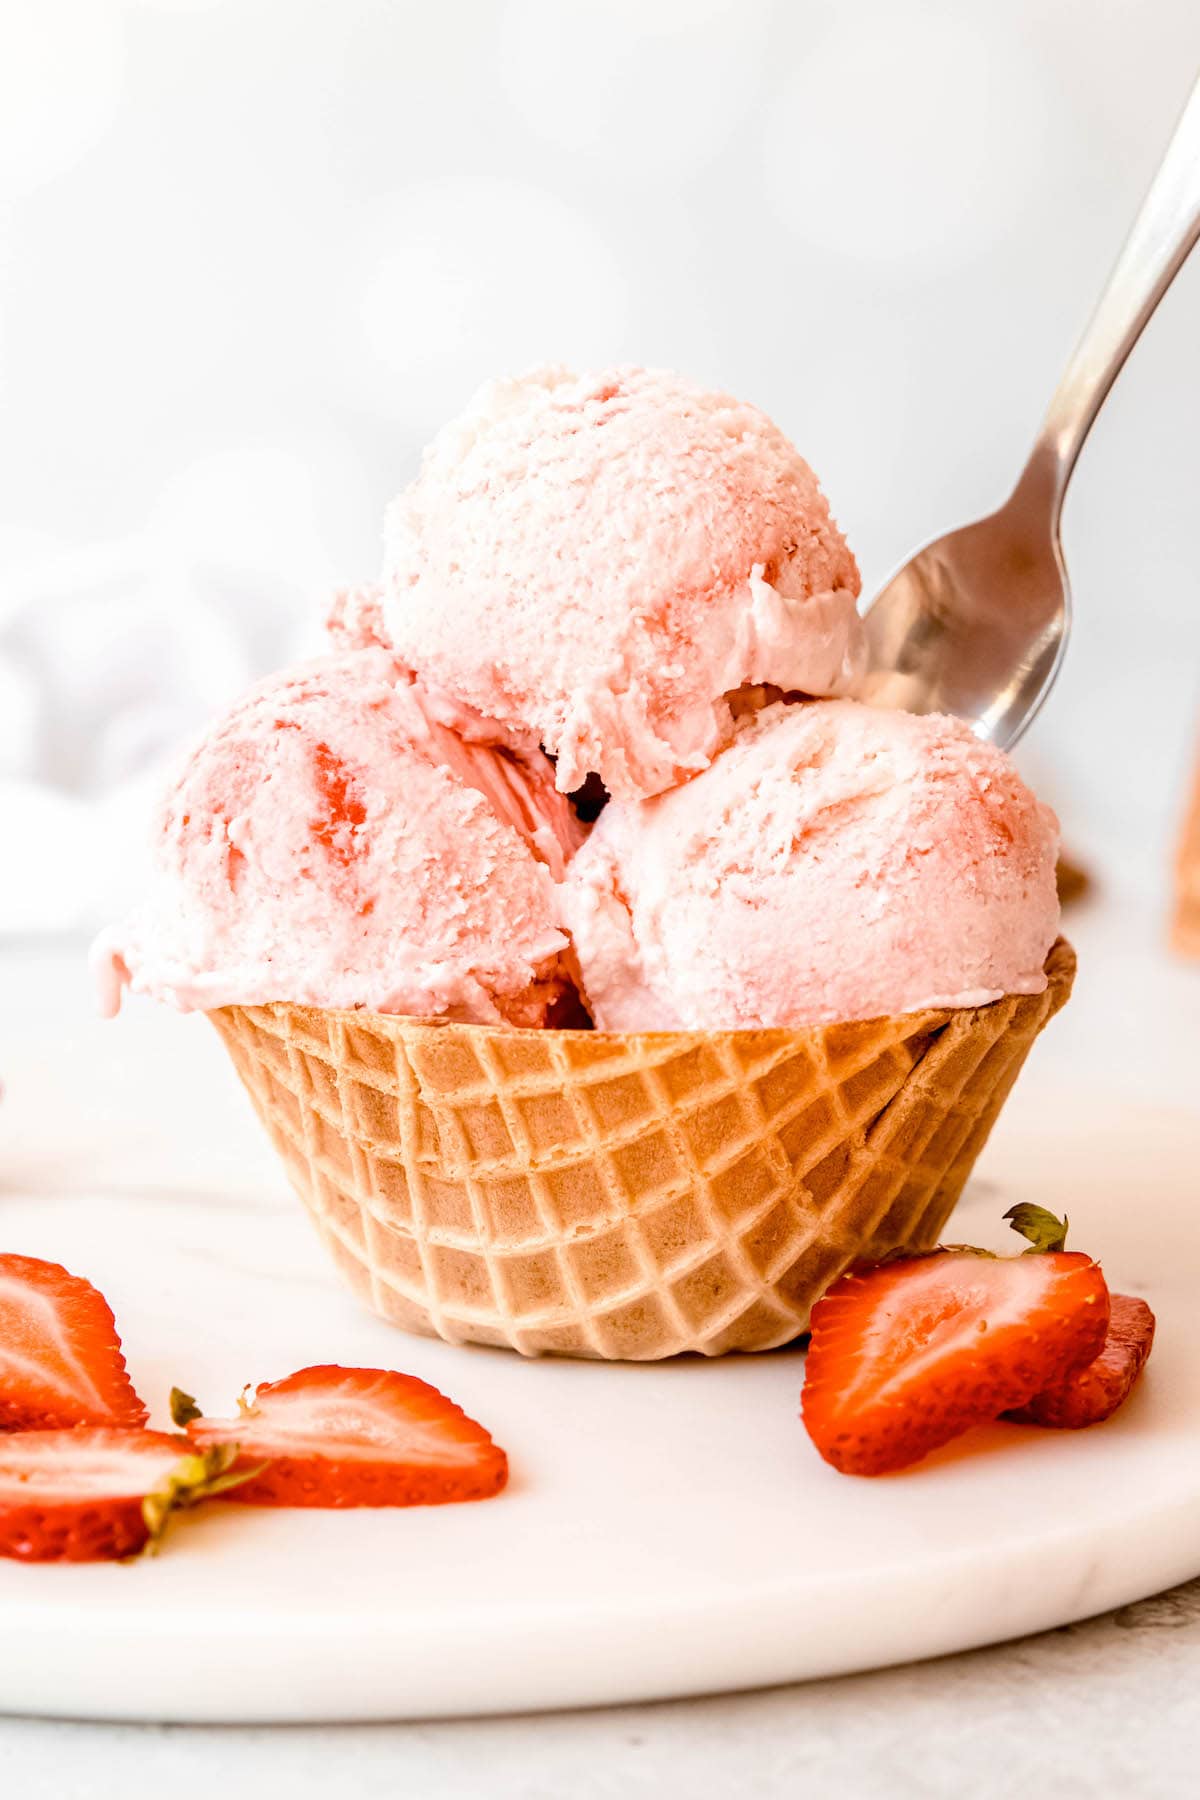
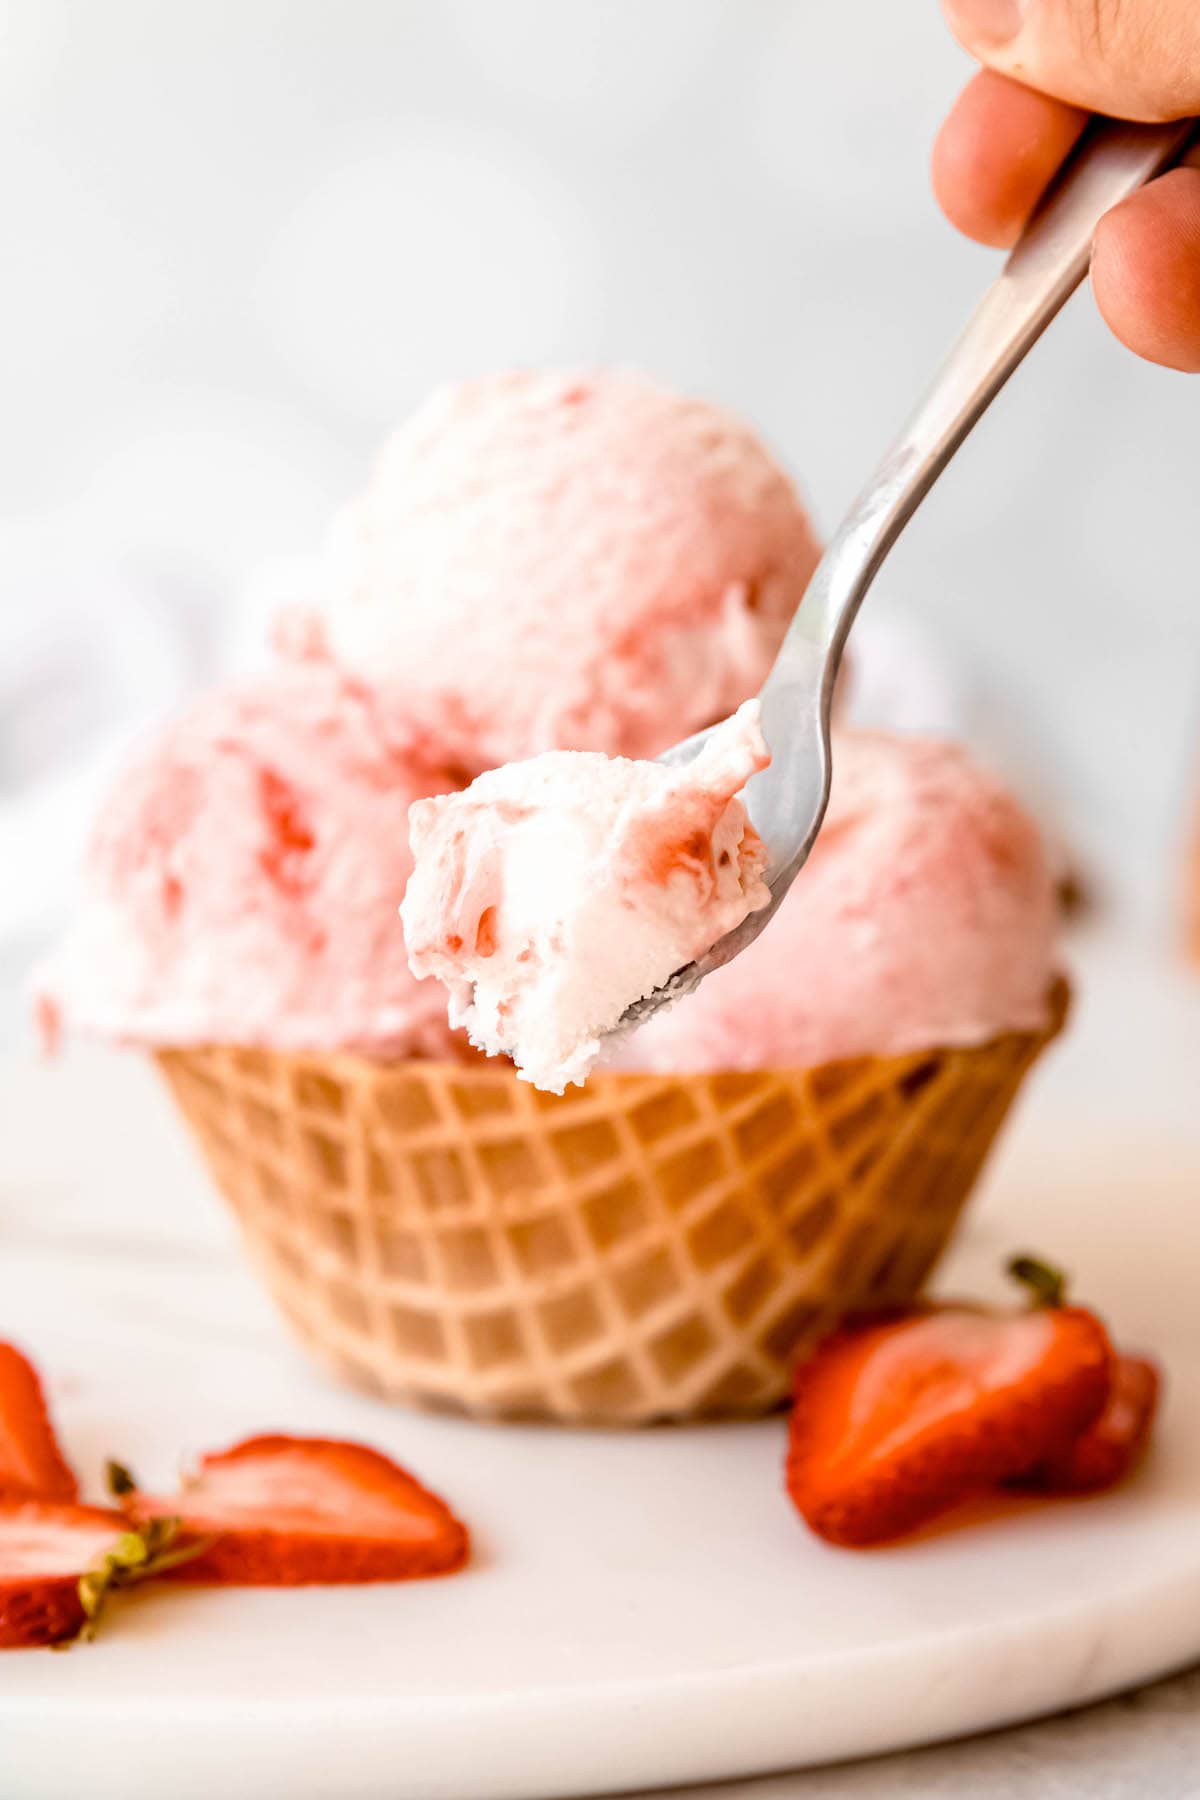
This bright and cheerful vanilla strawberry swirl ice cream is just my newest addition to the lineup—right in time for these hot summer days. It’s sweet without being cloying and bursting with fresh berry flavor—a strawberry lover’s dream! Since it’s made with fewer than 10 all-natural ingredients and just 30 minutes of active prep time, it’s a kitchen project anyone can handle.
We start with a buttermilk ice cream base for an added layer of tanginess (though you’re welcome to swap in regular milk for a more traditional vanilla flavor), flavor it with a smidge of simple strawberry vanilla jam, churn it to creamy perfection, and then layer in thick ripples of the remaining preserves. YUM! 😋
Jump to:
Why You’ll Love This Vanilla Strawberry Swirl Ice Cream
- Quick & Easy - Since we’re making an egg-free, Philadelphia-style ice cream base, there’s no fussy tempering involved. You’ll need just two saucepots (one for the jammy swirl and one for the ice cream base) and only about 20 minutes of total cook time.
- All-Natural Nostalgia - A strawberry swirl ice cream cup was always one of my top ice cream truck choices, but looking back, they were more of a science experiment than a dessert. The label of a popular brand I remember as a kid lists a whopping 30 (!!!) ingredients, more than half of which are artificial additives no home cook would use. (Seriously, what is sodium benzoate or cellulose gel?) My homemade version is made with just 9 readily available, easy-to-pronounce ingredients.
- Customizable - Swap in another variety of berries for your swirl, make it vegan or dairy-free, or add crunchy cone pieces to this strawberry and vanilla ice cream to make it your own. More ideas below!
Ingredients & Substitutions
As promised, you’ll only need a few simple ingredients to get this frosty, berry-licious treat on the table. Here’s what to grab:
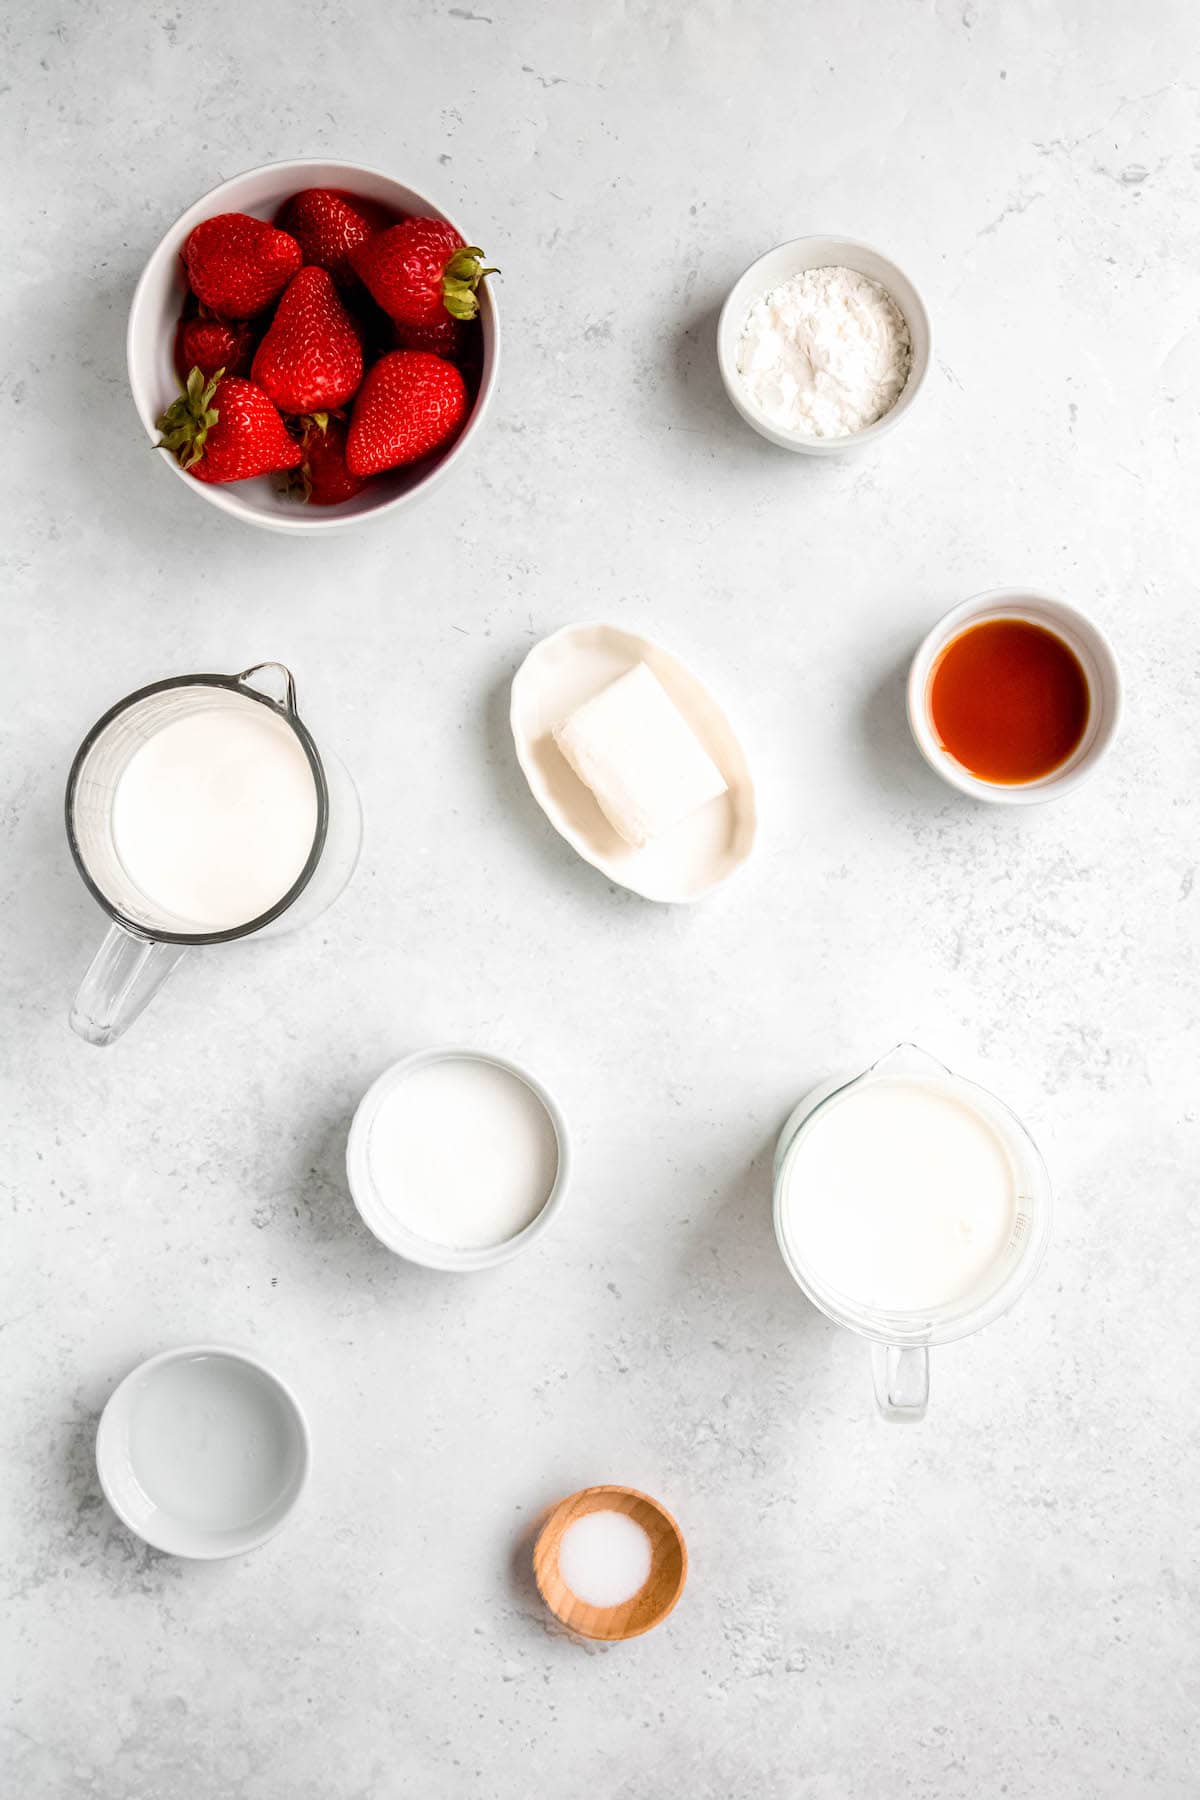
- Strawberries - Feel free to use either fresh or frozen berries for your swirl. If it’s strawberry season where you live, fresh berries are often cheaper. If it’s not strawberry season, frozen is the way to go. As an added bonus, they’re already prepped and ready to go!
- Granulated Sugar - Using plain white sugar adds neutral sweetness so the strawberry and vanilla flavors can shine brightly. In a pinch, you can swap in brown sugar for more of a caramelly undertone.
- Vanilla Extract - While optional, adding a touch of pure vanilla helps hit those nostalgic flavor notes. You’re welcome to swap in an equal amount of vanilla paste or powder, or use half as much ground vanilla bean.
- Heavy Whipping Cream - You can’t have proper ice cream without cream! Feel free to use slightly lighter whipping cream, or swap in full-fat canned coconut milk or vegan whipping cream if needed.
- Cornstarch - A bit of starch helps create a custardy consistency without any eggs.
- Cream Cheese - Since we’re not using eggs, a touch of cream cheese works to add protein and body for a deliciously rich and creamy ice cream base. Make sure it’s softened to room temperature so it blends in easily.
- Fine Sea Salt - It sounds counterintuitive, but adding a bit of salt to desserts helps make them taste sweeter. You’re also welcome to use kosher salt.
- Corn Syrup - Surprisingly, regular corn syrup is less sweet and less processed than regular sugar. (This is not true of its hyper-processed cousin, high fructose corn syrup). Much like in candy making, corn syrup acts to prevent sugar crystalization, thus improving the texture, shelf-life, and scoopability of your homemade vanilla strawberry swirl ice cream.
- Buttermilk - Strawberry and buttermilk make a splendid pair—the tangy creaminess of the buttermilk draws out the sweetness of the berries like a dream. Feel free to swap in regular 2% milk, whole milk, or a vegan alternative if you prefer! NOTE: I don't recommend using skim milk, as the low fat content will create a harder ice cream.
How to Make Strawberry Swirl Ice Cream
I’ve broken down this recipe into 3 distinct sets, perfect for stretching your ice cream-making over the course of a few days. Here’s how it’s done:
Make Strawberry Sauce
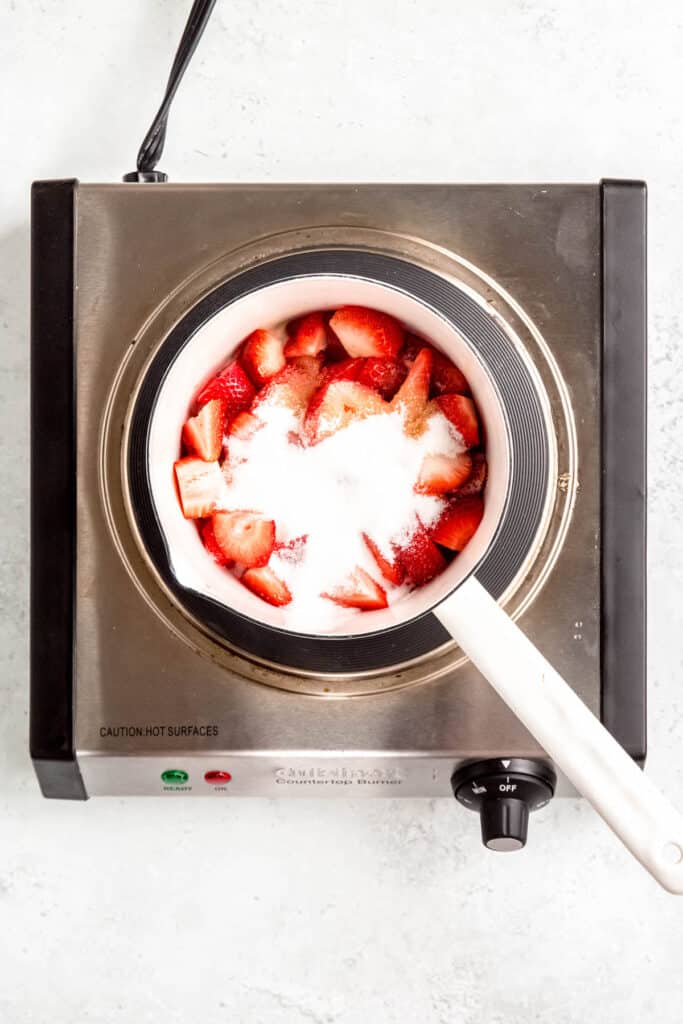
Step 1: Simmer. Add ¾ of a pound of strawberries, ⅓ cup of granulated sugar, and 1 teaspoon of vanilla extract to a 2-quart saucepan. Simmer over medium heat, stirring often to prevent scorching. It will bubble and be loose at first as the berries expel their liquid.
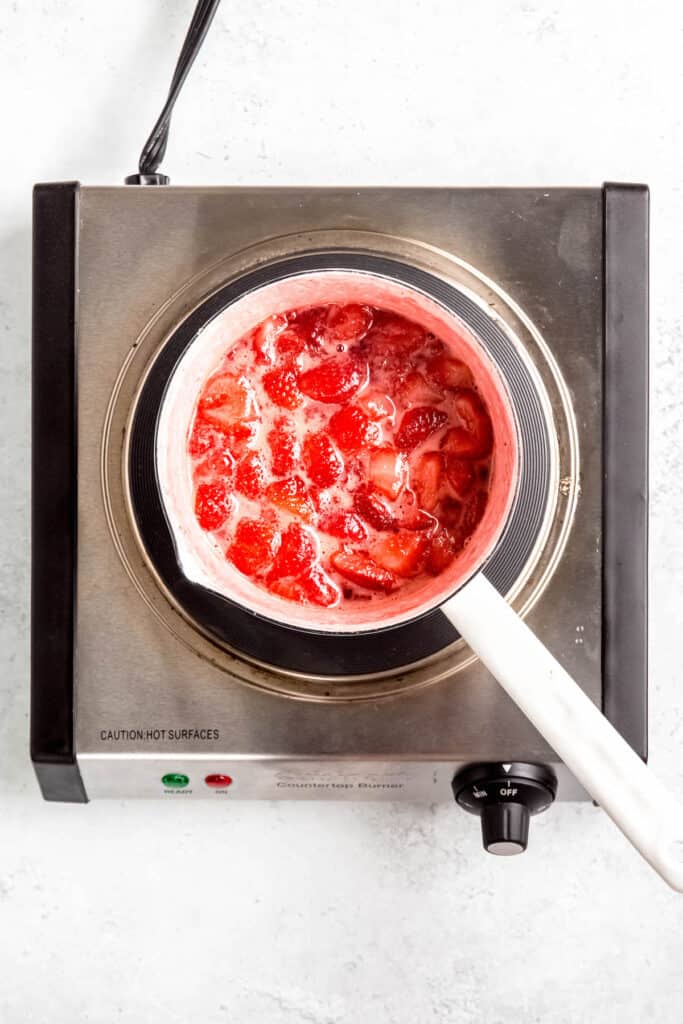
Step 2: Continue to cook until the bubbles are thick and jammy, about 10-15 minutes. A spatula drawn across the bottom of the pan should leave a clear trail for a second or two.
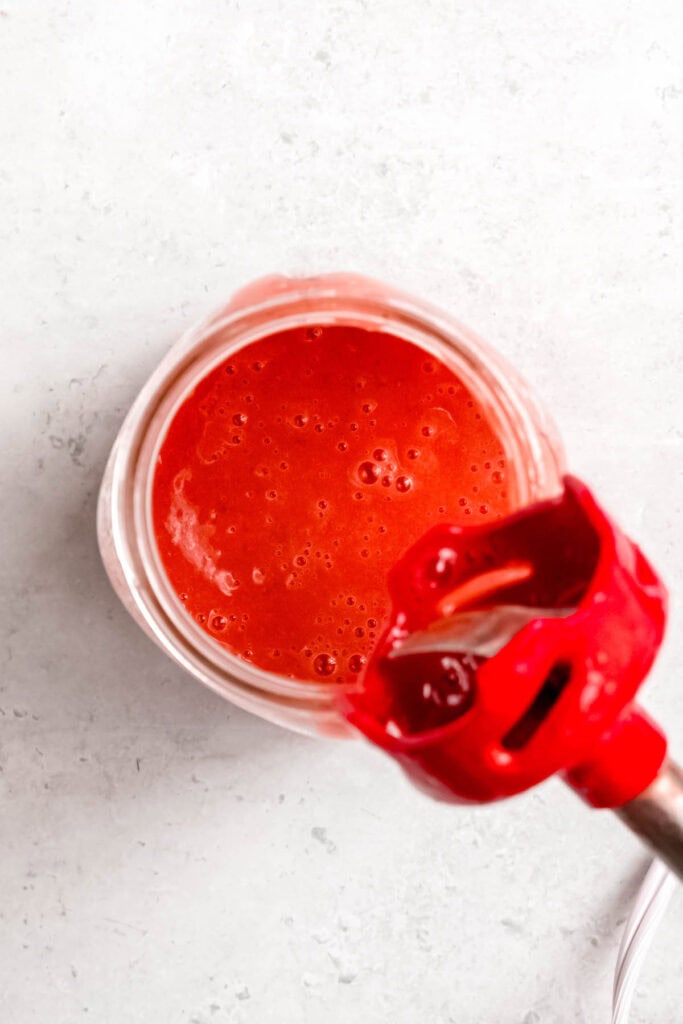
Step 3: Purée. Pour the simmered berry mixture into a wide-mouth mason jar and process with an immersion blender until smooth. (If you prefer to keep some chunks, just mash with a fork instead!) Refrigerate until completely cool.
Make Vanilla Strawberry Ice Cream Base
Step 1: Make Slurry. Mix ¼ cup heavy cream with 2 tablespoons of cornstarch to make a slurry. Set aside.
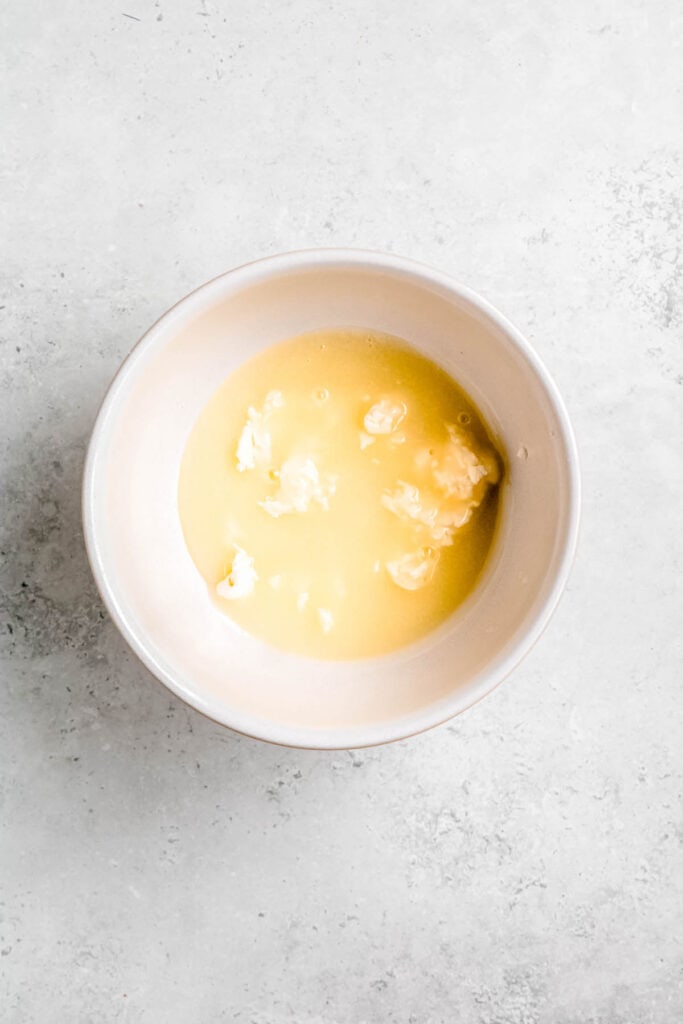
Step 2: Cream Cheese Mixture. In a small bowl, mix 3 oz of softened cream cheese with ½ teaspoon of fine sea salt until smooth. Set aside.
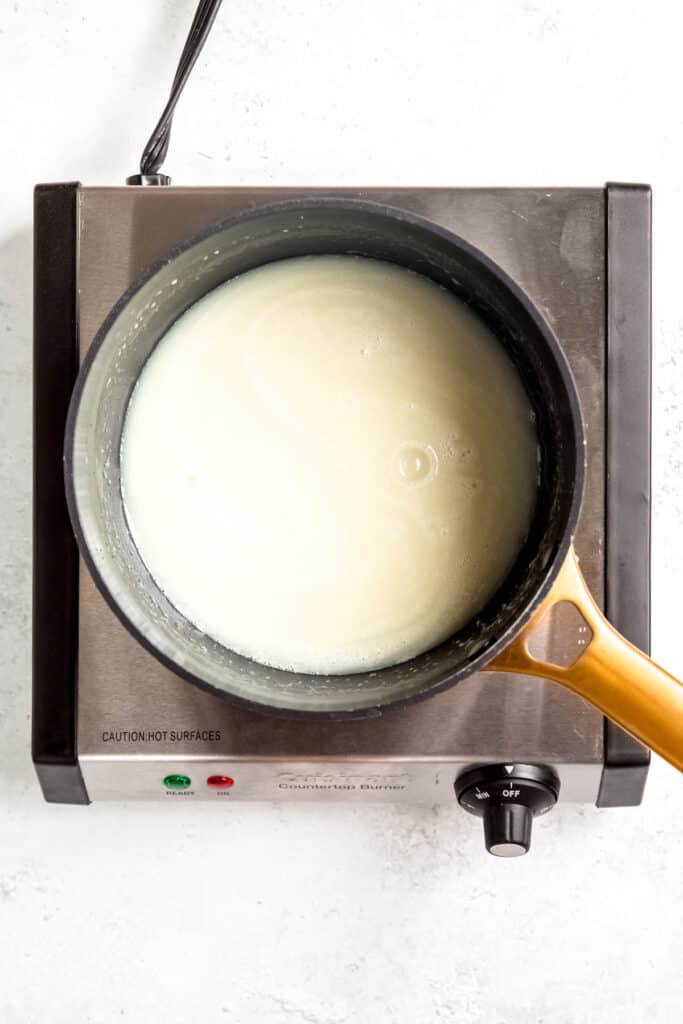
Step 3: Warm Base. Add the remaining 1 cup of heavy cream to a 4-quart saucepan with ⅔ cup of granulated sugar and 2 tablespoons of corn syrup. Bring to a boil over medium heat, whisking frequently. The cream has a tendency to scorch, so make sure you're getting into the corners!
Step 4: Boil the cream mixture for 4 minutes, whisking the whole time.
Step 5: Thicken. Remove the pot from heat, whisk in the cornstarch slurry, then return to a boil, whisking constantly. Cook until the mixture is visibly thickened, about 1 minute. It should be thick enough to coat the back of a wooden spoon.
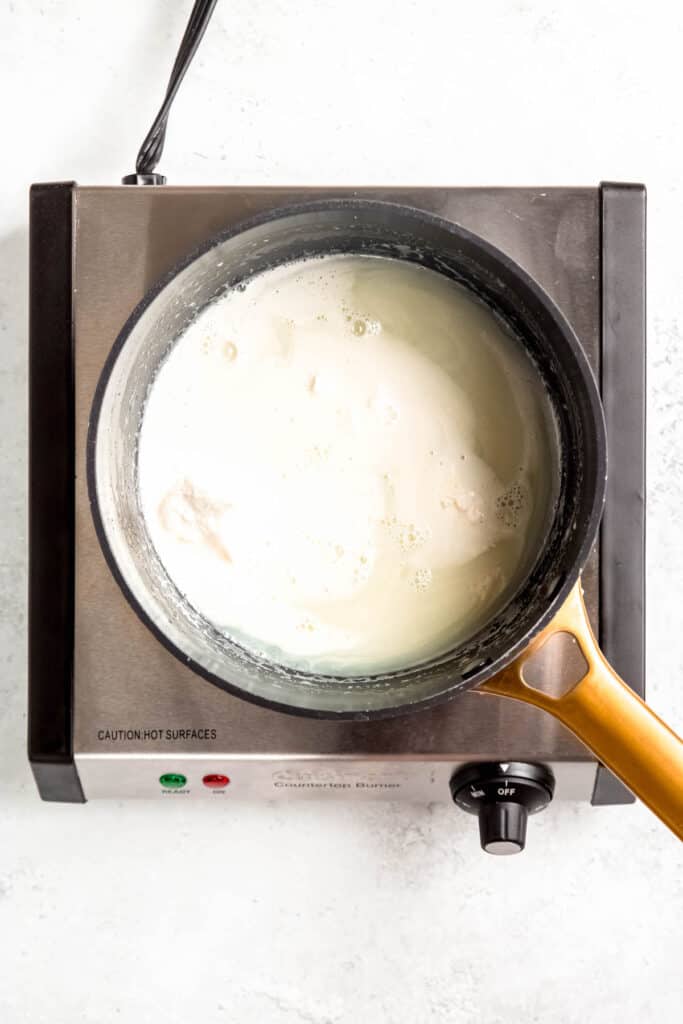
Step 6: Mix Base & Cream Cheese. Add about ½ cup of the cream mixture to the bowl with the cream cheese. Whisk until smooth and homogenous. Pour the cream cheese mixture into the pot with the remaining base, and whisk until smooth.
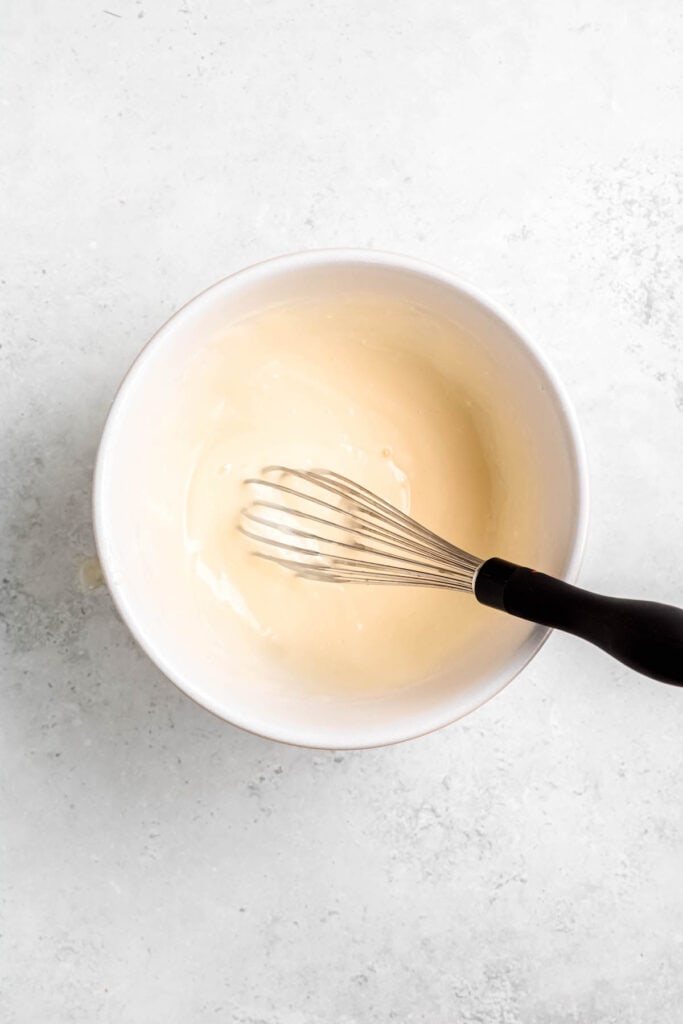
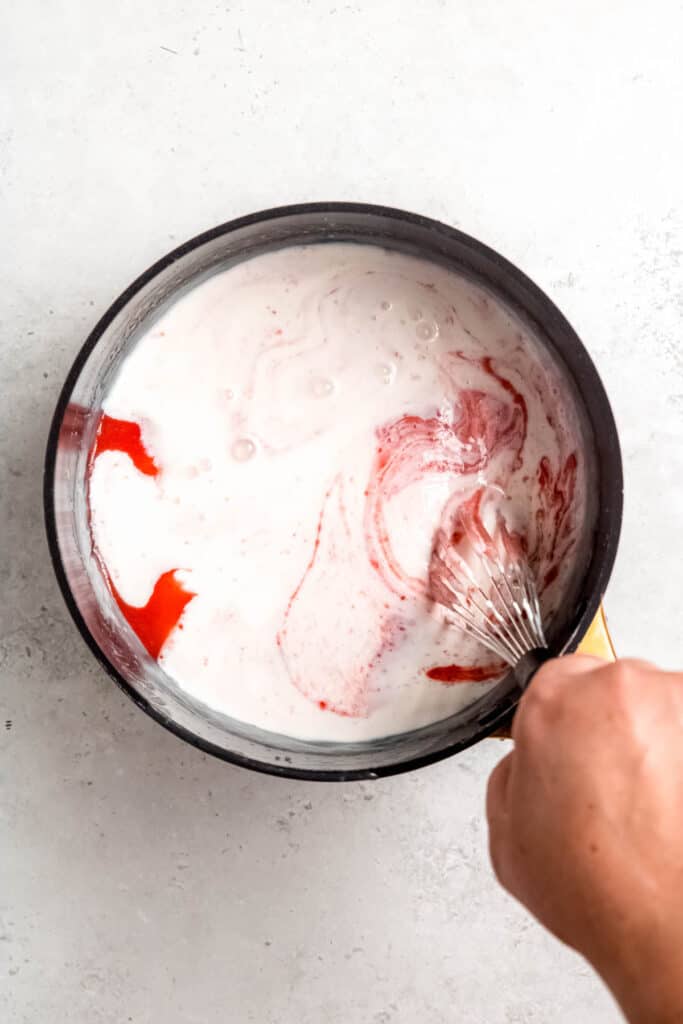
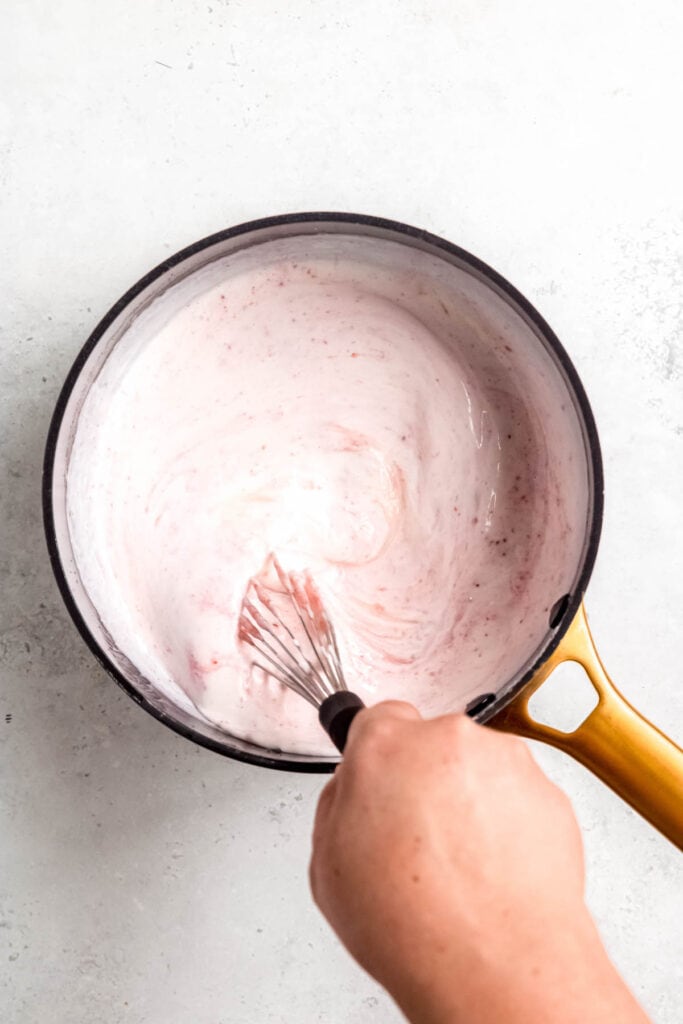
Step 7: Flavor & Chill. Add 2 ½ cups of cold buttermilk and ⅓ cup of the strawberry swirl mixture to the pot, whisk to incorporate, and refrigerate until cool.
Churn & Pack
Step 1: Churn. Pour the chilled ice cream mixture into your ice cream maker and churn according to manufacturer's instructions. When the ice cream is the consistency of soft-serve, you can turn off the ice cream machine.
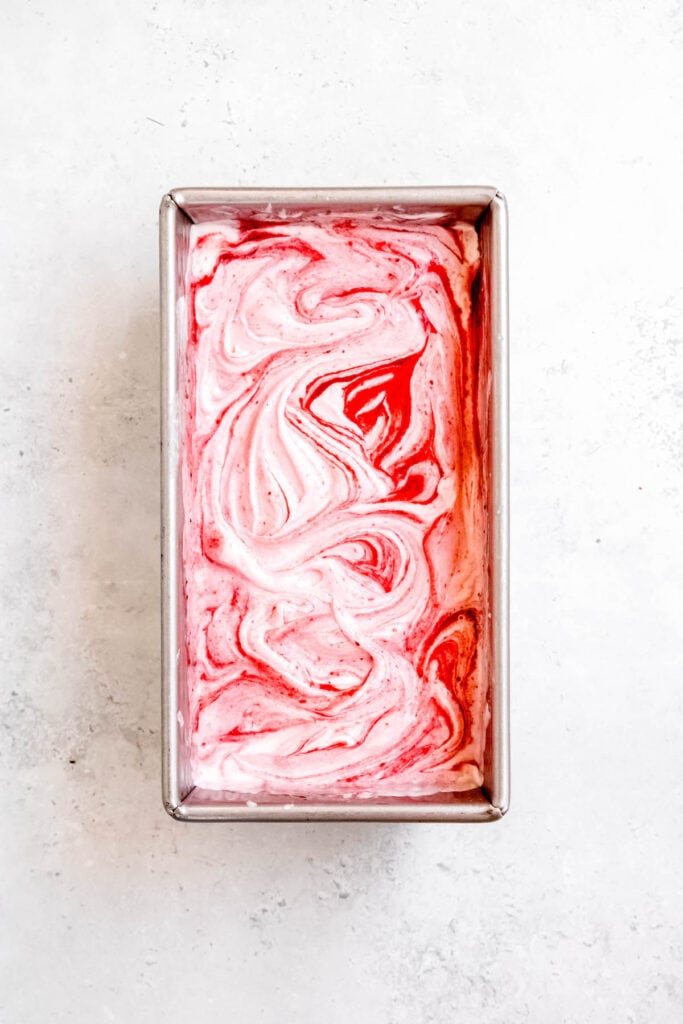
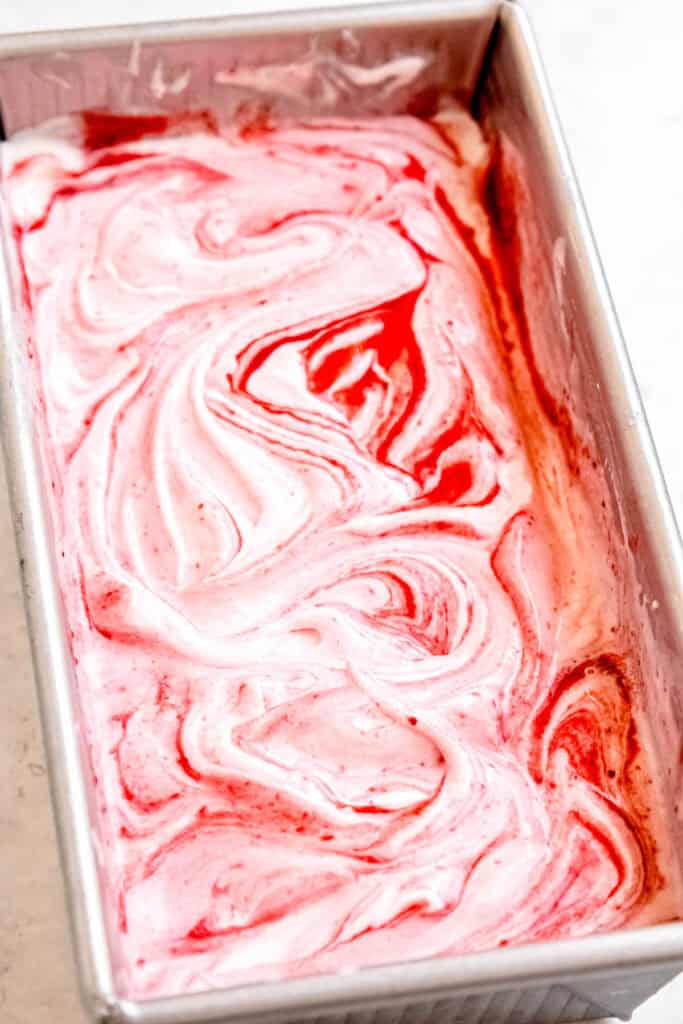
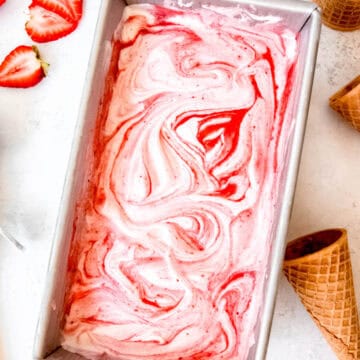
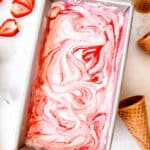
Step 2: Pack. Working in layers, pack ice cream topped with the strawberry swirl mixture, alternating as you go. Once all ice cream has been packed, use a butter knife to cut the swirls into pretty patterns. Top with a piece of parchment paper pressed against the ice cream.
- NOTE: Feel free to use as much or as little of the strawberry swirl as you like. I've made a batch with all of the strawberry mixture for super bright berry flavor. It's also good with a bit less, and then you can save the extra for serving as a sauce on top of your ice cream, adding patriotic flair to my lemony blueberry parfaits, or spreading on toast.
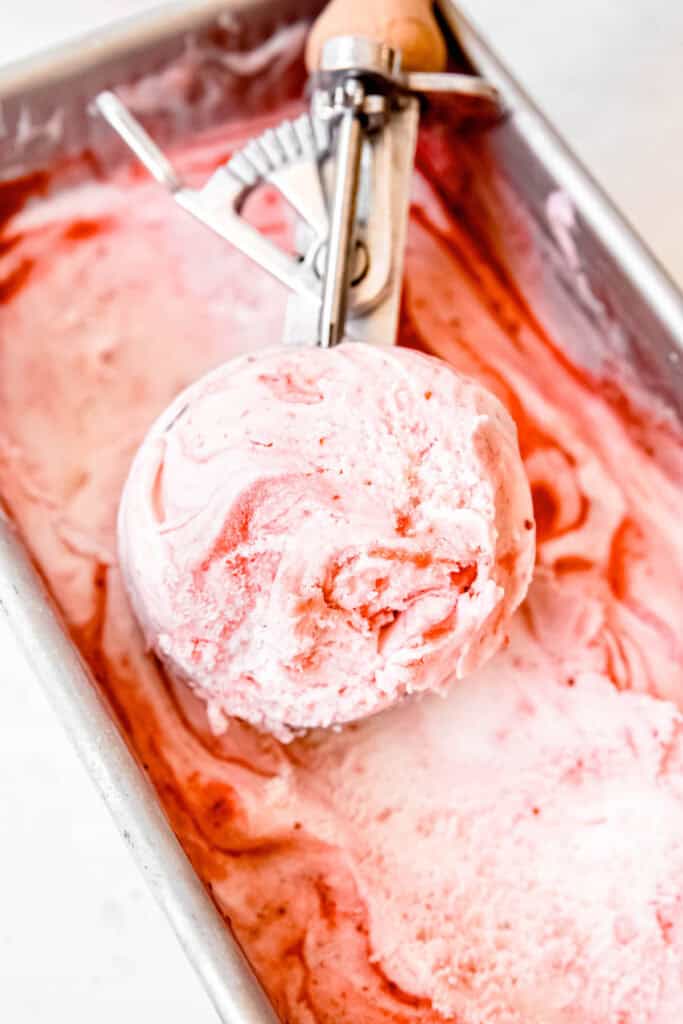
Step 3: Freeze the packed ice cream in the coldest part of your freezer for 4 hours. Scoop & enjoy!
Optional Variations & Dietary Adaptations
As much as I love this vanilla ice cream with a strawberry swirl, there are plenty of ways to customize it to your liking:
- Vegan/Dairy-Free - Use organic sugar to ensure it isn’t processed with bone char. Swap in your favorite plant-based cream cheese, vegan whipping cream or full-fat canned coconut milk, and full-fat plant milk or buttermilk (e.g. oat, coconut, or soy).
- Corn-Free - Can’t do corn? Potato starch is a perfect 1-to-1 swap. You can also use tapioca starch, but make sure not to bring the ice cream base to a boil if you use it, as the tapioca can become a little thready. Keep it to a low simmer and stir constantly till you achieve the thickened consistency. For the corn syrup, tapioca syrup, invert sugar, liquid glucose, or brown rice syrup are all good 1-to-1 substitutes. Just note that brown rice syrup will add a mild toasty flavor.
- Other Berry Swirl - Who says strawberries are the only summer berry? Try swapping in blueberries, raspberries, boysenberries, blackberries, or even pitted cherries for a fun twist. You can also mix and match!
- Strawberry Rhubarb Ice Cream - For a more spring-inspired swirl ice cream, try replacing half of the strawberries with chopped rhubarb.
- Add Crunch - Broken pieces of ice cream cones, the tail end of your animal crackers, broken graham crackers, or graham cereal are all excellent additions. Aim for about ½ cup or so.
- No Vanilla, Sub Lemon - For a brighter berry flavor, skip the vanilla in favor of fresh lemon juice.
- Different Base - Swirl strawberry jam into any ice cream base you prefer like pistachio, lemon, or chocolate ice cream.
Storing
- Press a layer of parchment paper directly on top of the ice cream before covering and freezing to help prevent freezer burn.
- Store the ice cream in the coldest part of the freezer, NOT in the door. This will help keep it from melting and refreezing, which causes ice crystals to form. Who wants icy ice cream? Not this gal.
- Homemade ice cream should be eaten within 2 weeks for the best flavor.
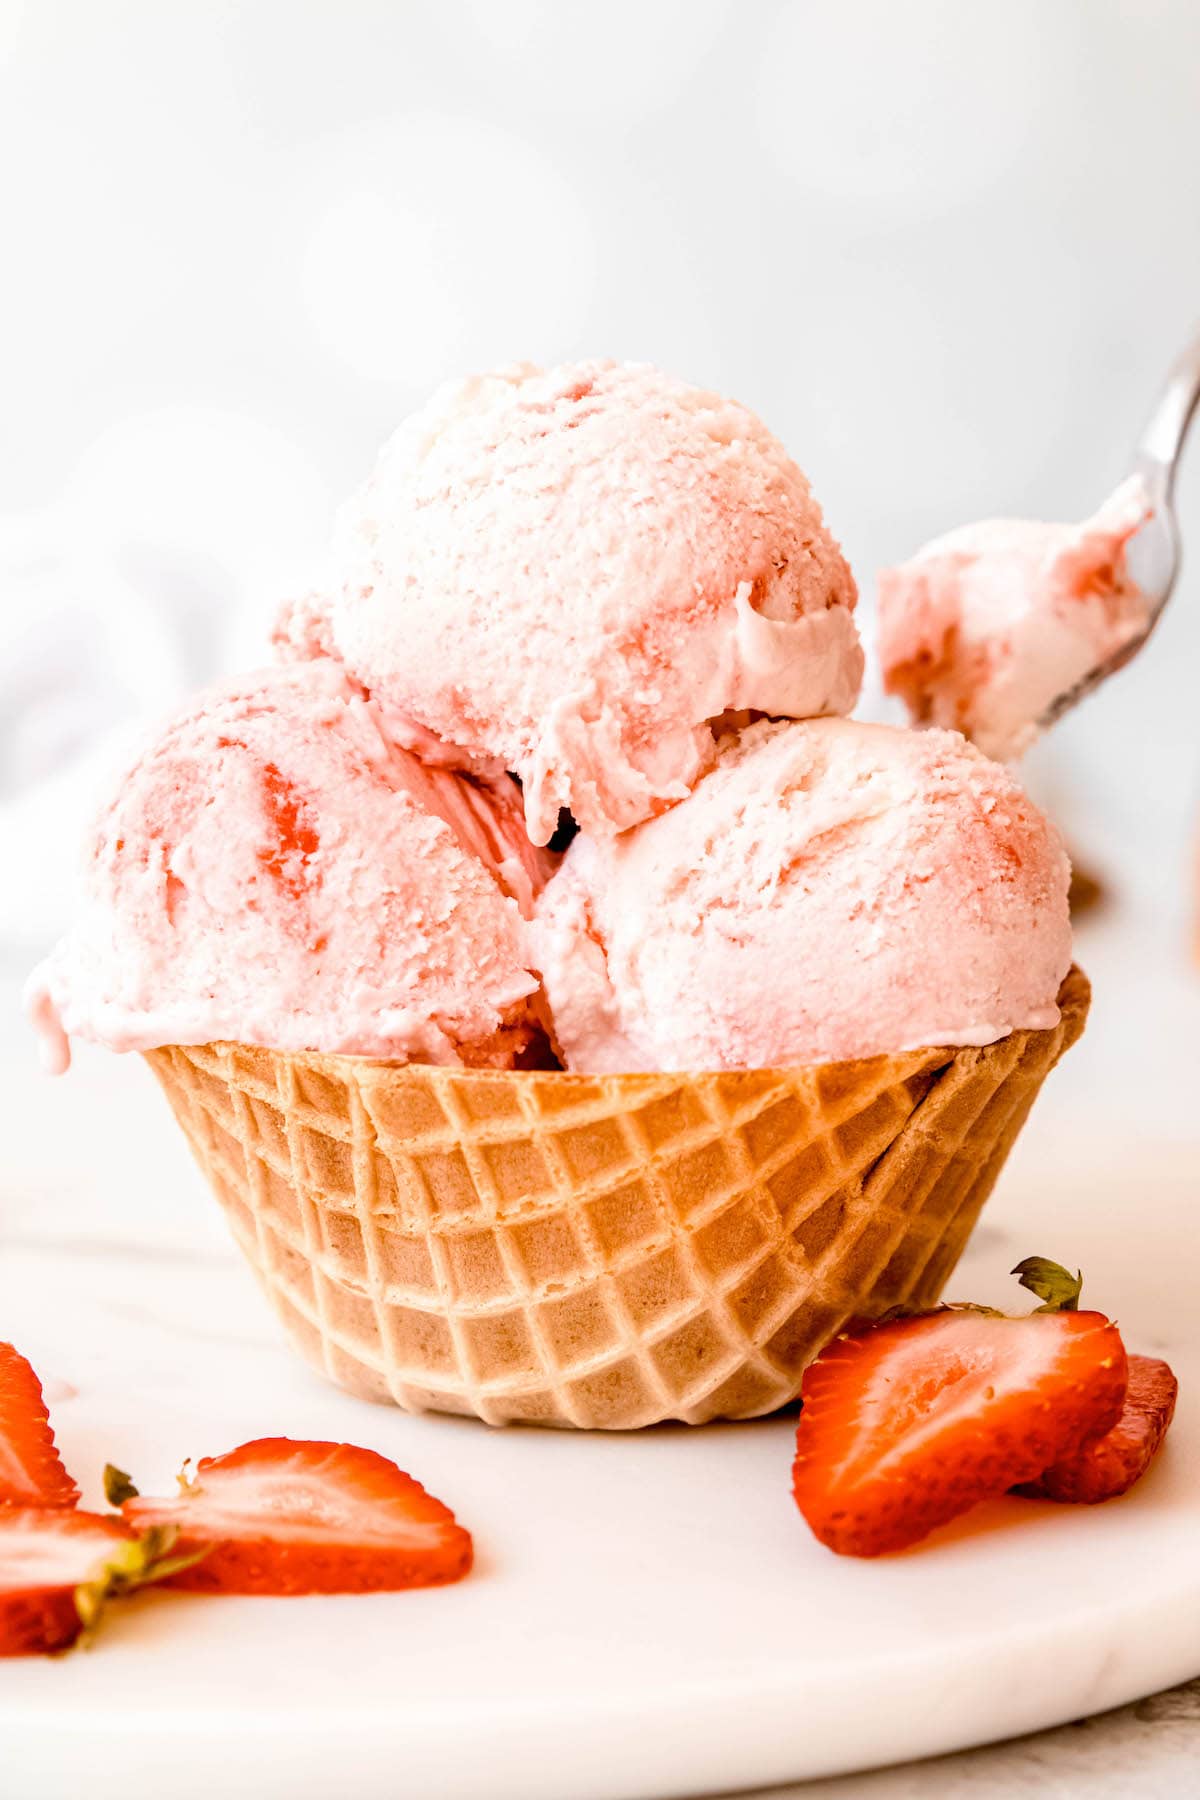
Recipe Tips
- Think Ahead: If you have a drum-style ice cream maker, make sure to freeze it at least a day in advance. I also recommend you make your strawberry swirl in advance to give it time to chill. Alternatively, sub in your favorite strawberry preserves, warmed slightly and stirred vigorously to loosen.
- Buttermilk Hacks: I love keeping a jug of buttermilk in the fridge—it’s a habit I’ve adapted since moving to the South. It’s perfect for making deliciously tender biscuit mix blueberry shortcakes, adding moisture to cakes and Jiffy Mix cornbread, whipping up delectable homemade ranch salad dressing, swirling into creamy potato cauliflower soup, adding tang to healthy mashed potatoes, and, of course, making a mean strawberry and vanilla ice cream. Plus, it’s CHEAP! If you’re not ready to commit, you have two options:
- Buy Powdered Buttermilk - It’ll keep for ages in the fridge, takes up very little space, and has the tangy, cultured flavor of real buttermilk.
- Make Your Own - While it’s not technically the same as buttermilk since it isn’t fermented, you can add a tablespoon of an acid (e.g. lemon juice, white vinegar, apple cider vinegar) to a measuring cup, then top with enough milk to make a cup of a pretty close substitute. Whisk it together and let it sit for 5 minutes to thicken before using.
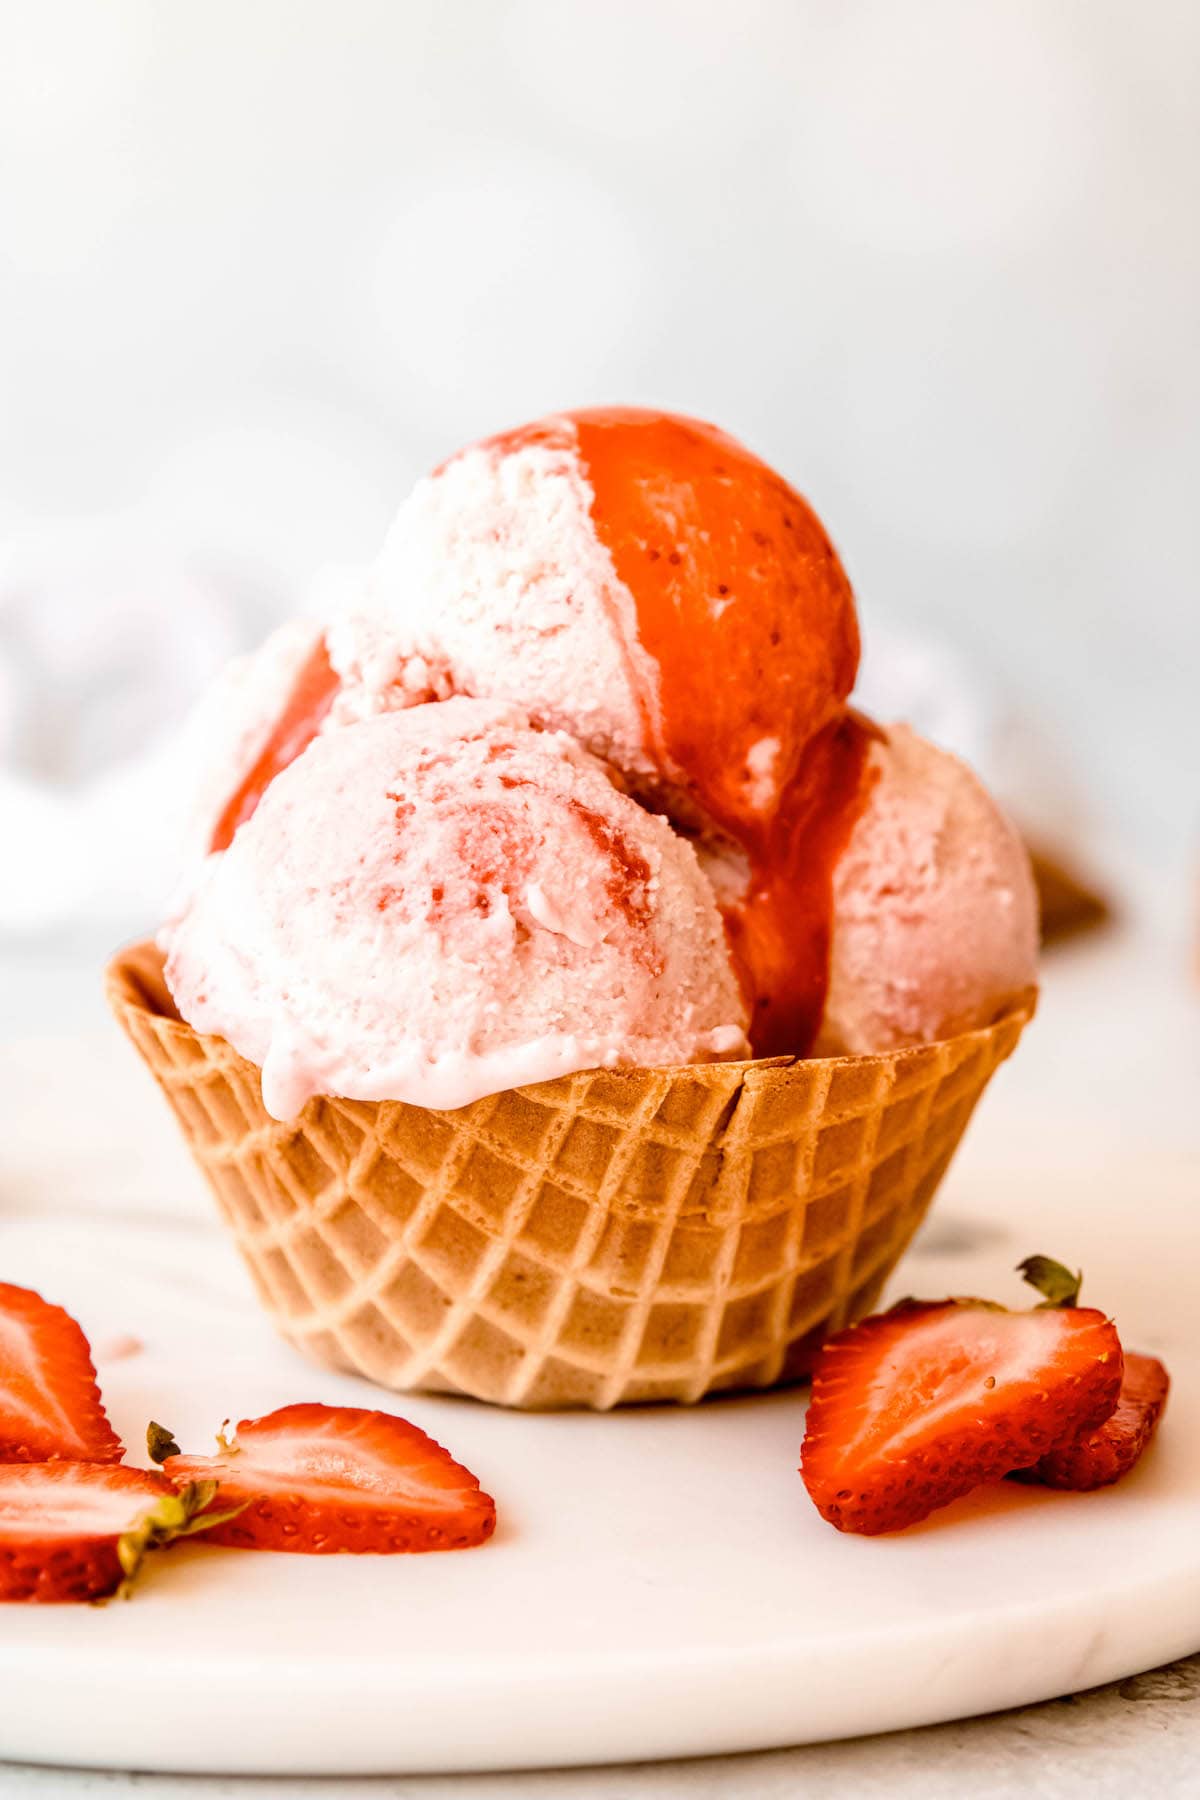
Serving Suggestions
This strawberry swirl ice cream is excellent on its own, but there are tons of fun ways to gussy it up:
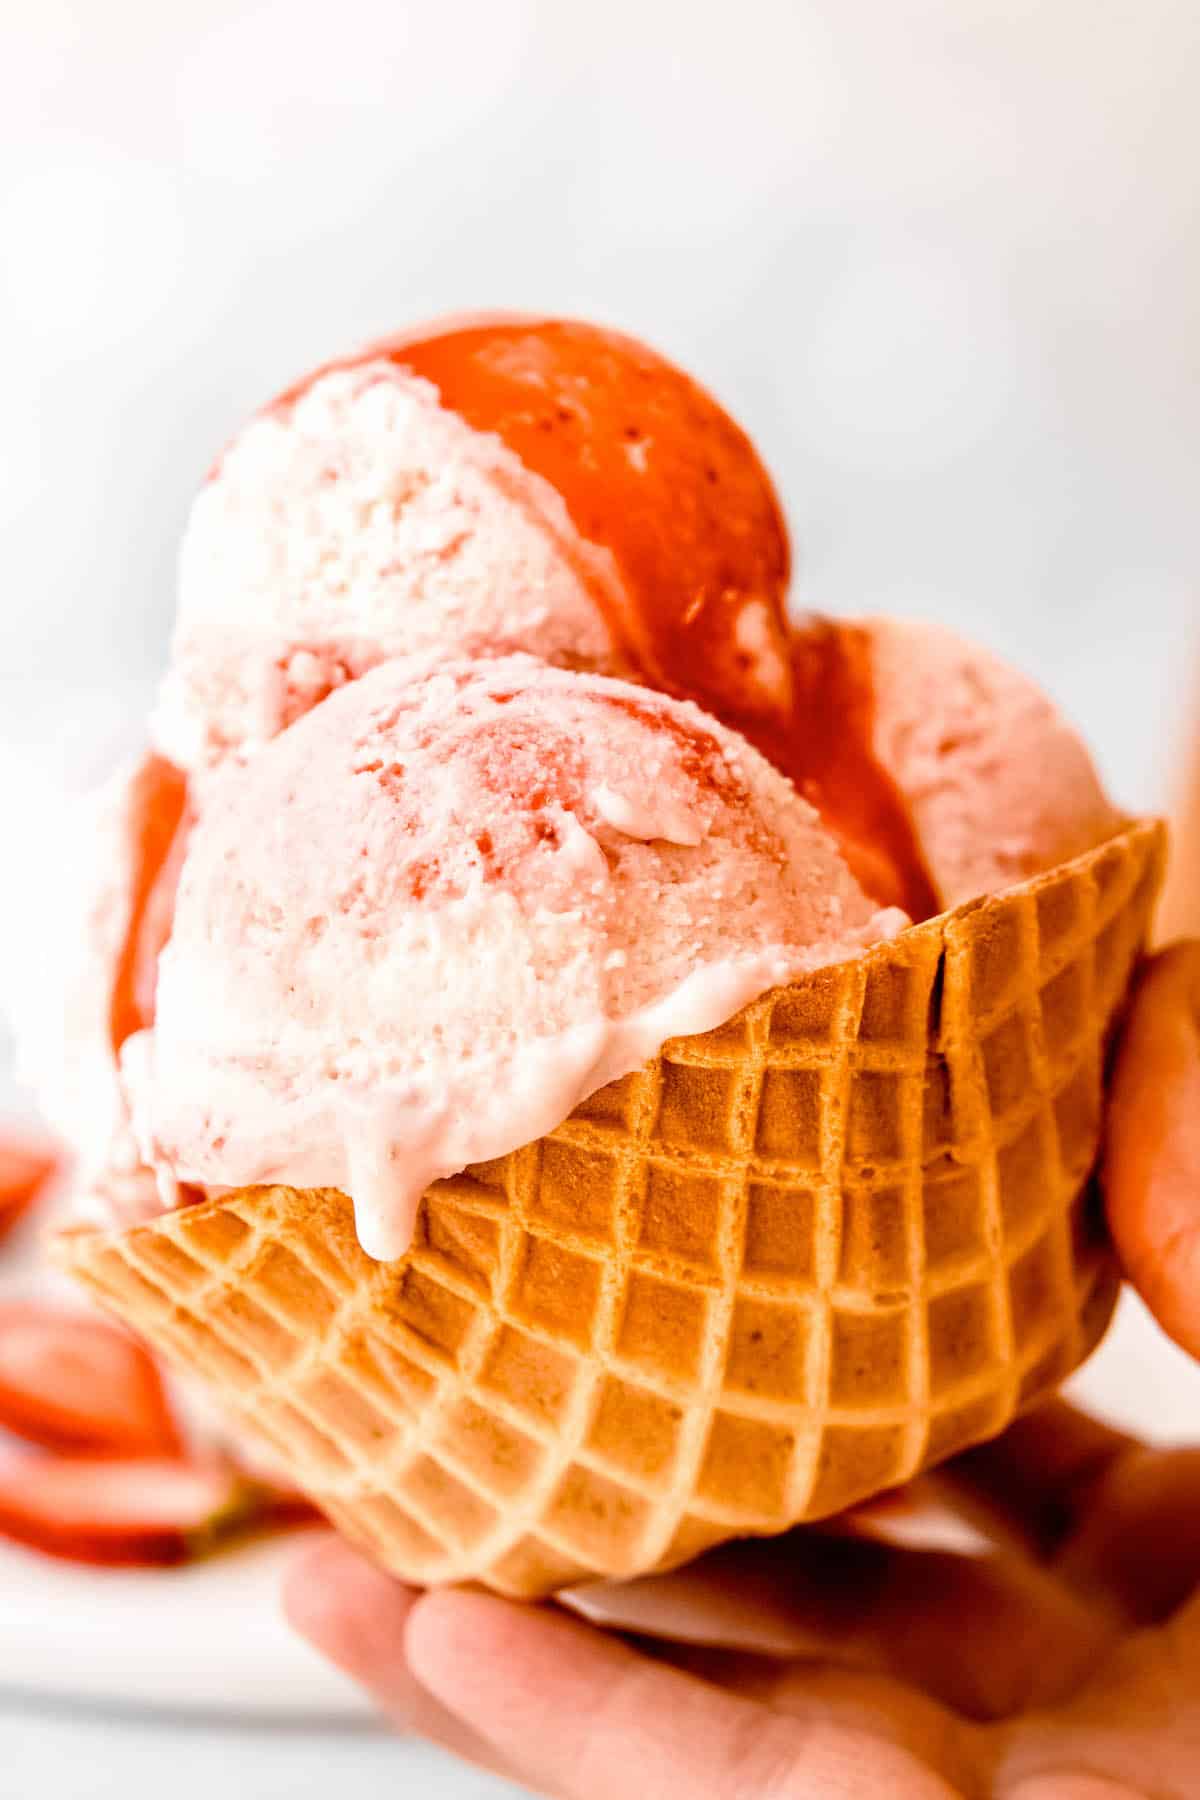
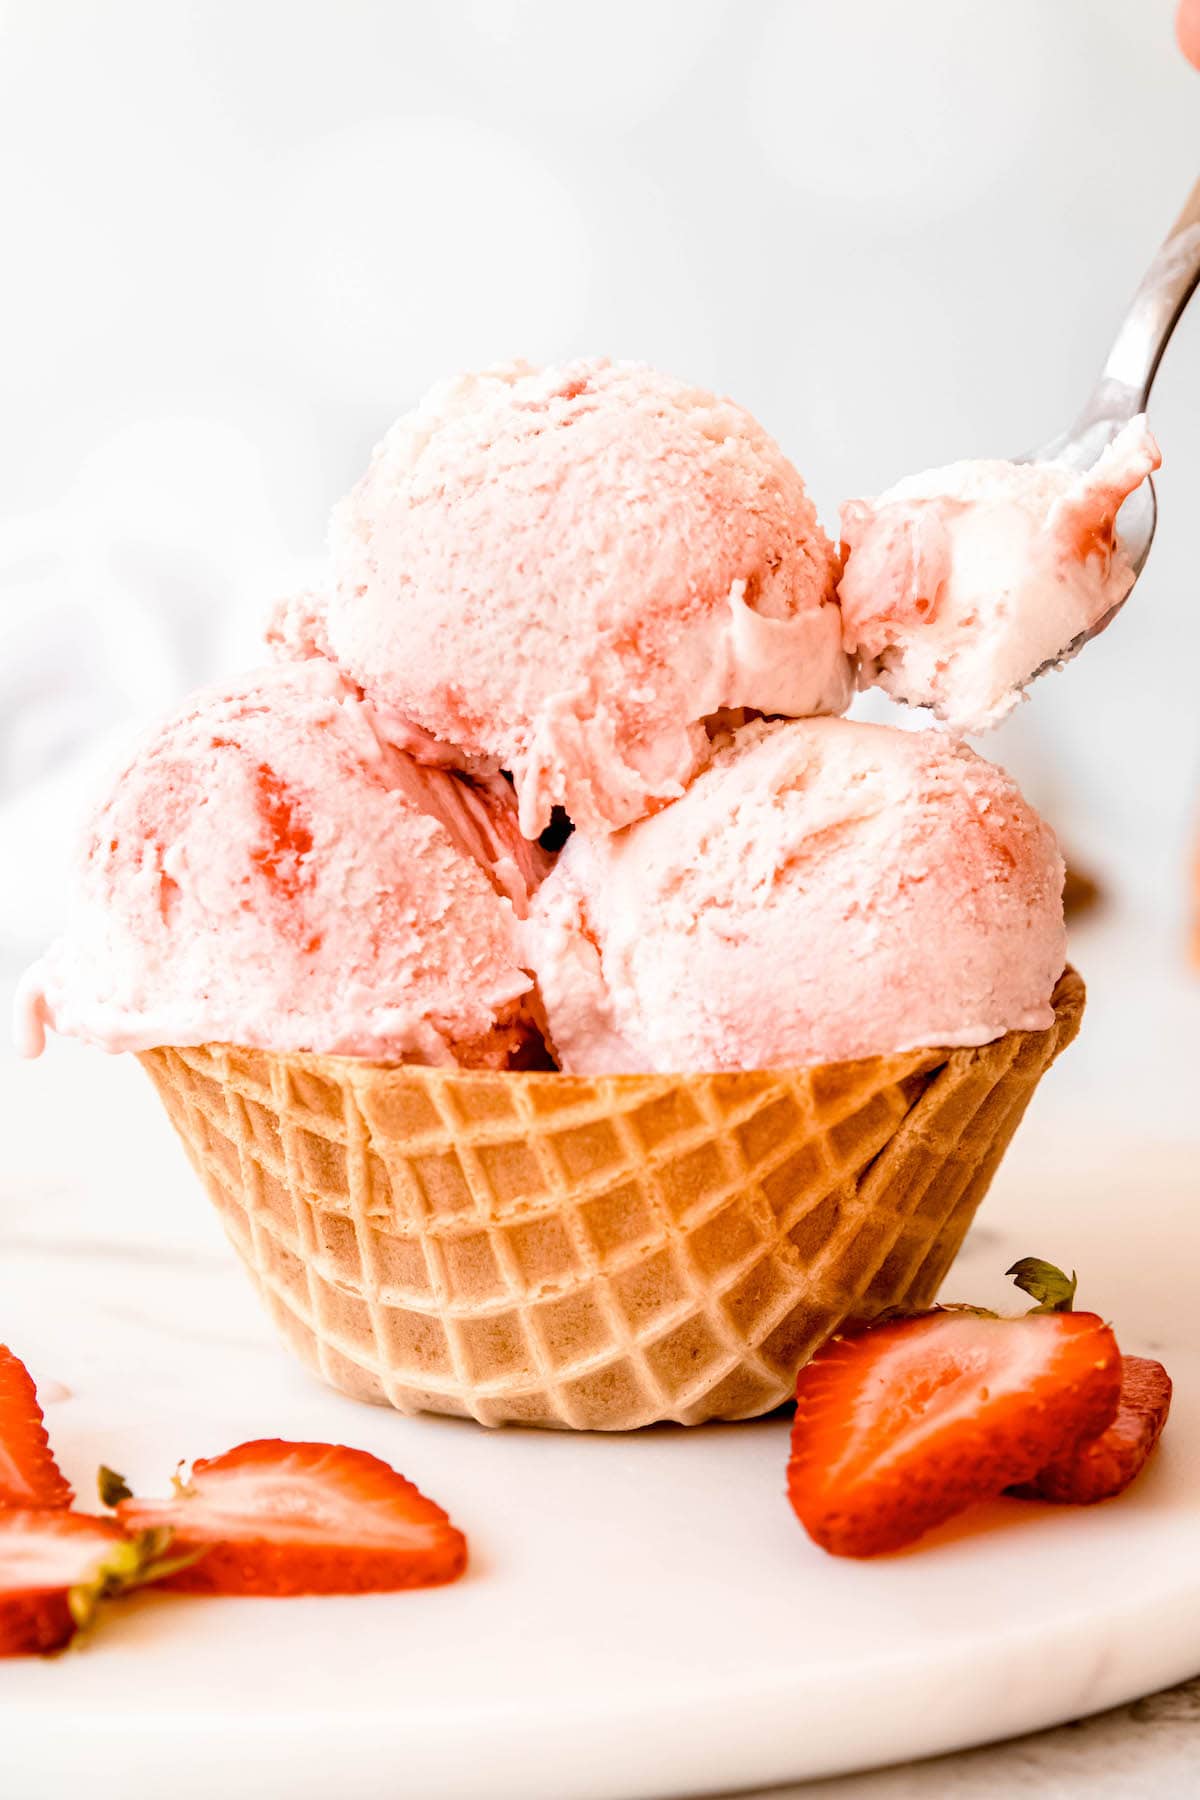
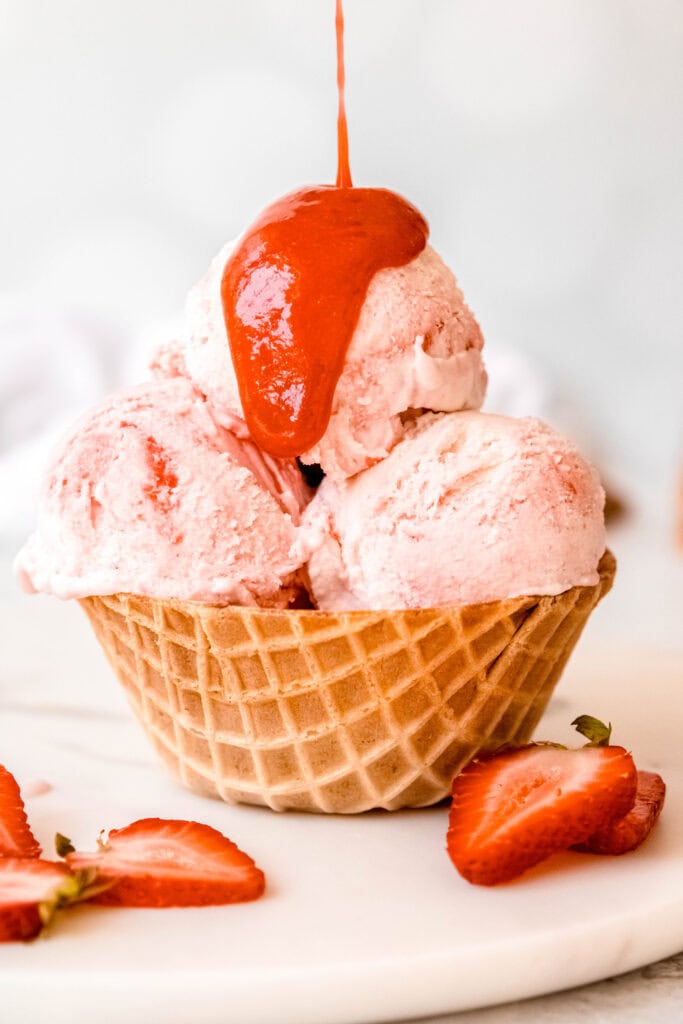
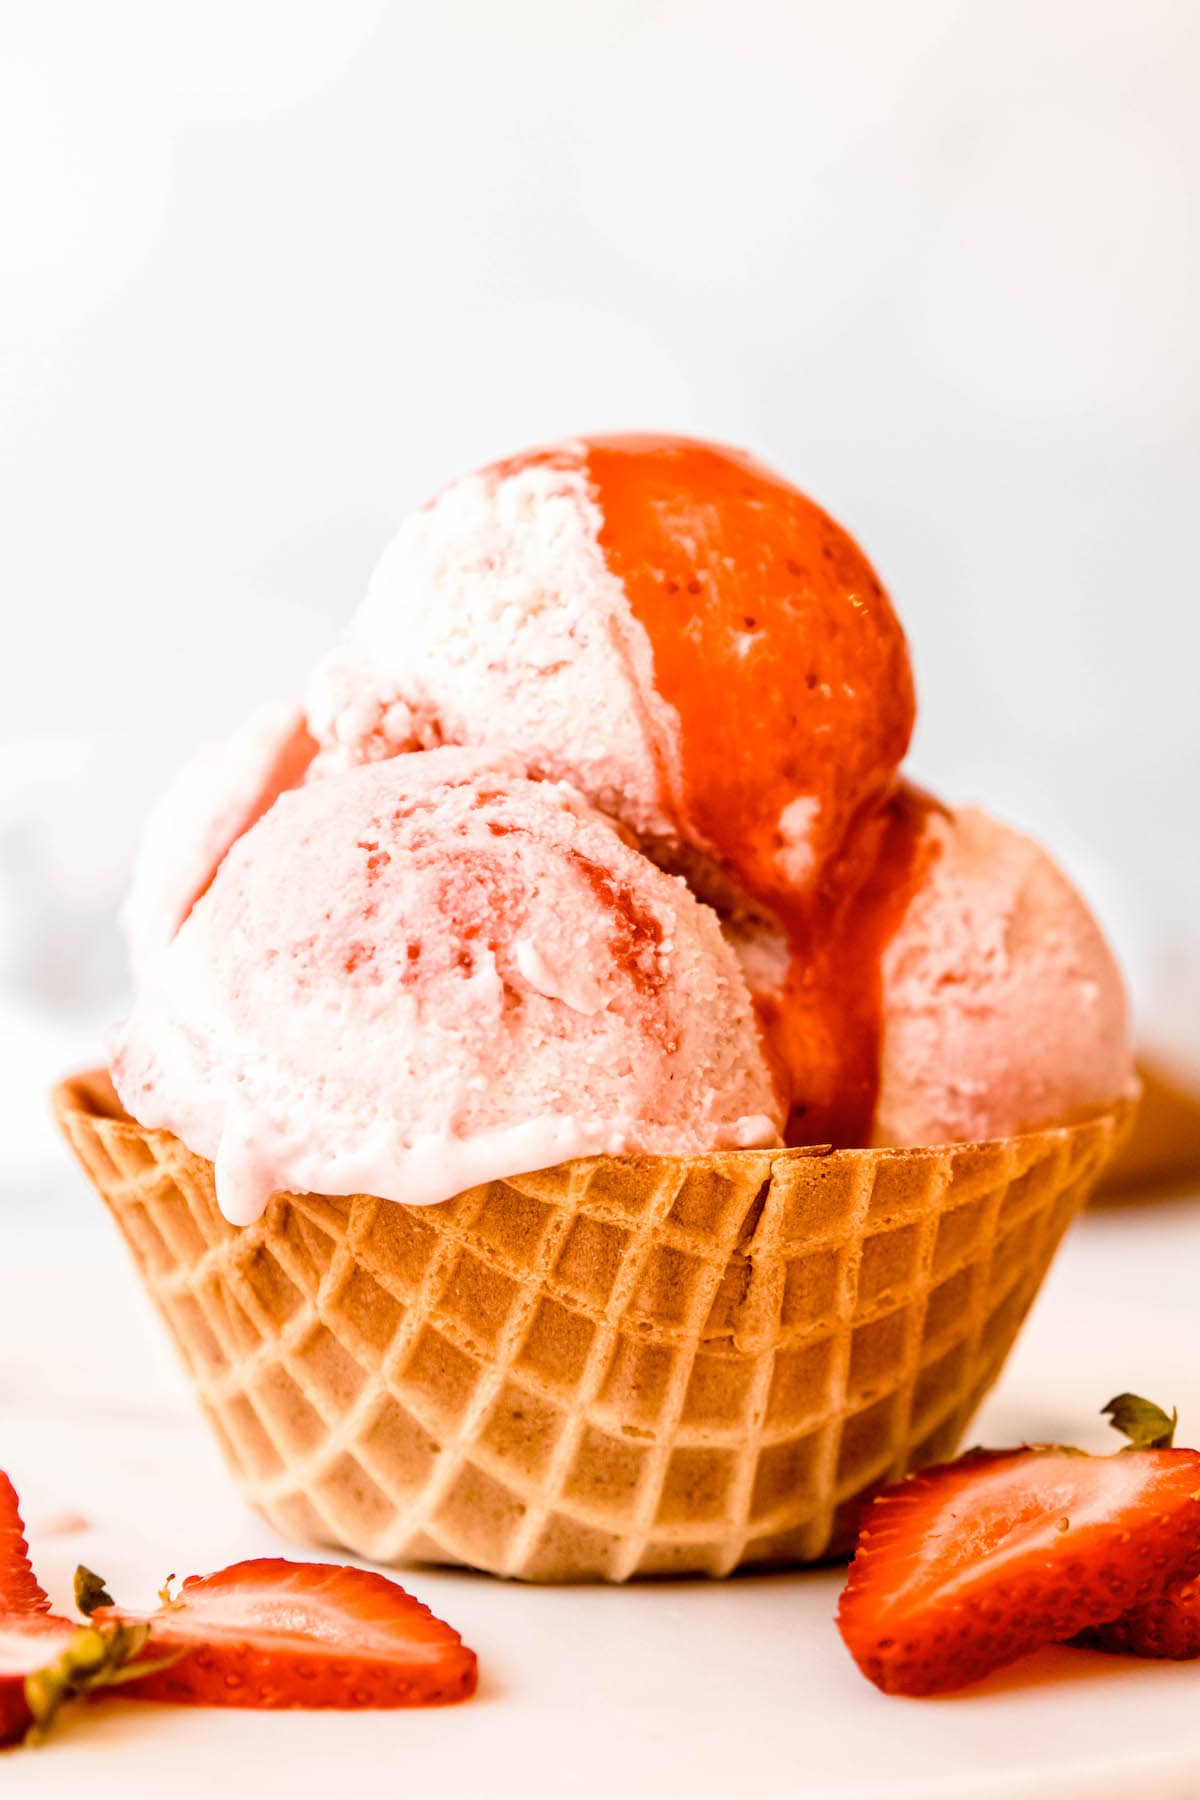
- Serve it in an ice cream cone or waffle bowl for crunch.
- Stuff a scoop between two oat flour chocolate chip cookies, graham crackers, corn cookies, or another thin cookie variety. Freeze for about 30 minutes to firm up for a delicious homemade ice cream sandwich.
- Take your homemade ice cream sandwiches a step further by dipping half into melted chocolate melts or homemade magic shell, then sprinkle with some freeze-dried strawberries for a beautiful presentation.
- Blend a few scoops with a splash of milk for a stellar strawberry milkshake. Don’t forget to top it with a generous dollop of whipped cream and serve with a striped straw for the full soda shop effect.
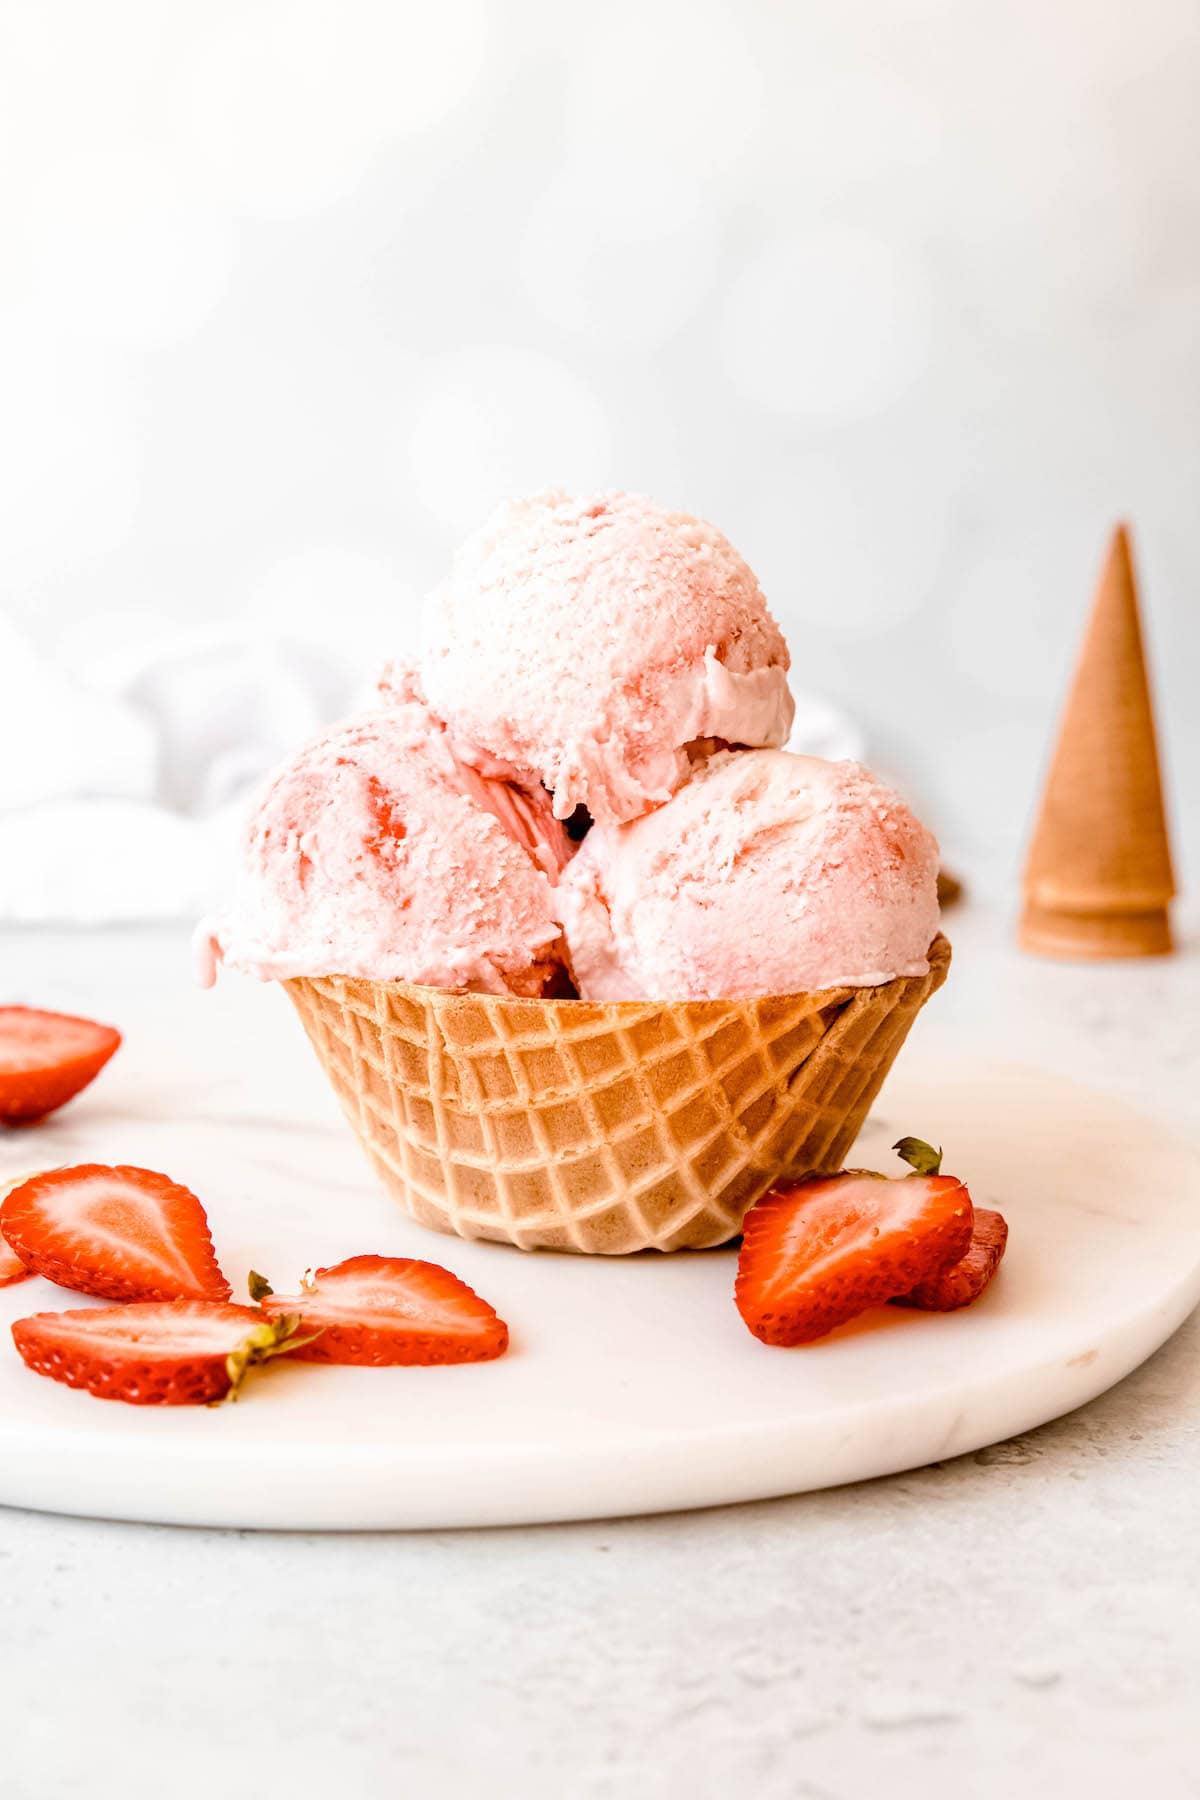
FAQs
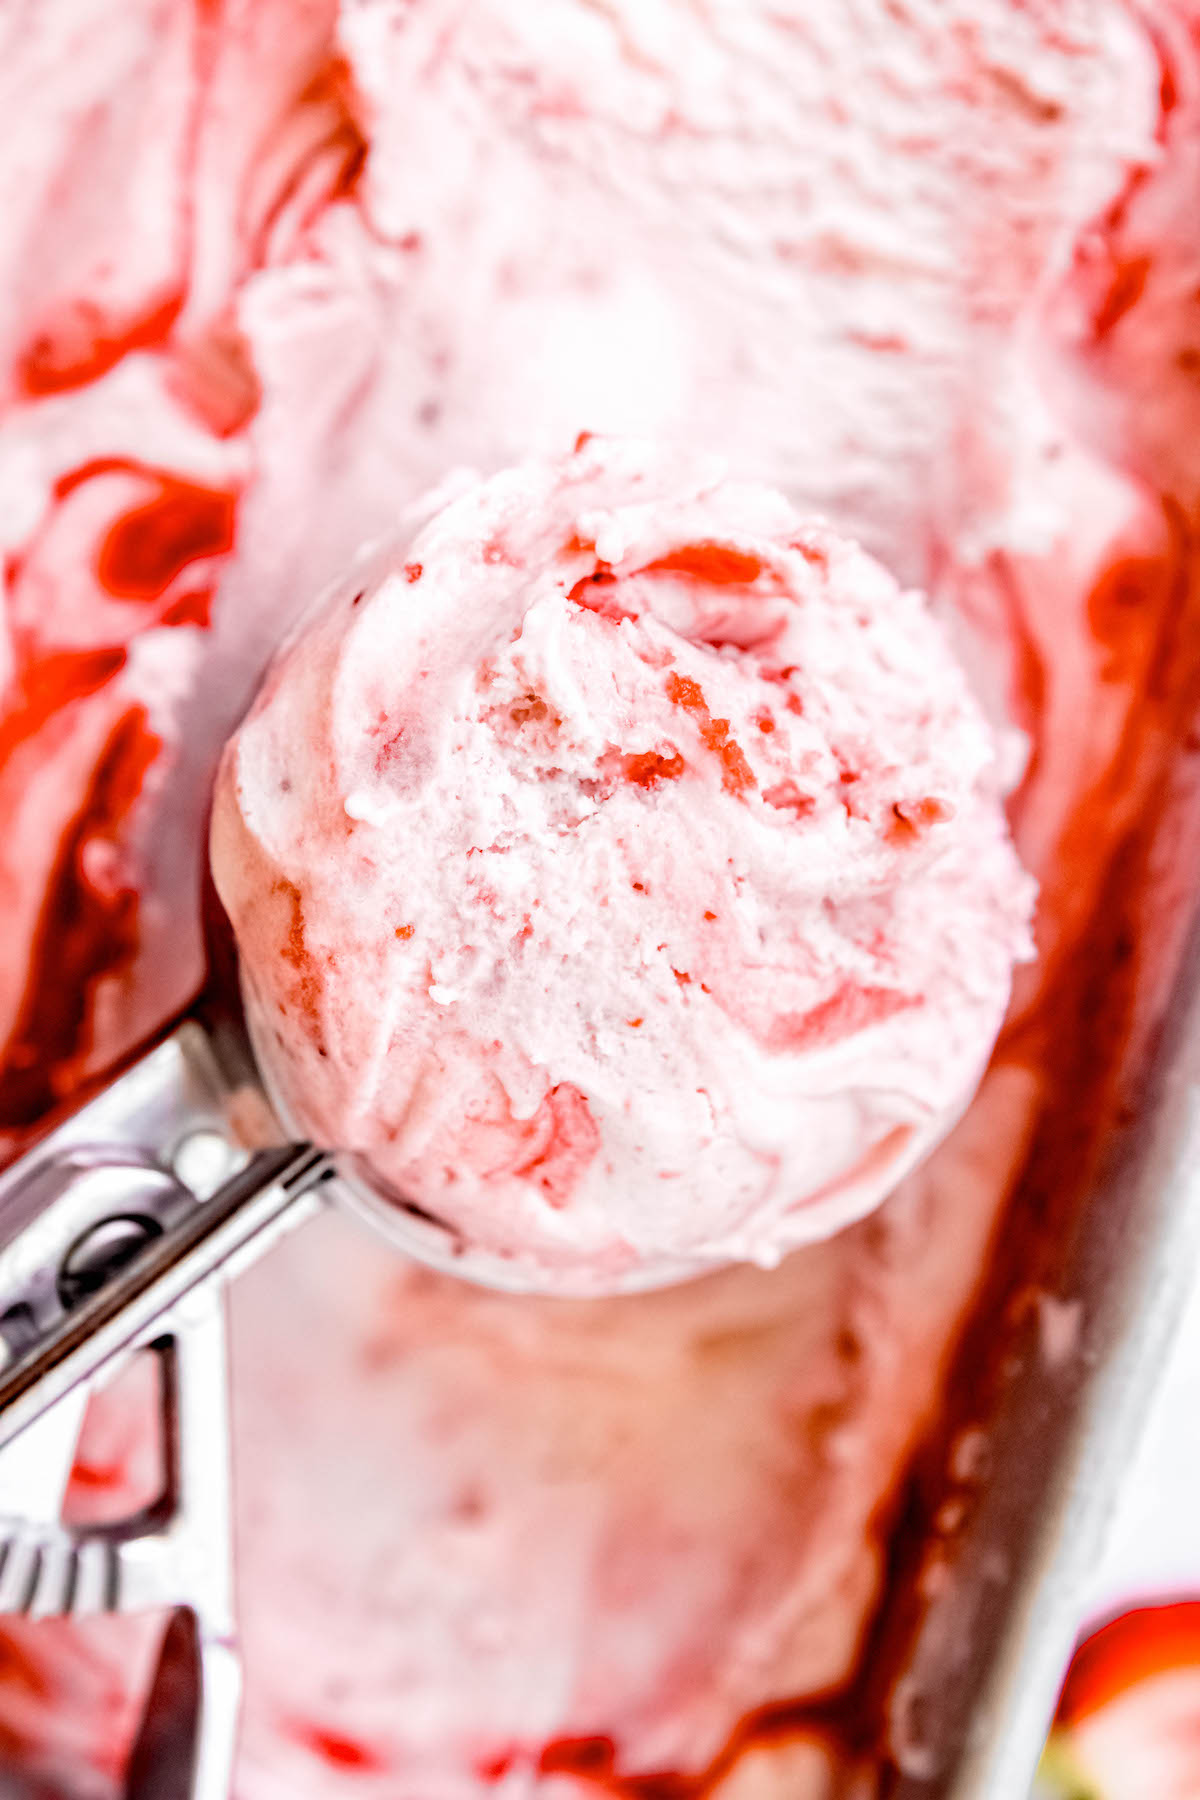
The process is simple! Just add a few spoonfuls of your churned ice cream base to your freezer-safe container, then add a spoonful or two of your swirl. Continue to layer in this fashion, then, for a more decorative swirl effect, drag a butter knife through the mix a few times to pull the swirl into more spots. Cover and freeze, then as you scoop, the swirls will reveal themselves!
Yes and no. Fresh strawberries are great for adding bright strawberry flavor, but while they’re fresh they have too high of a water content and will become icy if you add them directly to the ice cream. You’ll want to cook the berries first with a bit of sugar—this will help expel the liquid, as well as lower the freezing point, ensuring they stay soft and jammy in your ice cream.
The process of actually making it is pretty speedy—I’d say you’re looking at about 25-30 minutes of active prep time to make this strawberry vanilla swirl ice cream. That said, it’ll take 40 minutes to an hour to churn to the proper consistency, then another 4 hours to freeze solid.
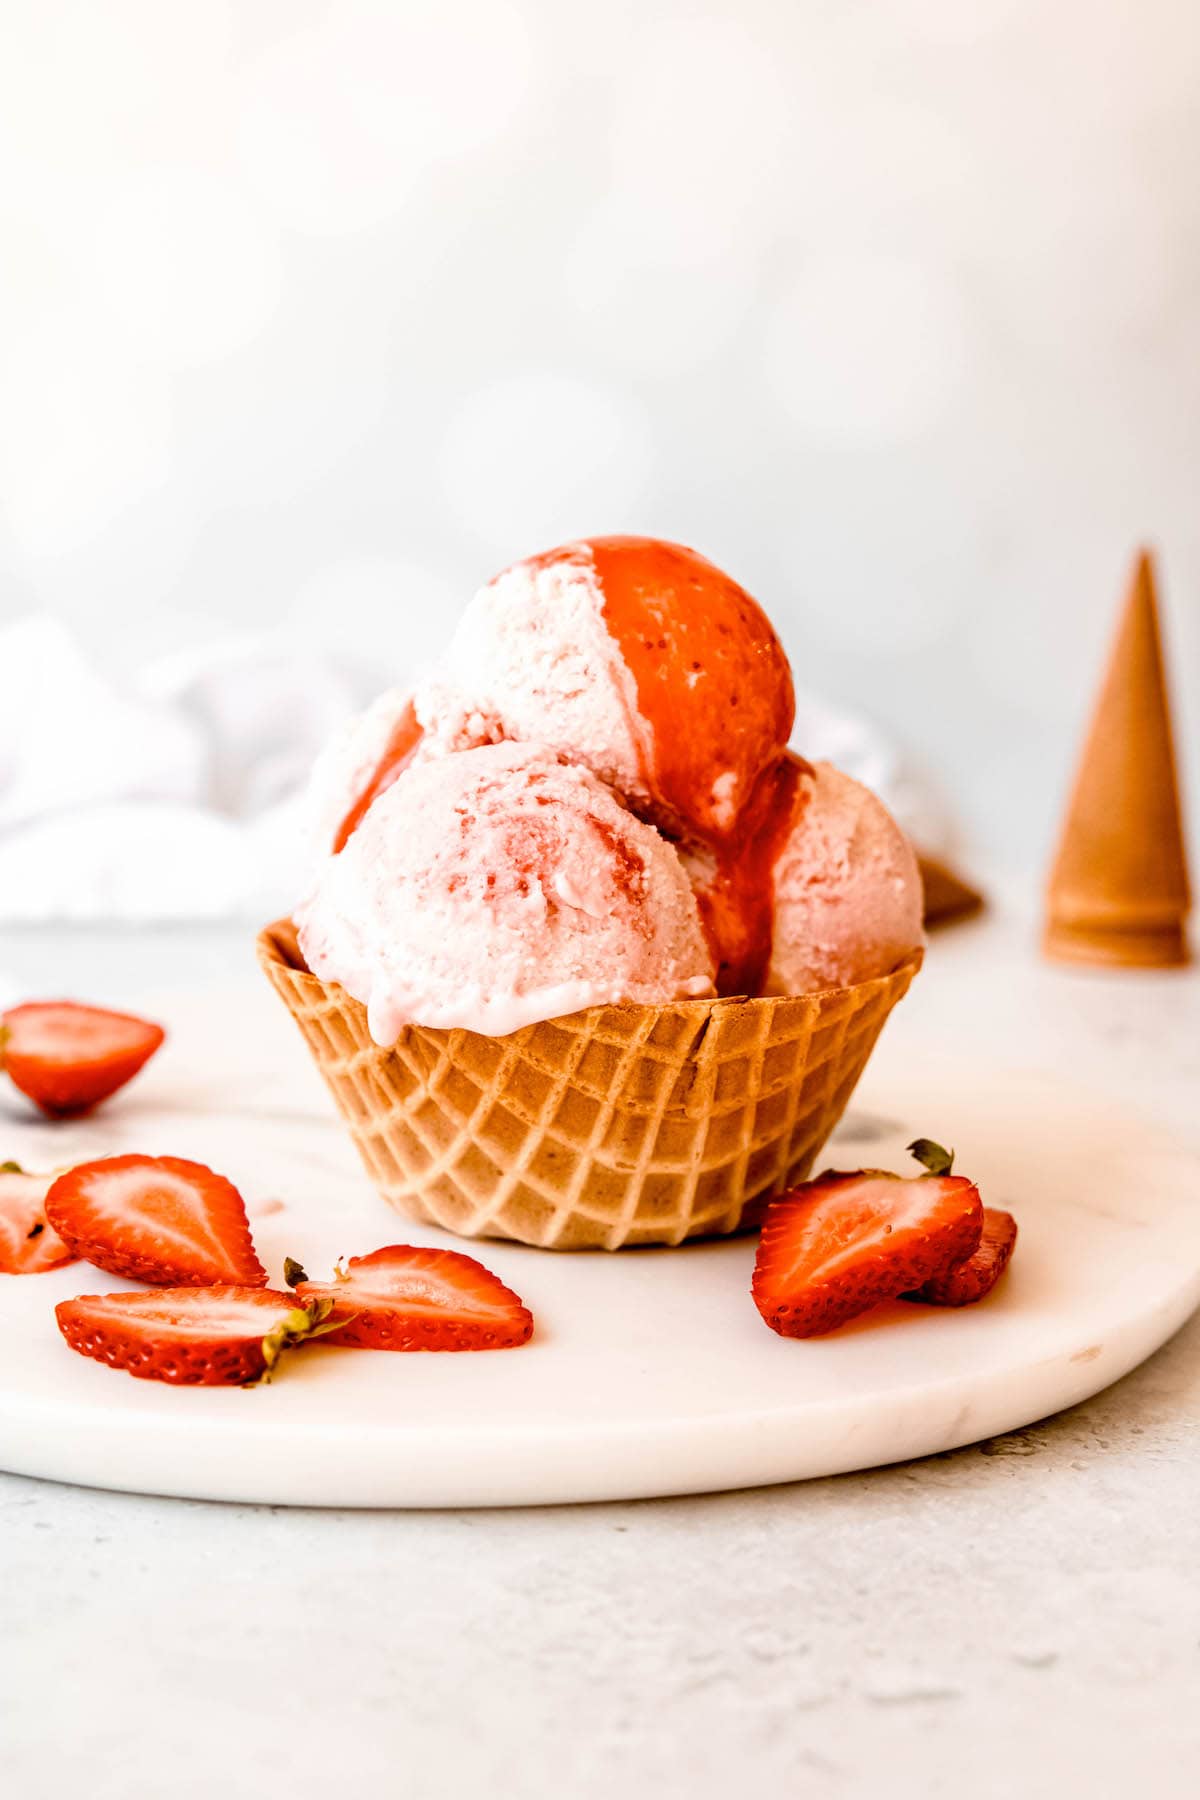
More Easy Ice Cream Recipes
If you tried this recipe and loved it, be sure to rate and review it below! For more inexpensive and delicious recipe inspiration, be sure to follow me on Pinterest. You can also get all of my newest content delivered straight to your inbox by signing up for my email newsletter!
Easy Strawberry Swirl Ice Cream (No Eggs!)
Equipment
- 4-quart Saucepan
- 2-quart saucepan
- Immersion Blender or standing blender or food processor
Ingredients
Strawberry Swirl
- 12 oz Strawberries approximately 1 pint; stems removed and roughly chopped
- ⅓ C Granulated Sugar or brown sugar
- 1 teaspoon Vanilla Extract optional
Ice Cream Base
- 1 ¼ C Heavy Cream divided; or use vegan alternative
- 2 tablespoon Cornstarch or potato starch, tapioca starch
- 3 oz Cream Cheese 6 tablespoons; or vegan alternative
- ½ teaspoon Fine Sea Salt or ¾ teaspoon kosher salt
- ⅔ C Granulated Sugar or brown sugar
- 2 tablespoon Corn Syrup or tapioca syrup, invert sugar
- 2 ½ C Buttermilk or 2% milk, whole milk, or a vegan alternative
- ⅓ C Strawberry Swirl
Instructions
Make Strawberry Swirl
- Add 12 oz Strawberries, ⅓ C Granulated Sugar, and 1 teaspoon Vanilla Extract to a 2-quart saucepan. Simmer over medium heat, stirring often to prevent scorching. It will bubble and be loose at first. Continue to cook until the bubbles are thick and jammy — a spatula drawn across the bottom of the pan should leave a clear trail for a second or two.
- Pour the simmered berry mixture into a wide-mouth mason jar and process with an immersion blender until smooth. Refrigerate until completely cool.
Make Ice Cream Base
- Mix ¼ C Heavy Cream with 2 tablespoon Cornstarch to make a slurry. Set aside.
- In a small bowl, mix 3 oz Cream Cheese (softened) with ½ teaspoon Fine Sea Salt until smooth. Set aside.
- Add remaining 1 C Heavy Cream to a 4-quart saucepan with ⅔ C Granulated Sugar and 2 tablespoon Corn Syrup. Bring to a boil over medium heat, whisking frequently. The cream has a tendency to scorch, so make sure you're getting into the corners!
- Boil the cream mixture for 4 minutes, whisking the whole time.
- Remove the pot from heat, whisk in the cornstarch slurry, then return to a boil, whisking constantly. Cook until the mixture is visibly thickened, about 1 minute.
- Add about ½ cup of the cream mixture to the bowl with the cream cheese. Whisk until smooth and homogenous. Pour the cream cheese mixture into the pot with the remaining base, and whisk until smooth.
- Add 2 ½ C Buttermilk and ⅓ C Strawberry Swirl mixture to the pot, whisk to incorporate, and refrigerate until cool.
Make Ice Cream
- Pour the chilled ice cream base into your ice cream maker and churn according to manufacturer's instructions. When the ice cream is the consistency of soft-serve, you can stop churning.
- Working in layers, pack ice cream topped with the strawberry swirl mixture, alternating as you go. Once all ice cream has been packed, use a butter knife to cut the swirls into pretty patterns. NOTE: Feel free to use as much or as little of the strawberry swirl as you like. I've made a batch with all of the strawberry mixture for super bright berry flavor. It's also good with a bit less, and then you can save the extra for serving as a sauce on top of your ice cream or spreading on toast.
- Freeze the packed ice cream in the coldest part of your freezer for 4 hours. Scoop & enjoy!
Notes
- Vegan/Dairy-Free - Use organic sugar to ensure it isn’t processed with bone char. Swap in your favorite plant-based cream cheese, vegan whipping cream or full-fat canned coconut milk, and full-fat plant milk or buttermilk (e.g. oat, coconut, or soy).
- Corn-Free - Can’t do corn? Potato starch is a perfect 1-to-1 swap. You can also use tapioca starch, but make sure not to bring the ice cream base to a boil if you use it, as the tapioca can become a little thready. Keep it to a low simmer and stir constantly till you achieve the thickened consistency. For the corn syrup, tapioca syrup, invert sugar, liquid glucose, or brown rice syrup are all good 1-to-1 substitutes. Just note that brown rice syrup will add a mild toasty flavor.
- Other Berry Swirl - Who says strawberries are the only summer berry? Try swapping in blueberries, raspberries, boysenberries, blackberries, or even pitted cherries for a fun twist. You can also mix and match!
- Strawberry Rhubarb Ice Cream - For a more spring-inspired swirl ice cream, try replacing half of the strawberries with chopped rhubarb.
- Add Crunch - Broken pieces of ice cream cones, the tail end of your animal crackers, broken graham crackers, or graham cereal are all excellent additions. Aim for about ½ cup or so.
- No Vanilla, Sub Lemon - For a brighter berry flavor, skip the vanilla in favor of fresh lemon juice.
- Different Base - Swirl strawberry jam into any ice cream base you prefer like chocolate, pistachio, or lemon.
- Press a layer of parchment paper directly on top of the ice cream before covering and freezing to help prevent freezer burn.
- Store the ice cream in the coldest part of the freezer, NOT in the door. This will help keep it from melting and refreezing, which causes ice crystals to form. Who wants icy ice cream? Not this gal.
- Homemade ice cream should be eaten within 2 weeks for the best flavor.
Nutrition


Joe says
My wife made this for my birthday and now I want to eat it EVERY day. She just pointed me to this recipe and I made my first batch of ice cream—SO GOOD!
Amy says
This looks like the perfect hot season ticket! Can't wait to try.
Ash, The Grocery Addict says
I hope you love it!!