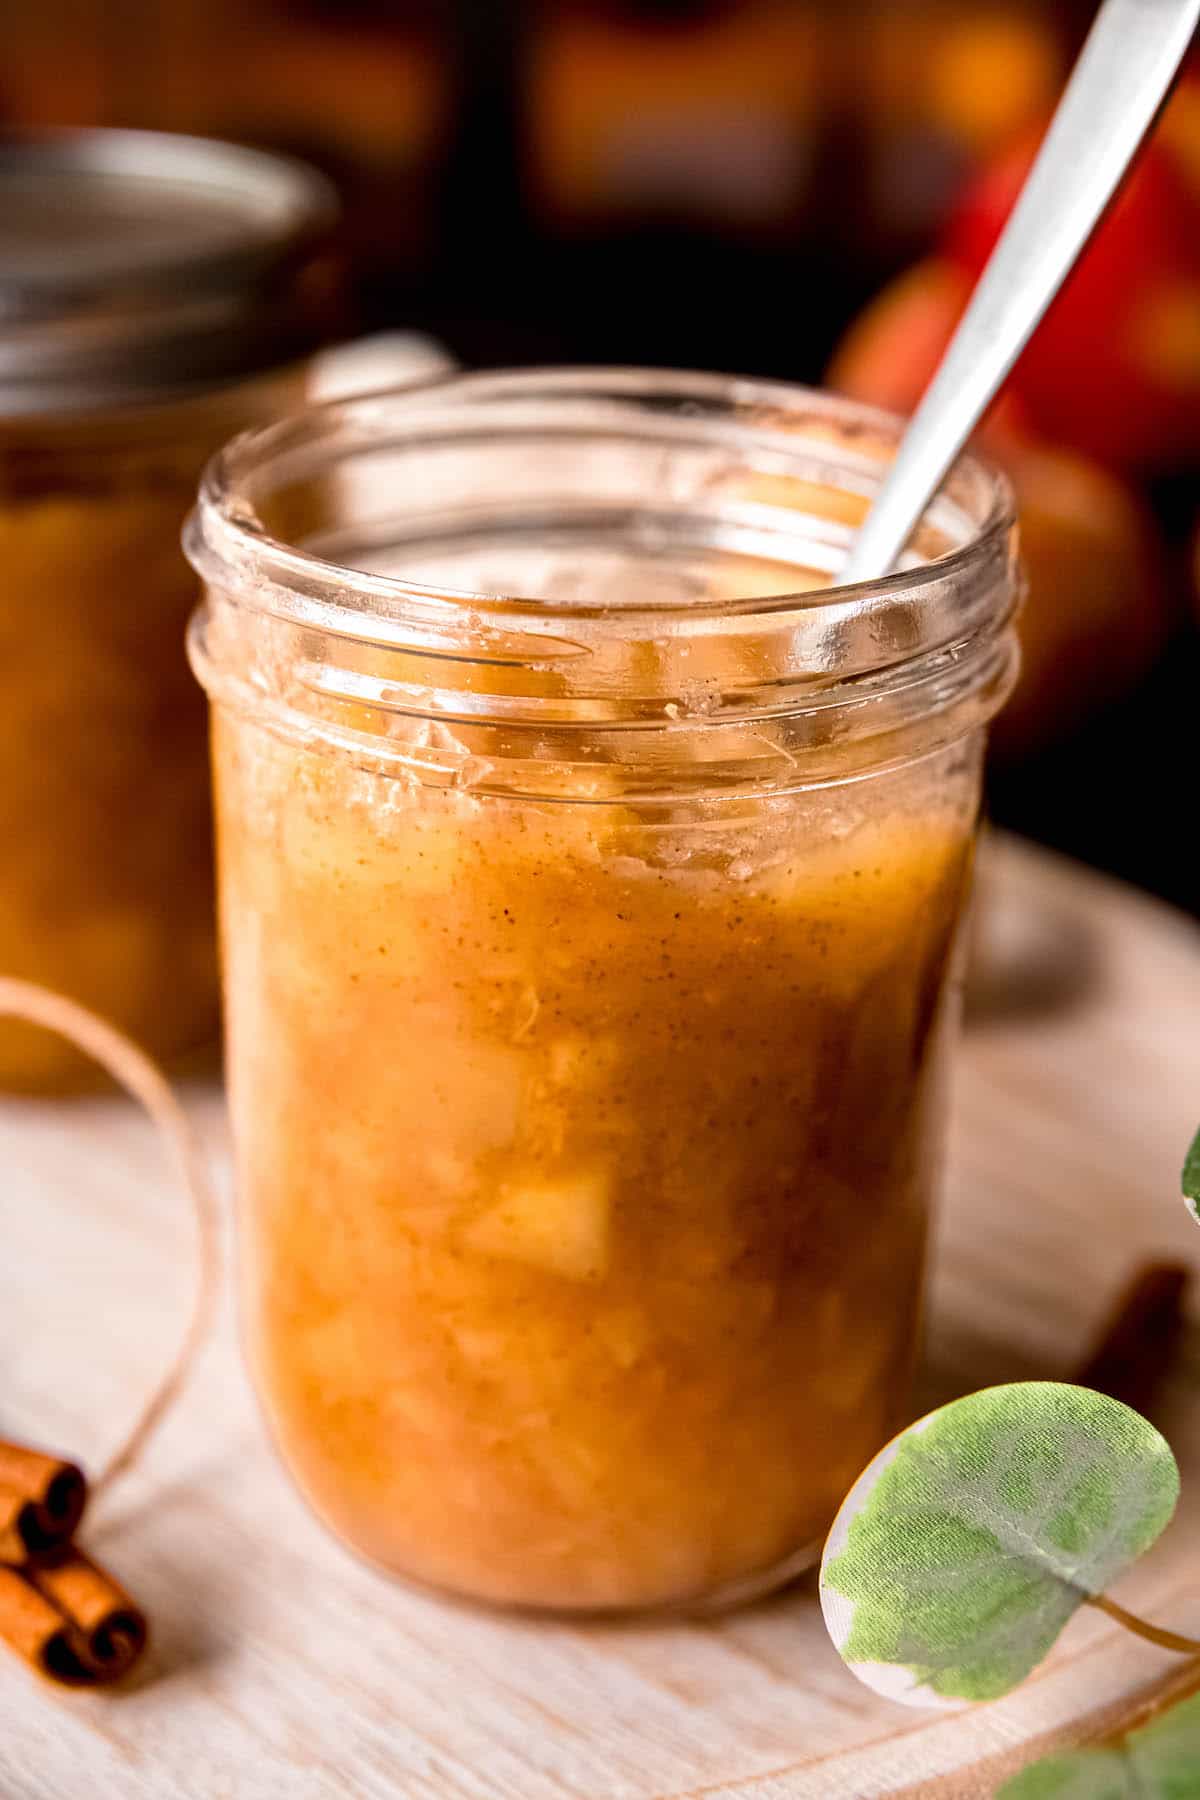
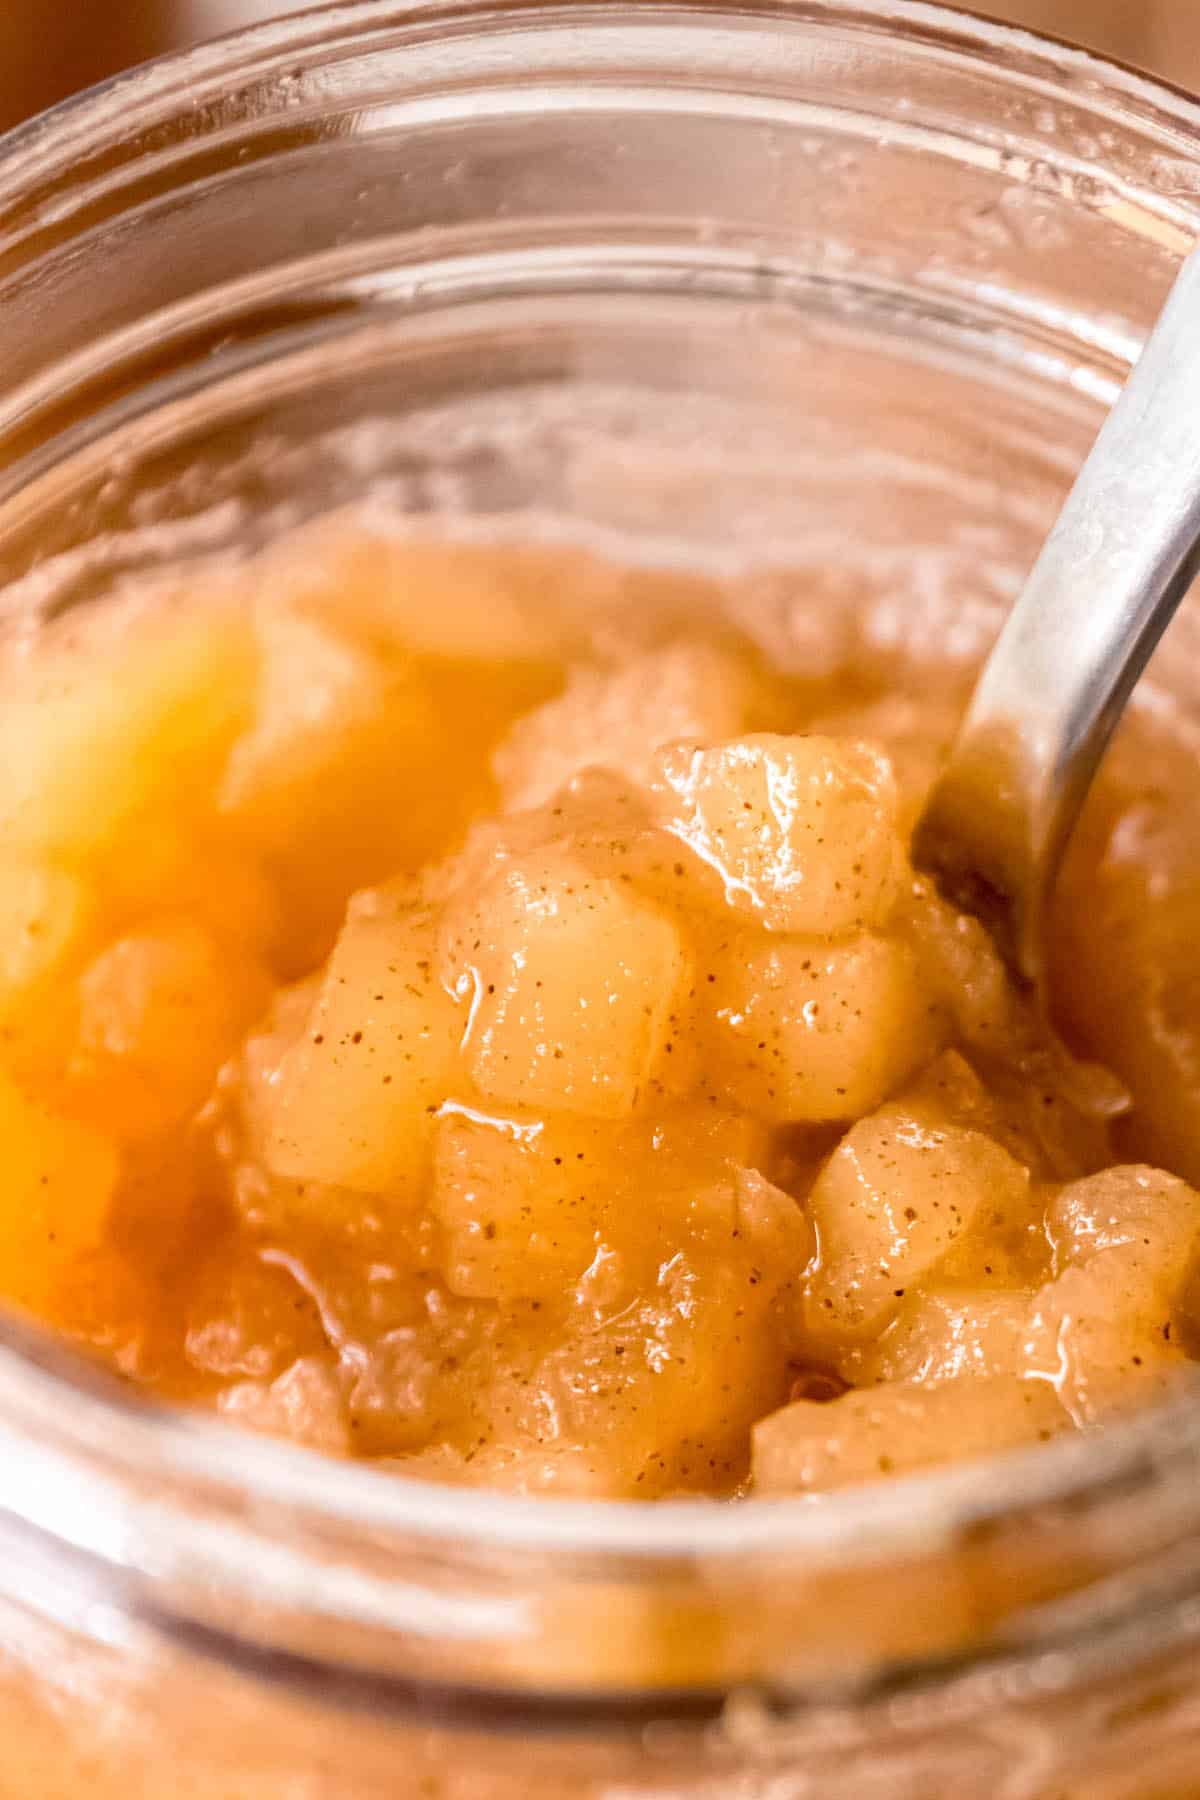
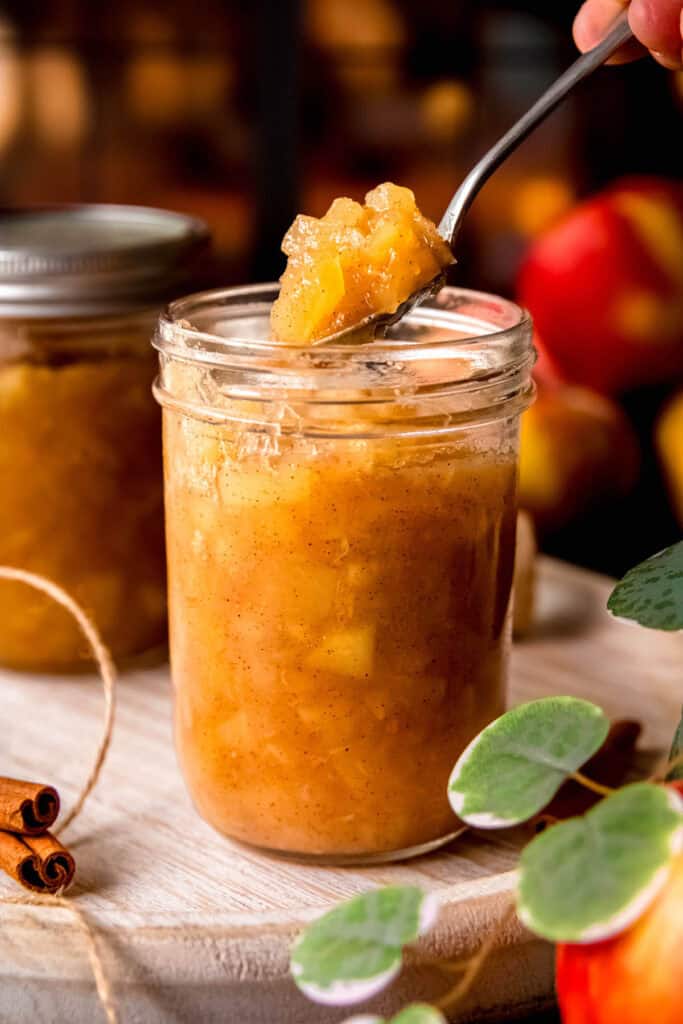
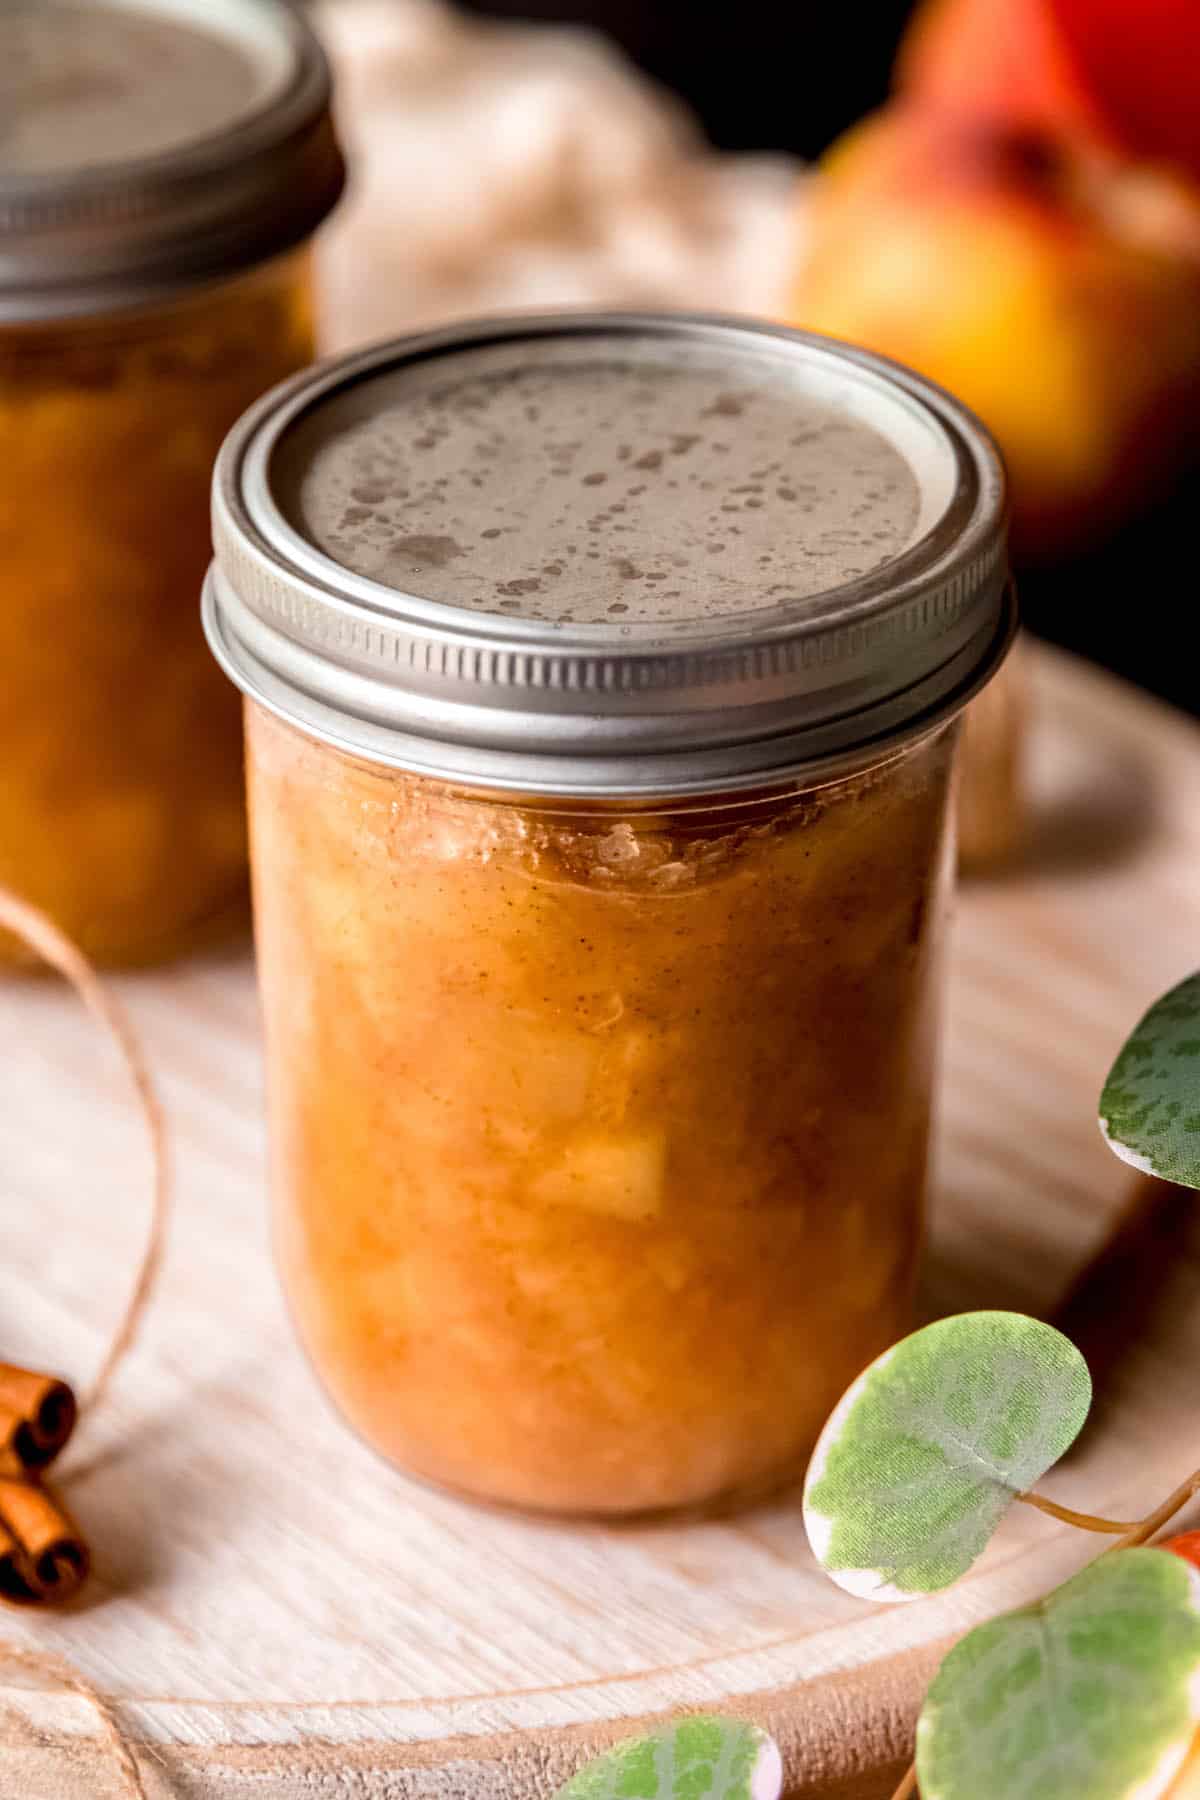
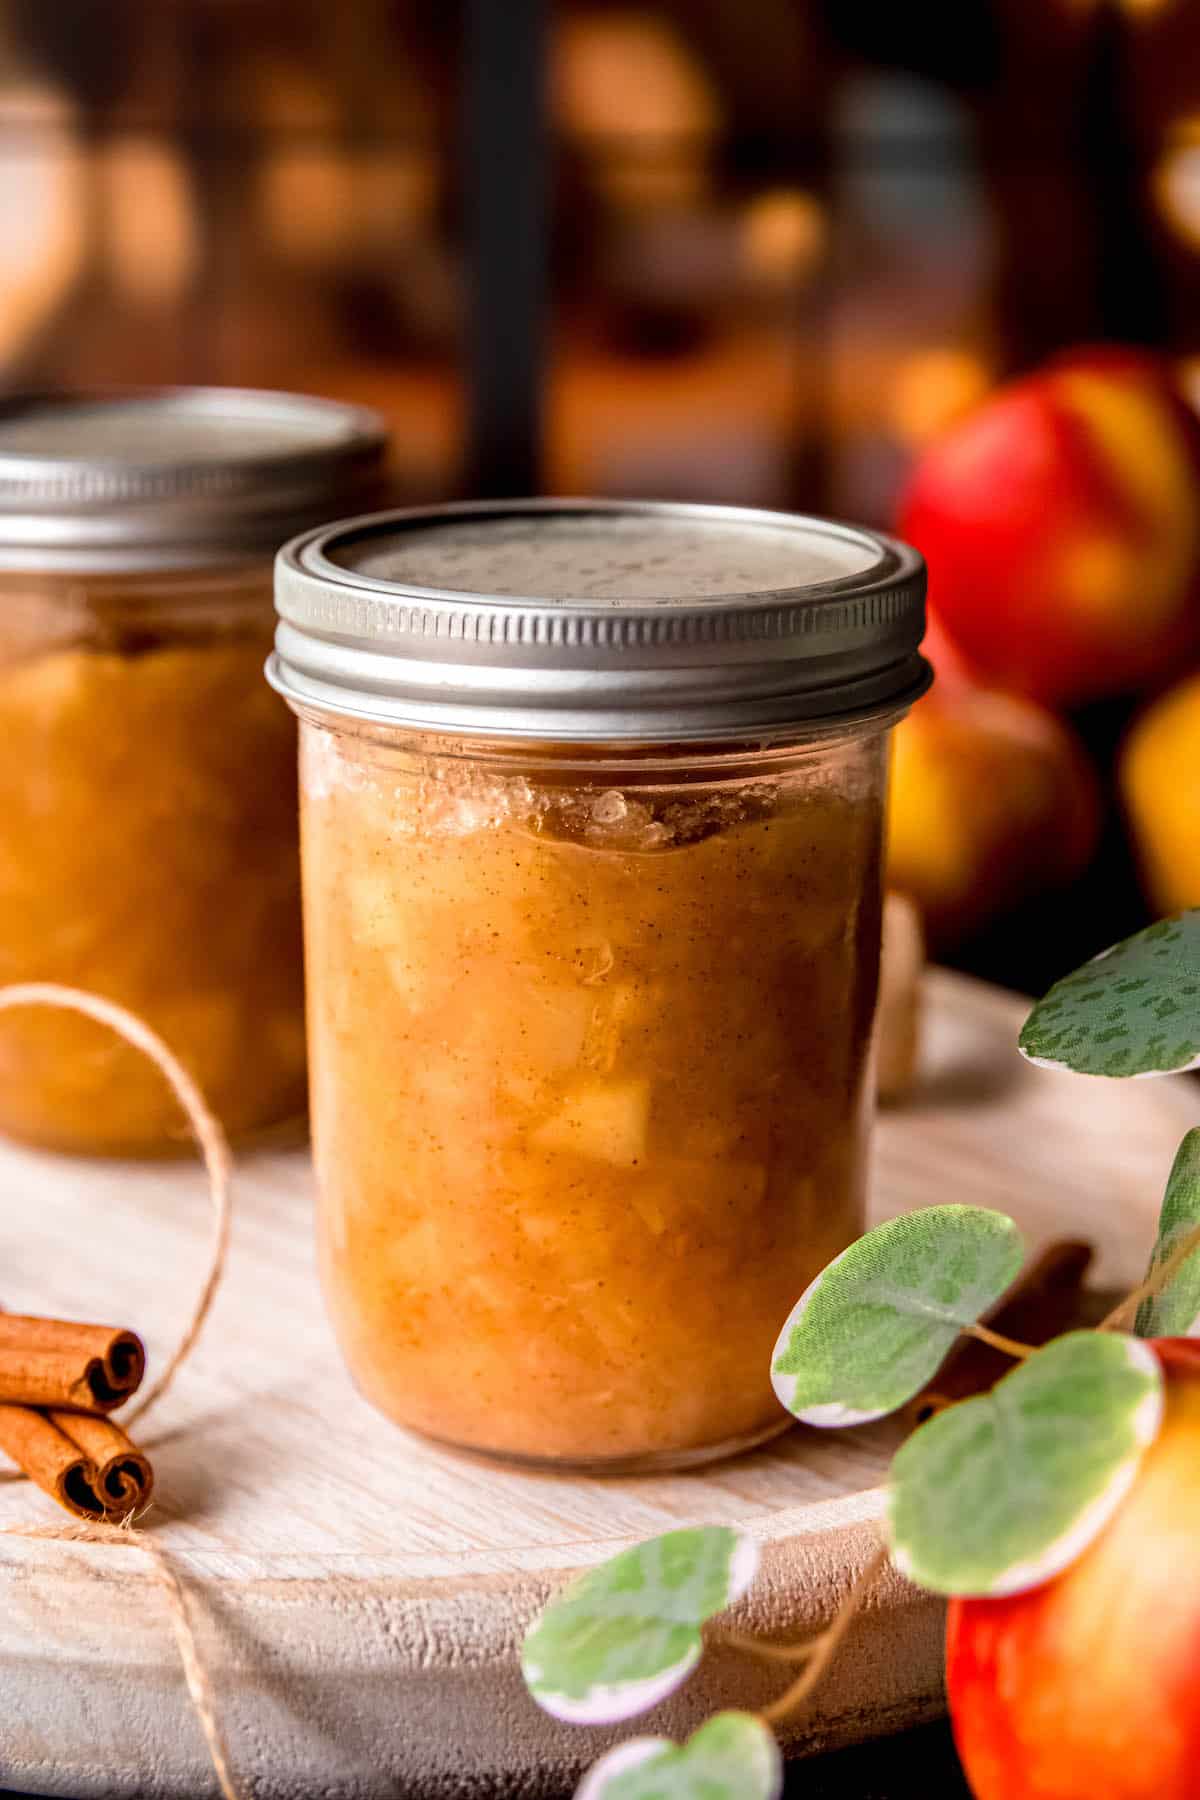
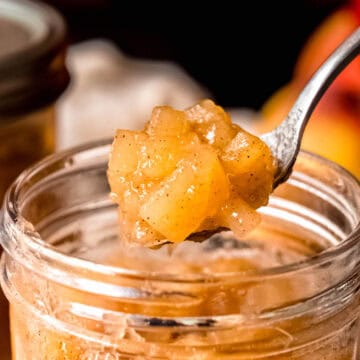
If you’re as enthusiastic about your apple picking adventures as I am, knowing how to make Apple Preserves for Canning is essential. Simply made with just 6 basic ingredients, this easily adaptable recipe can easily transform into apple pie filling, apple jam, or applesauce.
There’s something magical about homemade jam and fruit preserves—especially when you pull a jar from the pantry. If you’ve yet to try your hand at canning, prepare to feel like a self-sufficient homesteading wizard. BTW, no shade on refrigerator or freezer jams! Those are my go-tos for small batches of fruit preserves.
But, with just a bit of extra time, you can transform a large quantity of your favorite fresh fruit into shelf-stable wonders using nothing more than mason jars, a large pot, and boiling water. Abracadabra! With the twist of a lid, bright, juicy flavor awaits, perfect for spooning over ice cream, spreading on toast, putting on a Halloween s'mores board, and dozens of other applications.
And while I love nearly any type of canned fruit (hello, amaretto cherries!), this recipe for apple preserves is a great way to capture the cozy taste of autumn. Since fall is my favorite season, canning these cinnamon apples is a no-brainer! Now I can pretend it’s October all year round. Huzzah! 🥳🍏🍁
Jump to:
- Why You’ll Love This Apple Preserves Recipe
- Ingredients & Substitutions
- How To Make Apple Preserves
- How To Can Apple Preserves Using Water Bath Canning
- Optional Variations & Dietary Adaptations
- Expert Tips
- Serving Suggestions
- Storage Directions
- FAQs
- More Apple Recipes
- Apple Preserves for Canning (Jam, Pie Filling or Apple Sauce Options!)
- 💬 Reviews
Why You’ll Love This Apple Preserves Recipe
- Real, Simple Ingredients - Canned spiced apples from the store are often filled with strange, artificial ingredients and preservatives. Making them at home means you have full control over what goes into your food—including how much sugar you add!
- Easy Method - You don't have to be a master food preserver to figure this simple recipe out! Water bath canning is a snap, and I’ll walk you through every step.
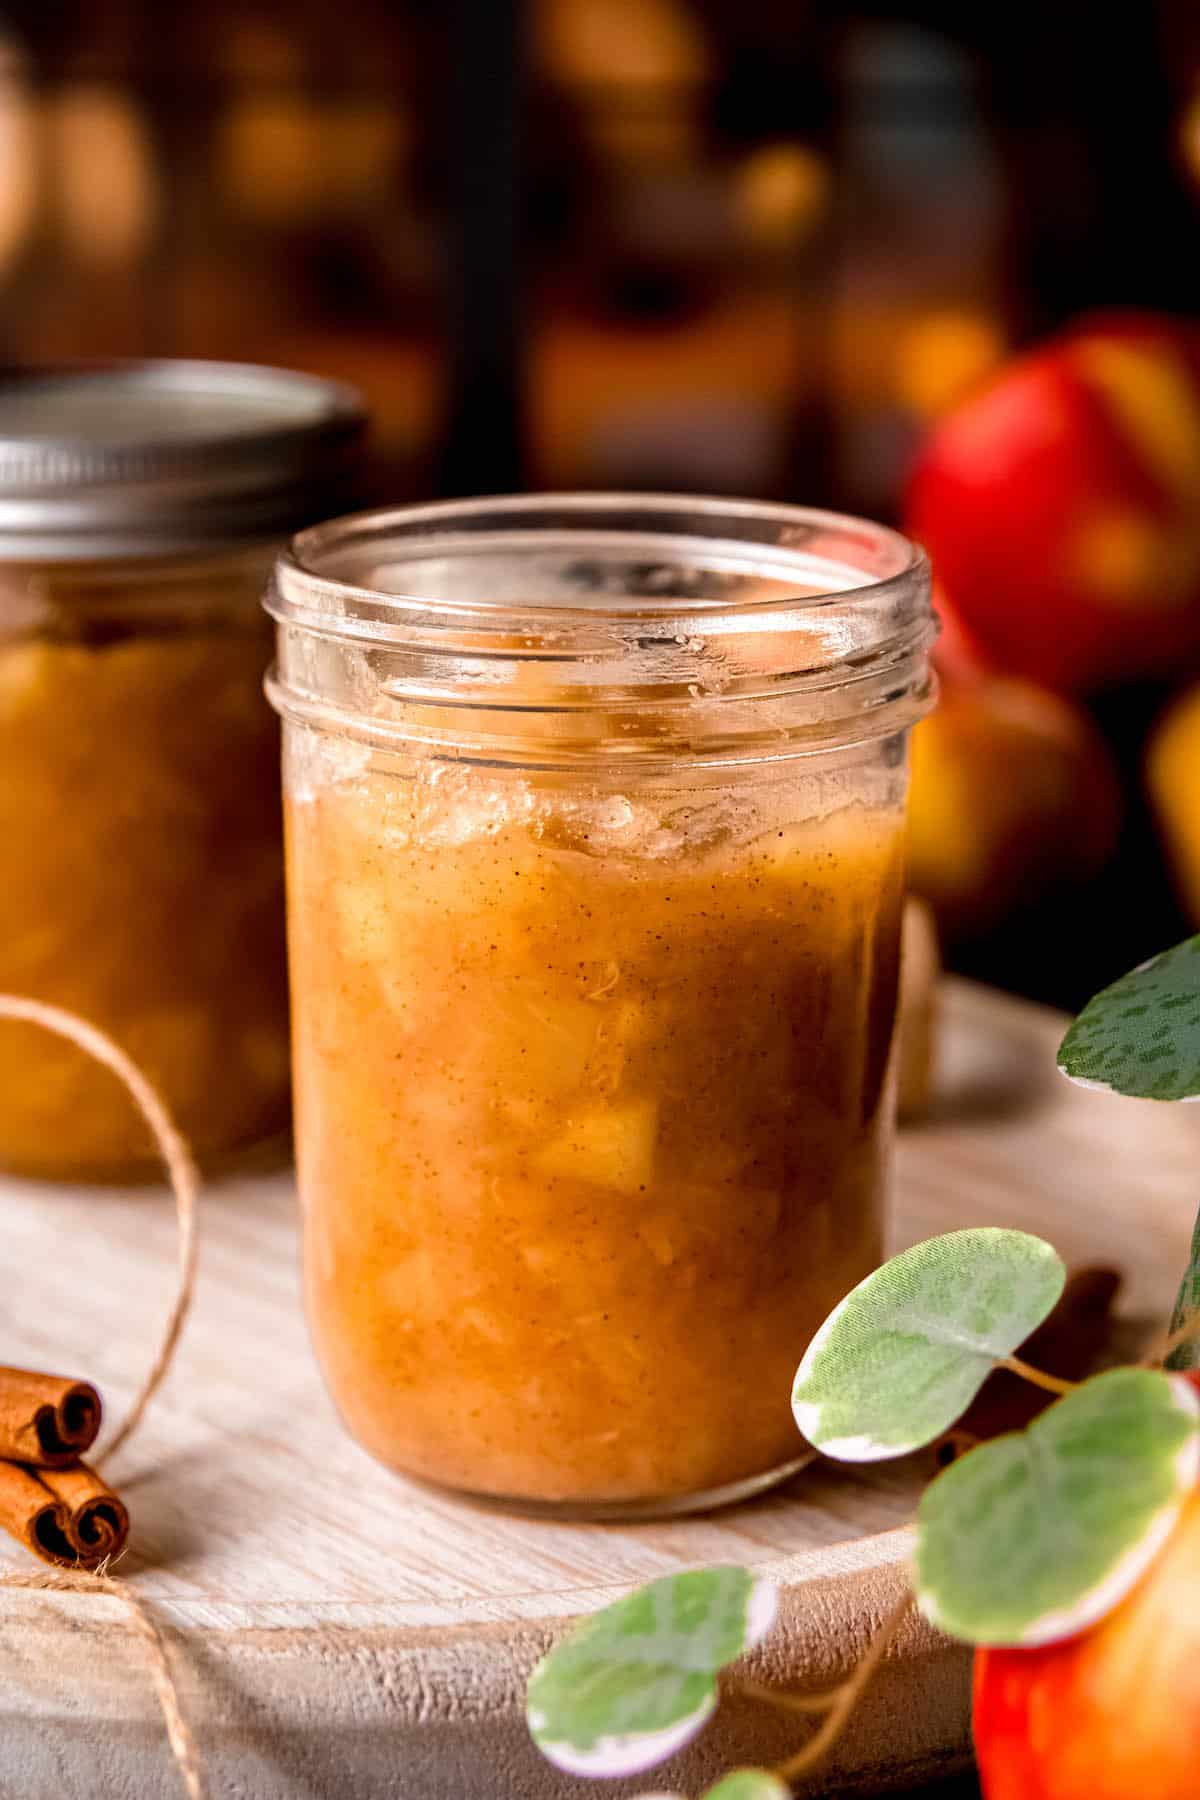
- Fresh Apple Flavor - We only add a smidge of sweetener here; apples do the heavy lifting on their own. And, while you’re free to add cinnamon and spices, keeping it simple is lovely, too!
- Versatile - Whether you prefer apple chunks, slices, or puréed applesauce, this recipe is for you. Read on below for instructions and inspiration!
Ingredients & Substitutions
As promised, we're keeping things simple. Here's what to grab:
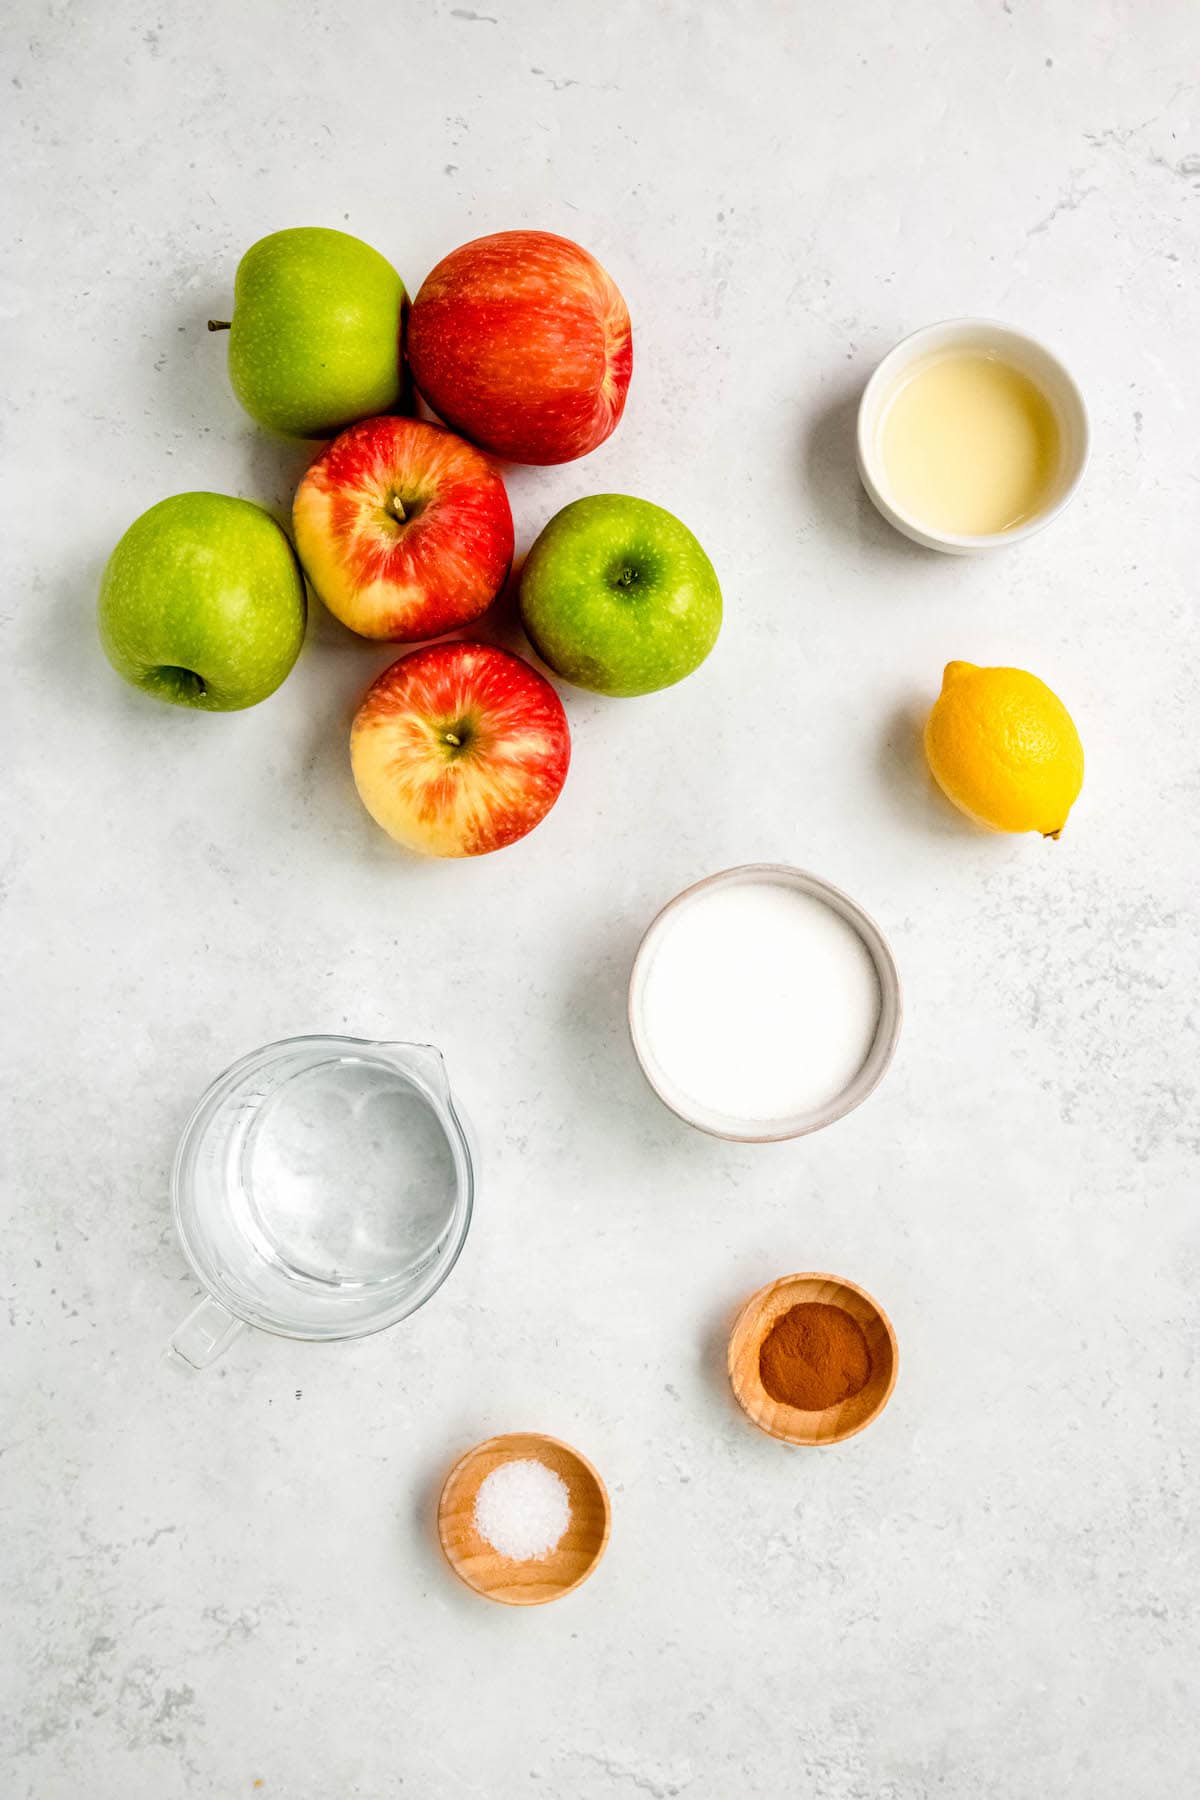
- Chopped Apples - I like mine diced pretty small, but you can also cut them into larger chunks or apple slices if you prefer. I recommend using a mix of sweet-tart firm apples and at least 1-2 tart Granny Smith apples.
- Water - As promised, we’re keeping it basic. If you like your preserves on the sweeter side, use apple juice or apple cider instead.
- Granulated Sugar - You're welcome to use an equal amount of either superfine/caster sugar or pure cane sugar. Alternatively, use brown sugar for more caramel undertones or maple sugar/syrup for added fall vibes.
- Apple Cider Vinegar - While some apple canning recipes call for ascorbic acid, I wanted to stick to pantry basics. A little splash is just as effective at lowering the pH for safe canning and tastes perfectly apple-y.
- Lemon Juice & Zest - Not only are lemons inexpensive and widely available; they’re also more nuanced than citric acid. If you don’t have fresh lemons, bottled juice will do.
- Ground Cinnamon (Optional) - Spices and apples go together like turkey and gravy. Feel free to swap in another warming spice/spice blend of choice. Exact amounts aren't necessary—add as much as you like to taste!
- Fine Sea Salt - I add salt to sweet and savory recipes alike. Why? A bit of seasoning helps amplify and brighten any flavor. Feel free to use kosher salt, or omit it if you prefer.
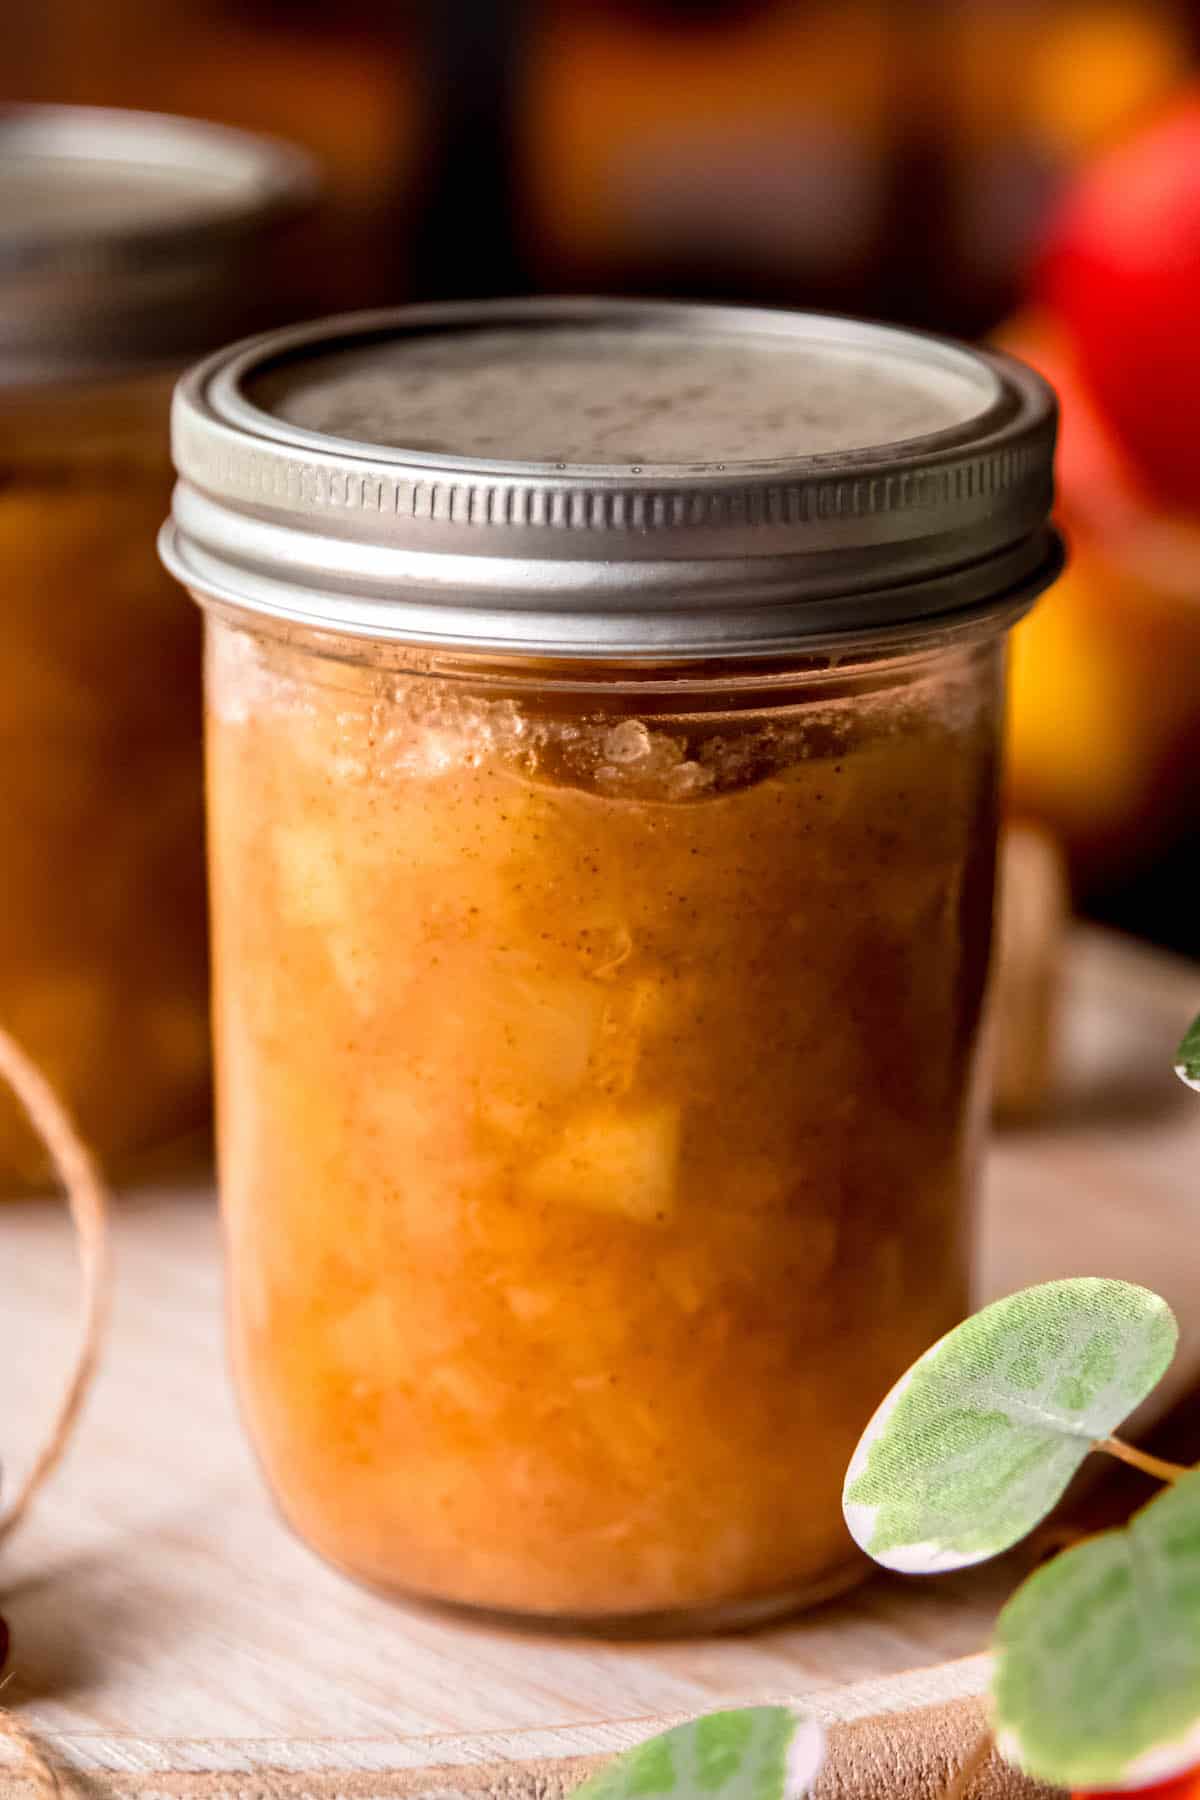
- Canning Jars - I used half-pint jars which yields between 3-4 cans. (The variation depends on how much of the apple you leave on the core, how much water you use, and which texture you prefer.) Feel free to use larger jam jars if you prefer.
How To Make Apple Preserves
Step 1: Prep. Wash, peel, and slice or chop apples to your desired size.
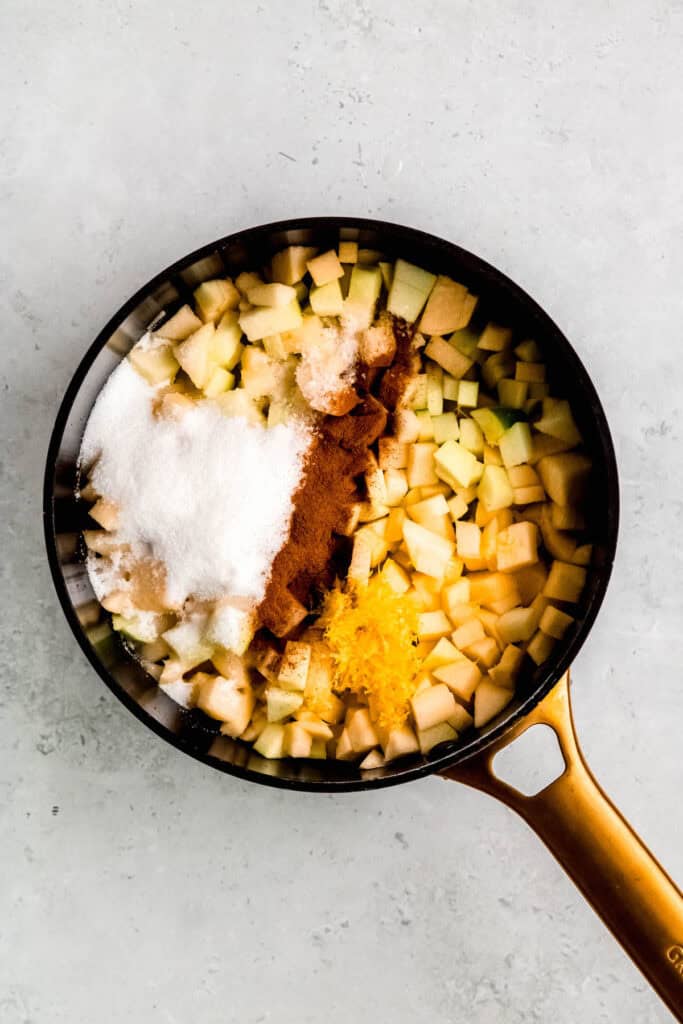
Step 2: Combine apple chunks, water, sugar, apple cider vinegar, lemon zest and juice, spices (if using), and sea salt to a large heavy-bottomed saucepan. Stir to combine.
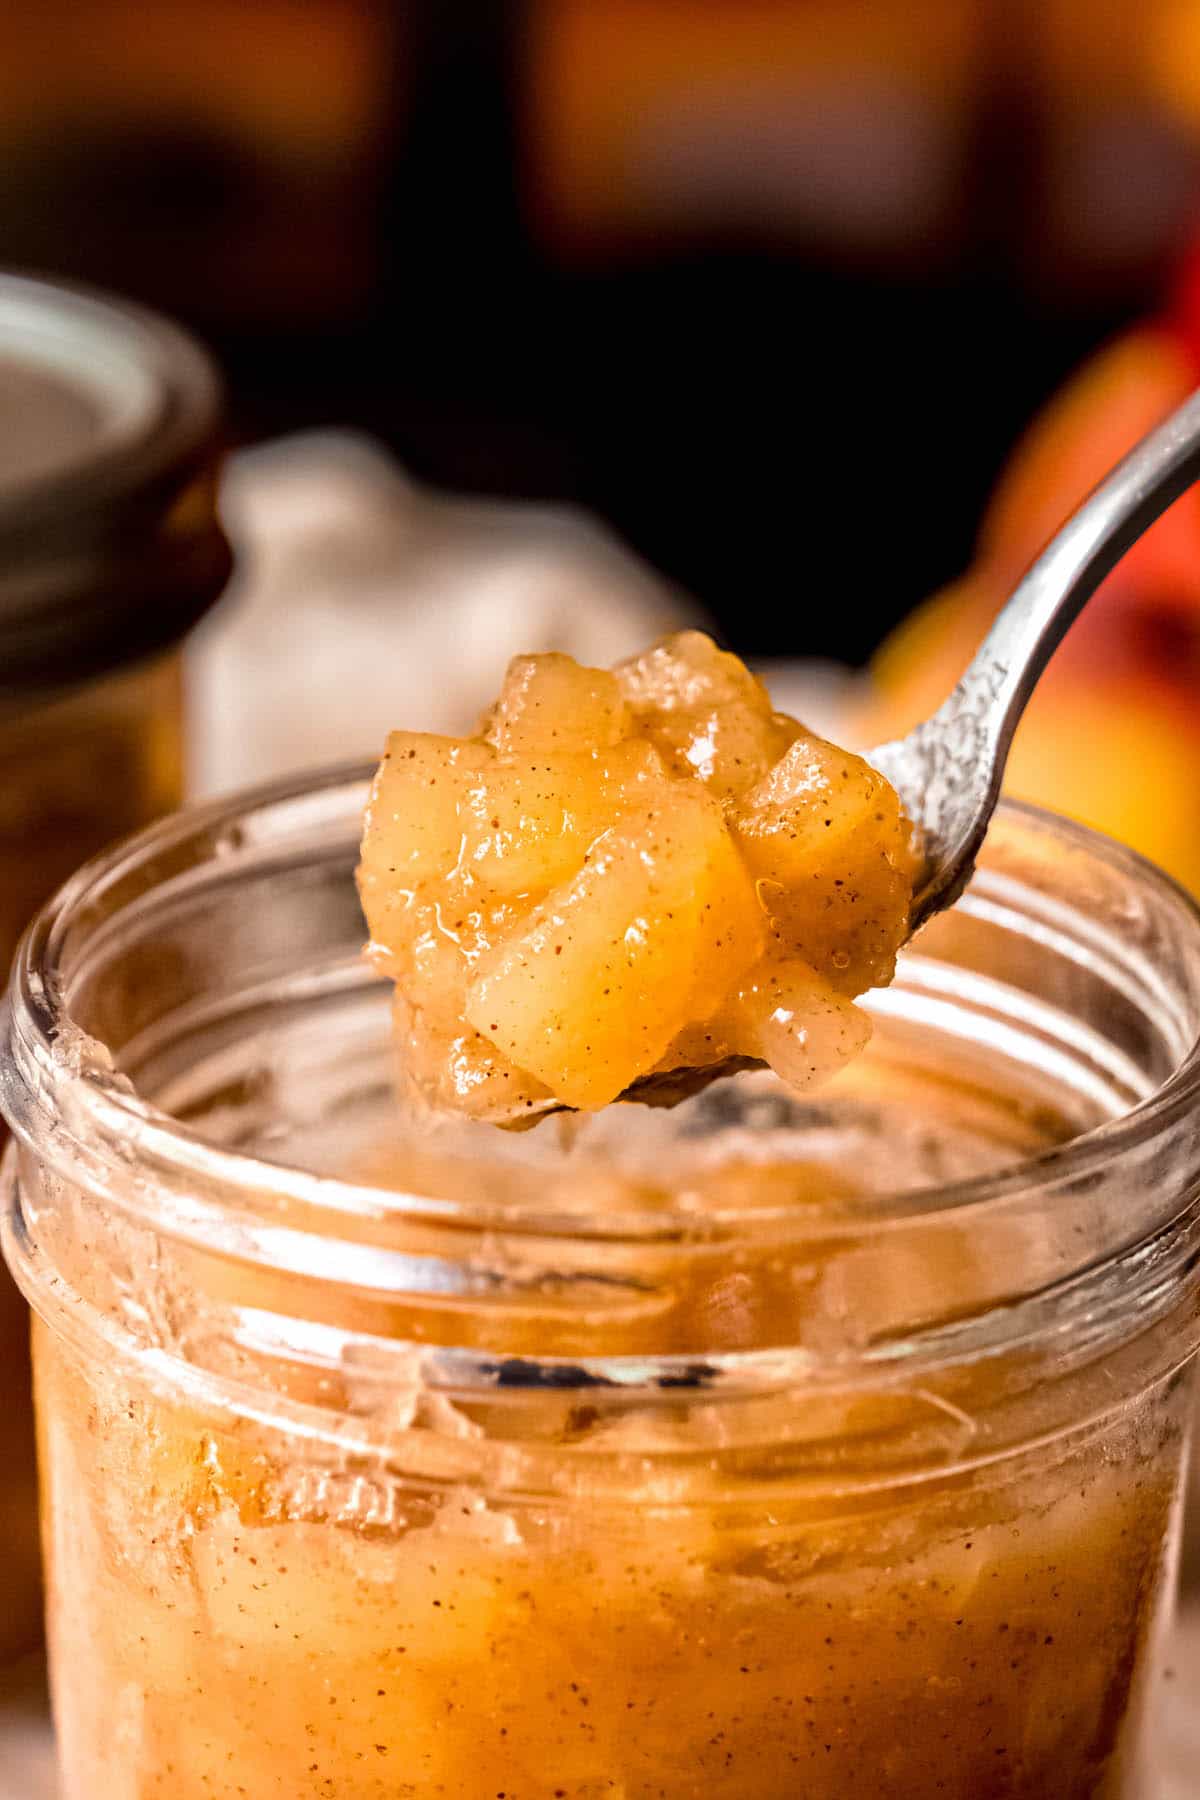
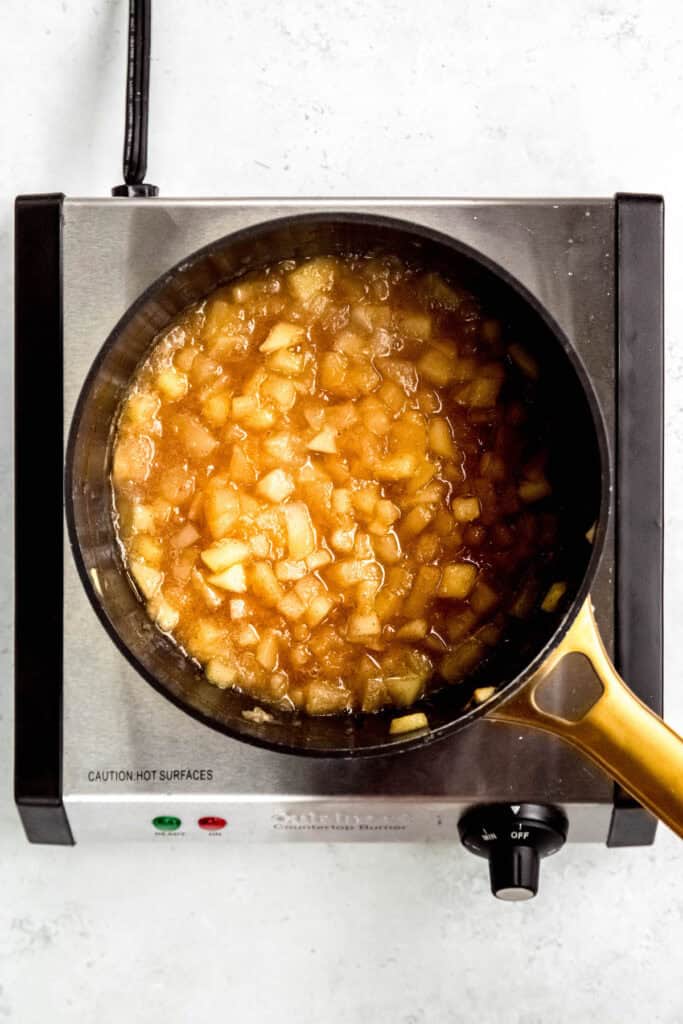
Step 3: Simmer. Bring the apple mixture to a simmer over medium-low heat. Continue to simmer, stirring occasionally, until the water is mostly evaporated and the apples are soft and well-glazed. This should take about 20-25 minutes.
Step 4: Prepare for Storage. You can either can the preserves for shelf-stable storage (instructions below), or refrigerate or freeze them in an airtight container. (More on storage below.)

How To Can Apple Preserves Using Water Bath Canning
These canning instructions are in line with the University of Georgia's National Center for Home Food Preservation. If this is your first time canning, I recommend reading their home canning primer and water bath canning guide.
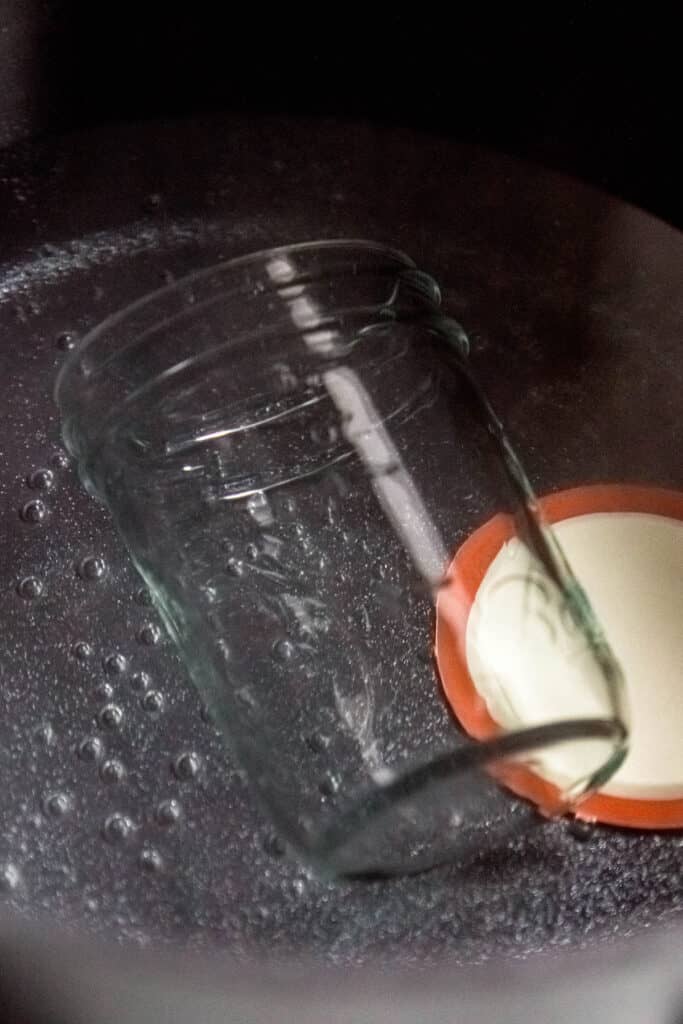
Step 1: Sterilize. While the apples are simmering, sterilize your mason jars and lids by boiling in a large water bath (large pot filled with water) for 10 minutes over medium-high heat. Carefully remove the sterilized hot jars and lids to a clean kitchen towel to dry.
Step 2: Fill. Spoon the hot preserves into your sterilized jars, leaving ½ inch headspace at the top. Place the lids on and tighten.
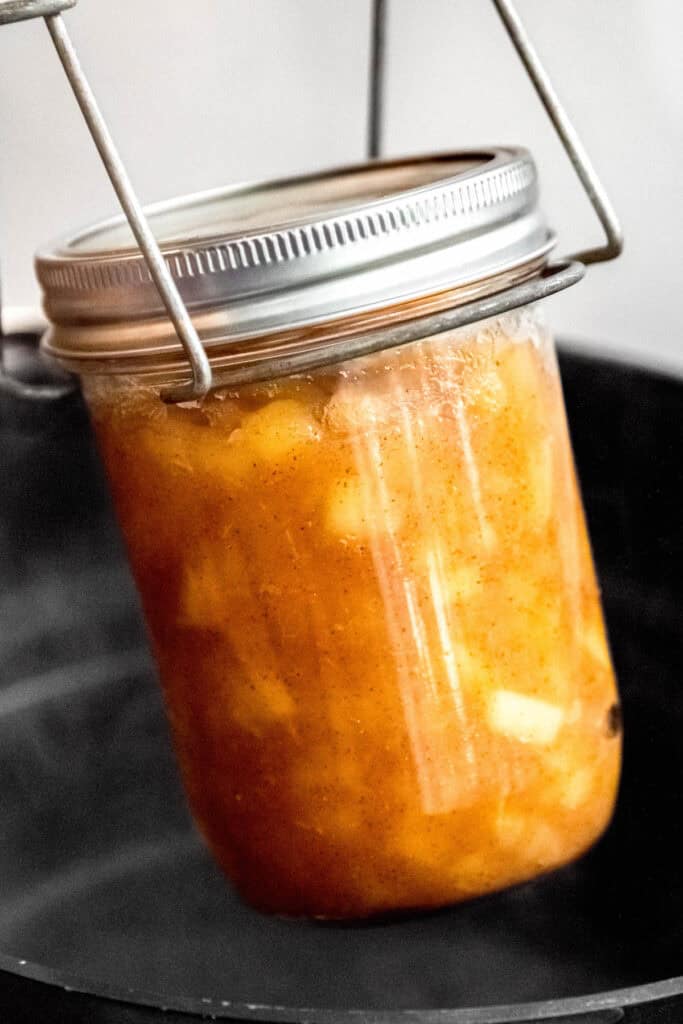
Step 3: Process. Lower the cans into the water bath, bring to a full rolling boil, and process for 15-25 minutes. (Shorter times are appropriate for locations closer to sea level. Longer times are appropriate for larger jars or at altitude. You'll know if they processed long enough if the jar snaps shut during cooling.) Remove the water bath from heat and allow the cans to rest in the water for 5 more minutes.
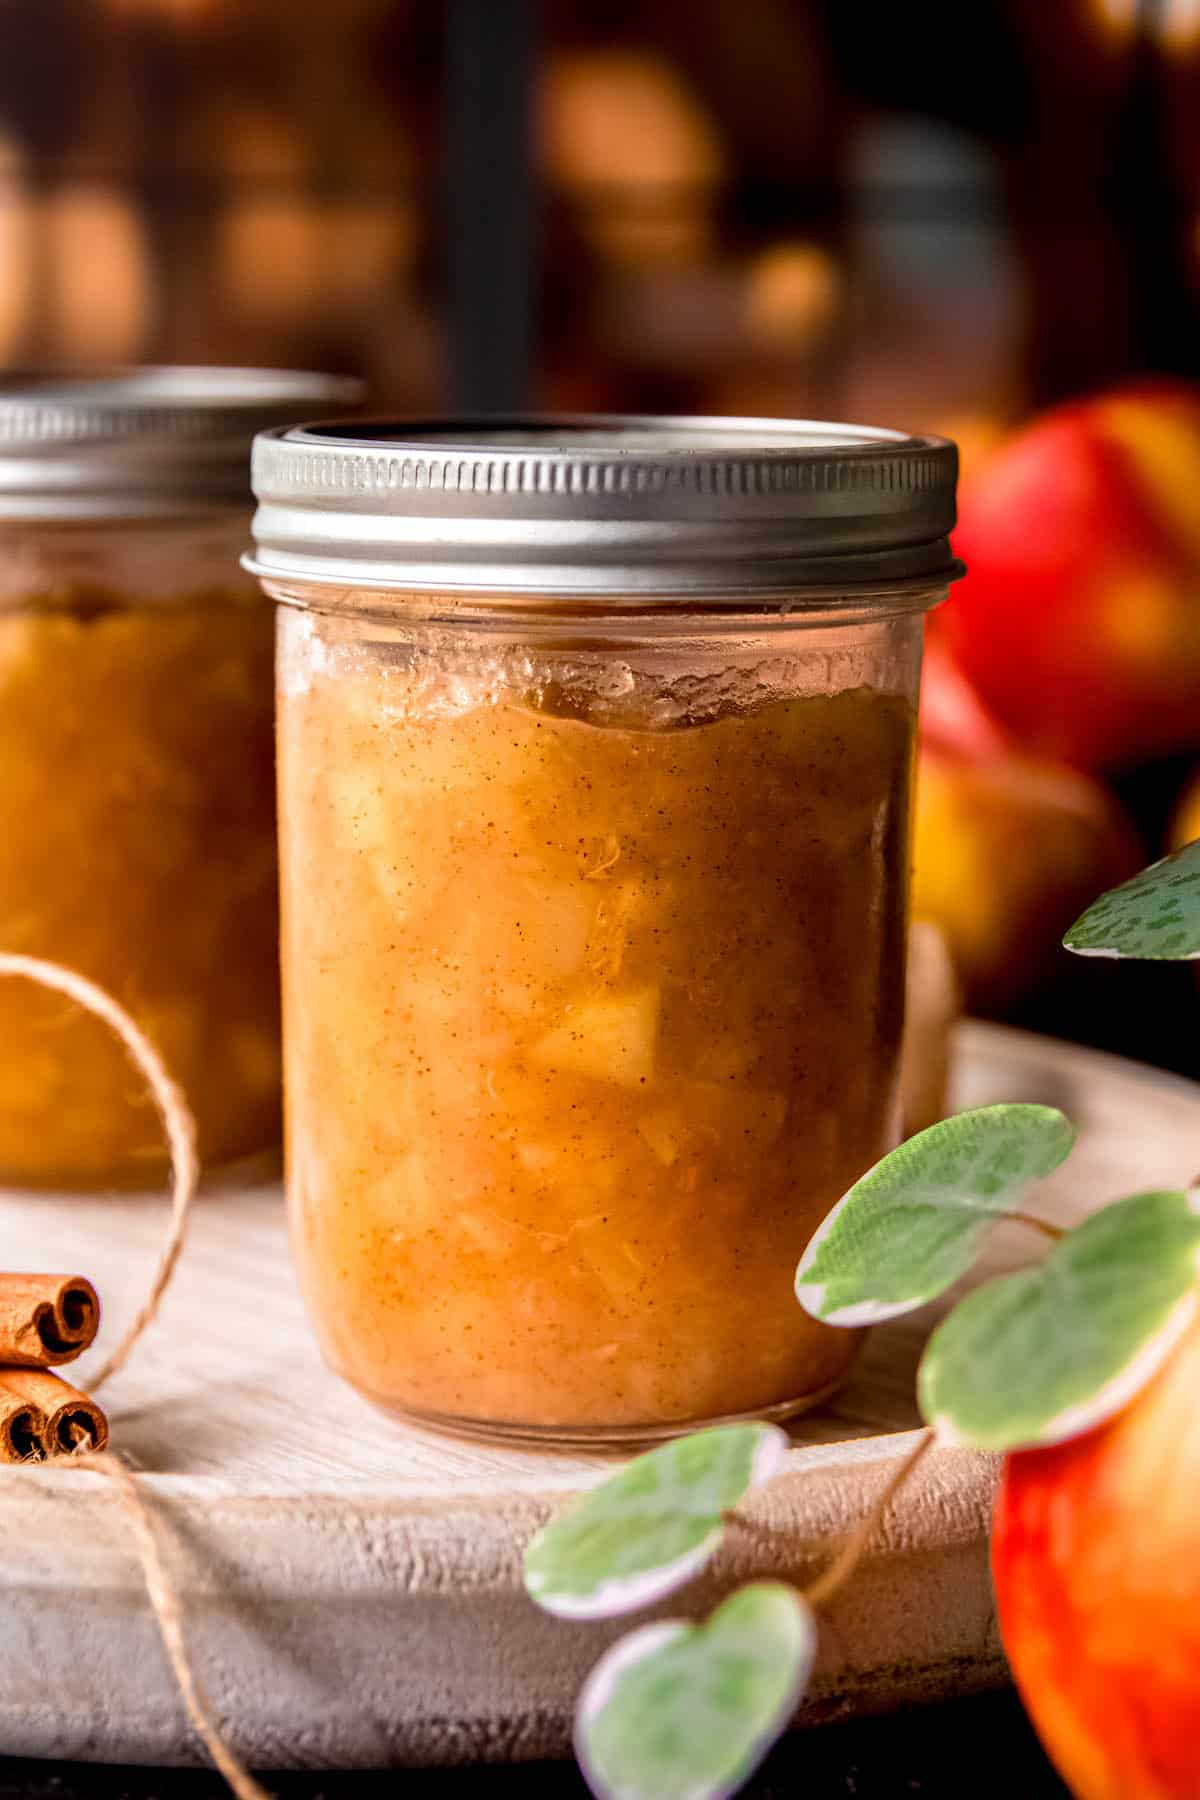
Step 4: Cool & Label. Remove the jars from the water to a clean kitchen towel, lid sides up. Using another clean kitchen towel, test to make sure the lids are fully tightened. Allow to rest undisturbed at room temperature for 8-12 hours. When the jars are dry and cool, label with the date and contents before storing.
Important Canning Note: The mason jar lids should suck in and create a vacuum seal during the cooling process—you’ll start hearing loud snaps in the kitchen after about an hour or two. (It’s alarming if you’re not expecting it!) If any don't pop in, unscrew the ring top and lightly press the lid to see if it will stick. If not, you can either process in the water bath again (this time increase how long you leave them in), or keep them in the fridge or freezer.
Optional Variations & Dietary Adaptations
The great thing about this recipe is that it is super adaptable to whatever use you’d like—applesauce, jam, or pie filling—based on how much liquid you add and whether or not you mash or purée it. Here are a few easy ways to make it work for you:
- Applesauce Recipe for Canning: If you prefer a looser apple sauce consistency, increase water to 1.5 cups for a longer simmer. If you’re not a fan of chunky texture, you're welcome to use an immersion blender or potato masher before canning, too.
- Cinnamon Apple Jam for Canning: For thicker, jammier consistency, add 1 tablespoon of canning pectin (liquid or powder) after the apples have cooked for 10 minutes. Make sure to remove from heat before adding, stir well to combine, and bring back to a simmer to finish cooking before mashing/puréeing to your liking. To test for jammy consistency, freeze a small plate (ceramic, glass, or metal) for about 20 minutes. Dollop the hot jam on the cold plate then return to the freezer for 1-2 minutes to see if it has achieved the "gel stage." It should firm up enough to hold its shape and wrinkle when touched. If it is still loose, continue cooking and/or add a bit more of your preferred thickener.
- Apple Pie Filling for Canning: If you prefer to make apple pie preserves, I recommend slicing your apples in about ½-inch thick slices instead of dicing them. You should also consider adding:
- An extra ½ cup of sugar or brown sugar to make it sweeter and more viscous,
- Your favorite apple pie spice blend (e.g. nutmeg, cloves, allspice, and/or cardamom),
- Vanilla or maple extract, and…
- Your favorite jam thickener (e.g. 1 Tablespoon of pectin, ¼ - ½ teaspoon of xanthan gum or guar gum, or 1 Tablespoon of powdered tapioca). Wait to add the thickener until after the apples have simmered for 10 minutes. Note that depending on the thickener you choose, you may need to make a slurry first.
- Add-Ins: This recipe is flexible, offering plenty of room for you to add any additional ingredients you like. Try adding a cinnamon stick for an extra pop of cinnmon, a teaspoon of vanilla extract for a warm hint of vanilla, or additional warming spices like star anise, ground cloves, nutmeg, or allspice. You could also mix in another fruit—apple pear preserves and apple cranberry preserves are both lovely! Note that depending on the fruit you choose, you may want to add a touch more sweetener.
- Added Sugar-Free: Keep things light and diabetic-friendly by swapping in your favorite cup-for-cup sugar alternative (e.g. monkfruit or stevia). You can also omit the sugar and use apple juice/cider instead of water!
Expert Tips
- Equipment Smarts. While not technically necessary, investing in a canning funnel, canning tongs, canning basket, and a lid rack, will make your life easier.
- Safety First. Sterilization is perhaps the most important thing for canning fruit preserves. Make sure the jars and lids are brought to a full boil and left for a minimum of 10 minutes to kill any bacteria.
- Acidity is another important factor for safe water bath canning—that’s why we add both lemon juice and apple cider vinegar.
- New Lids should be used each time you can for food safety, but feel free to use the same *sterilized* jar over and over!
- Granny Knows Best. While I encourage you to try making apple preserves with a variety of apples, I always recommend you add a couple of Granny Smith apples (or another puckery-tart variety) to the mix. They have a high acidity (unlike Fujis, for example) and a higher proportion of pectin, which contributes to a thicker, more viscous consistency.
- Batch Cook. This preserves recipe is for just 2.5 pounds of apples—a meager amount for an apple picking enthusiast like myself. You’re welcome to halve, double, triple, or quadruple the recipe depending on your needs and how big your jam pot is.
Serving Suggestions
Once you get a taste of these easy apple preserves, I have a feeling you’ll find no shortage of ways to put them to use. Here are a few simple ways to incorporate them at every meal:
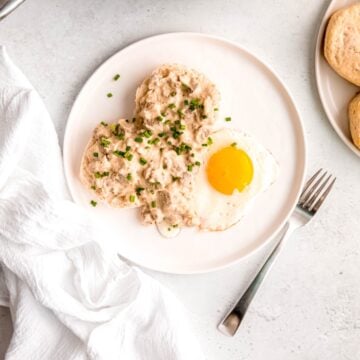
- Breakfast - Your morning toast (made with homemade sourdough discard bread or pumpkin spice bread?!?), high-protein overnight oats, baked cinnamon apple steel-cut oats, pumpkin pancakes, pumpkin waffles, yogurt parfaits, and breakfast banana splits are all excellent candidates for using this chunky apple jam recipe.
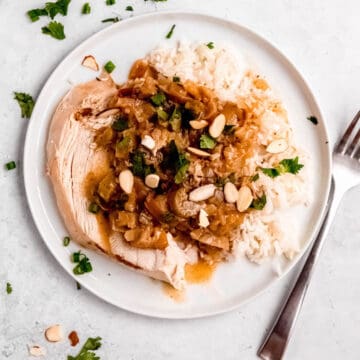
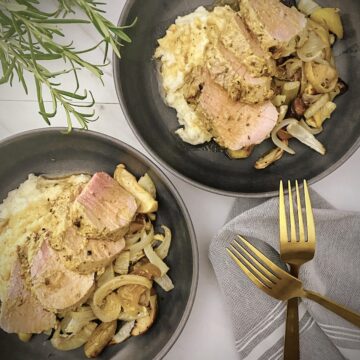
- Dinner - I love serving applesauce with sheet pan pork tenderloin, pork chops, roast duck, and even my Thanksgiving turkey breast.
- Dessert - Use these preserves for making a speedy apple pie (or individual fried apple pies made with empanada shells!), apple crisp, easy apple cobbler, or apple cinnamon monkey bread. For an even easier sweet tooth fix, simply warm it up and spoon it over vanilla or oatmeal cream pie ice cream. 😋
- Sharing is Caring - When times are tight, I love to make jams and preserves as an inexpensive homemade gift—they make great hostess gifts, wedding favors, stocking stuffers, and more! For added pizzazz, choose pretty mason jars and pretty labels, then gussy ‘em up with tags, stickers, washi tape, or scrap fabric with twine or ribbon. To spread the love further, use these adorable little jars.
Storage Directions
- Properly canned apple preserves will keep in a cool, dark pantry for 12-18 months. Note that any cans that do not seal correctly should either be re-water bath treated or stored in the fridge or freezer.
- Once opened, refrigerate and use within 2-4 weeks.
- For longer storage once opened, freeze for up to one year.
FAQs
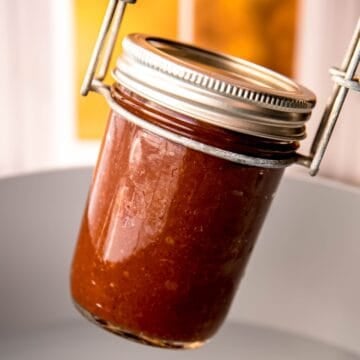
Apple preserves are a broad category of apples that have been preserved—that includes apple butter, apple jam, apple jelly, or apple chutney. Apple butter is a particular type of smooth, puréed whole fruit preserves that has been cooked over a long period, essentially caramelizing the apples. This recipe for apple preserves could be considered apple jam—it’s made with whole fruit and is kinda chunky. Finally, apple jelly is clear and spreadable, but made with apple juice instead of whole fruit.
When it comes to working through your apple stash, you have lots of options! Make these fruit preserves (shake things up by making jam, pie filling, and applesauce) or canned apple butter, use them for homemade apple chips, sheet pan chicken sausage dinners or sheet pan pork tenderloin with fall veggies, add them to this tangy-spicy-sweet turkey apple gravy, or make butternut squash apple soup to freeze.
One of my favorite things about apples is that they’re great for long-term storage—the apples you bought this summer were from last year’s crop! Simply keep them in the fridge or another cool spot like a root cellar. For even longer-term storage, try canning apple preserves like spiced apple jam, applesauce, or apple butter.
While there are fancy electric versions, you don't need 'em. To make a water bath canner, all you need is a large stock pot that your mason jars will fit in and be covered by at least 2 inches of water.
More Apple Recipes
If you tried this recipe and loved it, be sure to rate and review it below! For more inexpensive and delicious recipe inspiration, be sure to follow me on Pinterest. You can also get all of my newest content delivered straight to your inbox by signing up for my email newsletter!
Apple Preserves for Canning (Jam, Pie Filling or Apple Sauce Options!)
Equipment
- Vegetable Peeler or Paring Knife
- Chopping Board
- Sterilized Mason Jars
- Large Stock Pot
- Canning Rack, Tongs, & Funnel optional, but useful
- Mason Jar Lid Rack optional, but useful
Ingredients
- 2.5 pounds Apples diced fine. I recommend using a variety of firm, sweet tart apples like Pink Lady & Granny Smith
- 1 C Water or apple juice for sweeter
- ½ C Granulated Sugar or brown sugar for more caramel undertones
- 1 tablespoon Apple Cider Vinegar
- 1 Lemon juice & zest
- 1 teaspoon Ground Cinnamon (Optional) or other warming spice/spice blend of choice. You may add as much as you like!
- ½ teaspoon Fine Sea Salt or Kosher
Instructions
- Wash, peel, and finely dice apples. (You may also use larger chunks or slices if you prefer.)2.5 pounds Apples
- Add prepared apples, water, sugar, ACV, lemon zest and juice, spices (if using), and sea salt to a heavy-bottomed saucepan. Stir to combine.1 C Water, ½ C Granulated Sugar, 1 tablespoon Apple Cider Vinegar, 1 Lemon, 1 teaspoon Ground Cinnamon (Optional), ½ teaspoon Fine Sea Salt
- Bring the mixture to a simmer over medium-low heat. Continue to simmer, stirring occasionally, until the water is mostly evaporated and the apples are soft and well-glazed. This should take about 20-25 minutes.
- While the apples are simmering, sterilize your mason jars and lids by boiling in a large water bath (large stock pot filled with water) for 10 minutes. Carefully remove the sterilized jars and lids to a clean kitchen towel to dry.
- Once the preserves have finished cooking and are still hot, spoon them into your sterilized jars, leaving ½ inch of headroom at the top. Place the lids on and tighten.
- Lower the cans into the water bath, bring to a boil, and process for 15-25 minutes. (Longer times are appropriate for larger jars or at altitude. You'll know if they processed long enough if the jar snaps shut during cooling.) Remove the water bath from heat and allow the cans to rest in the water for 5 more minutes.
- Remove the jars from the water to a clean kitchen towel, lid sides up. Using another clean kitchen towel, test to make sure the lids are fully tightened. Allow to rest undisturbed at room temperature for 8-12 hours. When the jars are dry and cool, label with the date and contents before storing. NOTE: The mason jar lids should suck in and create a vacuum seal during the cooling process. If any don't, lightly press the lid to see if it will stick. If not, you can either process in the water bath again, or keep them in the fridge.
Notes
- Properly canned apple preserves will keep in a cool, dark pantry for 12-18 months.
- Once opened, refrigerate and use within 2-3 weeks.
- Any cans that do not seal correctly should either be re-water bath treated or stored in the fridge and used within 2-3 weeks. Please refer to the UGA methods for checking your seals.
- For longer storage once opened, freeze for up to 3 months.
- Applesauce Recipe for Canning: If you prefer a looser apple sauce consistency, increase water to 1.5 cups for a longer simmer. If you’re not a fan of chunky texture, you're welcome to use an immersion blender or potato masher before canning, too.
- Cinnamon Apple Jam for Canning: For thicker, jammier consistency, add 1 tablespoon of canning pectin (liquid or powder) after the apples have cooked for 10 minutes. Make sure to remove from heat before adding, stir well to combine, and bring back to a simmer to finish cooking before mashing/puréeing to your liking. To test for jammy consistency, freeze a small plate (ceramic, glass, or metal) for about 20 minutes. Dollop the hot jam on the cold plate then return to the freezer for 1-2 minutes to see if it has achieved the "gel stage." It should firm up enough to hold its shape and wrinkle when touched. If it is still loose, continue cooking and/or add a bit more of your preferred thickener.
- Apple Pie Filling for Canning: If you prefer to make apple pie preserves, I recommend slicing your apples in about ½-inch thick slices instead of dicing them. You should also consider adding:
- An extra ½ cup of sugar or brown sugar to make it sweeter and more viscous,
- Your favorite apple pie spice blend (e.g. nutmeg, cloves, allspice, and/or cardamom),
- Vanilla or maple extract, and…
- Your favorite jam thickener (e.g. 1 Tablespoon of pectin, ¼ - ½ teaspoon of xanthan gum or guar gum, or 1 Tablespoon of powdered tapioca). Wait to add the thickener until after the apples have simmered for 10 minutes. Note that depending on the thickener you choose, you may need to make a slurry first.
- Add-Ins: This recipe is flexible, offering plenty of room for you to add any additional ingredients you like. Try adding a cinnamon stick for an extra pop of cinnmon, a teaspoon of vanilla extract for a warm hint of vanilla, or additional warming spices like star anise, ground cloves, nutmeg, or allspice. You could also mix in another fruit—apple pear preserves and apple cranberry preserves are both lovely! Note that depending on the fruit you choose, you may want to add a touch more sweetener.
- Added Sugar-Free: Keep things light and diabetic-friendly by swapping in your favorite cup-for-cup sugar alternative (e.g. monkfruit or stevia). You can also omit the sugar and use apple juice/cider instead of water!
- Equipment Smarts. While not technically necessary, investing in a canning funnel, canning tongs, canning basket, and a lid rack, will make your life easier.
- Safety First. Sterilization is perhaps the most important thing for canning fruit preserves. Make sure the jars and lids are brought to a full boil and left for a minimum of 10 minutes to kill any bacteria.
- Acidity is another important factor for safe water bath canning—that’s why we add both lemon juice and apple cider vinegar.
- New Lids should be used for each time you can, but feel free to use the same jar over and over!
- Granny Knows Best. While I encourage you to try making apple preserves with a variety of apples, I always recommend you add a couple of Granny Smith apples (or another puckery-tart variety) to the mix. They have a high acidity (unlike Fujis, for example) and a higher proportion of pectin, which contributes to a thicker, more viscous consistency.
- Batch Cook. This preserves recipe is for just 2.5 pounds of apples—a meager amount for an apple picking enthusiast like myself. You’re welcome to halve, double, triple, or quadruple the recipe depending on your needs and how big your jam pot is.
Vicki says
Delicious!! And easy to make!
Ash, The Grocery Addict says
That makes me so happy to hear, Vicki!
Tara says
This is a great recipe (tastes great and canned up beautifully - I used the water bath method), but the canning instructions are INCORRECT. Don't follow those or you could get sick. Refer to the user manual with your canner for proper instructions.
Ash, The Grocery Addict says
Hi Tara, thanks for the recipe love! I'm glad you enjoyed it. That said, I did use canning instructions per the University of Georgia's National Center for Home Food Preservation. I'm not here to get anyone sick!
Tara says
Appreciate the link! The part about pushing down on any lids that don't seal to see if they seal creates a *false seal* and should never be considered safe for pantry storage. That being said, 2 of my jars didn't seal so am making an apple pie cookie recipe with this delicious apple mixture. We also used some on top of French toast a couple days ago...so good!
Ashley Schuering says
That sounds delicious!! I'm so, so thrilled y'all like it. The UGA site says that if you press and it stays down it's good. (Here's another link: https://nchfp.uga.edu/how/can/general-information/cooling-jars-and-testing-jar-seals/) But, I should add a note that you need to remove the screw-ring first to double check that it sticks on its own. Thanks for looking out!! 🙂