
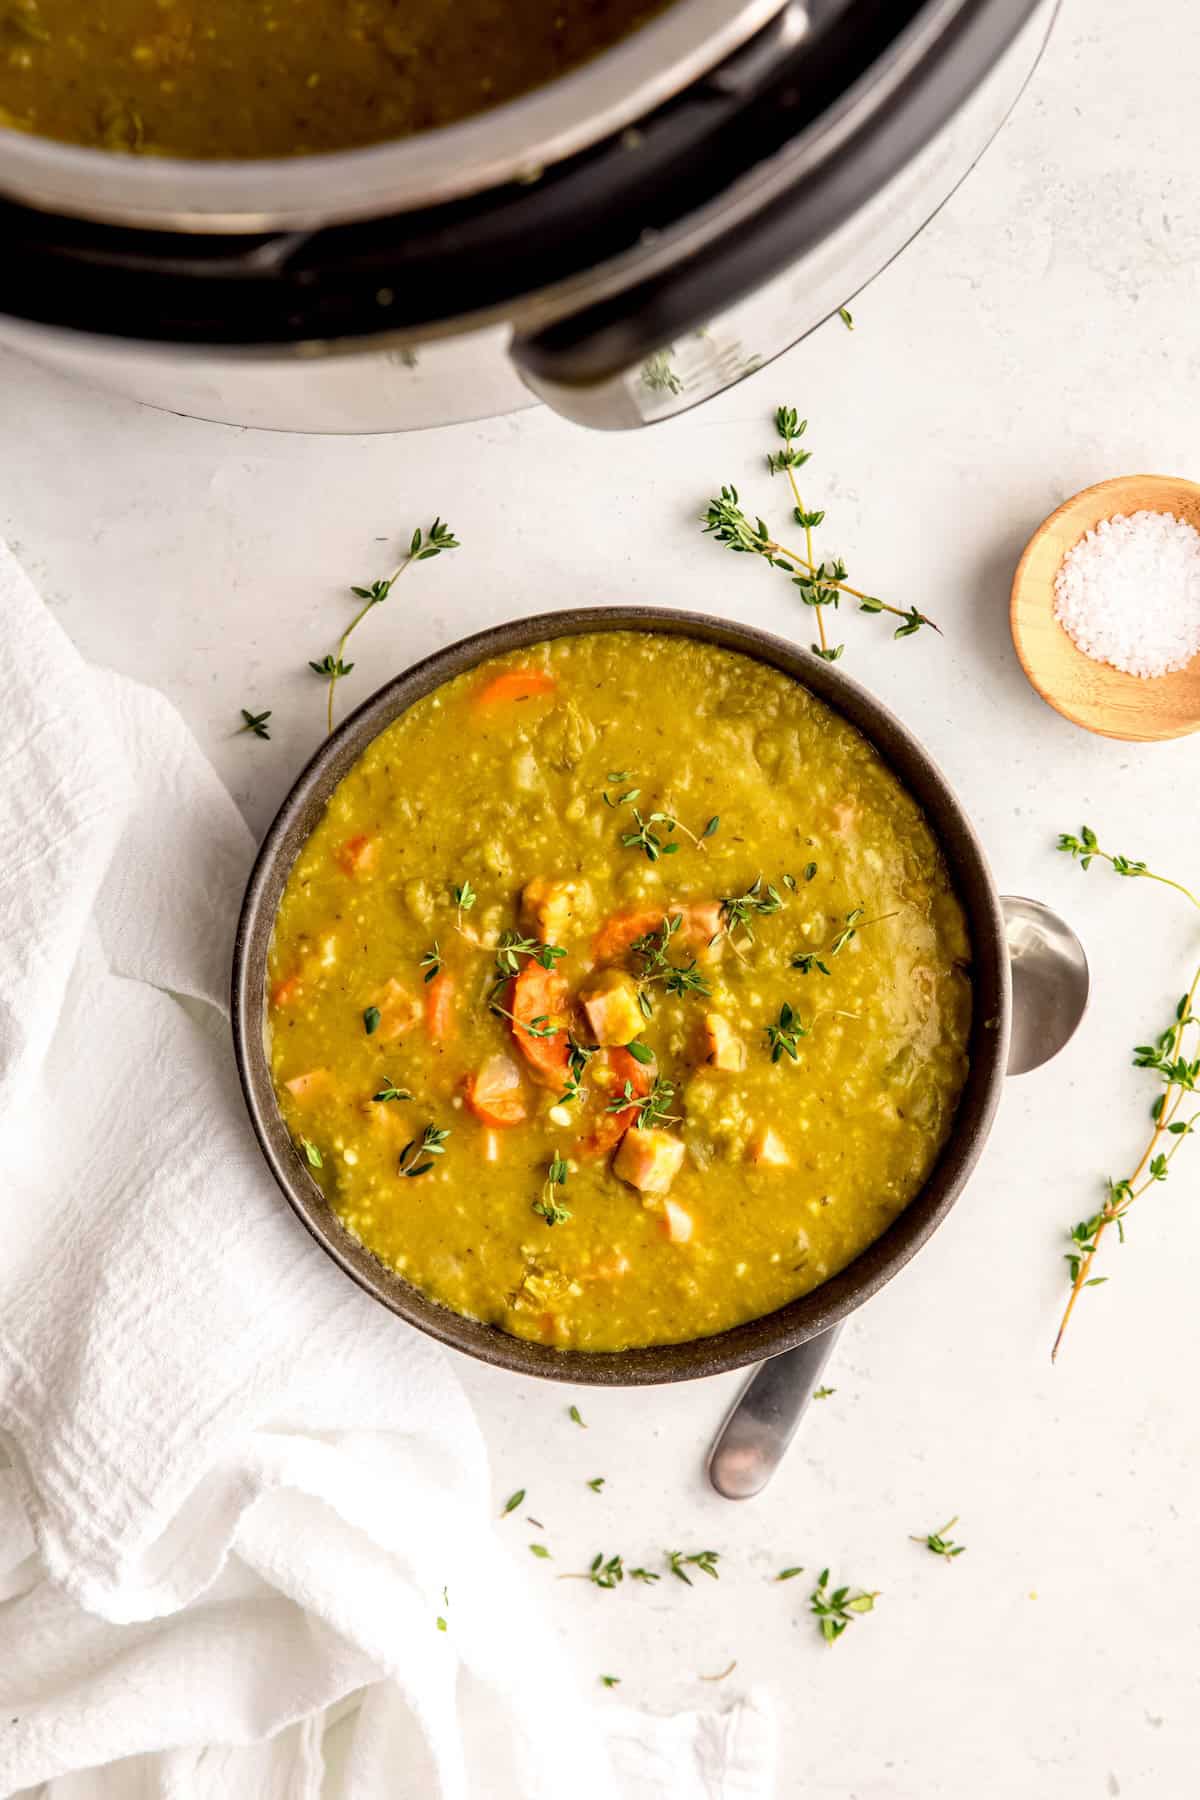
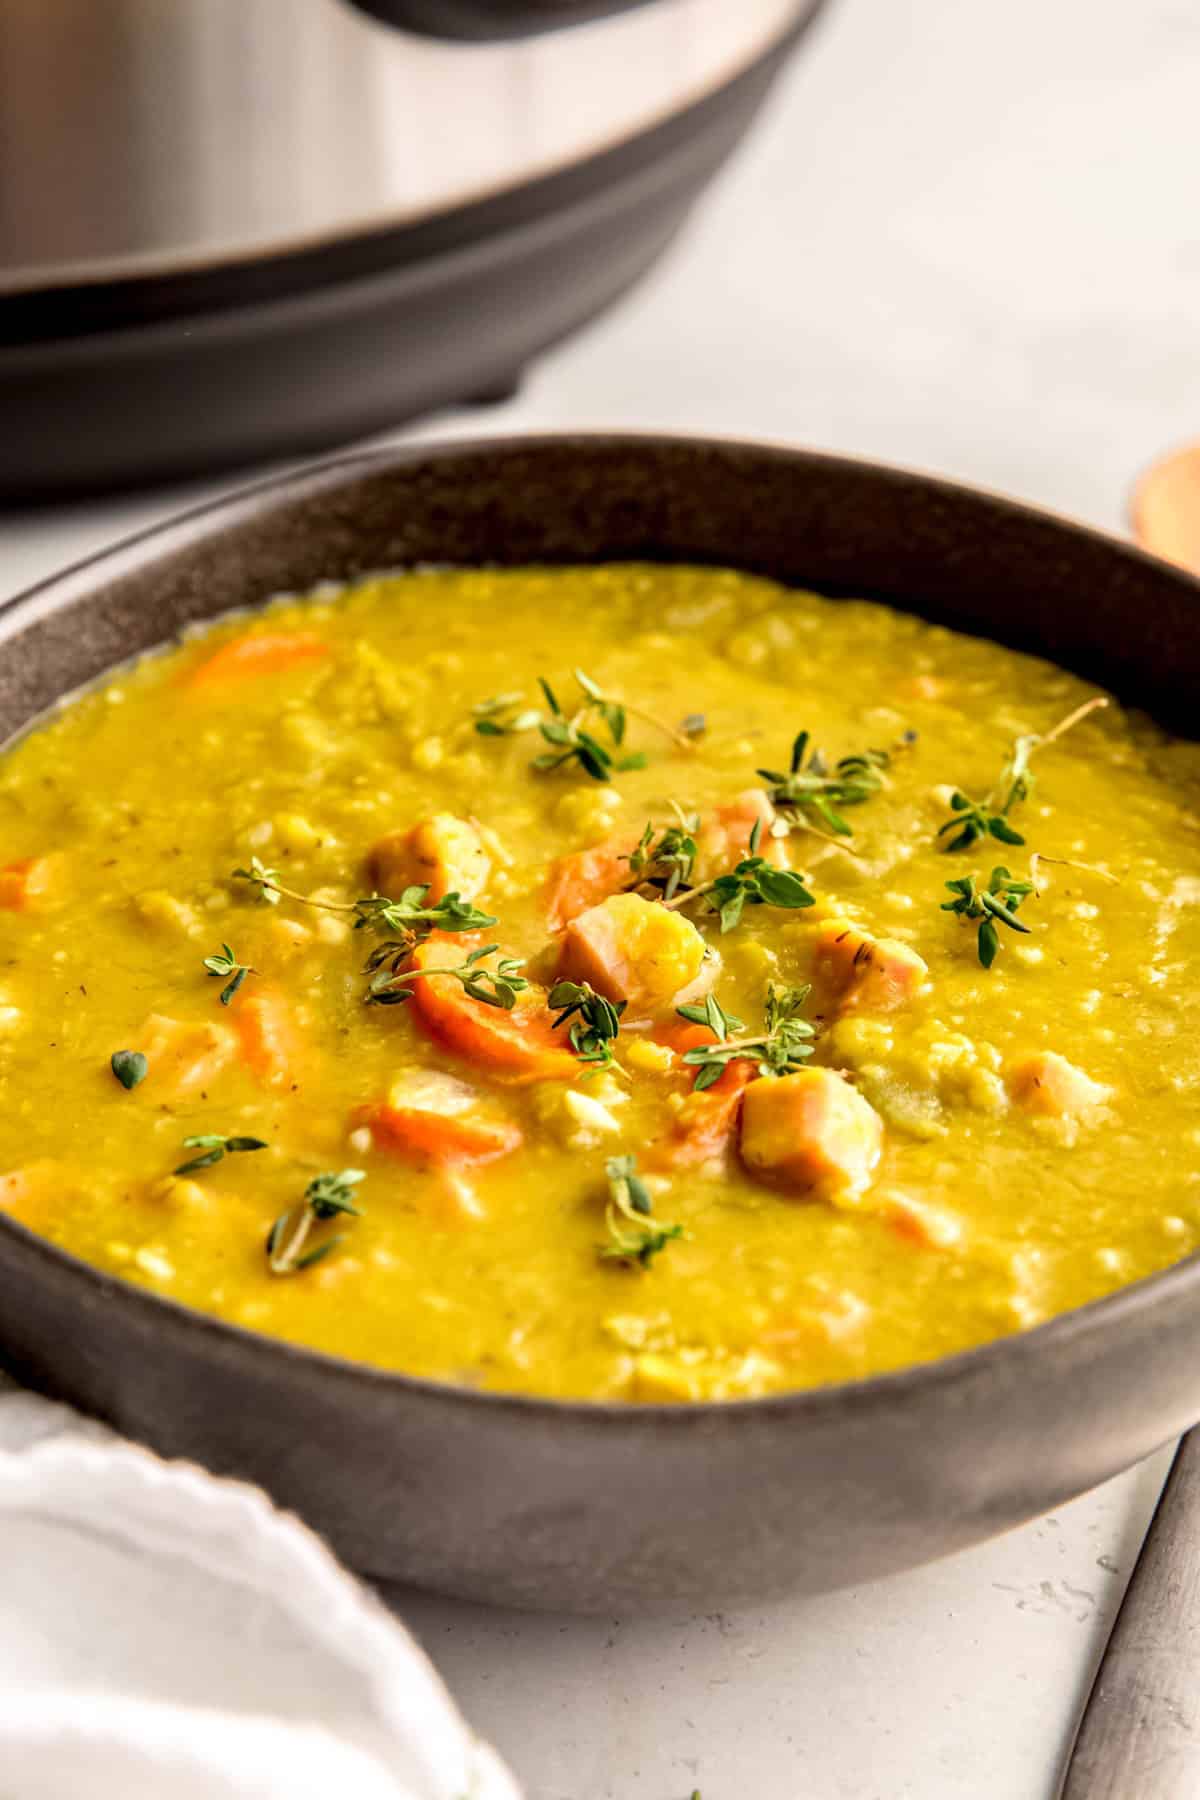
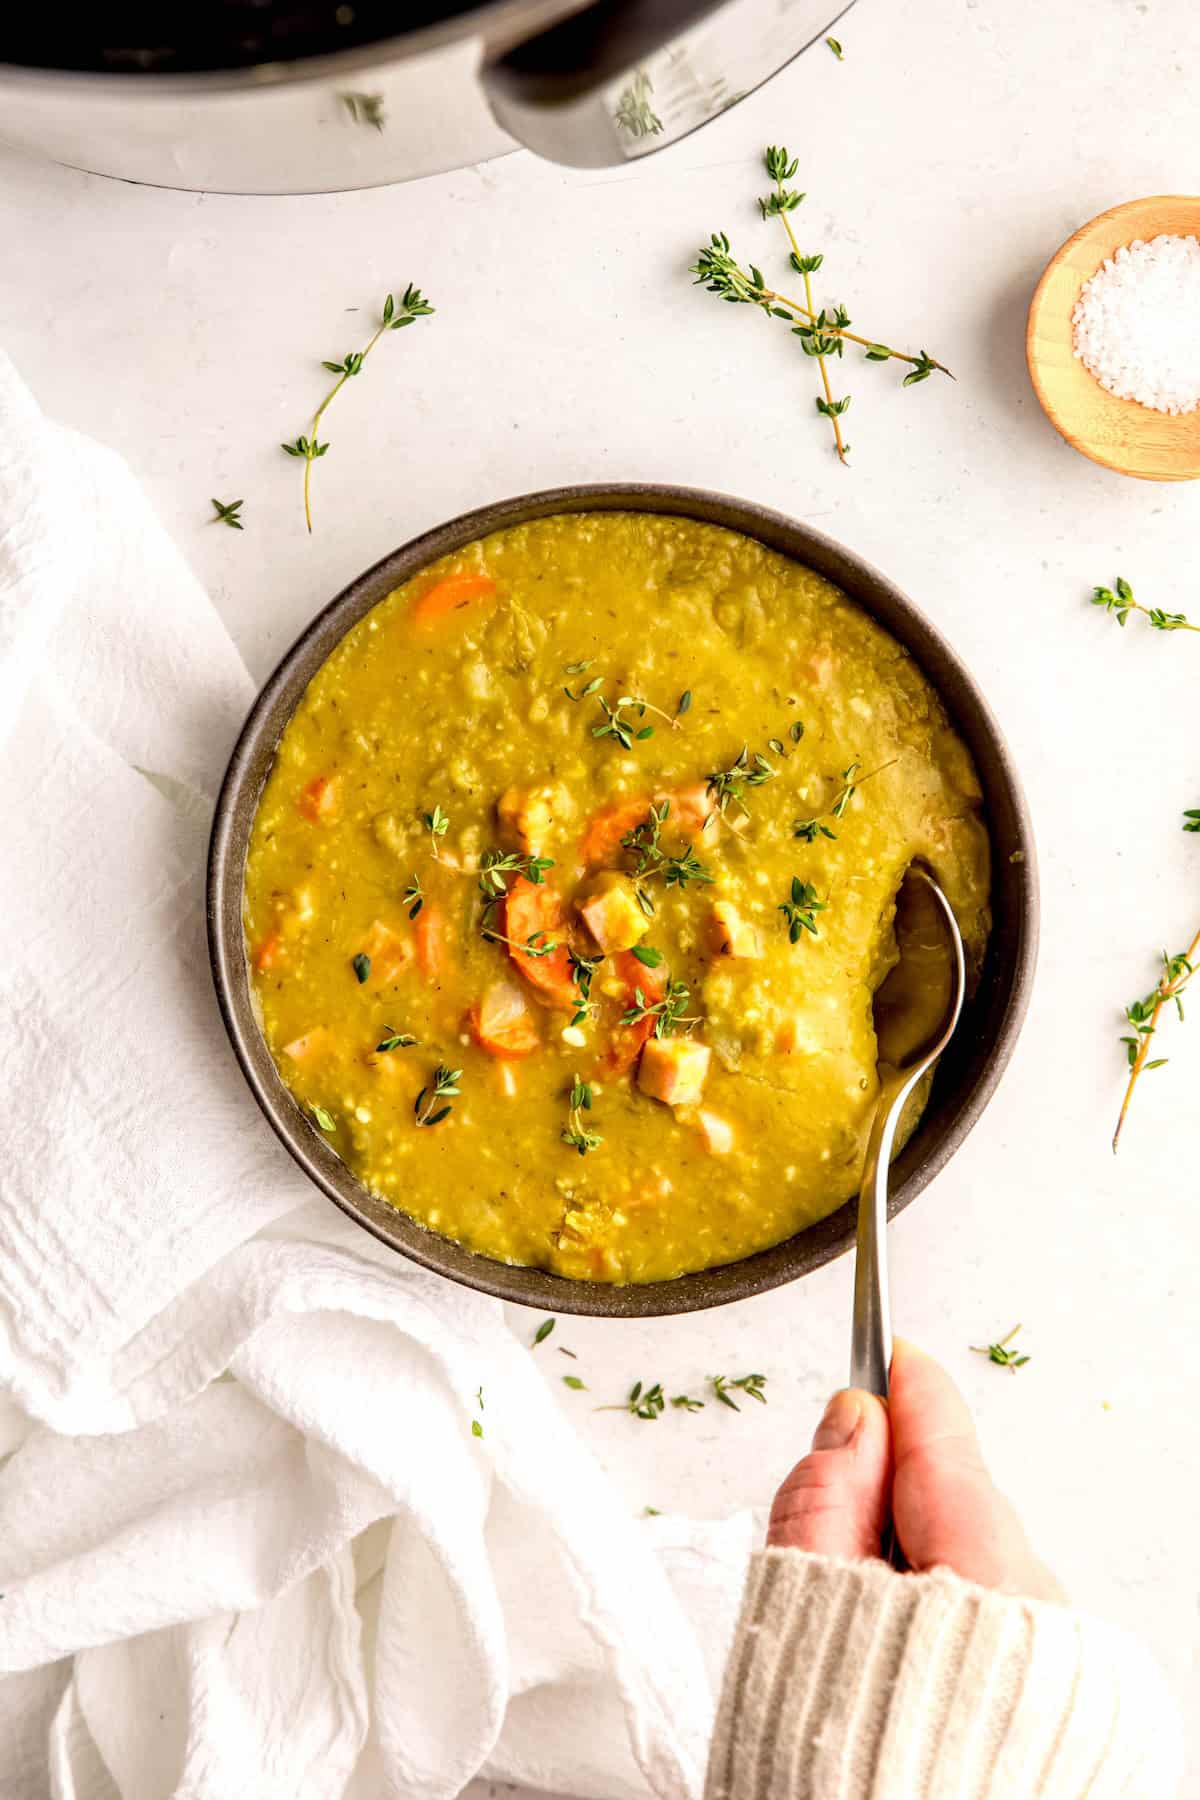
My deliciously hearty Instant Pot Split Pea Soup shortens an hourslong recipe down to a mere 30 minutes, making this a totally achievable weeknight feast. Whether you make it vegetarian or opt to add salty ham or smoked turkey, this is the kind of stick-to-your-ribs meal that’ll earn a regular spot in your rotation!
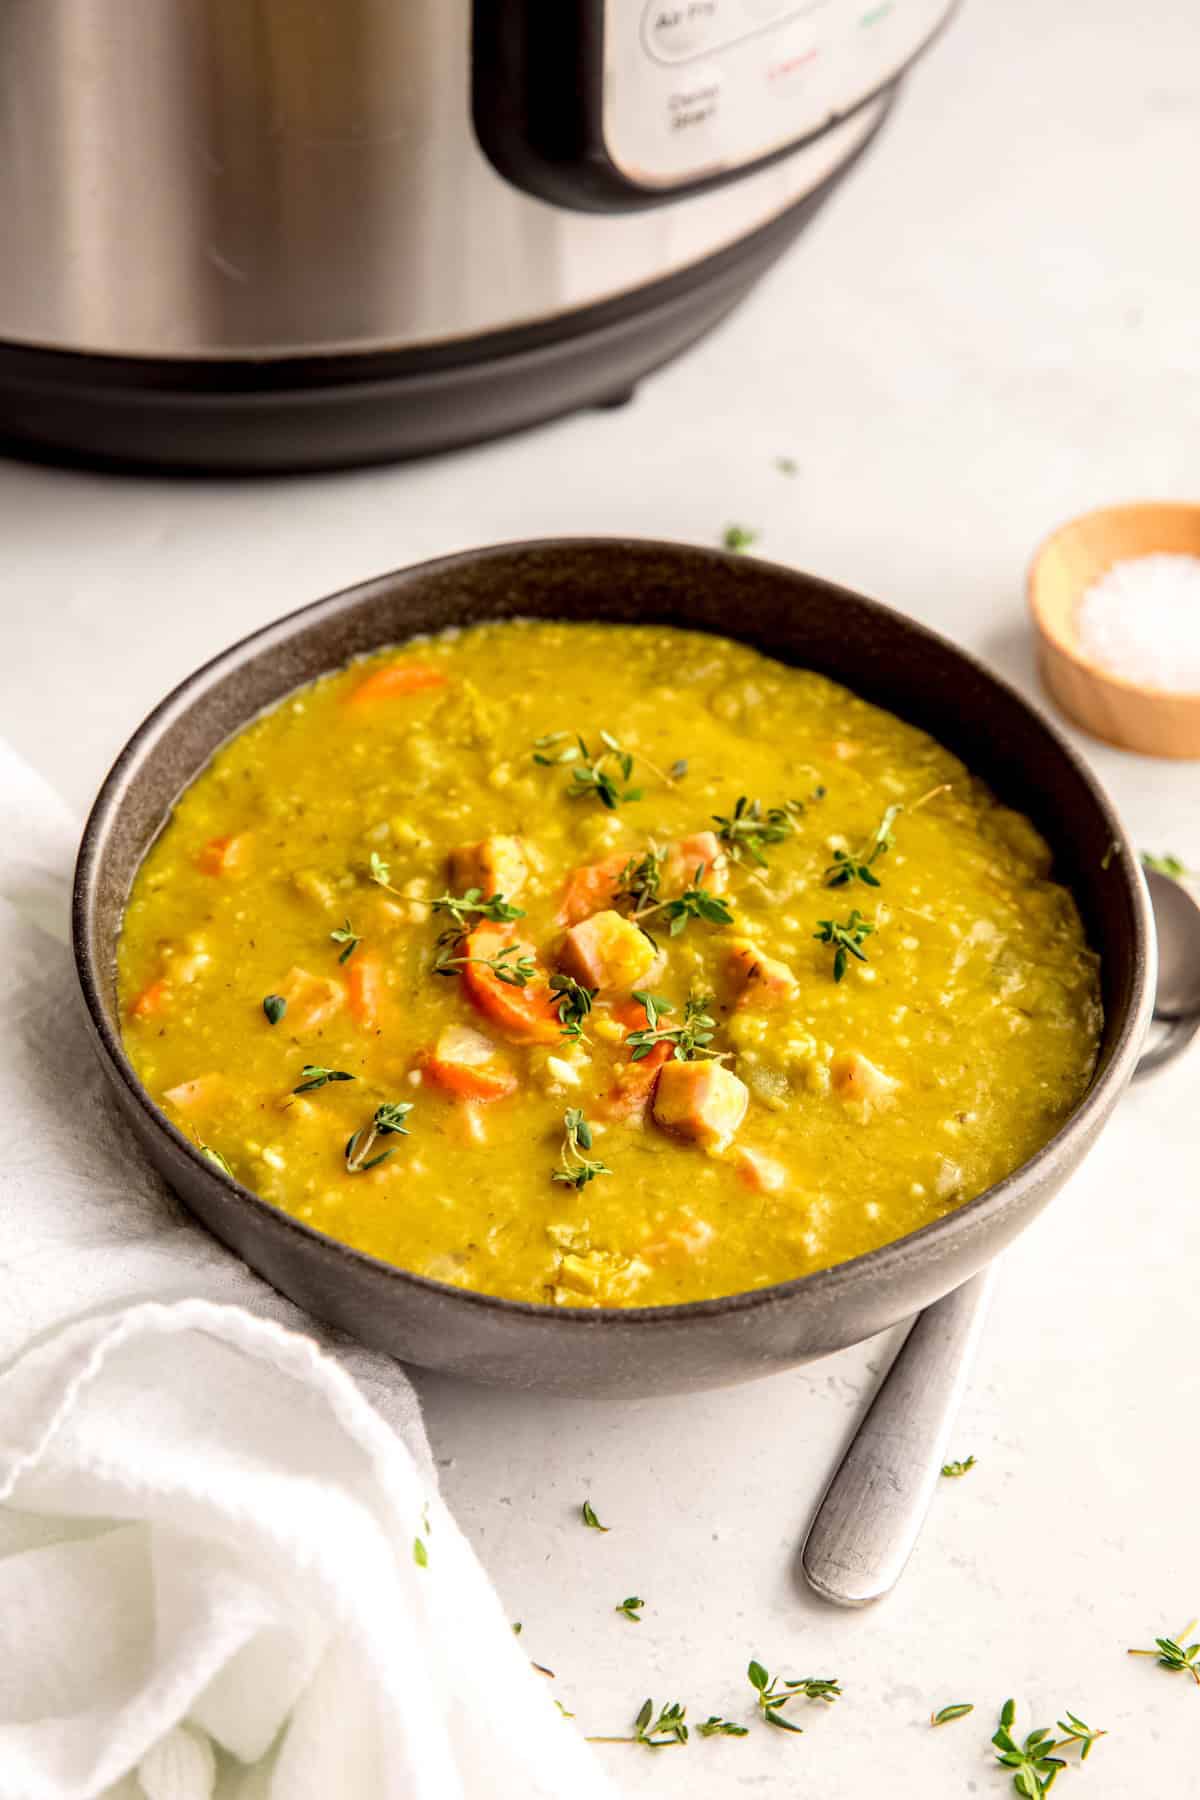
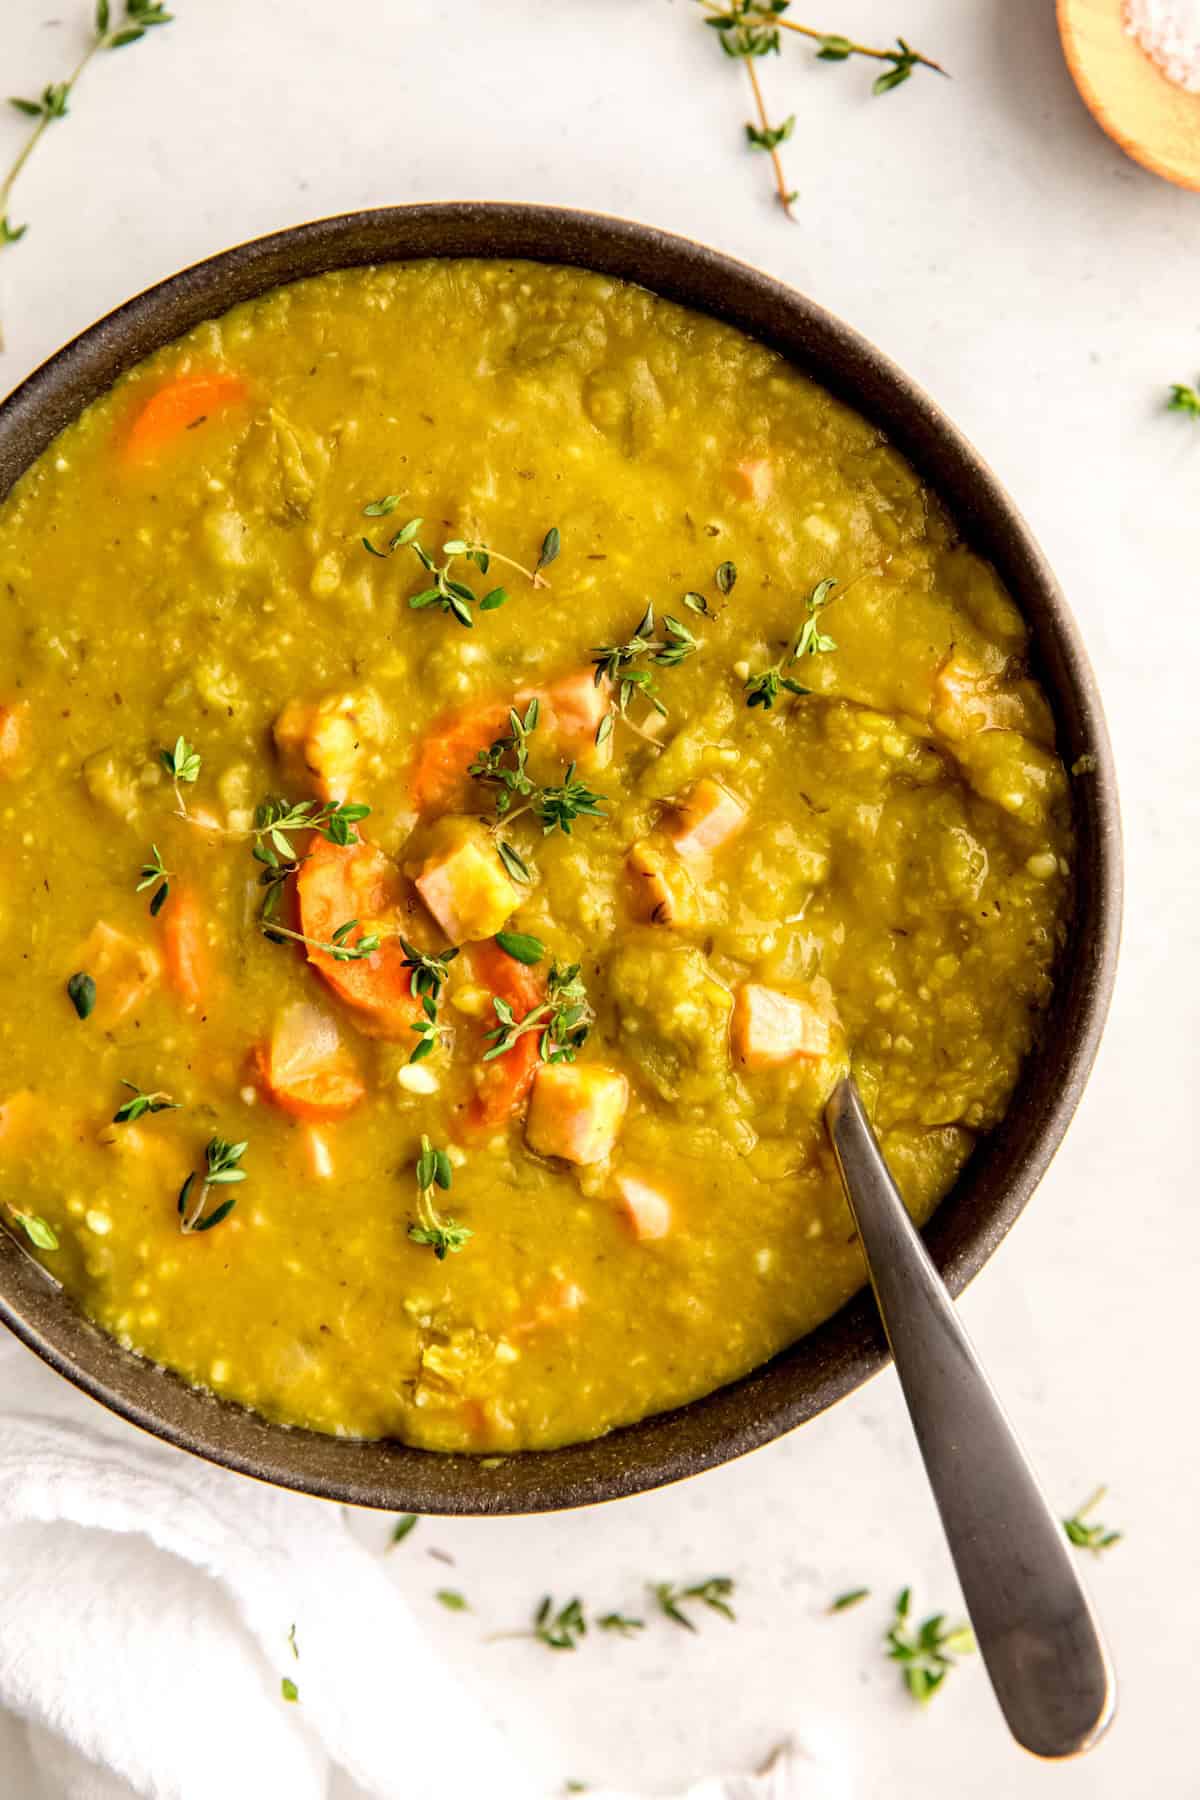
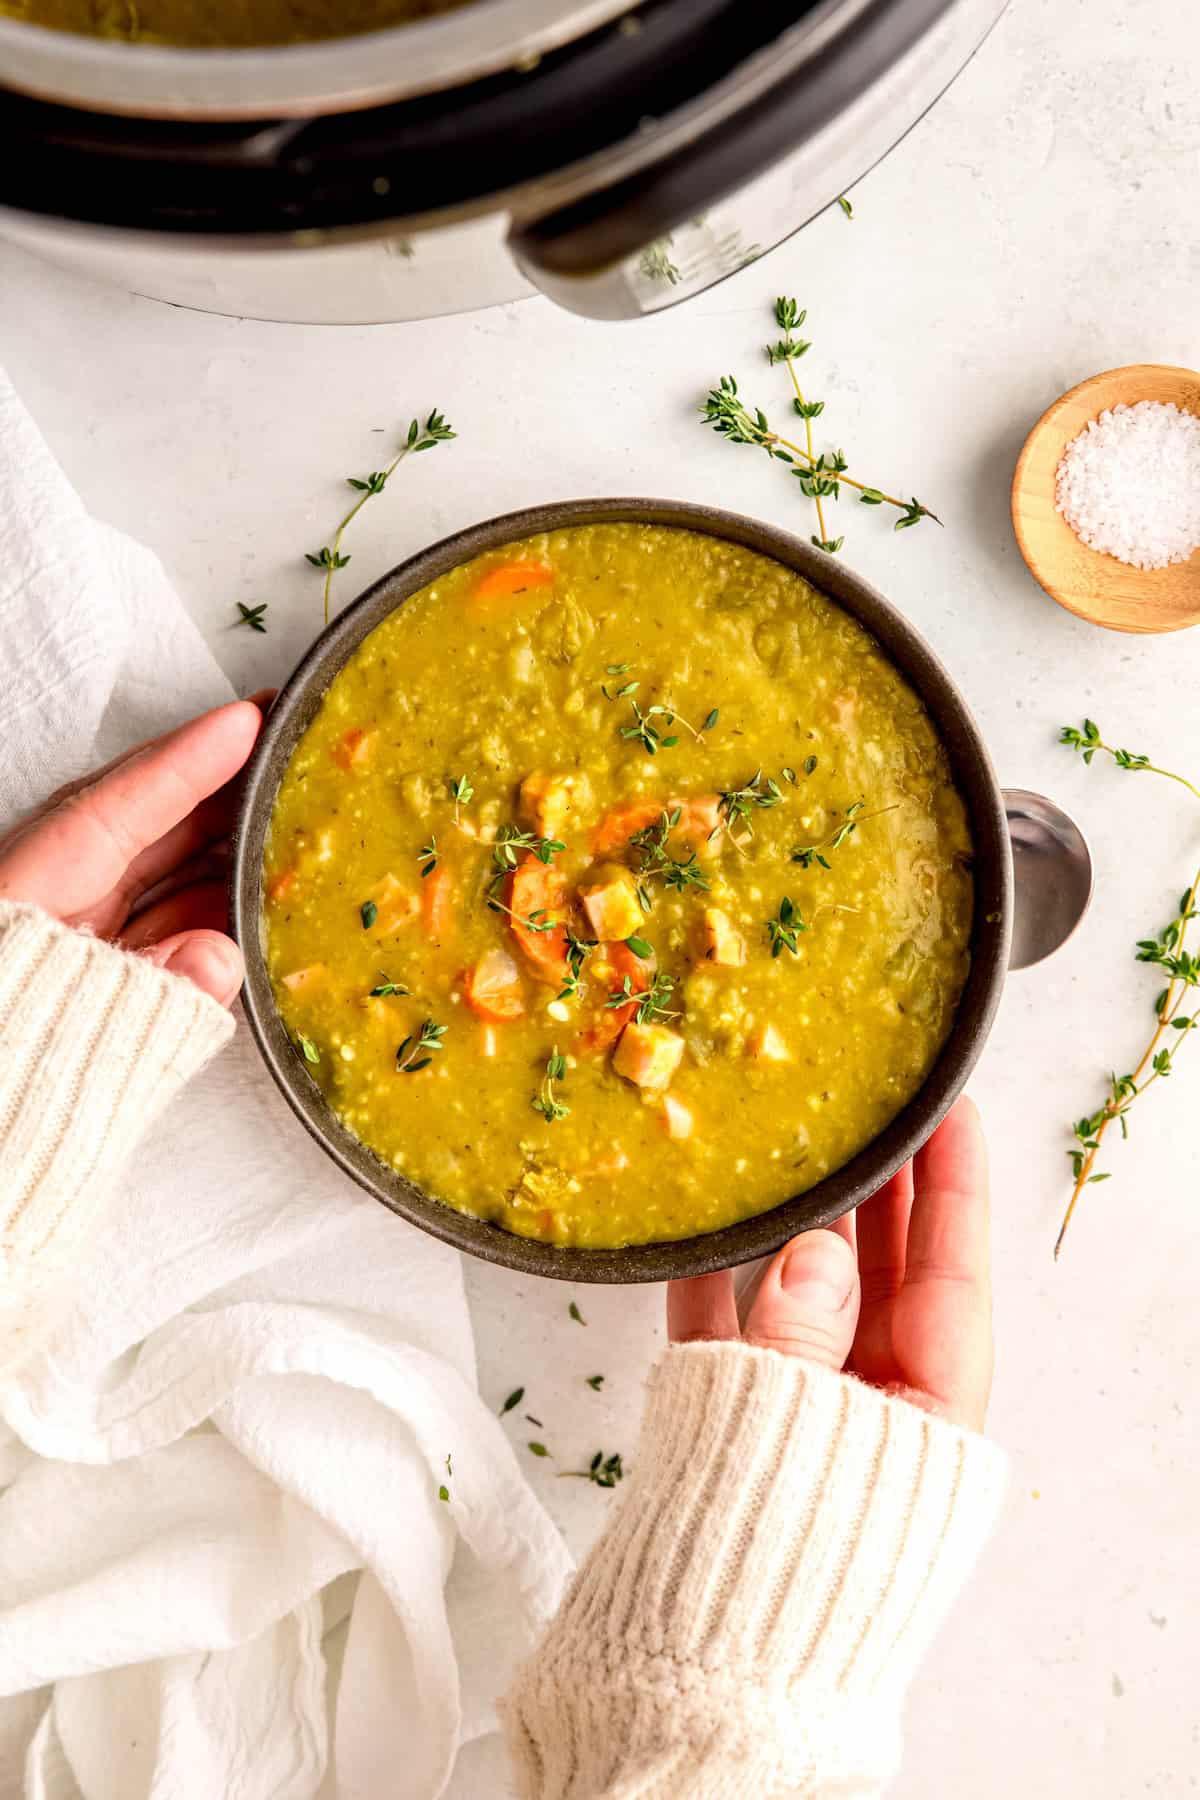
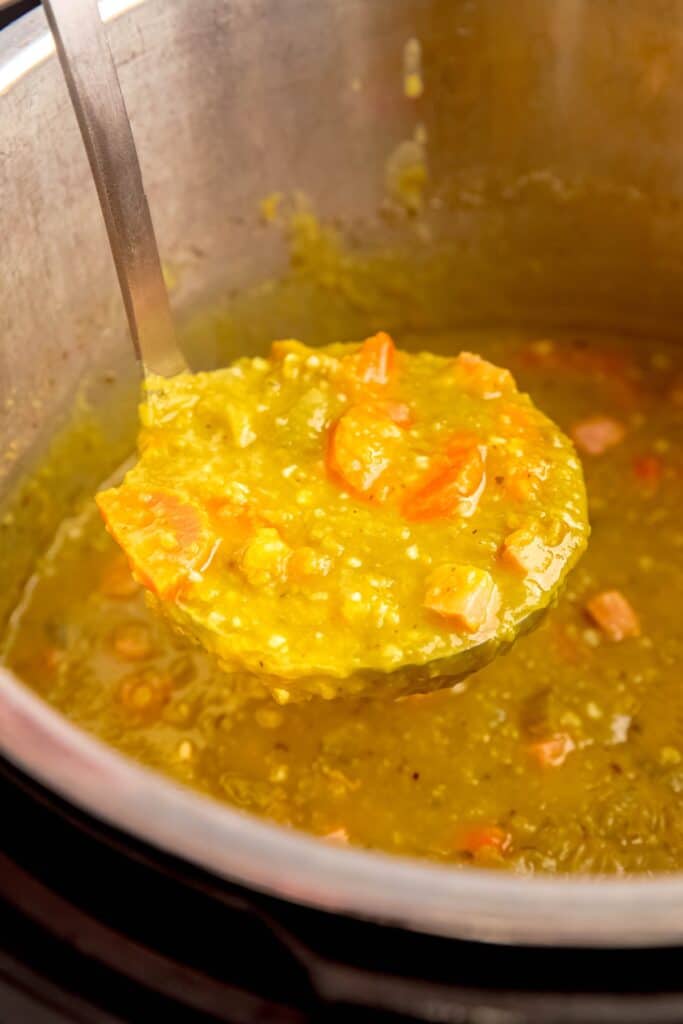
Maybe I was a weird kid, but split pea and ham soup has been one of my favorite meals since I was little. The peas become creamy and soft, thickening up the broth to a quasi chowder. Bites of salty pork cut through the almost sweet base. Chunks of veggies add heft to every spoonful. Add a slice of buttered sourdough toast, and I'm in heaven!
While this classic split pea soup recipe mimics the one my mom used to make, I’ve adapted it to the Instant Pot method, shaving off roughly 70% of the cooking time. It’s also easy to adapt to your preferences—I’ve made this recipe with ham hocks, chopped deli ham, smoked turkey neck, bacon, and even meat-free, and it’s delicious every time!
Love a good Instant Pot dinner recipe? Me too! Check out my Instant Pot beef stew, Instant Pot vegetable soup, Instant Pot navy bean soup and gluten-free Instant Pot loaded baked potato soup next!
Jump to:
Why You’ll Love Instant Pot Split Pea and Ham Soup
- Quick & Easy - Aside from chopping mirepoix (onion, celery, and carrot), ham, and garlic, this easy split pea soup recipe requires almost no hands-on work. Let the Instant Pot do the heavy lifting, and you'll have a steaming bowl ready in less than an hour!
- Cozy & Comforting - This is the ultimate bowl of comfort food. It’s thick, creamy, and warming from the first spoonful. Better yet, it’ll fill your kitchen with a savory aroma as it cooks, making you want to curl up with a blanket and a big bowl.
- Cheap & Delicious - It cost less than $10 (in 2026 prices) for me to make a full batch. If you're looking for a good rent-week staple that doesn't skimp on flavor, this Instant Pot pea soup is here to deliver!
Ingredients & Substitutions
You only need a few simple ingredients to make this hearty soup recipe:
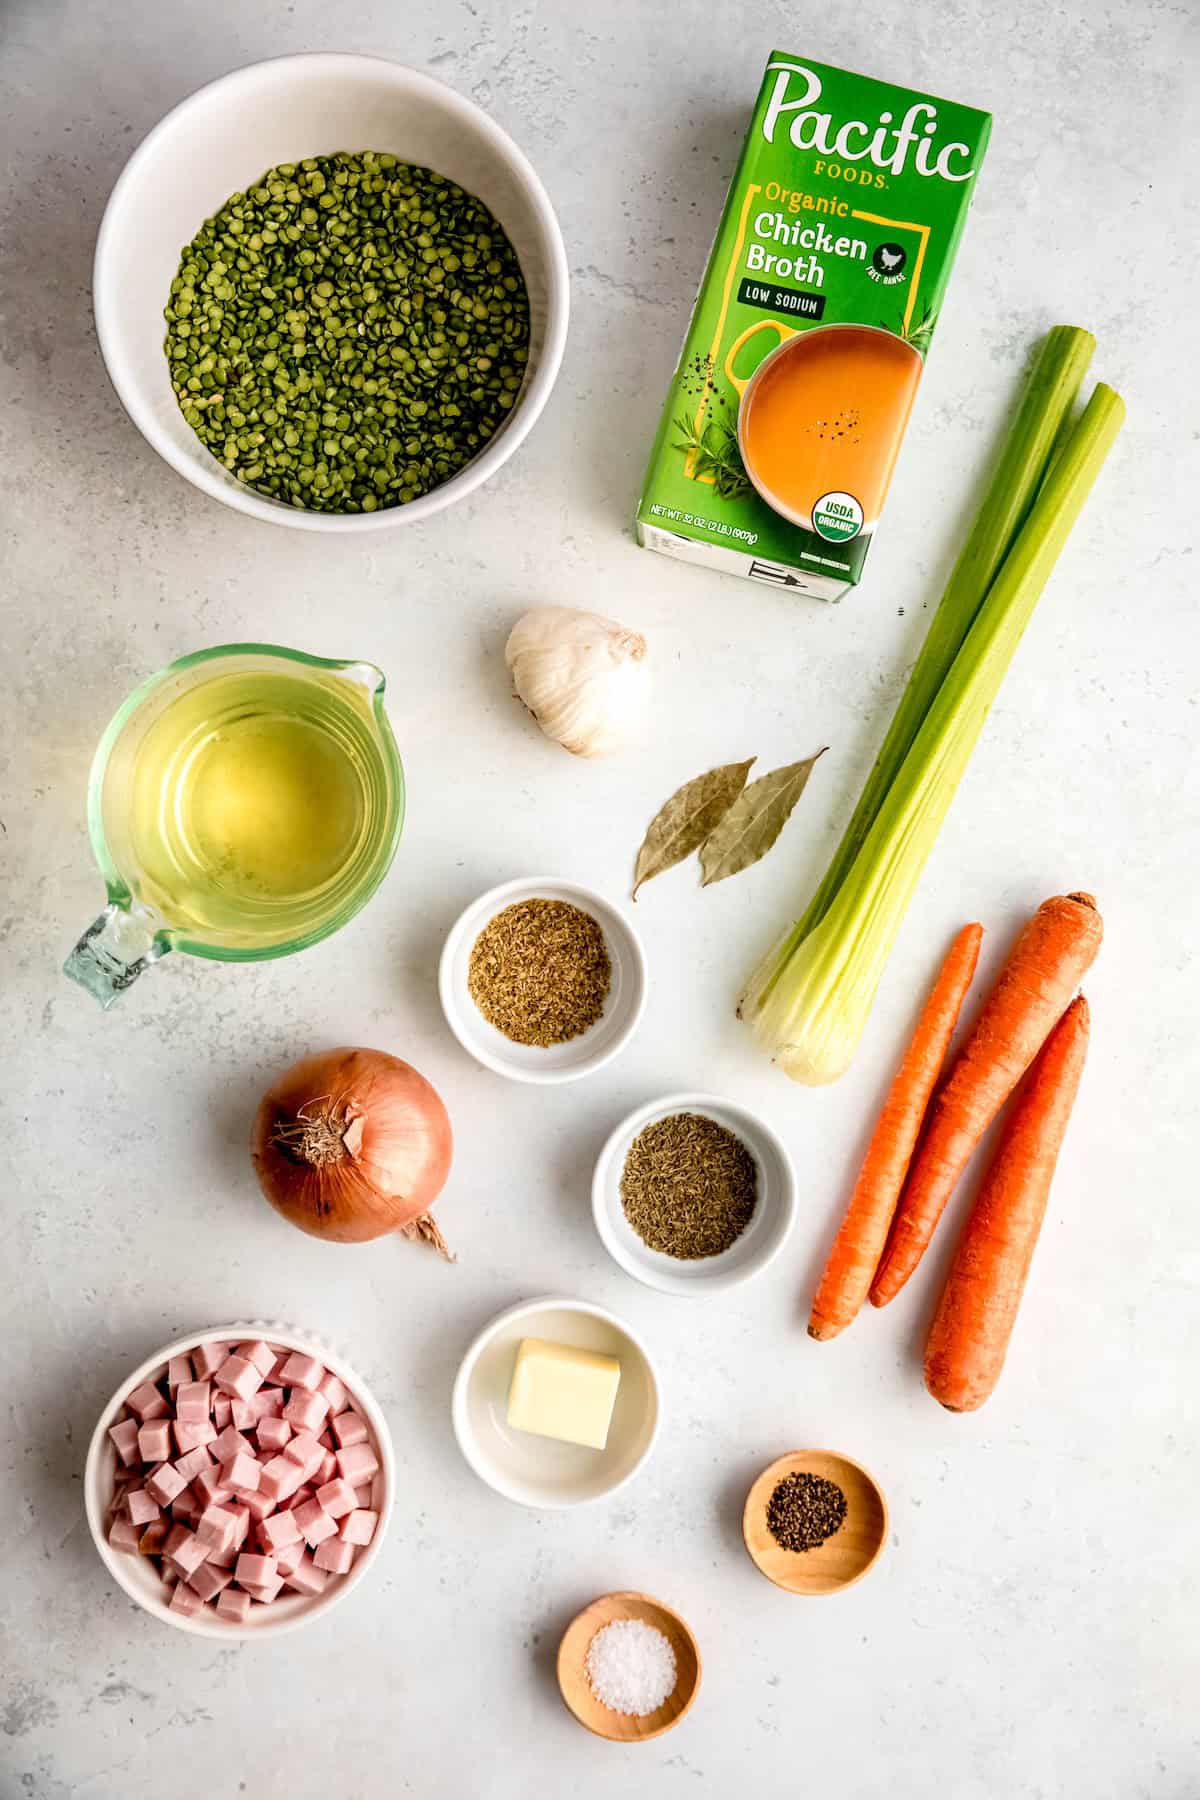
- Butter - This gets the veggies going and adds a little richness to the base. Feel free to swap in olive oil if you want to keep things dairy-free.
- Yellow Onion - Your classic soup base—sweet, savory, and it melts right into the broth as it cooks. Feel free to swap in red or white onion if needed.
- Carrots - These add a hint of natural sweetness that plays so well against the salty ham and earthy peas. Parsnips will do in a pinch!
- Celery Stalks - Rounds everything out with a subtle, herbal flavor only celery can bring. Don't skip it!
- Cooked Ham - This is where all that salty, smoky flavor comes from. No ham on hand? Ham hock, smoked turkey neck or leg, and bacon all work beautifully. Keeping it vegetarian? Just leave the meat out entirely—it's still delicious.
- Garlic - Because is there ever a soup that isn't better with garlic? Fresh is ideal, but garlic powder can step in if that's what you've got. Use ¼ teaspoon per clove of fresh.
- Dried Thyme & Dried Oregano - These two bring a cozy, herby warmth to the pot. If needed, a spoonful of Italian seasoning will do the trick.
- Green Split Peas - The whole reason we're here! As they cook, they break down and turn the broth thick and creamy, almost like a chowder. Yellow split peas can sub in if that's what's in your pantry, though the color and flavor will be a touch different.
- Chicken Broth - This is the flavor backbone of the soup, so use the best quality (preferably homemade) chicken stock possible. I like using bone broth for an added protein boost, but regular broth works well too. Swap in vegetable broth to keep things vegetarian.
- Dry White Wine - Just a splash to add a little brightness—don't worry, the alcohol cooks off.
- Bay Leaves - A quiet but important flavor booster. Just remember to fish them out before serving!
- Kosher Salt & Black Pepper - Go easy at first, especially since ham and broth already bring plenty of salt. You can always add more once everything's had time to simmer together.
Ham vs. Ham Hock vs. Other Smoked Meats
Growing up, my mom always tossed a smoked ham hock or meaty ham bone into her split pea soup. It gave the broth that classic smoky boost, and there was usually enough meat clinging to the bone to pull off and stir back in.
Since leaving home, though, I've tried (and failed) to recreate that same method more times than I'd like to admit. I feel like a total geezer saying this, but they just don't make ham hocks like they used to! The last few I've bought for split pea or navy bean soup have been shockingly meatless.
Ham, on the other hand, is so much easier to find—and honestly, a better deal. I picked up a 2-pound round of precooked, thick-cut ham at Aldi for just $4 last week. I've paid that much for a single ham hock and walked away with barely any meat to show for it!
If you're not a ham person, smoked turkey neck or leg is a fantastic substitute—it brings that same deep, smoky flavor without needing to hunt down a meaty ham hock. Just simmer it in the soup like you would a ham hock, then shred the meat off the bone before serving.
Bacon is another great option if you want smokiness without the extra step of pulling meat off a bone. Just cook it up until crispy, crumble it in towards the end of cooking, and you'll get little pops of salty, smoky flavor in every bite.
That one ham round didn't just go into this big batch of soup—it also ended up in a ham and smoked gouda grilled cheese for dipping, a batch of Instant Pot egg bites, and a ham and pea pasta. Case closed: ham steak is the smarter (and tastier) choice for flavoring split pea soup, though smoked turkey and bacon both make excellent stand-ins depending on what you have on hand.
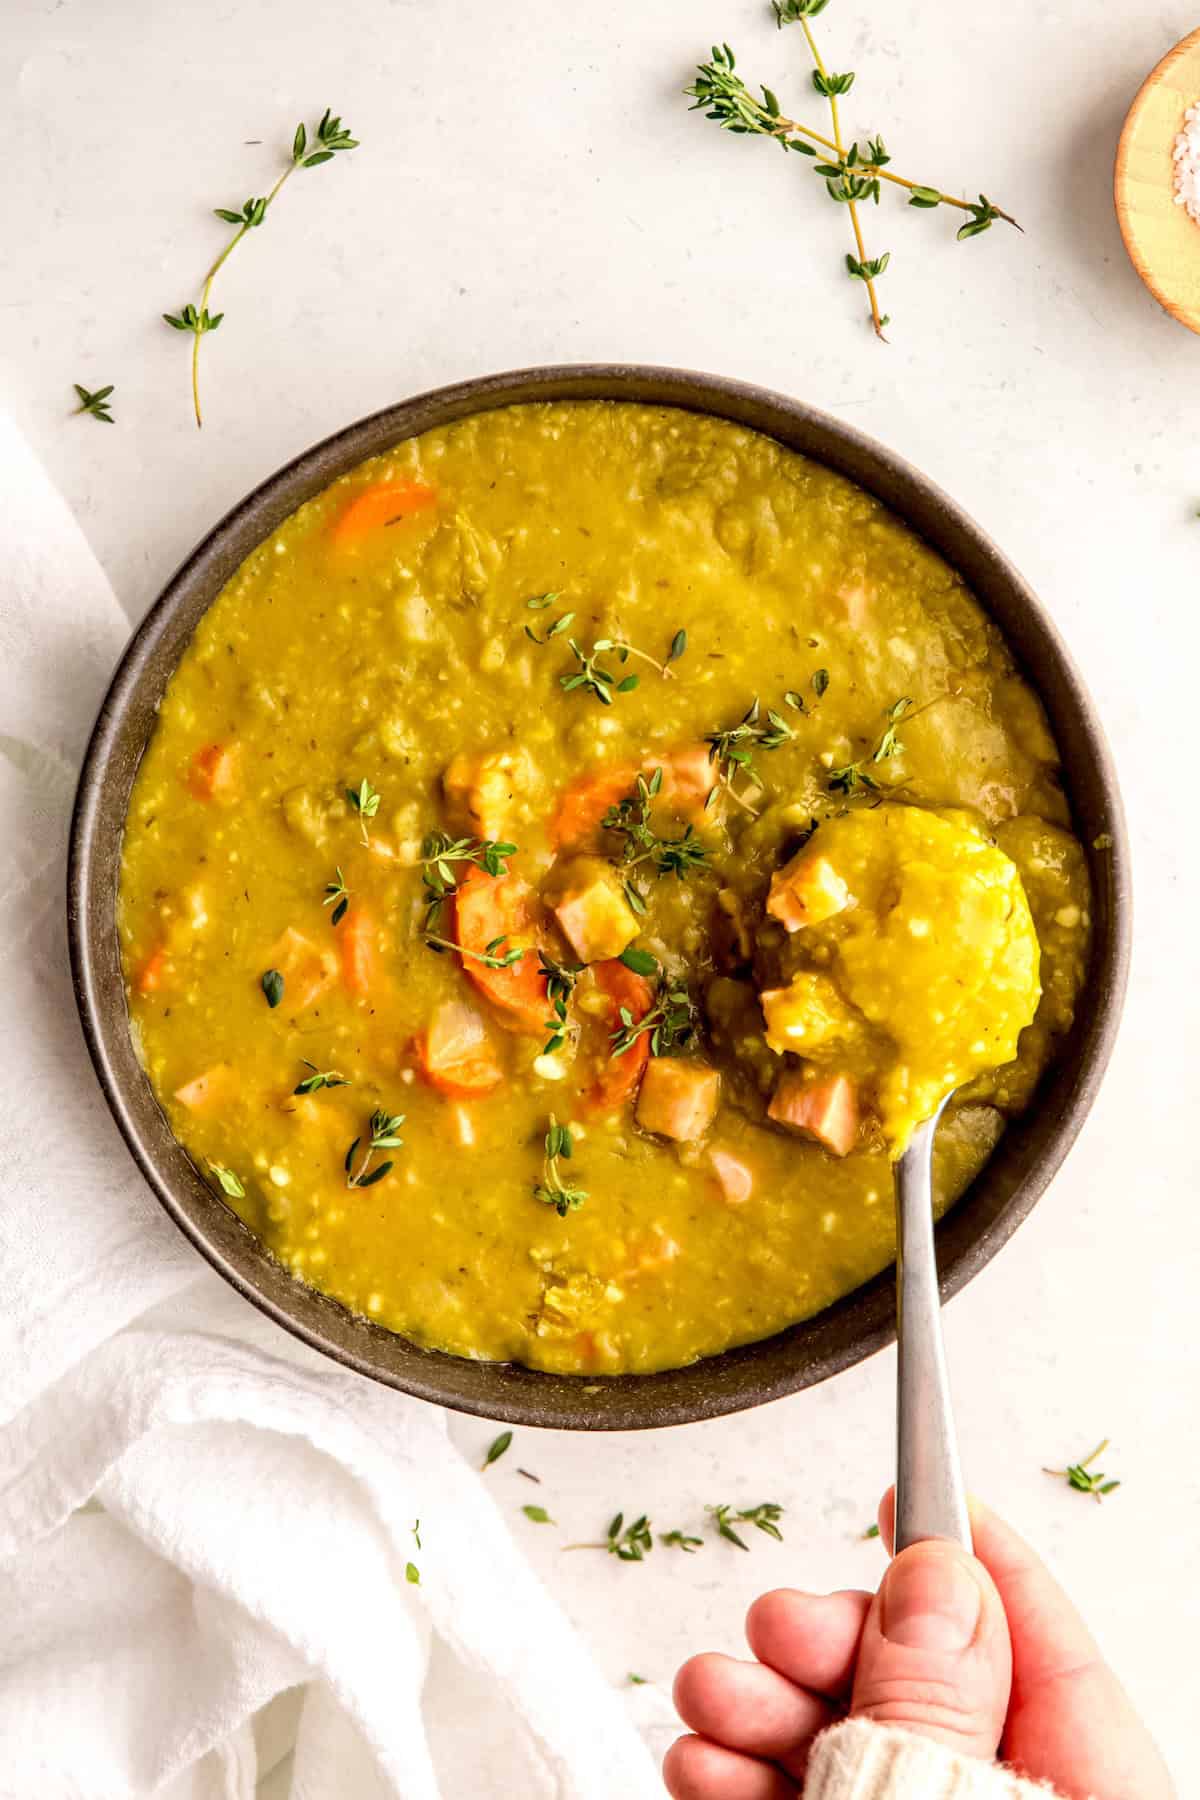
How to Make Split Pea Soup in an Instant Pot
This Instant Pot split pea soup recipe comes together in just a few simple steps:
Step 1: Sauté the Butter. Once you've got everything prepped, set your Instant Pot to the saute function. Add the butter and let it melt until it's bubbling away.
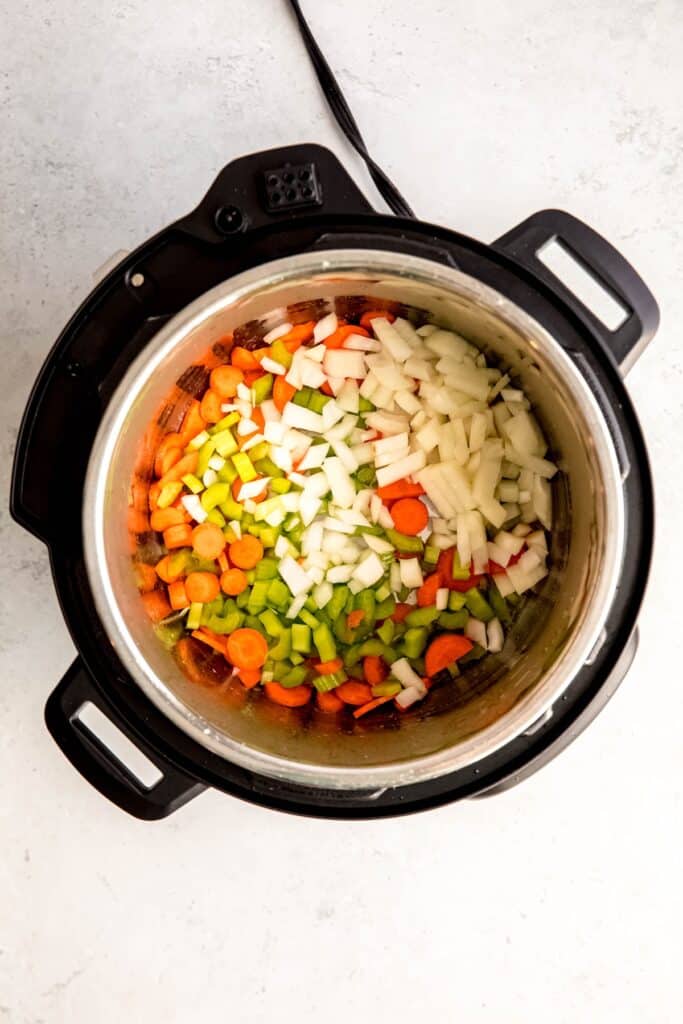
Step 2: Cook the Mirepoix. Add the onion, carrots, and celery, and cook for about 5 minutes, or until the veggies start to soften up.
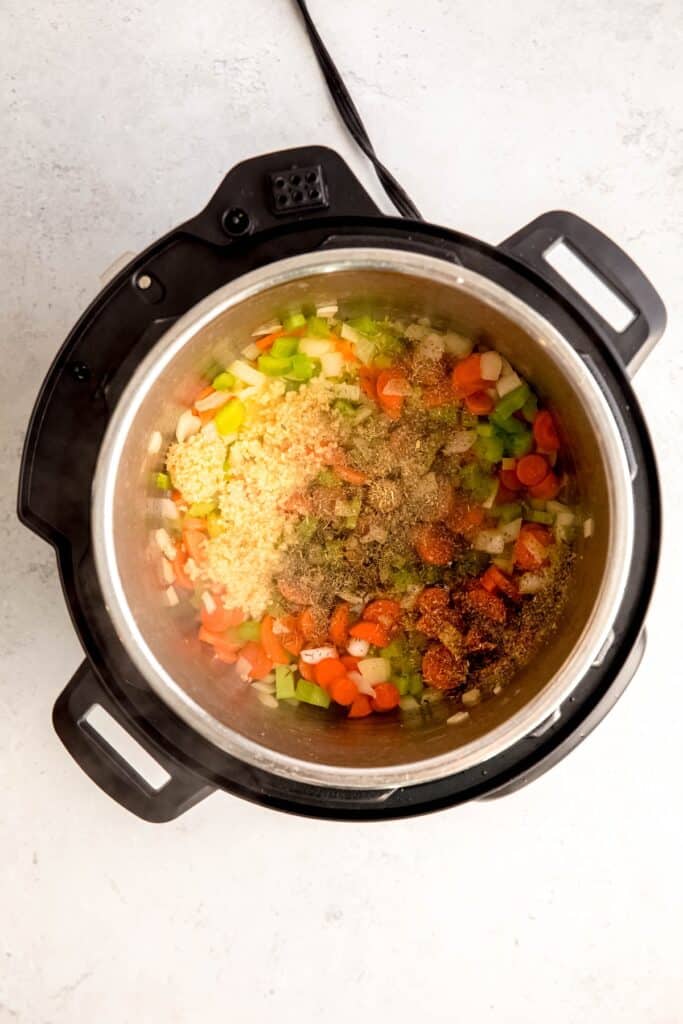
Step 3: Add the Garlic and Herbs. Toss in the garlic, thyme, and oregano, then give everything a stir until it's nice and fragrant—this only takes a minute or so, but your kitchen is going to smell amazing.
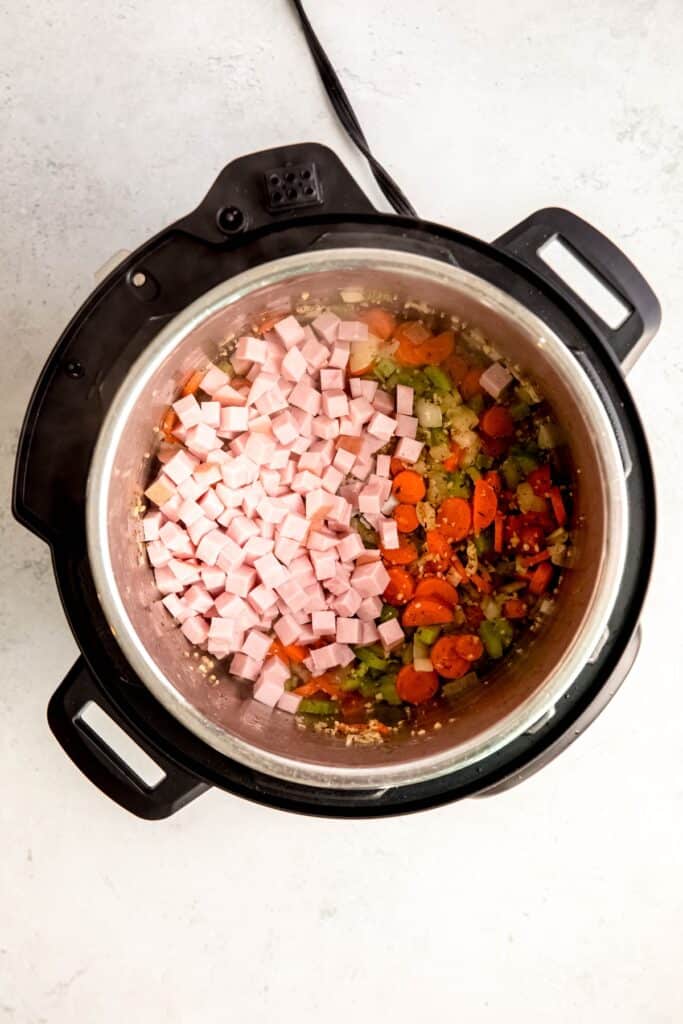
Step 4: Stir in the Ham. Add your ham and stir to coat it in all that buttery, garlicky goodness.
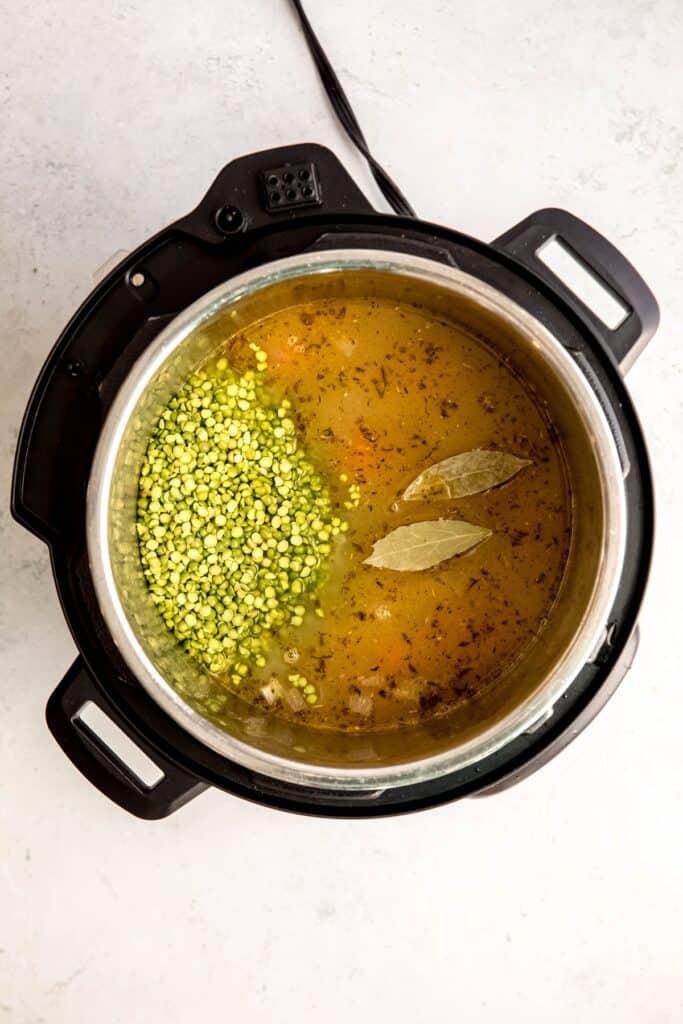
Step 5: Add the Liquid, Bay Leaves, and Split Peas. Pour in your liquid, then add the bay leaves and split peas.
TIP: Before adding your split peas, give them a quick once-over for stones—I usually just pour the bag through my fingers, which takes about a minute. A quick rinse in a strainer doesn't hurt either.
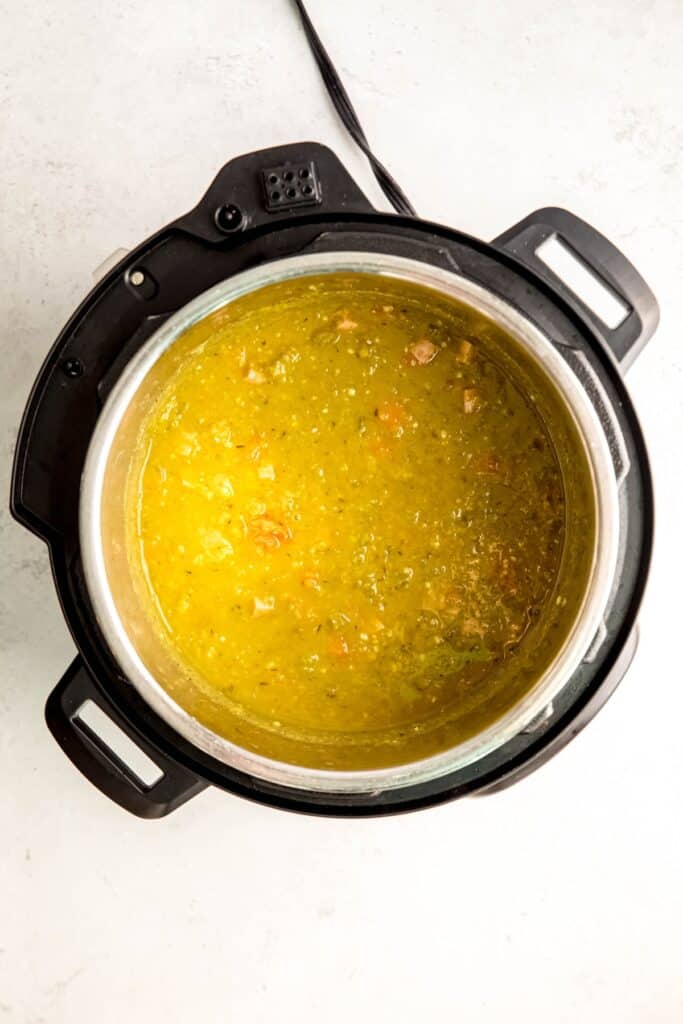
Step 6: Pressure Cook. Secure the lid on your Instant Pot, then set it to Manual/Pressure Cook on high for 15 minutes. Once it's done, let the pressure release naturally for 15 minutes before removing the lid and giving everything a good stir.
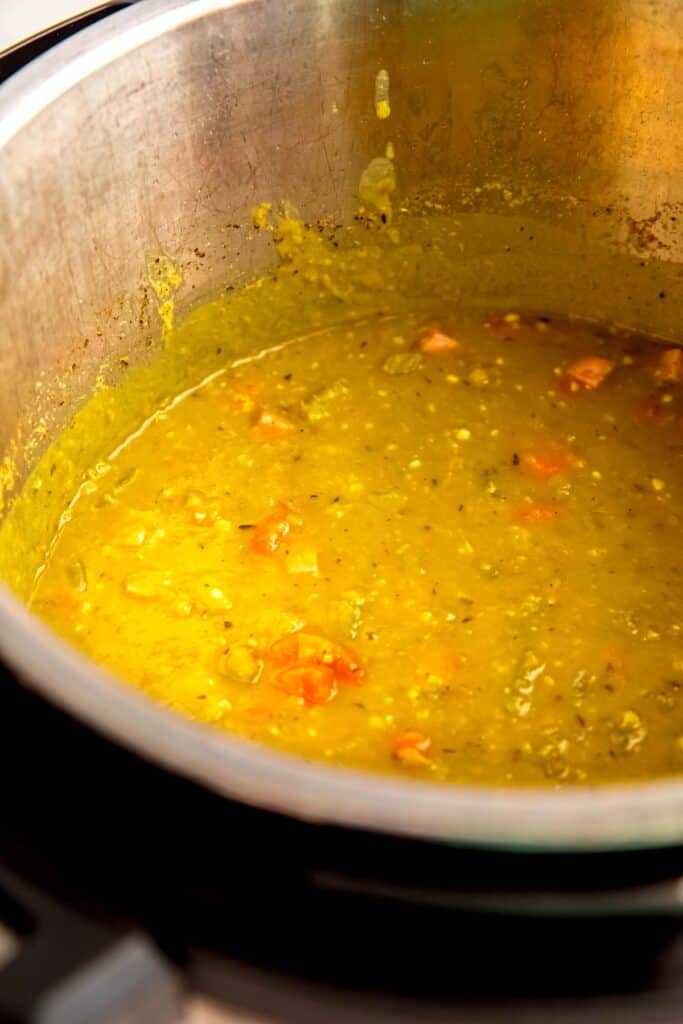
Step 7: Adjust the Thickness (If Needed). Most of the time, the soup will be perfectly thick right out of the pot. If you'd like it a little thicker, though, just switch the Instant Pot back to sauté and cook it down to your liking, stirring often so it doesn't scorch.
Step 8: Season and Serve. Finish with salt and pepper to taste, and that's it—dinner is served! Told you it was simple.
Optional Variations & Dietary Adaptations
- Vegan/Vegetarian - You can follow this recipe as written, just swap the vegetable stock in for the bone broth and skip the ham. To mimic the smoky depth the ham would normally bring, stir in about ½ teaspoon of liquid smoke. It's a simple swap, but it makes a big difference in keeping that same cozy, savory flavor you'd expect from the classic version.
- Dairy-Free - Simply swap the butter for a plant-based alternative or a neutral oil like avocado or olive oil. You won't lose any flavor in the sauté step, and the rest of the recipe stays exactly the same.
- Spicier Version - If you like a little heat, stir in a pinch of red pepper flakes along with your garlic and herbs, or add a diced jalapeño to the mirepoix. A dash of hot sauce right before serving works great too, if you'd rather adjust the heat bowl by bowl.
- Extra Veggies - Feel free to bulk this soup up with diced potatoes, parsnips, or even a handful of spinach stirred in at the end. It's a forgiving recipe, so don't be afraid to use up what's in your fridge.
Expert Tips
- Don't skip the sauté step. Taking those extra few minutes to soften your mirepoix and toast your garlic and herbs before pressure cooking builds a much deeper flavor base than just dumping everything in at once.
- Check your split peas for stones. It only takes a minute, but it's an easy step to forget. Nobody wants a surprise crunch in their soup! Pour the bag through your fingers and give them a quick rinse in a strainer before adding them in.
- Don't overdo the liquid. Split peas naturally thicken the soup as they cook, so resist the urge to add extra broth "just in case." You can always thin it out later, but it's harder to fix a soup that's too watery.
- Let the pressure release naturally. A quick release can cause the soup to sputter out of the valve (and split peas are notorious for foaming), so give it the full 15 minutes of natural release for a cleaner, mess-free finish.
- Thicken to your liking. Everyone has a different idea of the "perfect" split pea soup consistency. If yours comes out thinner than you'd like, just switch back to sauté and simmer it down, stirring often so it doesn't stick to the bottom.
- Make it ahead. This soup actually tastes even better the next day, once the flavors have had time to meld. It's a great one to make in advance for easy lunches or weeknight dinners.
- Save that ham bone. If you're working with a bone-in ham, don't toss the bone once you've pulled the meat off. Instead, simmer it in the broth while the soup cooks for an extra layer of flavor, then remove it before serving.
Serving Suggestions
This hearty soup is enough to stand on its own, but pairing it with the right sides can turn it into a full, memorable meal.
Warm, crusty bread is the perfect vehicle for sopping up every last spoonful. These Sourdough Ciabatta Buns are made with just 4 simple ingredients, featuring a crisp crust, airy crumb, and irregular holes—ideal for tearing off a piece and dunking straight into your bowl. If you have it, a swipe of good European-style butter is most welcome. Garlic bread is also excellent.
If you want to round out the meal with something fresh and bright, try this Fall Kale Salad with Creamy Tahini Dressing & Crispy Chickpeas. It's vegan, gluten-free, nut-free, and soy-free, so it plays nicely with most guests, and the tangy tahini dressing is a great contrast to the rich, savory soup.
For something with a bit more fall flair, this Roasted Delicata Squash Fall Harvest Salad brings creamy maple roasted delicata squash, apple cider cooked barley, salty feta, peppery arugula, dried cranberries, and crunchy pecans to the table—a great way to add some seasonal color and texture alongside your soup.
If you're serving this soup for a crowd or a cozy get-together, kick things off with these Ham Delights. They come together with just two packs of sweet dinner rolls, meat and cheese, and a seasoned butter mixture poured over the top. They’re also excellent for dipping into the soup.
Storage Instructions
- Refrigerator: Let the split pea and ham soup cool to room temperature, then transfer it to an airtight container and store it in the fridge for up to 4–5 days. As mentioned above, the flavor actually gets even better after a day or two, so this soup makes great leftovers.
- Freezer: Split pea soup freezes beautifully, making it a great one to batch cook. Let it cool completely, then portion it into freezer-safe containers or bags, leaving a little room at the top for expansion. It'll keep well in the freezer for up to 3 months.
- PRO TIP: Want to freeze the soup in individual portions for quick lunches or kid friendly meals? Simply coat a muffin tin with some nonstick spray, then fill up the wells. Freeze solid, then pop out into a gallon freezer bag. (If necessary, dip the bottom of the muffin tin in warm water to release the pucks). 2-3 frozen pucks makes a perfect sized bowl of soup, so just throw however many into a bowl and microwave for 3ish minutes stirring at 45 second intervals. Even the kiddos can handle that! You can also get a little fancier and use 1-cup Souper Cubes.
- Thawing: For best results, thaw frozen soup in the refrigerator overnight before reheating. If you're short on time, you can also reheat it directly from frozen—it'll just take a bit longer on the stove or in the microwave.
- Reheating on the Stovetop: Pour the soup into a pot and warm it over medium-low heat, stirring occasionally. Since split pea soup thickens as it sits, you may need to add a splash of broth or water to loosen it back up to your desired consistency.
- Reheating in the Microwave: Transfer a single portion to a microwave-safe bowl and heat in 1-minute intervals, stirring in between, until warmed through. Again, a small splash of broth or water can help thin it back out if it's thickened too much in the fridge or freezer.
- A Quick Note on Consistency: Don't be alarmed if your soup looks much thicker straight out of the fridge—that's completely normal for split pea soup. A little extra liquid and a good stir while reheating will bring it right back to that creamy, spoonable texture.
FAQs
For split pea soup in an Instant Pot/pressure cooker, cook on high pressure for 15 minutes, followed by a 15-minute natural pressure release. Split peas cook quickly and don't need much time to become tender, unlike whole/dried beans.
A few common mistakes can hold your split pea soup back from being its best. Skipping the sauté step and going straight to pressure cooking misses out on building a flavorful base with the onions, garlic, and ham, while forgetting to sort through the split peas for small stones or debris before cooking is an easy step to overlook. Adding too much broth is another frequent misstep, since it leaves the soup thin and watery rather than thick and hearty, and quick-releasing the pressure right after cooking can cause the soup to foam up and sputter through the valve, making a mess. Finally, not adjusting the consistency with a splash of broth once it's done, and forgetting to taste and season at the end, can leave the soup either too thick or a bit flat—so a little patience and attention to these details go a long way.
No worries! Just sub more broth, stock or even water instead.
If you don't yet have an Instant Pot, I sincerely hope you have one on your holiday wish list! That said, you can still make split pea and ham soup in a dutch oven. Just prepare for it to need to simmer for at least an hour if not longer. Simply follow the recipe steps until it calls for you to seal the lid on the Instant Pot. Cover the dutch oven at this point, then turn the heat down to a simmer. Stir occasionally to ensure nothing is sticking or burning on the bottom of the pan. The soup is ready when the peas are nice and soft, which usually takes an hour to an hour and a half, if not longer. You can also make it in a slow cooker. Sauté the mirepoix, garlic, and herbs on the stovetop first, then transfer everything to a slow cooker along with the ham, liquid, bay leaves, and split peas. Cook on low for 6–8 hours, or until the peas are tender.
More Soup Recipes

Instant Pot Split Pea and Ham Soup
Equipment
Ingredients
- 3 tablespoon Butter
- 1 large Yellow Onion small dice
- 2-3 Carrots small dice
- 2 Celery Stalks small dice
- ¾ lb Cooked Ham preferably thick cut, medium diced
- 5-6 cloves Garlic minced
- 1 ½ teaspoon Dried Thyme
- 1 ½ teaspoon Dried Oregano
- 1 lb Dried Split Peas sorted through and rinsed
- 4 C Chicken Bone Broth or any stock
- 2 C Dry White Wine or sub water, bone broth or stock
- 2 Bay Leaves
- Kosher Salt & Pepper to taste
Instructions
- Set Instant Pot to sauté on high. Add butter and allow to melt and begin to bubble. Add mirepoix (carrots, onions, celery) and stir. Cook about 5 minutes, until vegetables are beginning to soften, stirring occasionally.3 Tbsp Butter, 1 large Yellow Onion, 2-3 Carrots, 2 Celery Stalks
- Add garlic, thyme and oregano and stir, cooking till fragrant (about 1 minute). Add ham and stir to coat, about 30 seconds.¾ lb Cooked Ham, 5-6 cloves Garlic, 1 ½ tsp Dried Thyme, 1 ½ tsp Dried Oregano
- Add liquid, dried split peas and bay leaves. Seal lid on Instant Pot, then switch the function to Manual/Pressure Cook on high for 15 minutes. Allow to manually release for 15 minutes, then remove the lid and stir thoroughly. If soup seems thin, set back to sauté and cook for another 5 or so minutes while stirring frequently.Season with salt and pepper to taste, then enjoy!1 lb Dried Split Peas, 4 C Chicken Bone Broth, 2 C Dry White Wine, 2 Bay Leaves, Kosher Salt & Pepper
Notes
- Vegan/Vegetarian - You can follow this recipe as written, just swap the vegetable stock in for the bone broth and skip the ham. To mimic the smoky depth the ham would normally bring, stir in about ½ teaspoon of liquid smoke. It's a simple swap, but it makes a big difference in keeping that same cozy, savory flavor you'd expect from the classic version.
- Dairy-Free - Simply swap the butter for a plant-based alternative or a neutral oil like avocado or olive oil. You won't lose any flavor in the sauté step, and the rest of the recipe stays exactly the same.
- Spicier Version - If you like a little heat, stir in a pinch of red pepper flakes along with your garlic and herbs, or add a diced jalapeño to the mirepoix. A dash of hot sauce right before serving works great too, if you'd rather adjust the heat bowl by bowl.
- Extra Veggies - Feel free to bulk this soup up with diced potatoes, parsnips, or even a handful of spinach stirred in at the end. It's a forgiving recipe, so don't be afraid to use up what's in your fridge.
- Refrigerator: Let the split pea and ham soup cool to room temperature, then transfer it to an airtight container and store it in the fridge for up to 4–5 days. As mentioned above, the flavor actually gets even better after a day or two, so this soup makes great leftovers.
- Freezer: Split pea soup freezes beautifully, making it a great one to batch cook. Let it cool completely, then portion it into freezer-safe containers or bags, leaving a little room at the top for expansion. It'll keep well in the freezer for up to 3 months.
- PRO TIP: Want to freeze the soup in individual portions for quick lunches or kid friendly meals? Simply coat a muffin tin with some nonstick spray, then fill up the wells. Freeze solid, then pop out into a gallon freezer bag. (If necessary, dip the bottom of the muffin tin in warm water to release the pucks). 2-3 frozen pucks makes a perfect sized bowl of soup, so just throw however many into a bowl and microwave for 3ish minutes stirring at 45 second intervals. Even the kiddos can handle that! You can also get a little fancier and use 1-cup Souper Cubes.
- Thawing: For best results, thaw frozen soup in the refrigerator overnight before reheating. If you're short on time, you can also reheat it directly from frozen—it'll just take a bit longer on the stove or in the microwave.
- Reheating on the Stovetop: Pour the soup into a pot and warm it over medium-low heat, stirring occasionally. Since split pea soup thickens as it sits, you may need to add a splash of broth or water to loosen it back up to your desired consistency.
- Reheating in the Microwave: Transfer a single portion to a microwave-safe bowl and heat in 1-minute intervals, stirring in between, until warmed through. Again, a small splash of broth or water can help thin it back out if it's thickened too much in the fridge or freezer.
- A Quick Note on Consistency: Don't be alarmed if your soup looks much thicker straight out of the fridge—that's completely normal for split pea soup. A little extra liquid and a good stir while reheating will bring it right back to that creamy, spoonable texture.


Comments
No Comments