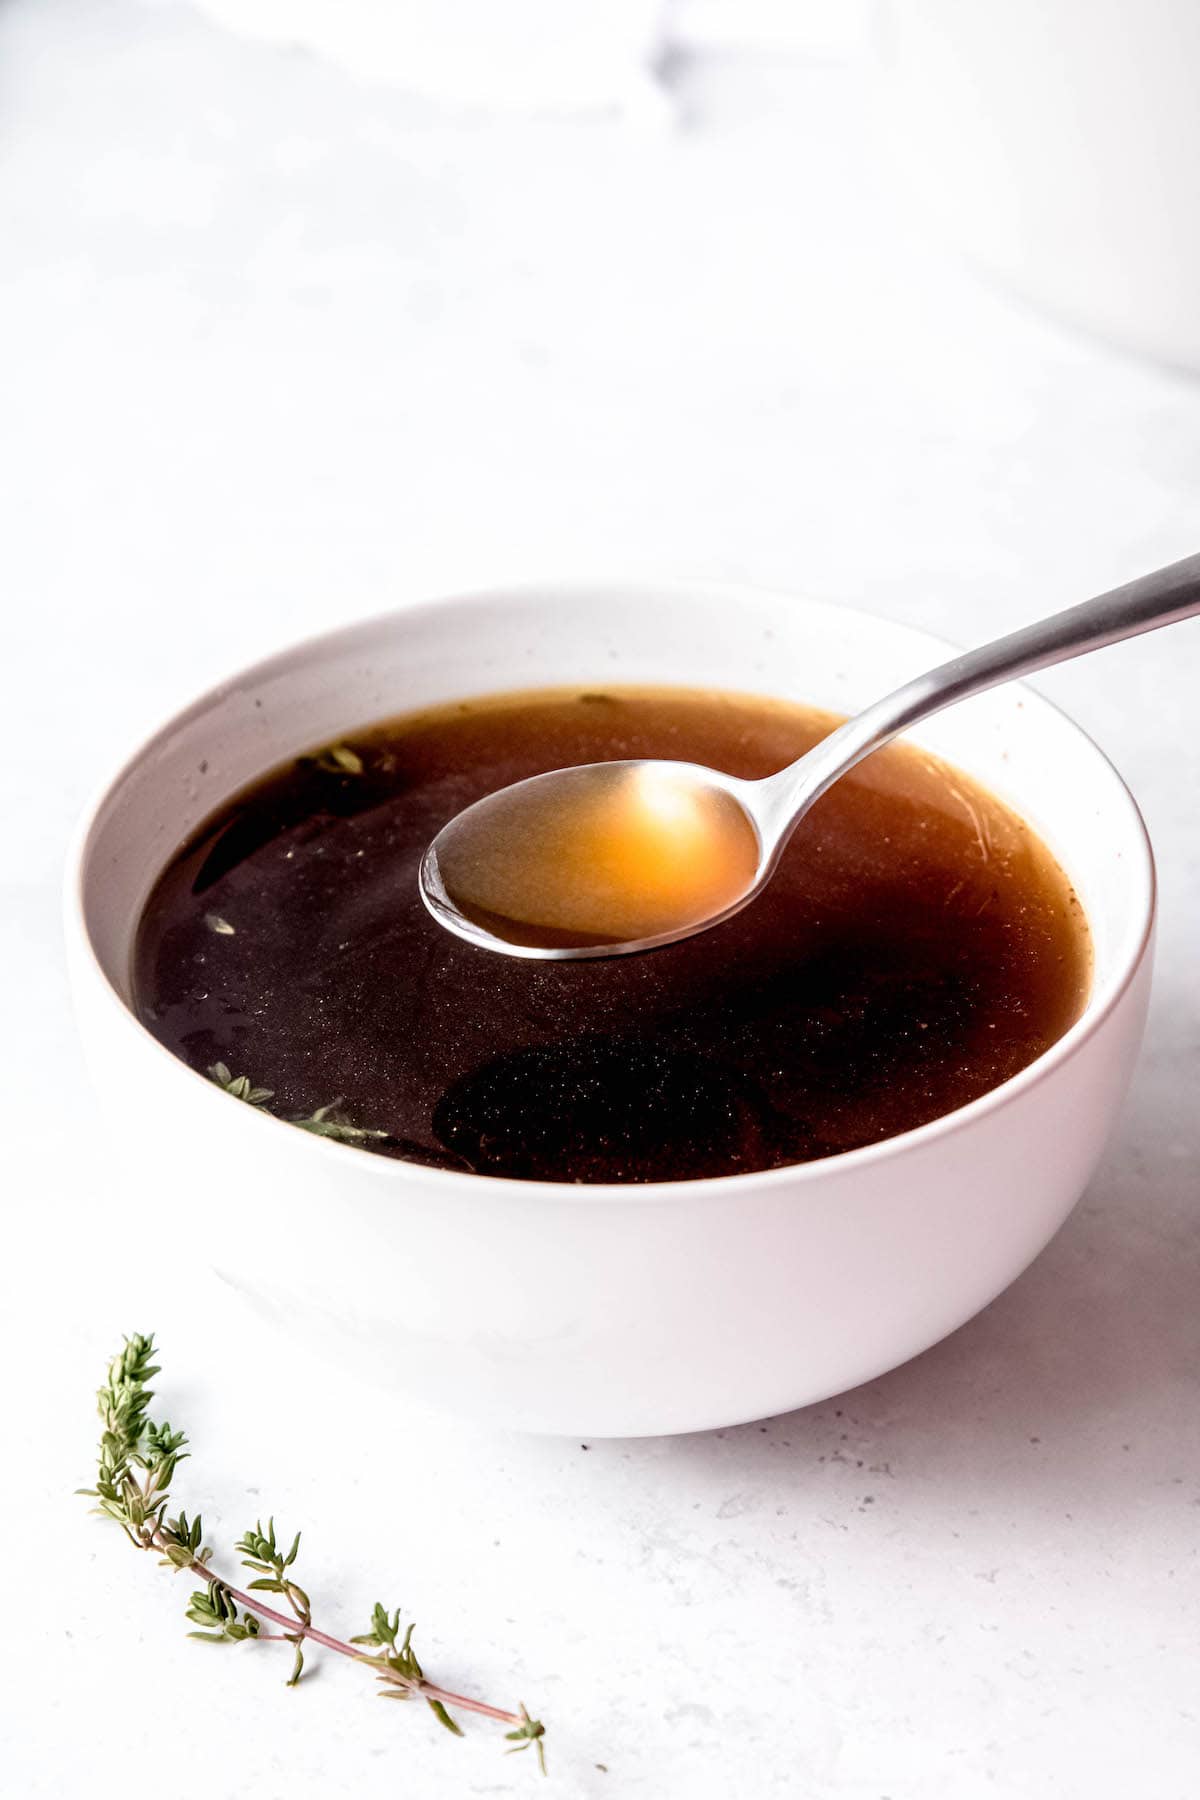
Broth and stock are integral for making soups, stews, sauces, and more. But, rather than spend money on buying it in a can or a box (or using whole food ingredients that could be better used to feed your family), why not use scraps that would otherwise be destined for the compost heap to make your own Low-Sodium Vegetable Broth & Healing Bone Broth for FREE??
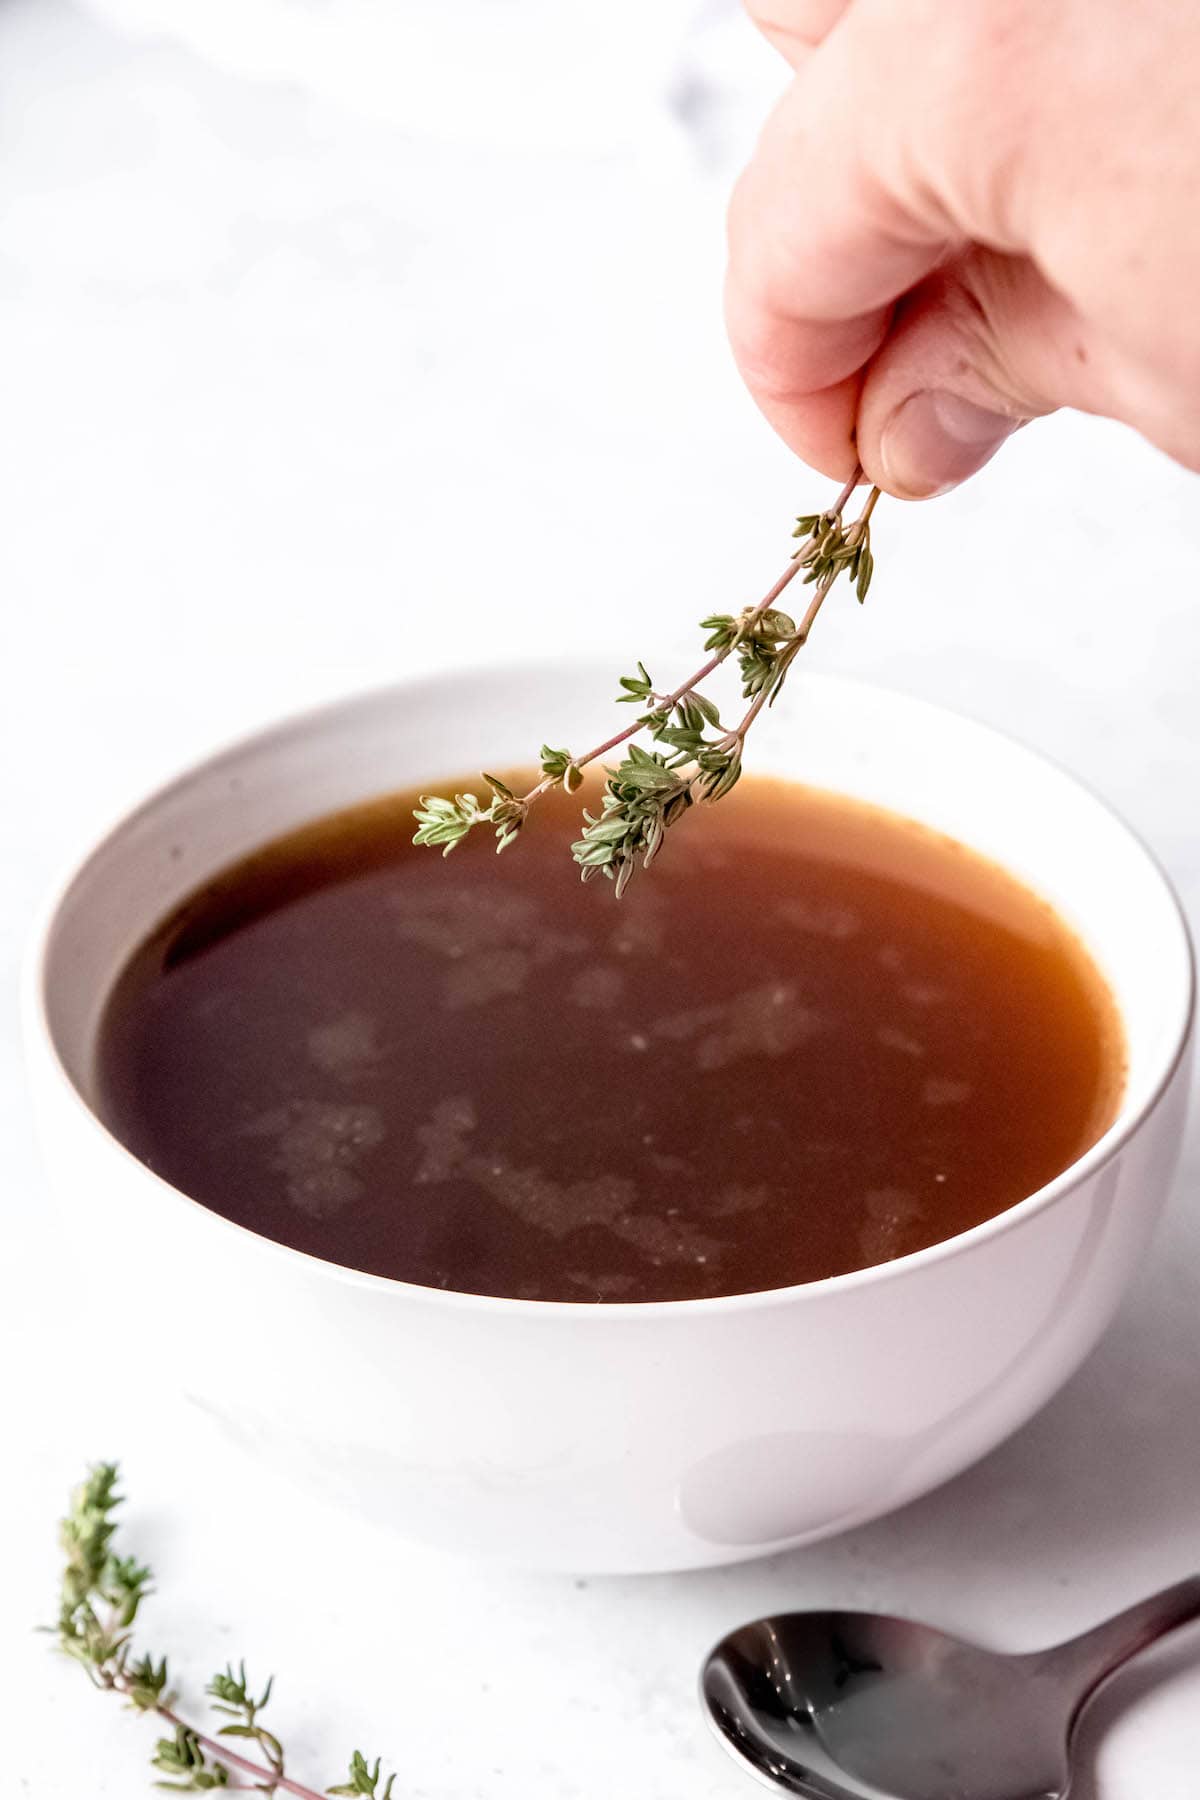
From soups, stews, and chilis to gravy, pan sauce, dried beans, and even healthy mashed potatoes, it seems like nearly every savory recipe requires some kind of liquid, often something flavorful like chicken stock or veggie broth. And with store-bought options ranging from about $0.50-$1.50 per cup, the cost can really add up.
Back in my early 20s, I learned this money-saving kitchen hack to make homemade broth from scraps and it’s been a favorite ever since. This method works equally well for vegetable stock, beef broth, chicken broth, or pork bone broth, and even fish broth — and it’s so stinkin’ easy to pull off.
The concept is simple: collect your meat and/or vegetable scraps, toss them in a pot (or Instant Pot or slow cooker), add water and a few basic seasonings, then simmer till you have a gorgeous, deeply flavored liquid that easily replaces any store-bought option. The whole process requires barely any work on your part, and the resulting stock is healthy, all-natural, and, most importantly, FREE.
Jump to:
- Why You’ll Love This Flexible Sipping Broth Recipe
- Ingredients & Substitutions
- How to Make Broth From Meat & Vegetable Scraps (Stovetop)
- How to Make Instant Pot Broth From Scraps
- How to Make Slow Cooker Broth From Scraps
- Optional Variations & Flavor Combinations
- How to Use Scrap Broth & Stock
- Recipe Success Tips
- FAQs
- More Ways To Get The Most Bang For Your Grocery Buck
- Low-Sodium Vegetable Broth or Bone Broth From Scraps
- 💬 Reviews
Why You’ll Love This Flexible Sipping Broth Recipe
- It uses what would otherwise be trashed. Being a savvy grocery shopper is the first step towards getting your food budget in check. Equally important is learning how to get the most use out of every ingredient and minimizing food waste in the process. Making chicken or vegetable stock from scraps hits the savings trifecta!
- You can control the ingredients. Many store-bought options are chock-full of disturbing amounts of sodium, not to mention ingredients like sugar, dextrose, hydrolyzed soy protein, maltodextrin, caramel color, or hydrolyzed wheat gluten. Woof! Rather than fill your bowls and bellies with highly processed artificial junk, make this easy homemade vegetable broth or bone broth and save money in the process!
- It’s completely customizable. Whether you want to make rotisserie chicken bone broth, corn broth for corn chowder, seafood broth, mushroom broth, turkey broth, ham broth, or veggie broth, this recipe has you covered! Read on below for lots of different flavor options.
- You can use it the same way as store-bought. For any recipe you’d use boxed or canned broth, you can use the homemade version instead.

Ingredients & Substitutions
So, what scraps should you be collecting? There are lots of options, depending on what you’re going for:
What Are The Best Vegetables For Broth?
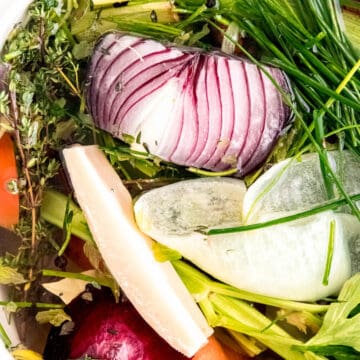
Most vegetable scraps are great to hang onto, including:
- Alliums like onion, garlic, scallion, leek, and shallot root ends and peels.
- Sweet aromatics like carrot, parsnip, and celery root ends, scraps, and peels.
- Mushroom stems.
- Corn cobs.
- Pea pods or green bean scraps.
- Fennel ends and greens.
- Tomato skin, tops, or seeds.
- Chile pepper and bell pepper stem ends and scraps.
- Chard stems.
- Lettuce scraps (e.g. romaine butts).
- Napa cabbage cores and root ends, but no other brassicas!
- Beet peels and roots.*
- Potato and sweet potato peels.*
- Winter squash peels.*
- Herb stems and scraps (e.g. parsley, thyme, oregano, sage, rosemary, dill).
- Ginger or turmeric peels.
- Lemon or lime peels, or spent juiced lemons and limes.
- Leftover roasted or cooked veggies that are on their way out.
- Liquid from canned corn, canned tomatoes, or canned beans.*
- Leftover pasta cooking water.*
* These ingredients can impart color or cloudiness to your stock, so plan accordingly. More on that in the “What vegetables should not be used for broth” section below.
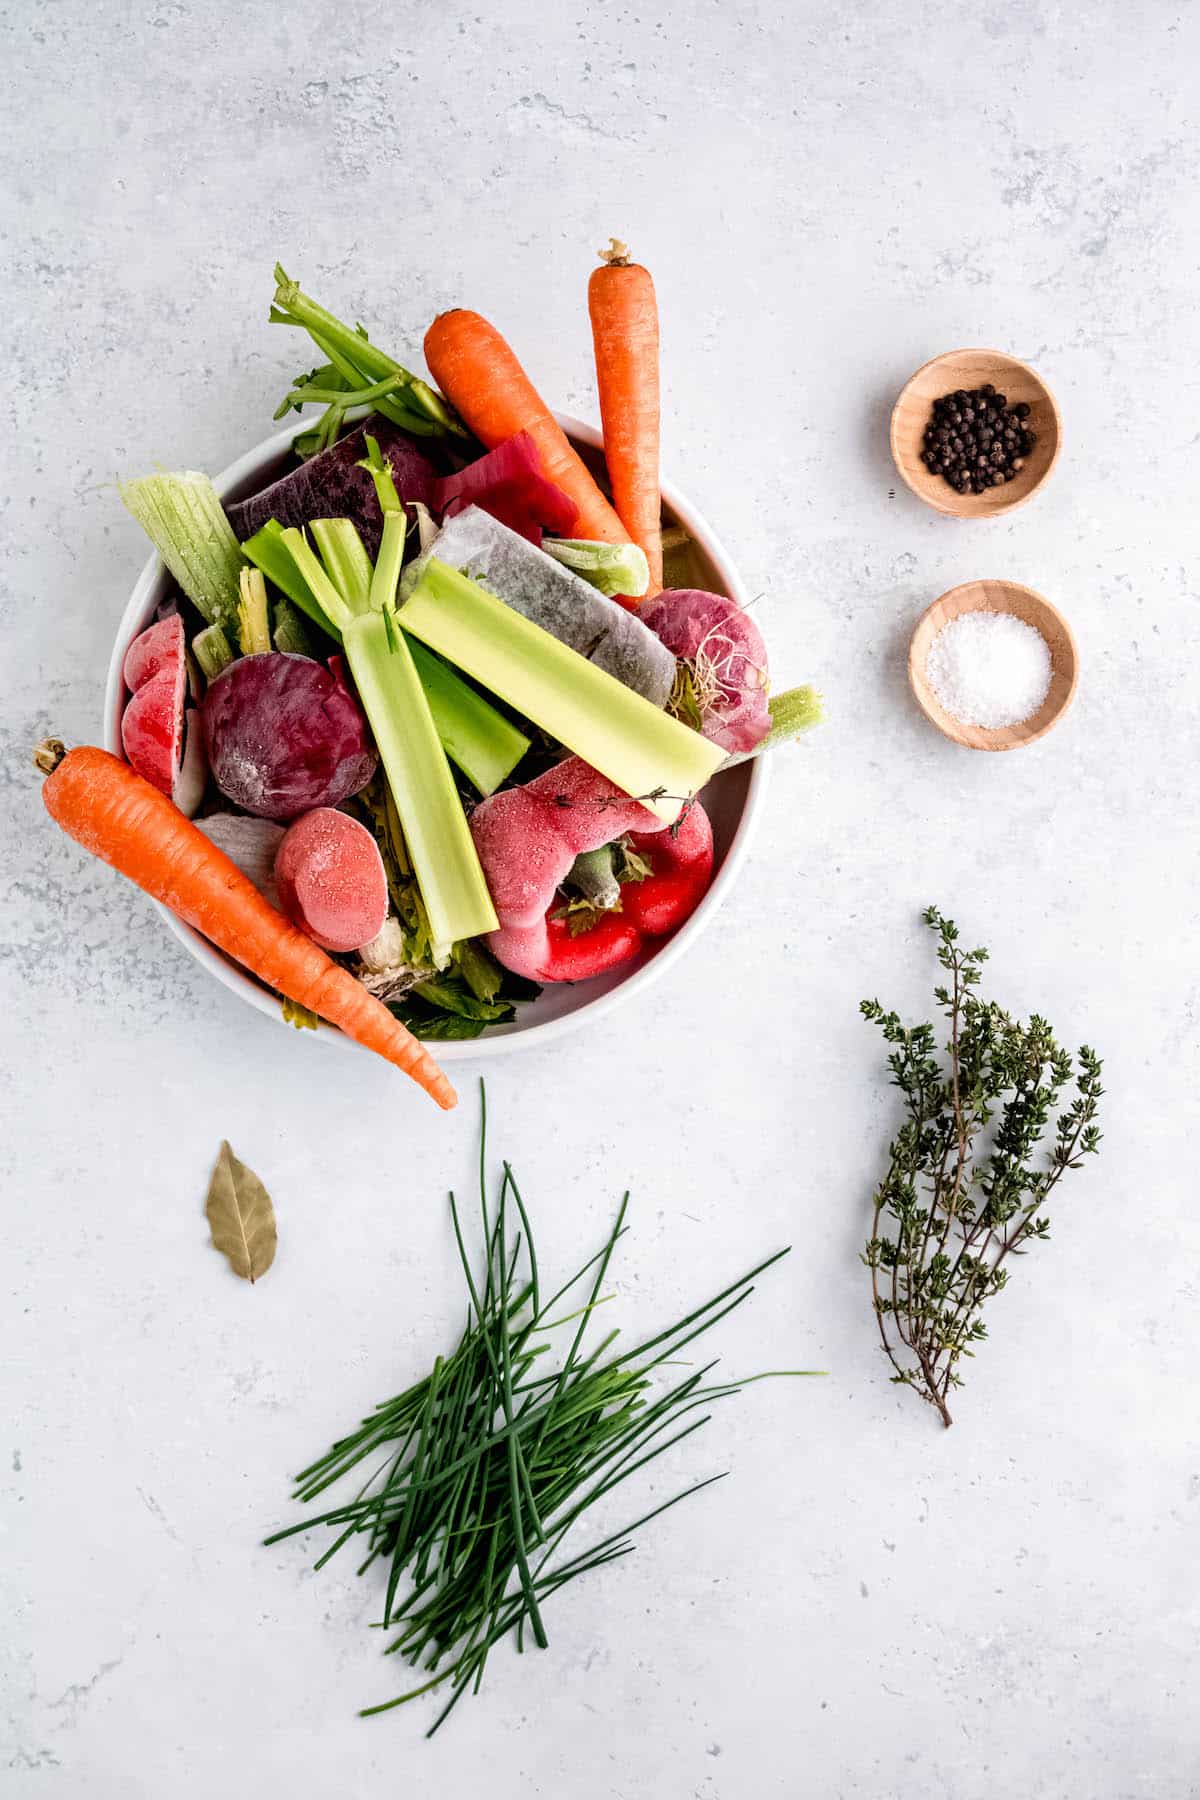
Non-Vegetarian Broth Scraps
If you’re not making vegan or vegetarian recipes with your broth, you can also add:
- Chicken bones, chicken feet, or rotisserie chicken carcasses.
- Turkey bones or carcasses.
- Beef bones, lamb bones, or pork/ham bones.
- Shrimp tails, fish parts (e.g. fish head, tail, or bones), shells from crabs, lobster, clams, or mussels.
Optional Flavor-Boosters
You can also zhuzh up your broth by adding a few pantry staples like:
- Cheese Rinds. I keep a separate bag of parmesan and other hard-aged cheese rinds (e.g. asiago, grana padano, pecorino) in the freezer, as they add salty, umami goodness to anything they touch. I like to use them to cook beans from dry, to add flavor to pasta sauces, to punch up my soups, or to add flavor to veggie broth. They don’t melt the same as cheese, so you can easily dispose of the rind when you’re done.
- Whole peppercorns & kosher salt for seasoning.
- MSG for a reduced-sodium option that also adds savory, umami depth.
- A bay leaf for complexity.
- White wine for acidity and depth.
- Vinegar (e.g. white wine vinegar, red wine vinegar, or apple cider vinegar) for brightness.
- Tomato paste for sweetness and vegan umami.
- Anchovy paste, fish sauce or Worcestershire sauce for a hit of salty umami.
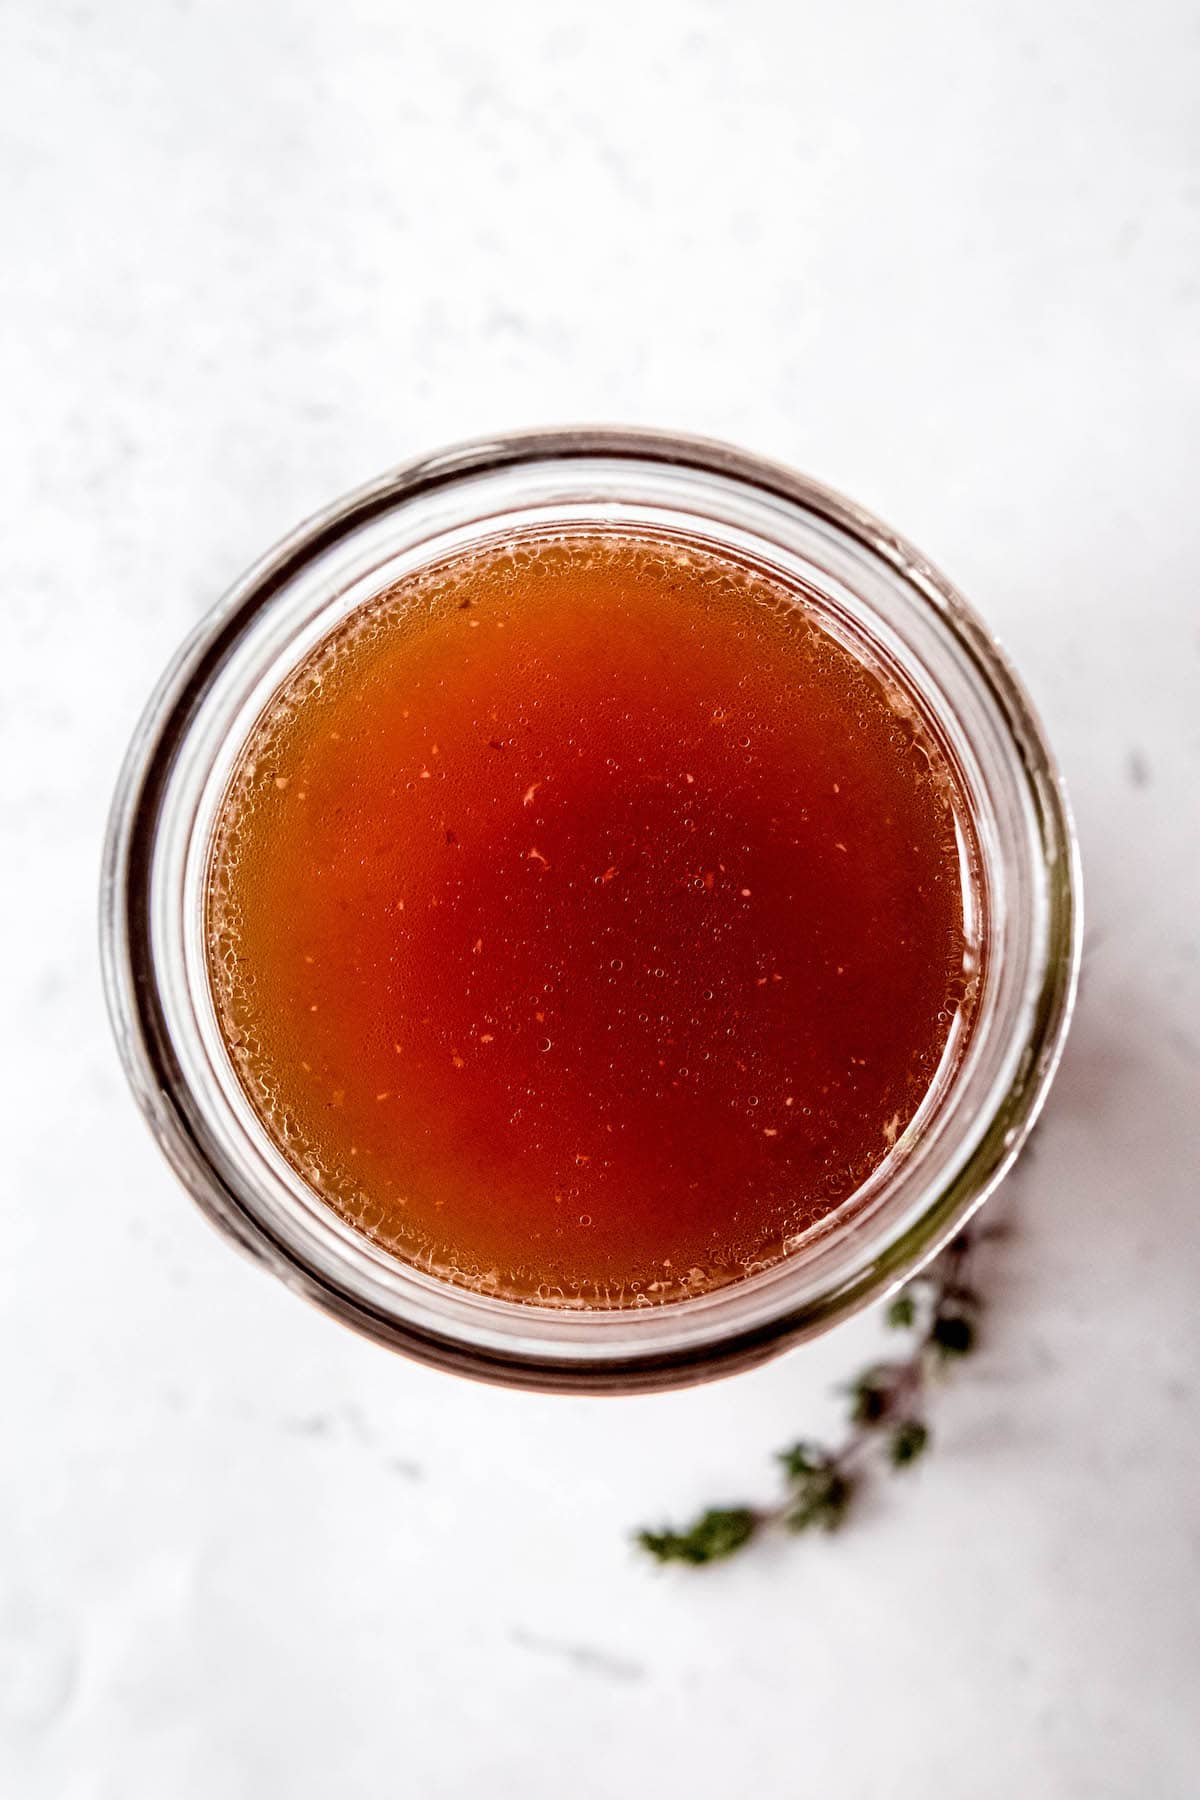
What vegetables should not be used in broth or stock?
As you can see above, there are lots of good options for scraps you can keep. But, there are a few that I recommend you avoid:
- Brassicas - As much as I love cabbage, cauliflower, broccoli, kale, collards, and brussels sprouts, they tend to impart a bitter flavor to broth.
- Bitter Greens - While bitter chicories, broccoli rabe, and mustard greens are yummy to eat, they’ll add too much bitterness to the broth.
- Artichokes - Artichoke leaves are too bitter and should be avoided.
- Spoiled Veggies - While I use my scrap bag to help me salvage veggies that are on their way out, make sure you don’t add any that have spoiled or gone moldy.
There are also a few scraps that you should be mindful of:
- Garlic and onion skins add great flavor, but too many and they can make your stock bitter. Make sure to have a good amount of other veggies and/or allium flesh in there too.
- Red onion peels, beets, and rainbow chard stems will impart a strong color. Make sure to keep this in mind depending on what you’re planning on doing with the broth.
- Starchy items like potato skins, winter squash peels, bean broth, and pasta cooking water will make your broth a bit cloudy. I generally like the added body in most recipes, but keep this in mind if you want a clear appearance.
How to Make Broth From Meat & Vegetable Scraps (Stovetop)
Step 1: Collect Scraps. Use gallon-sized freezer bags to collect your scraps. I suggest having separate bags for different types of broth. Read the “Recipe Tips” section below for more on this. Once you have a full bag, rinse the veggies thoroughly, then dump the frozen scraps in the cooking vessel of your choice.
Step 2: Roast Scraps & Deglaze (Optional). If you have the time, I recommend roasting your scraps (either on a parchment-lined sheet pan or in your Dutch oven or stock pot) to concentrate their flavors. Roast them in a 400F preheated oven for 20-30 minutes. Add about ½ cup of white wine to the pot to scrape up any browned bits.
Step 3: Add Water. Cover the frozen or roasted scraps with 2-3 inches of water. This should be somewhere in the ballpark of a gallon.
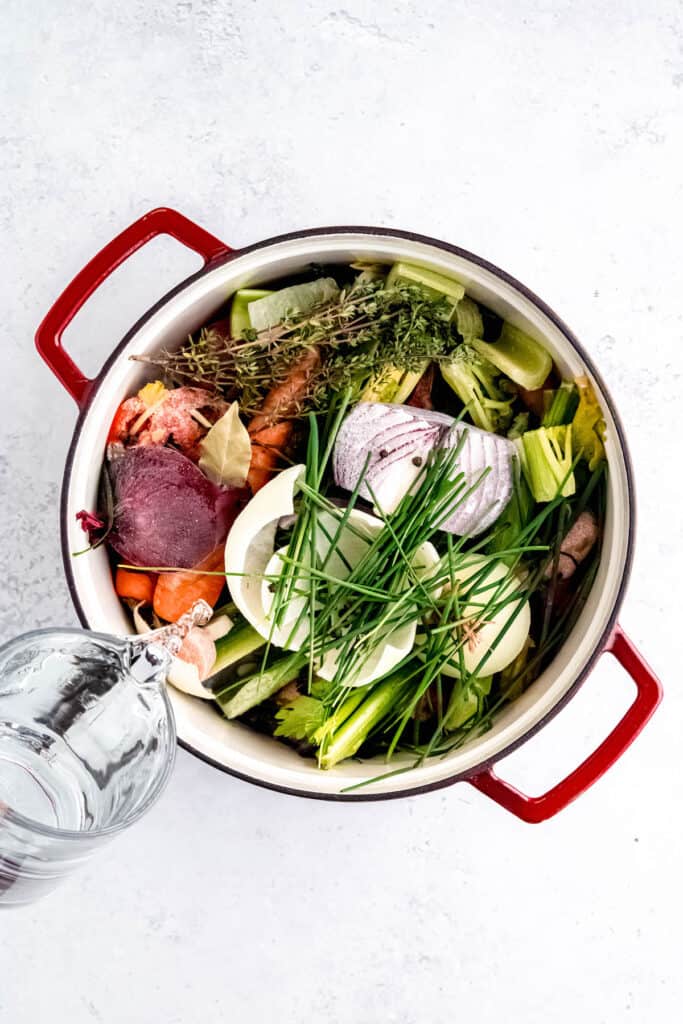
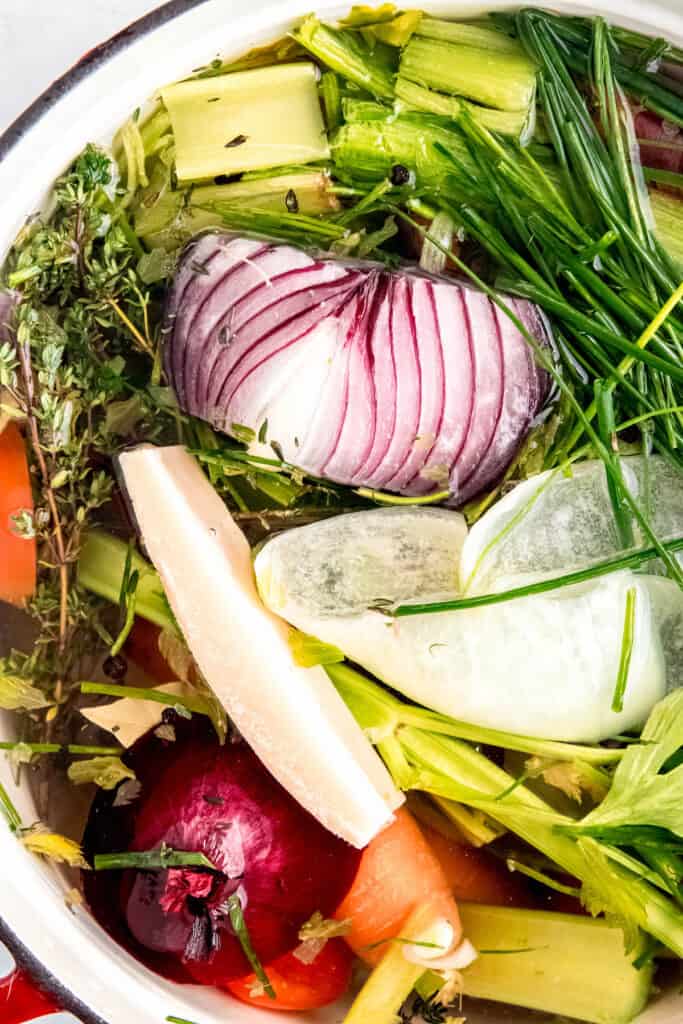
Step 4: Zhuzh it Up (Optional). Add a few flavor boosters like peppercorns, a bay leaf, and any herb scraps. Bring the pot to a gentle boil over medium heat, then reduce the temperature to low.
Step 5: Simmer the broth, uncovered, for a few hours (at least 3, up to 24) over low heat. Add more water to the pot as needed to keep the scraps covered. Pro Tip: If you’re going to bed while your broth is still simmering, cover the pot about 80% of the way with a lid, leaving a small gap for steam to evaporate.
Step 6: Skim off any foam and fat. I tend to do this whenever I pass by the pot.
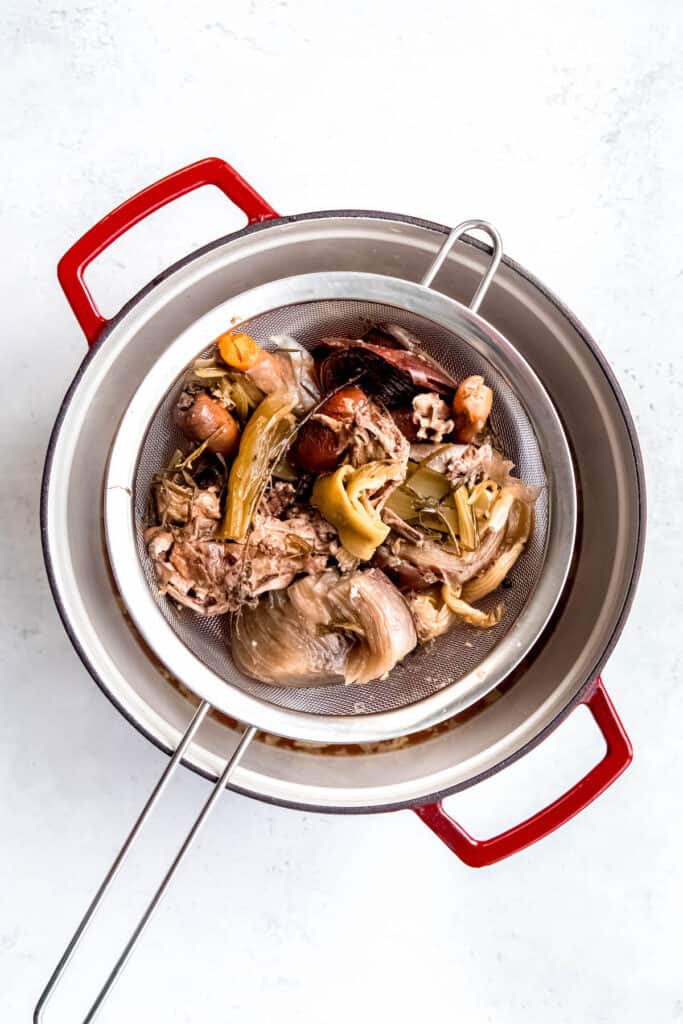
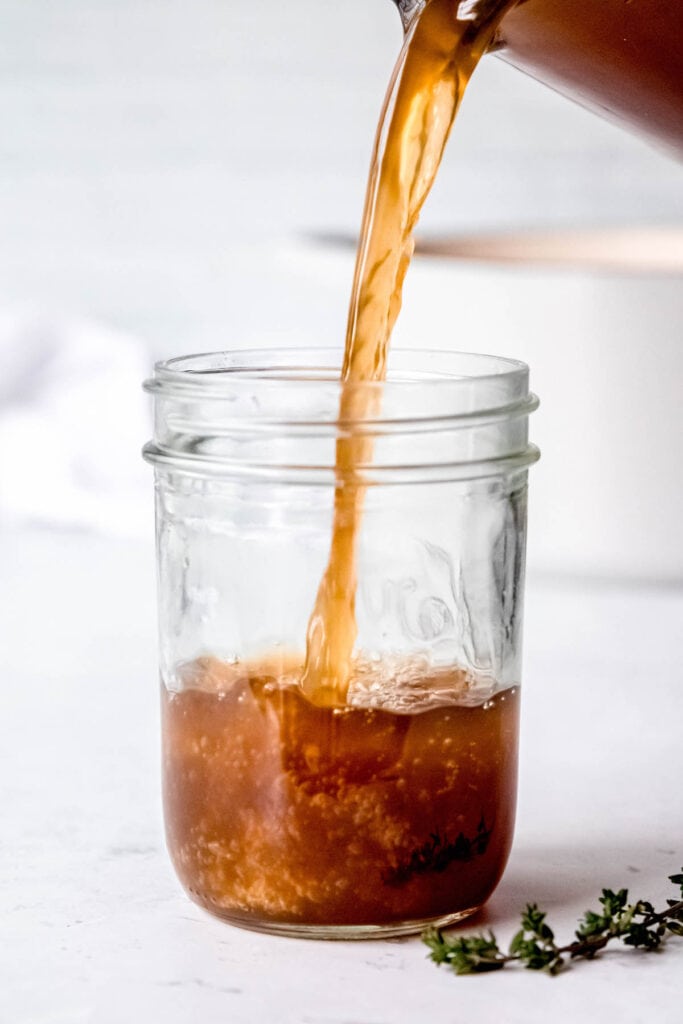
Step 7: Strain the broth through a chinoise, fine mesh strainer, or a cheesecloth-lined colander to remove any solids.
Step 8: Season to taste with kosher salt (optional).
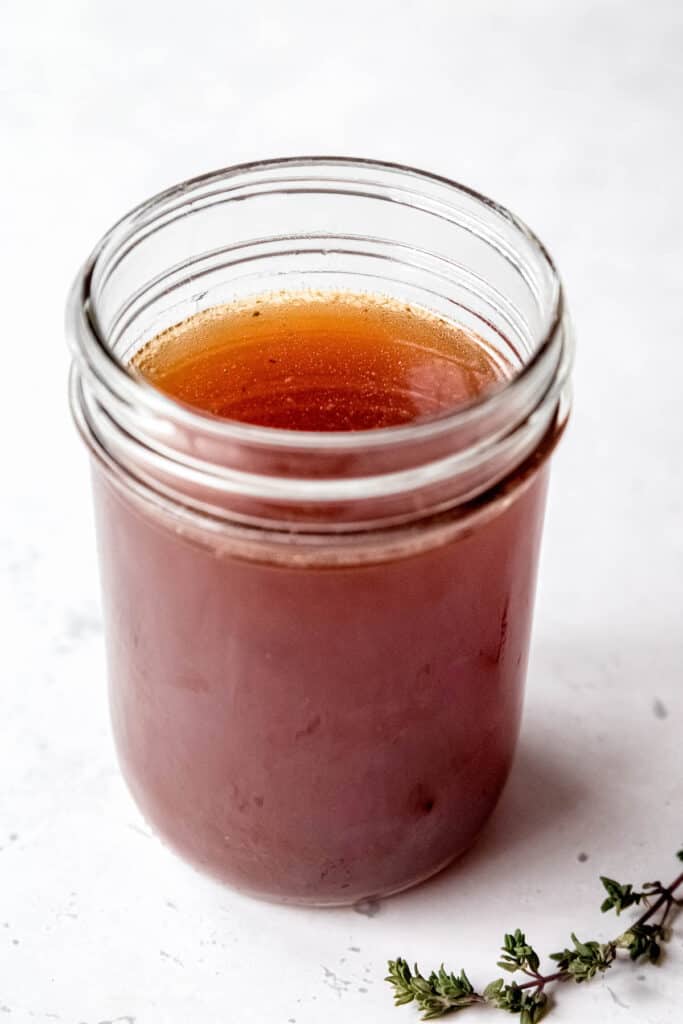
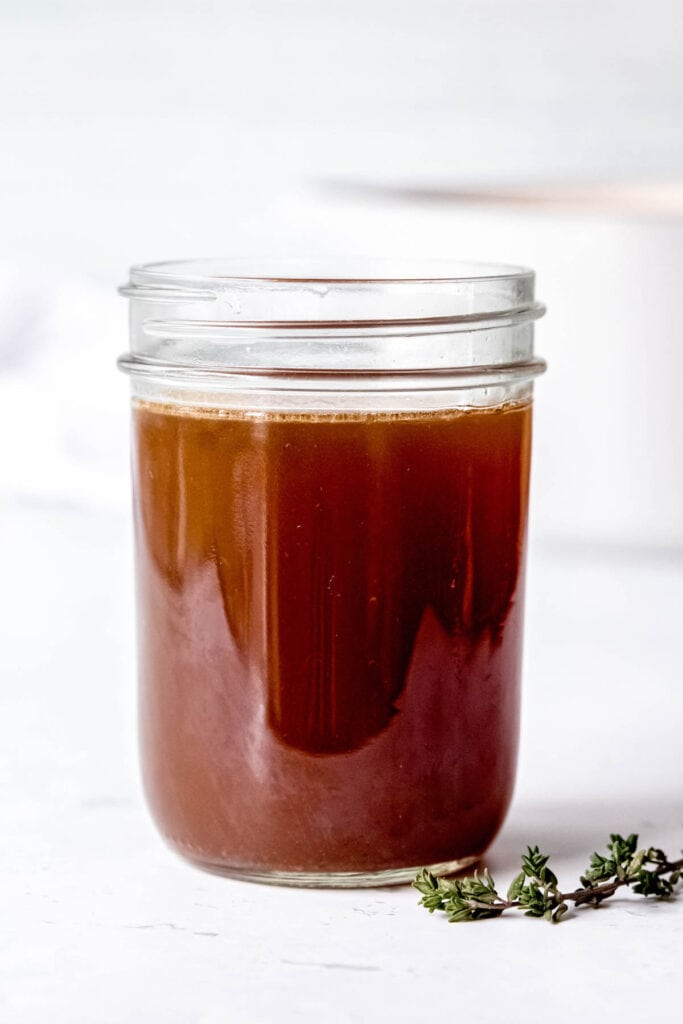
Step 9: Use or Store. Your meat or vegetable scrap broth is now ready to use!
How to Make Instant Pot Broth From Scraps
Step 1: Collect Scraps. Use gallon-sized freezer bags to collect your scraps. Once you have a full bag, rinse the veggies thoroughly, and then...
Step 2: Roast Scraps & Deglaze (Optional). If you have the time, I recommend roasting your scraps on a parchment-lined sheet pan to concentrate their flavors. Roast them in a 400F preheated oven for 20-30 minutes. Add the scraps to your Instant Pot, set it to Sauté over medium heat, and add about ½ cup of white wine to the pot. (You can also do this part in a Dutch oven or stock pan if you prefer — I try to keep my dishes to a minimum, so the sheet pan works best for me.)
Step 3: Add Water. Cover the frozen or roasted scraps with 2-3 inches of water. This should be somewhere in the ballpark of a gallon. Make sure to not exceed the maximum fill line.
Step 4: Zhuzh it Up (Optional). Add a few flavor boosters like peppercorns, a bay leaf, a parmesan rind, and any herb scraps. Secure the lid in place.
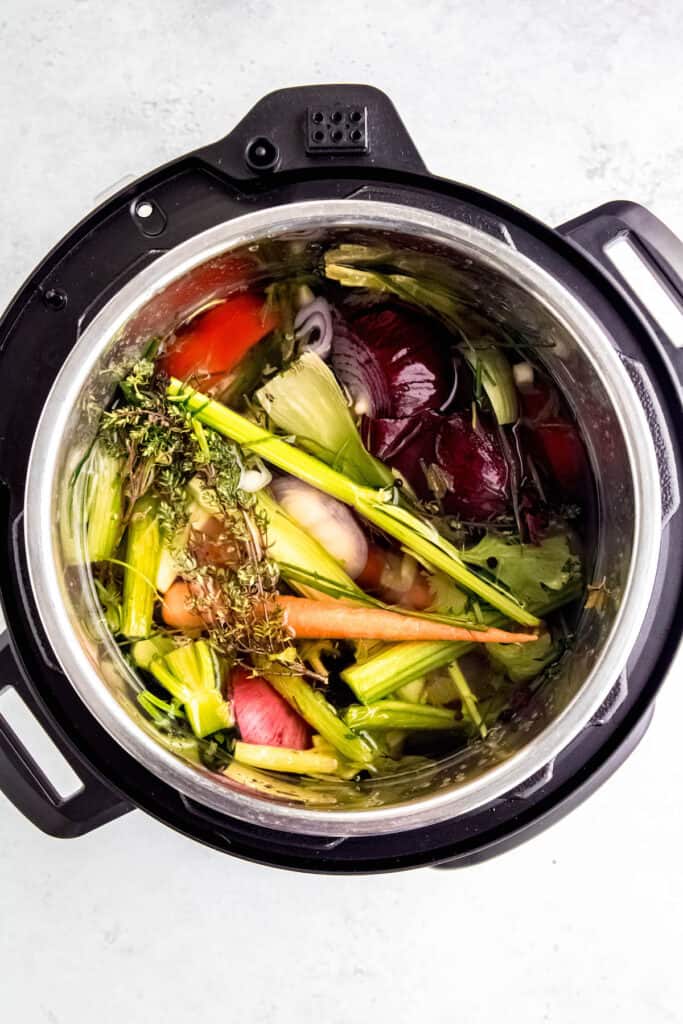
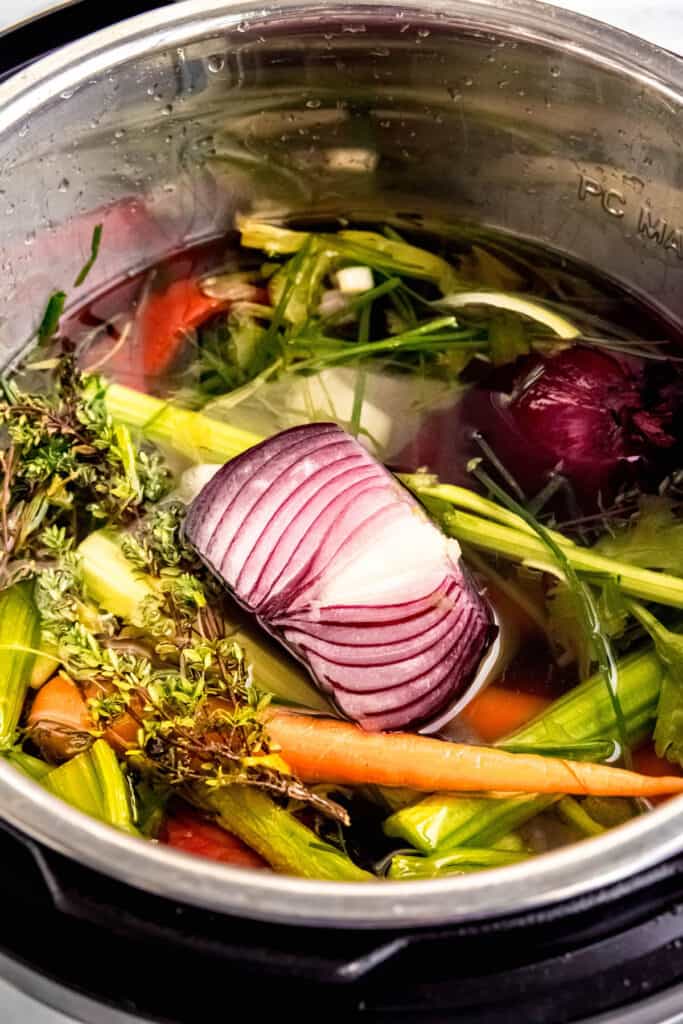
Step 5: Cook the stock by setting it to Pressure Cook on High for 30 minutes.
Step 6: Do a Natural Release for 30 minutes. If the pressure hasn’t dissipated after 30 minutes, you can hit the quick-release valve.
Step 7: Skim & Strain the broth to remove excess fat and solids.
Step 8: Season to taste with kosher salt (optional).
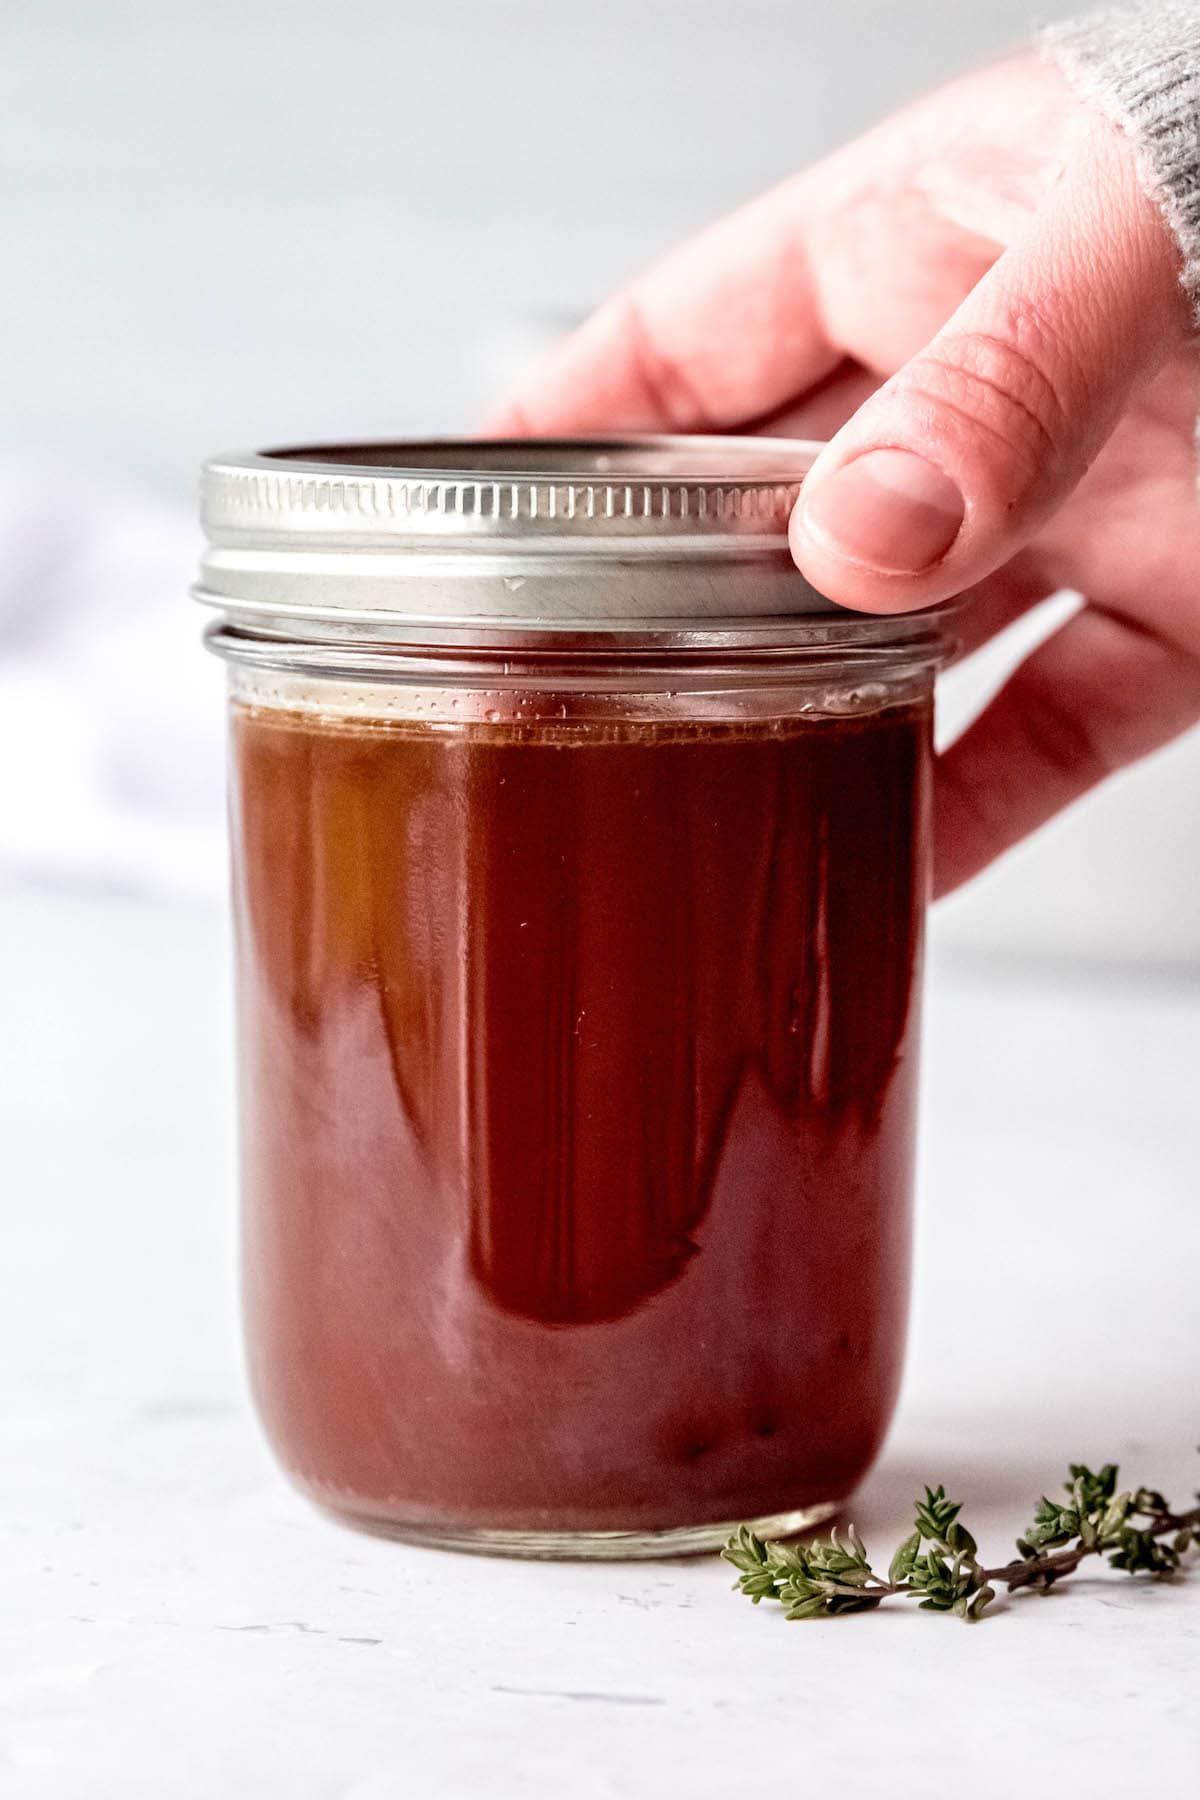
Step 9: Use or Store. Your instant pot vegetable broth or bone broth is now ready to use!
How to Make Slow Cooker Broth From Scraps
Step 1: Collect Scraps. Use gallon-sized freezer bags to collect your scraps. Once you have a full bag, rinse the veggies thoroughly, and then...
Step 2: Roast Scraps & Deglaze (Optional). If you have the time, I recommend roasting your scraps on a parchment-lined sheet pan to concentrate their flavors. Roast them in a 400F preheated oven for 20-30 minutes. (You can also do this part in a Dutch oven or stock pan if you prefer. If you go this route, deglaze the pan with ½ cup of wine for added flavor!) Place the roasted scraps in the slow cooker.
Step 3: Add Water. Cover the frozen or roasted scraps with 2-3 inches of water. This should be somewhere in the ballpark of a gallon. Make sure to not exceed the maximum fill line.
Step 4: Zhuzh it Up (Optional). Add a few flavor boosters like peppercorns, a bay leaf, and any herb scraps. Place the lid on the crockpot insert.
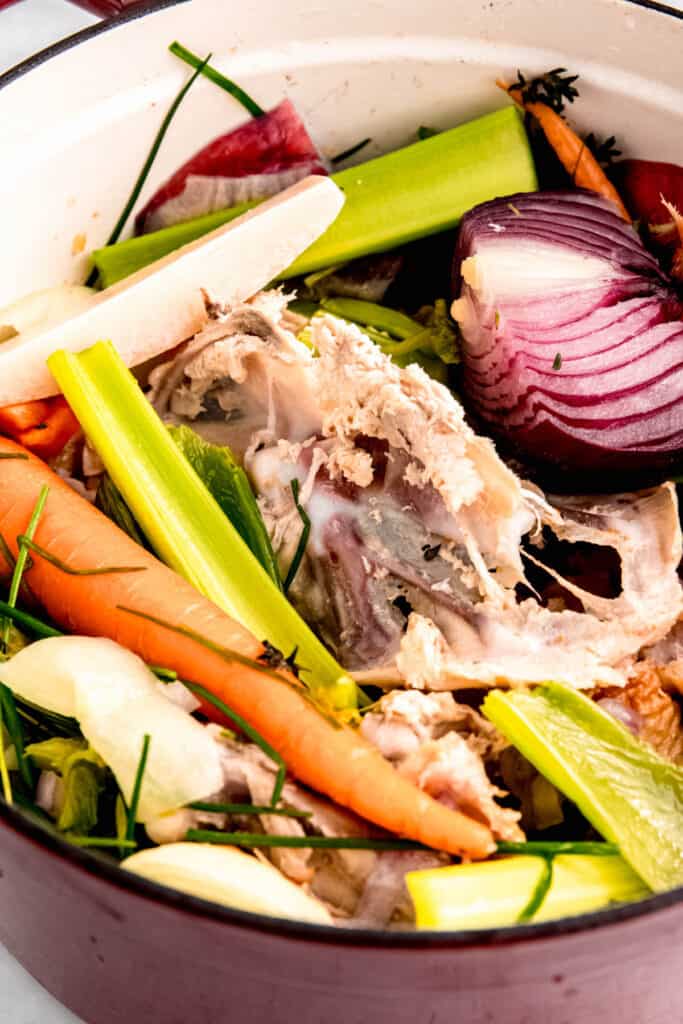
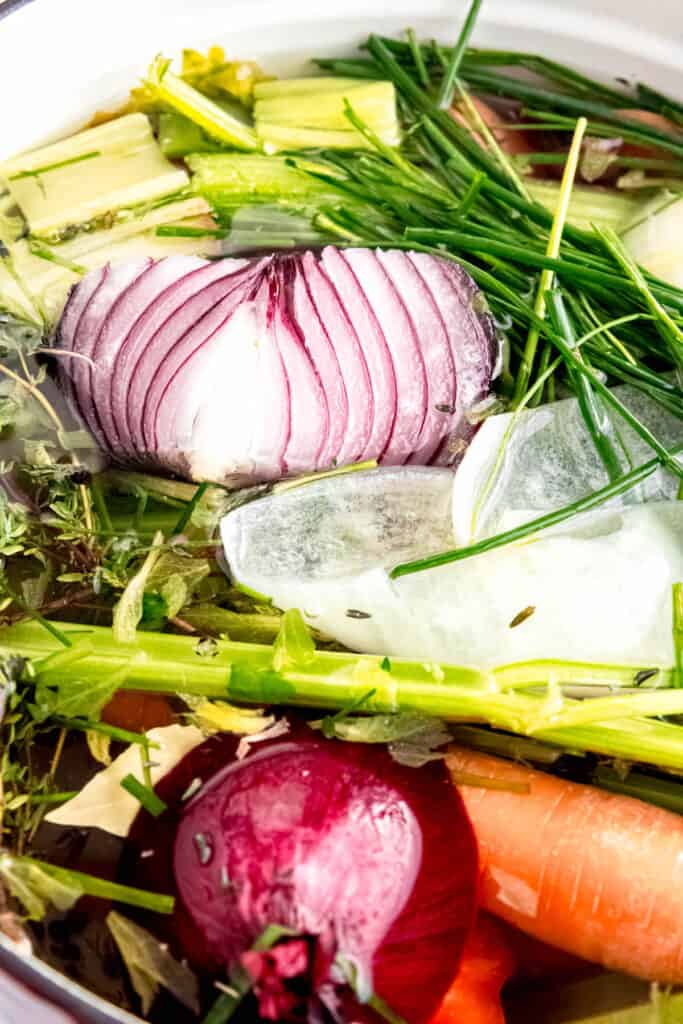
Step 5: Cook the stock for 8-10 hours on low or 4-5 hours on high. Pro Tip: Leave the lid in place for the full cook time. Removing the lid from a slow cooker lets a bunch of heat out, which slows down the cooking process.
Step 6: Skim & Strain the broth to remove excess fat and solids.
Step 7: Season to taste with kosher salt (optional).
Step 8: Use or Store. Your crock pot bone broth or vegetable broth is now ready to use!
Optional Variations & Flavor Combinations
Now that you’ve got the basics down, it’s time to feed your creativity and try different ingredient combinations to find your ideal vegetable stock or bone broth! Here are a few ideas to get you started:
- Asian-Inspired Veggie or Bone Broth - Regardless if you’re making vegetable sipping broth or chicken, pork, fish, or beef broth, you can use the same veggie base: mushroom stems + lemongrass butts + lime rinds + jalapeño/serrano butts + ginger scraps + 1-2 star anise pods + black peppercorns + soy sauce or fish sauce (instead of salt).
- Classic Poultry Broth - This is the way to go for all your Thanksgiving leftovers or if you have a rotisserie chicken carcass that needs using. Chicken carcass/bones + rosemary/sage/thyme/parsley scraps + 1-2 bay leaves + onion scraps + garlic scraps + carrot butts + celery butts & leaves.
- Lemon Dill Chicken Broth - This is a light, bright broth that is perfect for spring soups or cooking up dried beans: chicken scraps + dill stems + lemon rinds + fennel scraps + carrots + onion scraps + celery.
- Shrimp Broth - You can make a potent shrimp stock using nothing more than shrimp shells (and heads, if you have them) and water. You’re also welcome to add other flavor boosters like bay leaves, carrots, celery, garlic, onion, black pepper, or bay leaves.
- Mushroom Stock - All you need are roasted mushroom stems (roasting is particularly important for this one) and water to make a flavorful mushroom broth. That said, tomatoes/tomato juice, seaweed (e.g. kombu), soy sauce/fish sauce, anchovy paste or fish scraps, bay leaves, or peppercorns are also welcome.
- Asparagus Broth - Asparagus butts and water are the only essentials here. Other than that, spent lemon rinds, herb scraps, garlic, and onion are good add-ins.
- Corn Stock - You only need corn cobs and water to make a rich, corn-flavored broth. Feel free to add black peppercorns, bay leaves, or celery scraps if you’d like.
How to Use Scrap Broth & Stock
Once you’ve made a pot of this FREE liquid gold, you can use it the same way you would any store-bought broth. Here are just a few ideas to get you started:
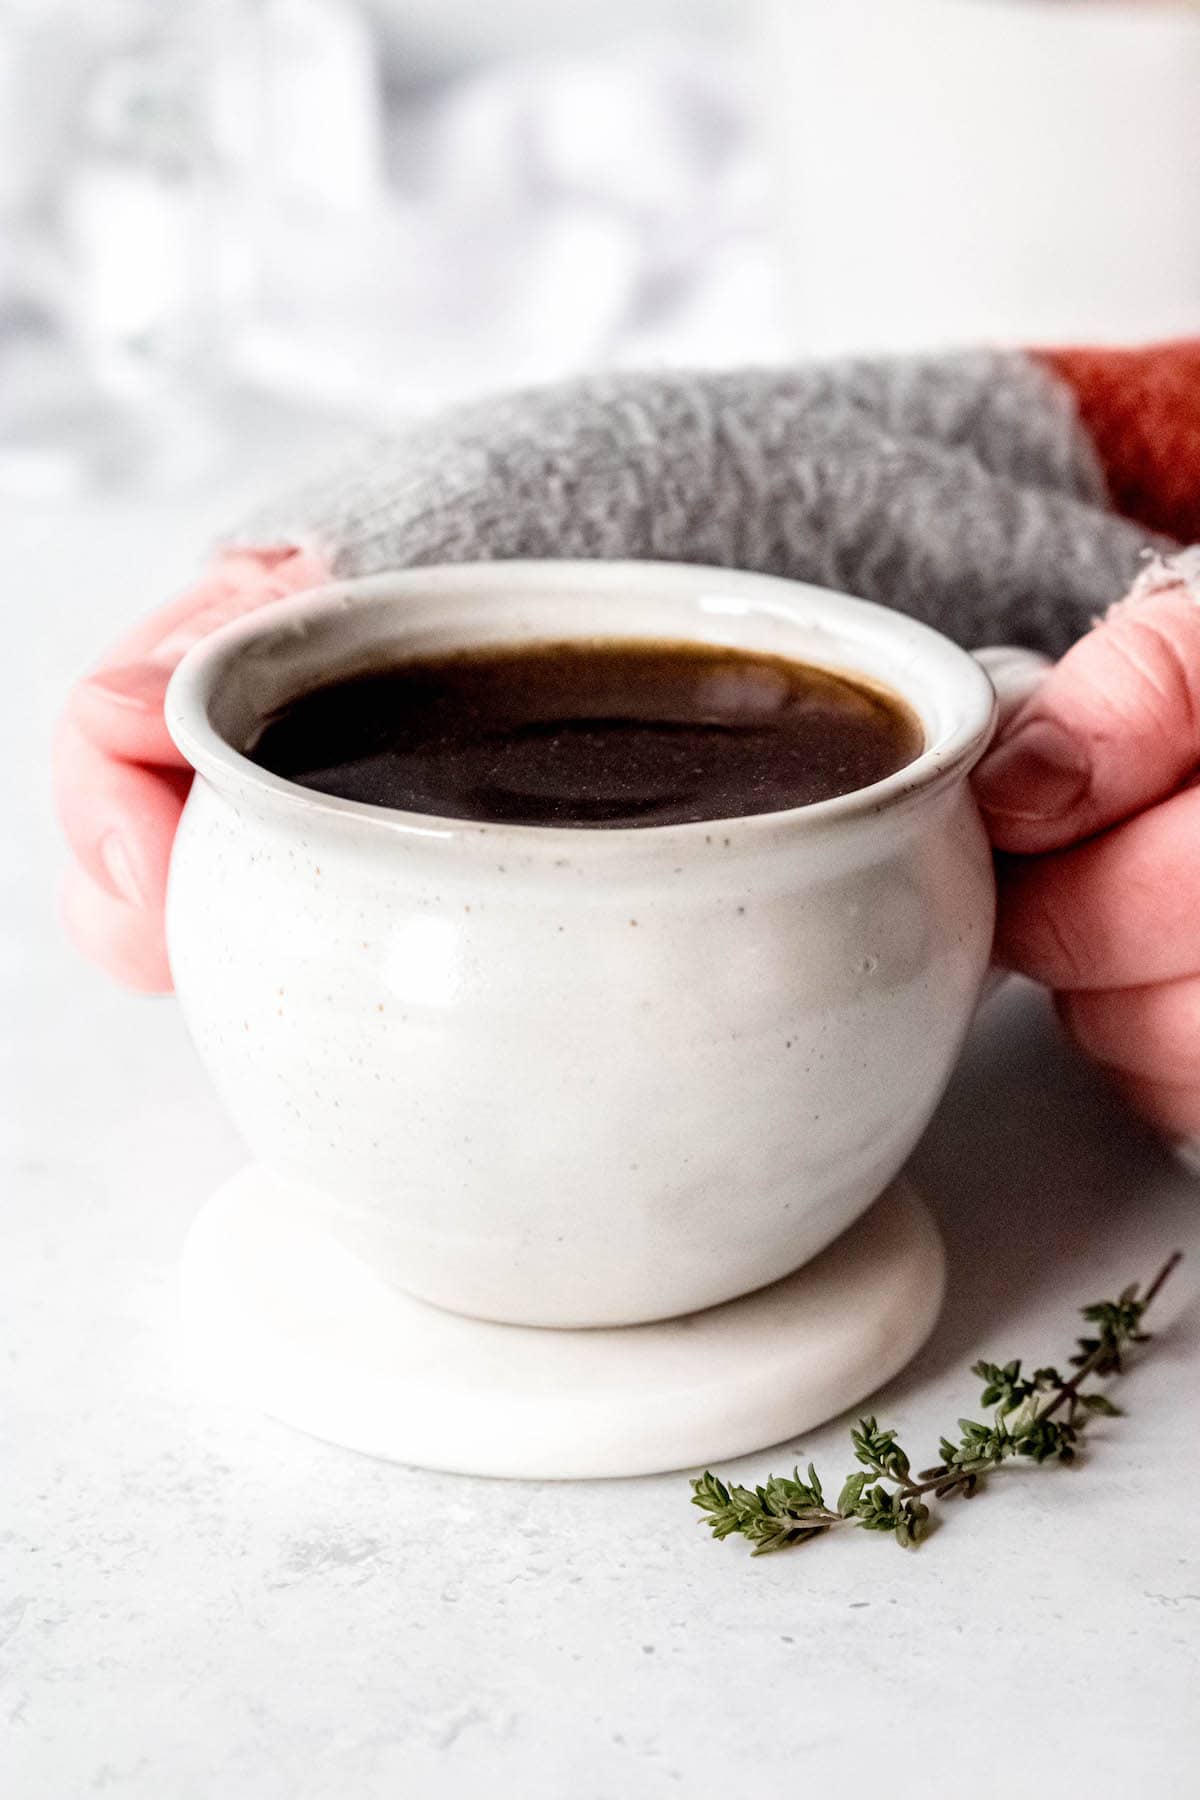
- Sipping Broth - Whether you’re battling a cold, need a warming snack on the go, or just want something savory to sip on, vegetable broth or bone broth are great options. If you decide to use your broth for sipping, make sure to season it to taste with salt, MSG, or some other umami booster so it’s not too bland. I usually like to add a squirt of sriracha, too. 🌶️
- Soups & Stews - This is a no-brainer!
- Sauces & Gravies - Next time you’re deglazing a pan to make a pan sauce or gravy for your turkey, try using your homemade broth for an added pop of flavor.
- Cooking Dried Beans or Grains - Rather than using plain water for cooking rice, beans, farro, barley, or other grains, swap in flavorful broth. It makes a big difference with zero extra effort!
- Replace Cooking Wine - Don’t keep wine in the house and a recipe calls for it? Swap in broth instead. Consider adding a splash of lemon juice or vinegar, too, just to replace some of the acidity.
Recipe Success Tips
- Rinse your veggie scraps to prevent dirt from flavoring your broth! I always wash my veggies before prepping them, but there are a few things you don’t think about washing in day-to-day kitchen tasks (e.g. onion skins). Wait till your bag is nice and full, pour it into a colander, and rinse away any dirt.
- Separate your scraps by flavor profile. For example, keep ginger, turmeric, lime, lemongrass, cilantro, and jalapeño scraps in one bag for an Asian-inspired broth, and keep sage, rosemary, thyme, and lemon rinds in a separate bag for a more classic poultry broth. Similarly, strongly flavored veggie scraps (e.g. asparagus, corn, or mushroom) and different varieties of animal scraps (e.g. poultry, pork, or seafood) should be stored separately.
- If you have the time, roasting your scraps before turning them into stock adds so much depth of flavor.
- Don’t have an immediate use for your broth or stock? It’ll keep well in the fridge for up to a week, but can also be frozen for up to a year.
- If you’re going to freeze your stock, I recommend using individual containers ~OR~ a muffin tin (cheaper than “Souper Cubes” and you probably already have one on hand) so you can easily grab what you need without defrosting the whole batch. If you use the muffin tin trick, wait until the stock is frozen solid (about 4 hours), then dip the bottom of the tray in hot water to help the pucks release. Store them in a zip-top freezer bag or freezer-safe container that’s been labeled and dated with a “best by” date (one year out).
- Keep an eye on your ratios. You want a good balance of sweet flavors (e.g. carrots, celery, and onion meat) vs. more bitter/pungent flavors (e.g. onion or garlic skins). If your bag is looking a little too homogenous, start a second one with any repeats and try to fill the first out with a more rounded flavor profile.
FAQs
While some fruit scraps (e.g. lemon or lime) are welcome in savory broths, most are not. However, you can use fruit scraps to make infused water that tastes like Hint for FREE. You can also use them to make infused simple syrups or use citrus zest to make infused sugar or salt.
Most of the time, yes! Just note that garlic or onion skins are more bitter/less sweet than garlic cloves or onion flesh. Also, if you’re trying to follow a particular broth or stock recipe, make sure you’re keeping roughly the same ratio of ingredients that it asks for.
Heck yeah you can! Chicken carcasses, turkey carcasses, bones from pork chops or rib roasts, leftover beef bones, or lamb bones are all amazingly flavorful and full of naturally occurring collagen. If they haven't been cooked yet, I recommend roasting them first for the best flavor.
You sure can. A Dutch oven will work equally well on the stovetop, or you can use a crockpot/slow cooker or an Instant Pot. I've included instructions for all 3!
If we’re being technical, there isn’t really such thing as “vegetable stock,” as “stock” usually indicates that meat and/or bones are in the mix. However, many folks (myself included) use the terms interchangeably.
It depends on the broth, and on what your definition of healthy is. This homemade vegetable stock is naturally gluten-free, free from preservatives, and can be made without any salt (or reduced sodium), so it definitely qualifies as “healthy” in my book.
Vegetable broth can definitely spoil, so make sure you’re storing it properly (e.g. in the fridge, freezer, or pressure canning).
While I wouldn’t necessarily *recommend* it, I’ve been known to use an old-world method of preserving broths and soups when my fridge or freezer is too full. The way it works is you place a tight-fitting or silicone lid on top of the pot while it’s still over the heat. When you switch off the heat, DON’T TOUCH THE LID. As the liquid inside cools, it creates a quasi-vacuum effect, which helps prevent bacteria from growing.
That said, this method should only be used sparingly and does not replace refrigeration, freezing, or canning for longer-term (more than 8-12 hour) storage. Also, make sure to heat the broth or soup to a minimum temp of 165F before consuming if you’ve used this method.
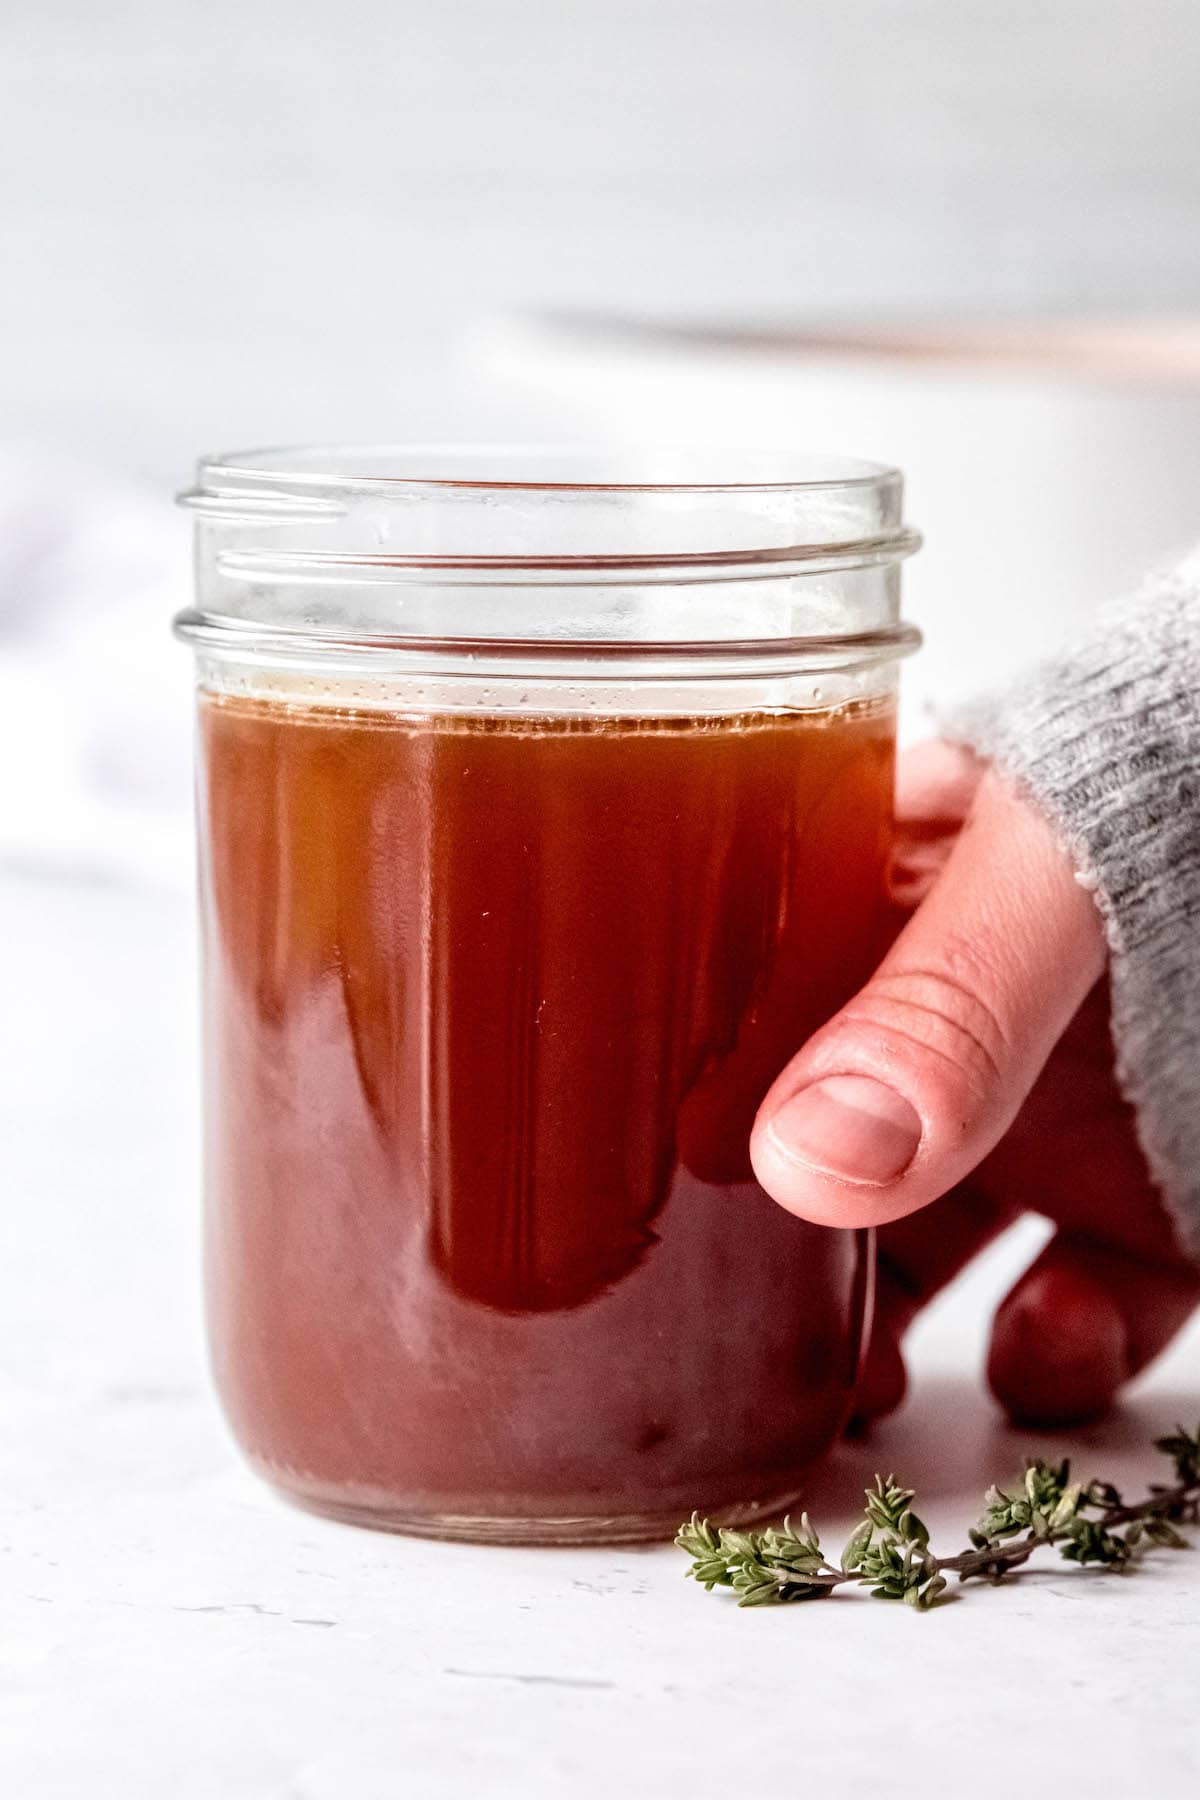
Decant your broth or stock into storage containers (e.g. mason jars or delitainers), then store in the fridge for 5-7 days. You can also freeze it for up to a year – just make sure to leave sufficient headroom for the broth to expand as it freezes. Neither vegetable broth/stock nor bone broth/meat broth is acidic enough for water canning to be safe. That said, you can pressure can your homemade broth/stock to keep it shelf-stable.
If your recipe calls for bone broth, you should use stock that has been made with meat and/or bones. Why? Bone broth has more protein and a richer mouthfeel than plain broth, and, depending on the recipe, this gelatinous consistency might be essential. Read the recipe notes, though — if the recipe calls for “chicken broth” or “beef broth,” or lists them as acceptable substitutes, vegetable broth will usually work as a 1-to-1 swap.
More Ways To Get The Most Bang For Your Grocery Buck
If you tried this recipe and loved it, be sure to rate and review it below! For more inexpensive and delicious recipe inspiration, be sure to follow me on Instagram, Pinterest, & Facebook. You can also get all of my newest content delivered straight to your inbox by signing up for my email newsletter!
Low-Sodium Vegetable Broth or Bone Broth From Scraps
Ingredients
- 1 gallon-sized bag Vegetable Scraps see notes below.
- Chicken, Turkey, Beef, Pork, Fish, or Lamb Bones, or Shellfish Shells optional, see notes below.
- Water enough to cover the scraps by 2 inches
- Optional Seasoning & Flavor Boosters see notes below
Instructions
How to Make Veggie or Bone Broth From Scraps (Stove-Top Instructions)
- Step 1: Collect Scraps. Use gallon-sized freezer bags to collect your scraps. I suggest having separate bags for different types of broth. Read the “Recipe Tips” section below for more on this. Once you have a full bag, rinse the veggies thoroughly, then dump the frozen scraps in the cooking vessel of your choice. Step 2: Roast Scraps & Deglaze (Optional). If you have the time, I recommend roasting your scraps (either on a parchment-lined sheet pan or in your Dutch oven or stock pot) to concentrate their flavors. Roast them in a 400F preheated oven for 20-30 minutes. Add about ½ cup of white wine to the pot to scrape up any browned bits.Step 3: Add Water. Cover the frozen or roasted scraps with 2-3 inches of water. This should be somewhere in the ballpark of a gallon. Step 4: Zhuzh it Up (Optional). Add a few flavor boosters like peppercorns, a bay leaf, and any herb scraps. Bring the pot to a gentle boil over medium heat, then reduce the temperature to low.Step 5: Simmer the broth, uncovered, for a few hours (at least 3, up to 24) over low heat. Add more water to the pot as needed to keep the scraps covered. Pro Tip: If you’re going to bed while your broth is still simmering, cover the pot about 80% of the way with a lid, leaving a small gap for steam to evaporate.Step 6: Skim off any foam and fat. I tend to do this whenever I pass by the pot.Step 7: Strain the broth through a chinoise, fine mesh strainer, or a cheesecloth-lined colander to remove any solids. Step 8: Season to taste with kosher salt (optional).Step 9: Use or Store. Your meat or vegetable scrap broth is now ready to use!
How To Make Instant Pot Broth From Scraps
- Step 1: Collect Scraps. Use gallon-sized freezer bags to collect your scraps. Once you have a full bag, rinse the veggies thoroughly, and then...Step 2: Roast Scraps & Deglaze (Optional). If you have the time, I recommend roasting your scraps on a parchment-lined sheet pan to concentrate their flavors. Roast them in a 400F preheated oven for 20-30 minutes. Add the scraps to your Instant Pot, set it to Sauté over medium heat, and add about ½ cup of white wine to the pot. (You can also do this part in a Dutch oven or stock pan if you prefer — I try to keep my dishes to a minimum, so the sheet pan works best for me.)Step 3: Add Water. Cover the frozen or roasted scraps with 2-3 inches of water. This should be somewhere in the ballpark of a gallon. Make sure to not exceed the maximum fill line.Step 4: Zhuzh it Up (Optional). Add a few flavor boosters like peppercorns, a bay leaf, a parmesan rind, and any herb scraps. Secure the lid in place.Step 5: Cook the stock by setting it to Pressure Cook on High for 30 minutes.Step 6: Do a Natural Release for 30 minutes. If the pressure hasn’t dissipated after 30 minutes, you can hit the quick-release valve.Step 7: Skim & Strain the broth to remove excess fat and solids.Step 8: Season to taste with kosher salt (optional).Step 9: Use or Store. Your instant pot vegetable broth or bone broth is now ready to use!
How to Make Slow Cooker Broth From Scraps
- Step 1: Collect Scraps. Use gallon-sized freezer bags to collect your scraps. Once you have a full bag, rinse the veggies thoroughly, and then...Step 2: Roast Scraps & Deglaze (Optional). If you have the time, I recommend roasting your scraps on a parchment-lined sheet pan to concentrate their flavors. Roast them in a 400F preheated oven for 20-30 minutes. (You can also do this part in a Dutch oven or stock pan if you prefer. If you go this route, deglaze the pan with ½ cup of wine for added flavor!) Place the roasted scraps in the slow cooker.Step 3: Add Water. Cover the frozen or roasted scraps with 2-3 inches of water. This should be somewhere in the ballpark of a gallon. Make sure to not exceed the maximum fill line.Step 4: Zhuzh it Up (Optional). Add a few flavor boosters like peppercorns, a bay leaf, and any herb scraps. Place the lid on the crockpot insert.Step 5: Cook the stock for 8-10 hours on low or 4-5 hours on high. Pro Tip: Leave the lid in place for the full cook time. Removing the lid from a slow cooker lets a bunch of heat out, which slows down the cooking process.Step 6: Skim & Strain the broth to remove excess fat and solids.Step 7: Season to taste with kosher salt (optional).Step 8: Use or Store. Your crock pot bone broth or vegetable broth is now ready to use!
Notes
- Alliums like onion, garlic, scallion, leek, and shallot root ends and peels.
- Sweet aromatics like carrot, parsnip, and celery root ends, scraps, and peels.
- Mushroom stems.
- Corn cobs.
- Pea pods or green bean scraps.
- Fennel ends and greens.
- Tomato skin, tops, or seeds.
- Chile pepper and bell pepper stem ends and scraps.
- Chard stems.
- Lettuce scraps (e.g. romaine butts).
- Napa cabbage cores and root ends, but no other brassicas!
- Beet peels and roots.*
- Potato and sweet potato peels.*
- Winter squash peels.*
- Herb stems and scraps (e.g. parsley, thyme, oregano, sage, rosemary, dill).
- Ginger or turmeric peels.
- Lemon or lime peels, or spent juiced lemons and limes.
- Leftover roasted or cooked veggies that are on their way out.
- Liquid from canned corn, canned tomatoes, or canned beans.*
- Leftover pasta cooking water.*
- Chicken bones, chicken feet, or rotisserie chicken carcasses.
- Turkey bones or carcasses.
- Beef bones, lamb bones, or pork/ham bones.
- Shrimp tails, fish parts (e.g. fish head, tail, or bones), shells from crabs, lobster, clams, or mussels.
- Cheese Rinds. I keep a separate bag of parmesan and other hard-aged cheese rinds (e.g. asiago, grana padano, pecorino) in the freezer, as they add salty, umami goodness to anything they touch. I like to use them to cook beans from dry, to add flavor to pasta sauces, to punch up my soups, or to add flavor to veggie broth. They don’t melt the same as cheese, so you can easily dispose of the rind when you’re done.
- Whole peppercorns & kosher salt for seasoning.
- MSG for a reduced-sodium option that also adds savory, umami depth.
- A bay leaf for complexity.
- White wine for acidity and depth.
- Vinegar (e.g. white wine vinegar, red wine vinegar, or apple cider vinegar) for brightness.
- Tomato paste for sweetness and vegan umami.
- Anchovy paste, fish sauce or Worcestershire sauce for a hit of salty umami.
- Brassicas - As much as I love cabbage, cauliflower, broccoli, kale, collards, and brussels sprouts, they tend to impart a bitter flavor to broth.
- Bitter Greens - While bitter chicories, broccoli rabe, and mustard greens are yummy to eat, they’ll add too much bitterness to the broth.
- Artichokes - Artichoke leaves are too bitter and should be avoided.
- Spoiled Veggies - While I use my scrap bag to help me salvage veggies that are on their way out, make sure you don’t add any that have spoiled or gone moldy.
- Garlic and onion skins add great flavor, but too many and they can make your stock bitter. Make sure to have a good amount of other veggies and/or allium flesh in there too.
- Red onion peels, beets, and rainbow chard stems will impart a strong color. Make sure to keep this in mind depending on what you’re planning on doing with the broth.
- Starchy items like potato skins, winter squash peels, bean broth, and pasta cooking water will make your broth a bit cloudy. I generally like the added body in most recipes, but keep this in mind if you want a clear appearance.





Comments
No Comments