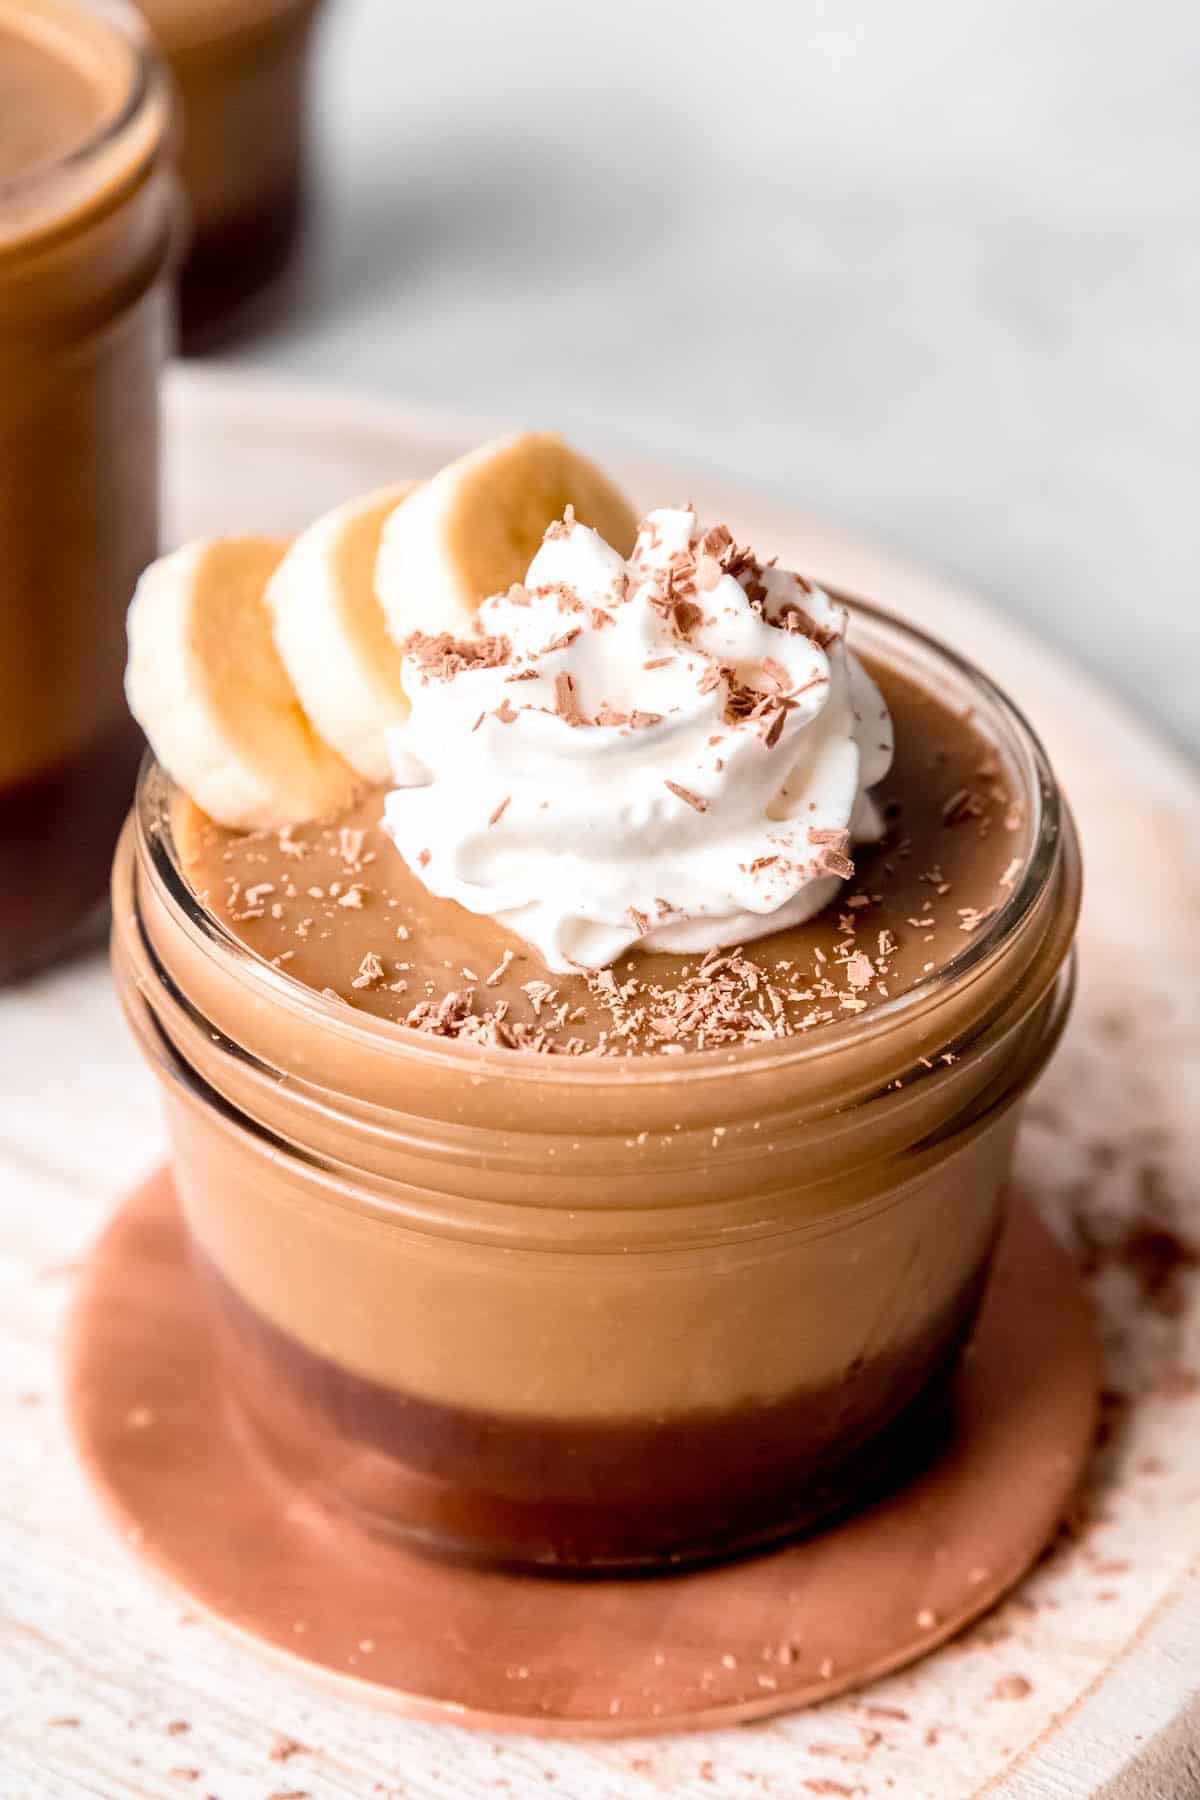
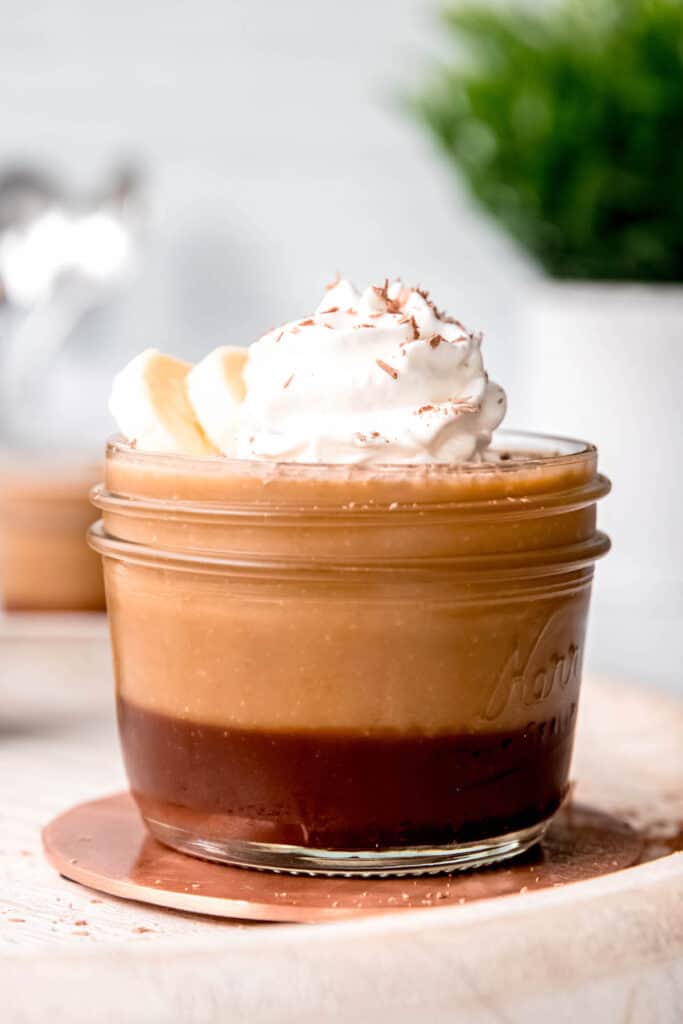
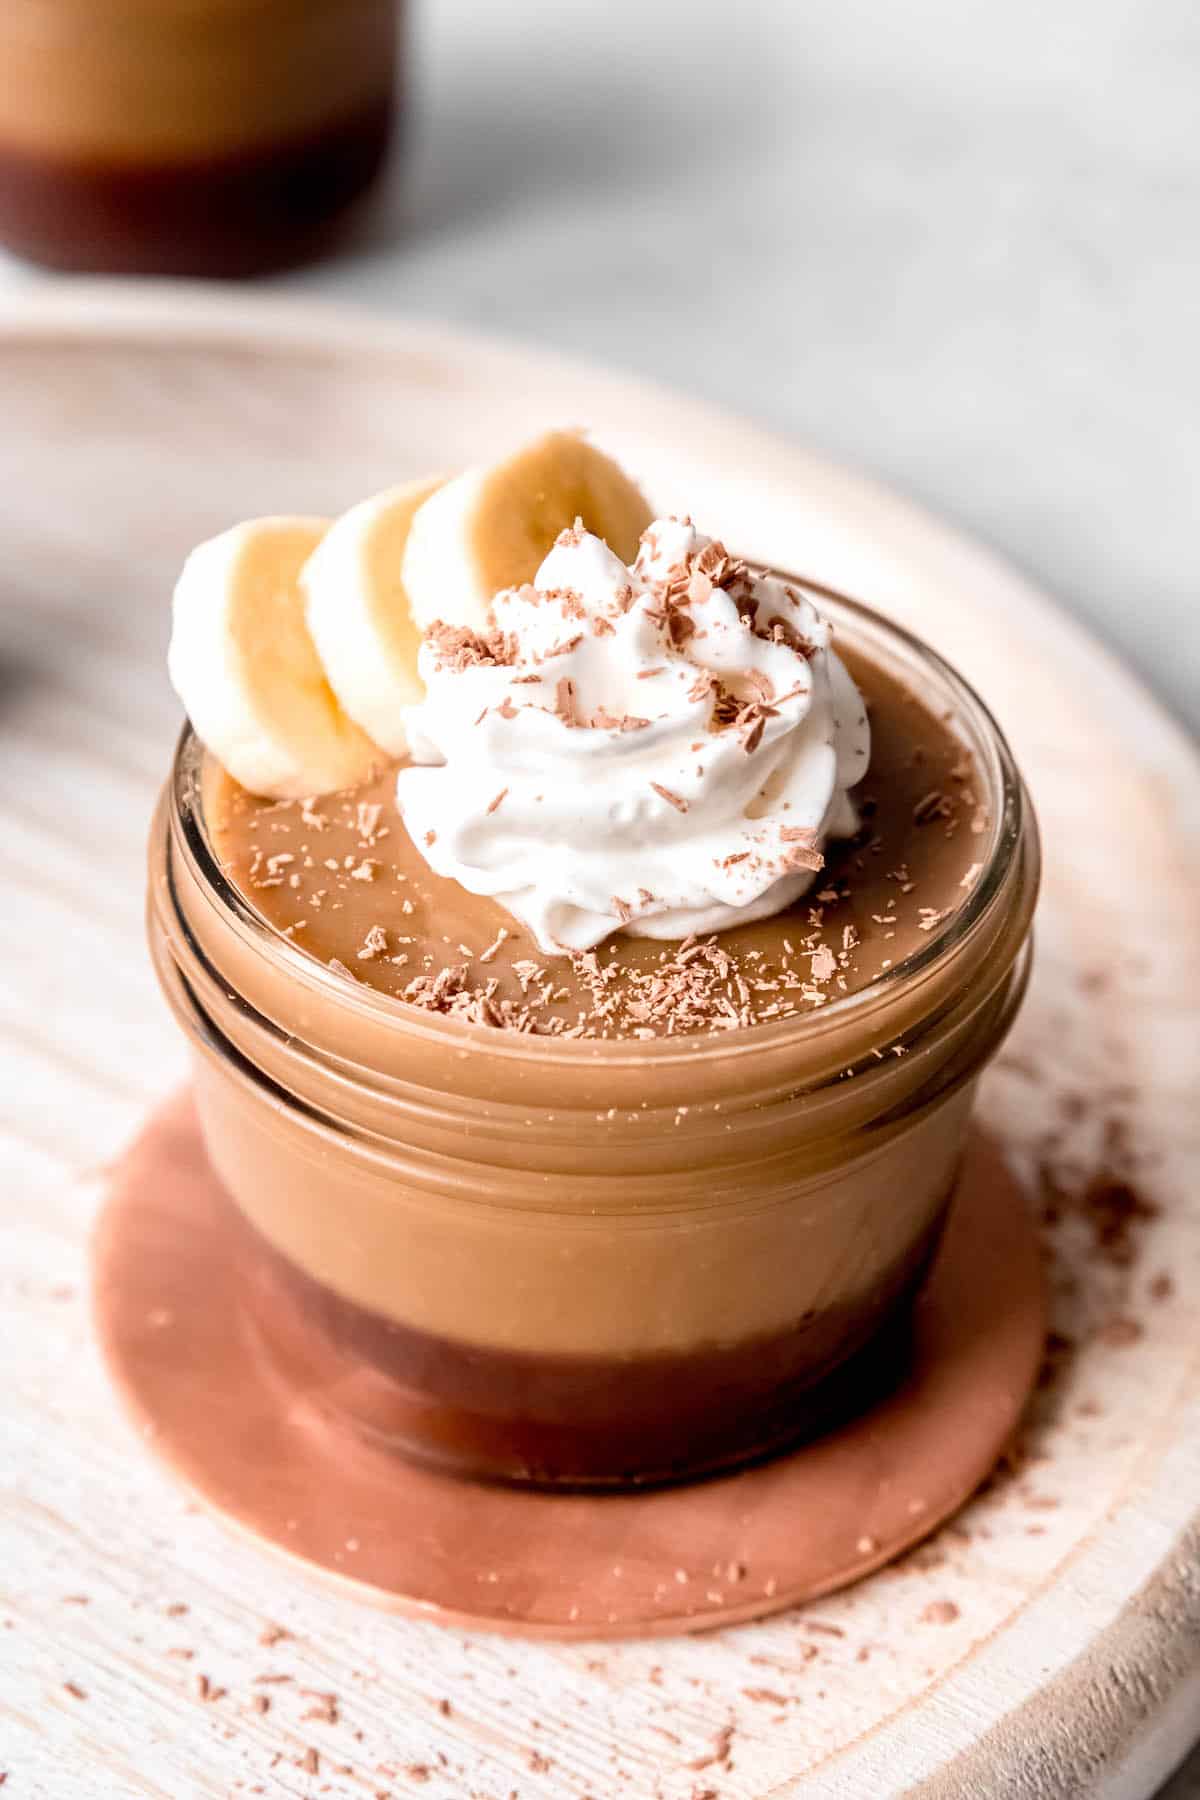
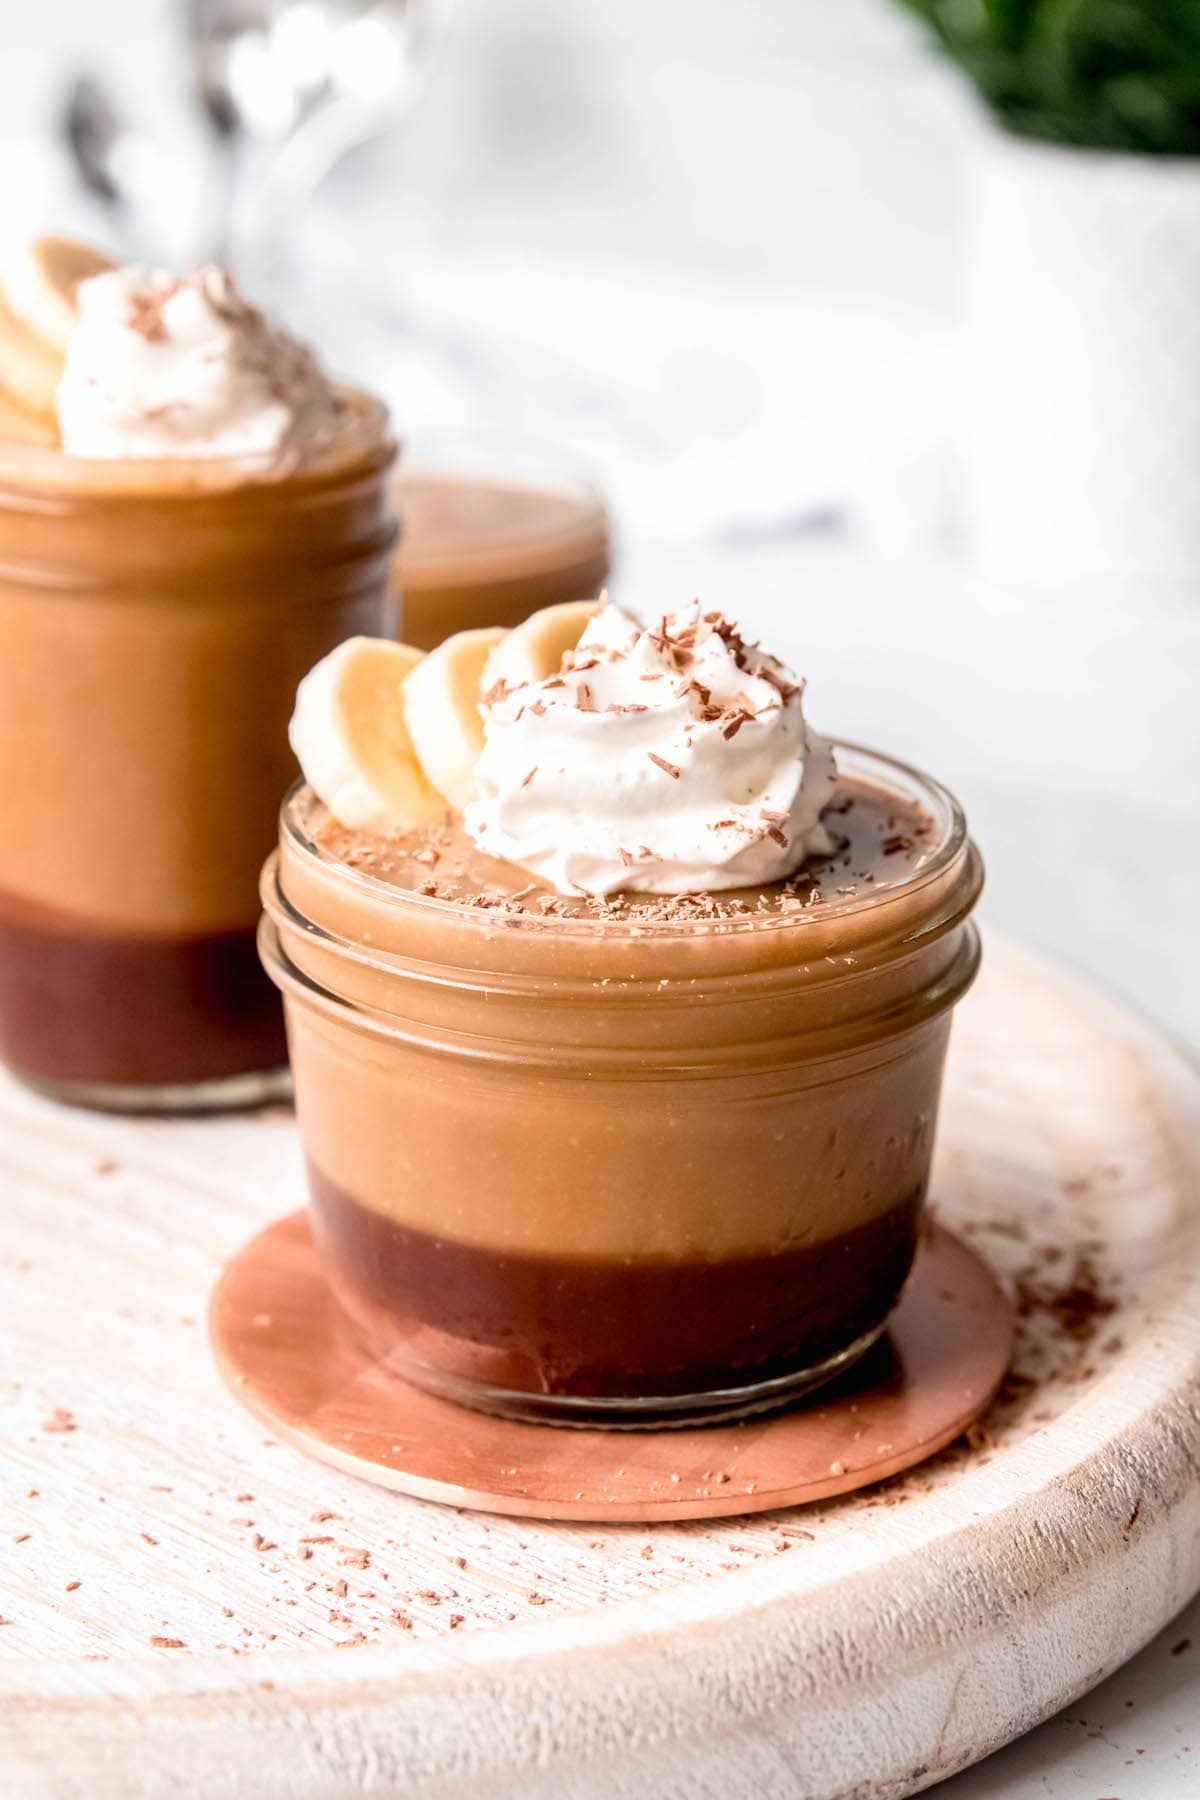
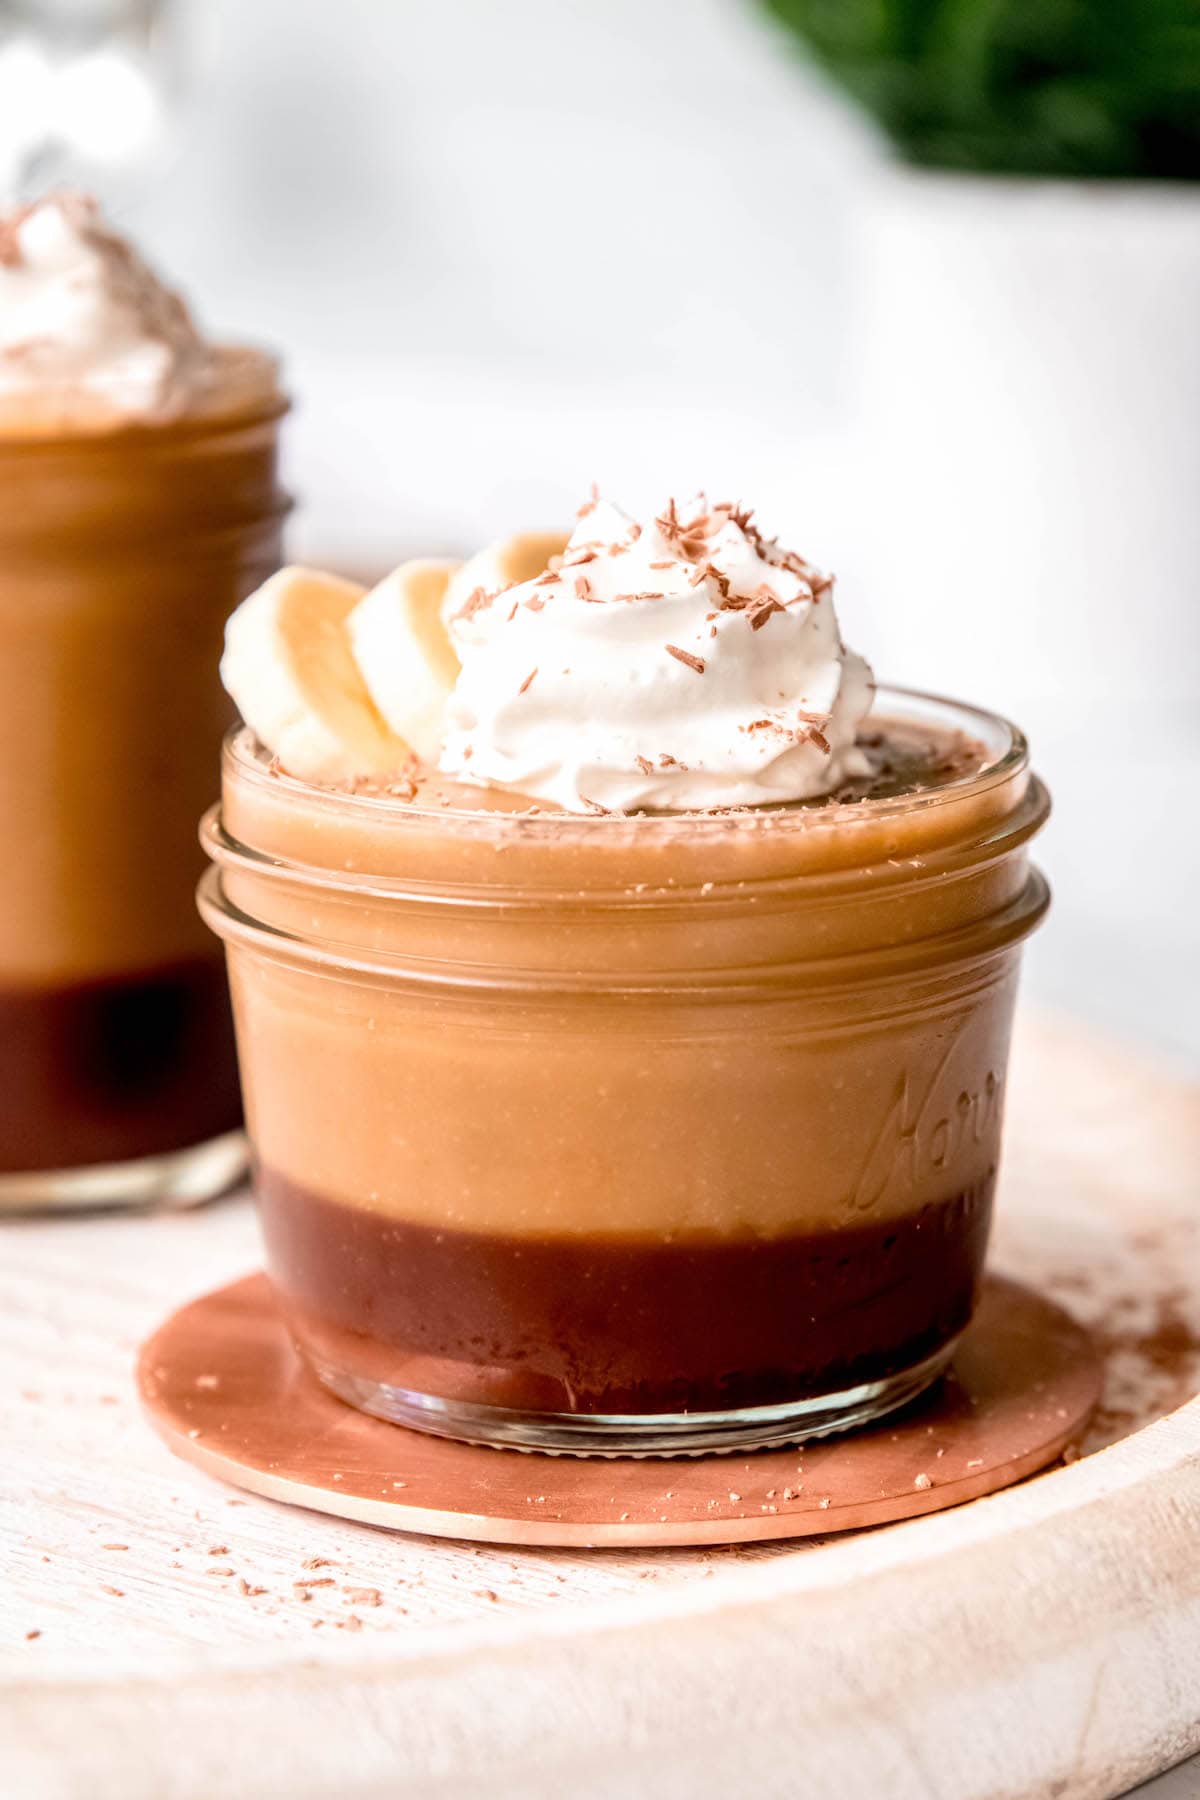
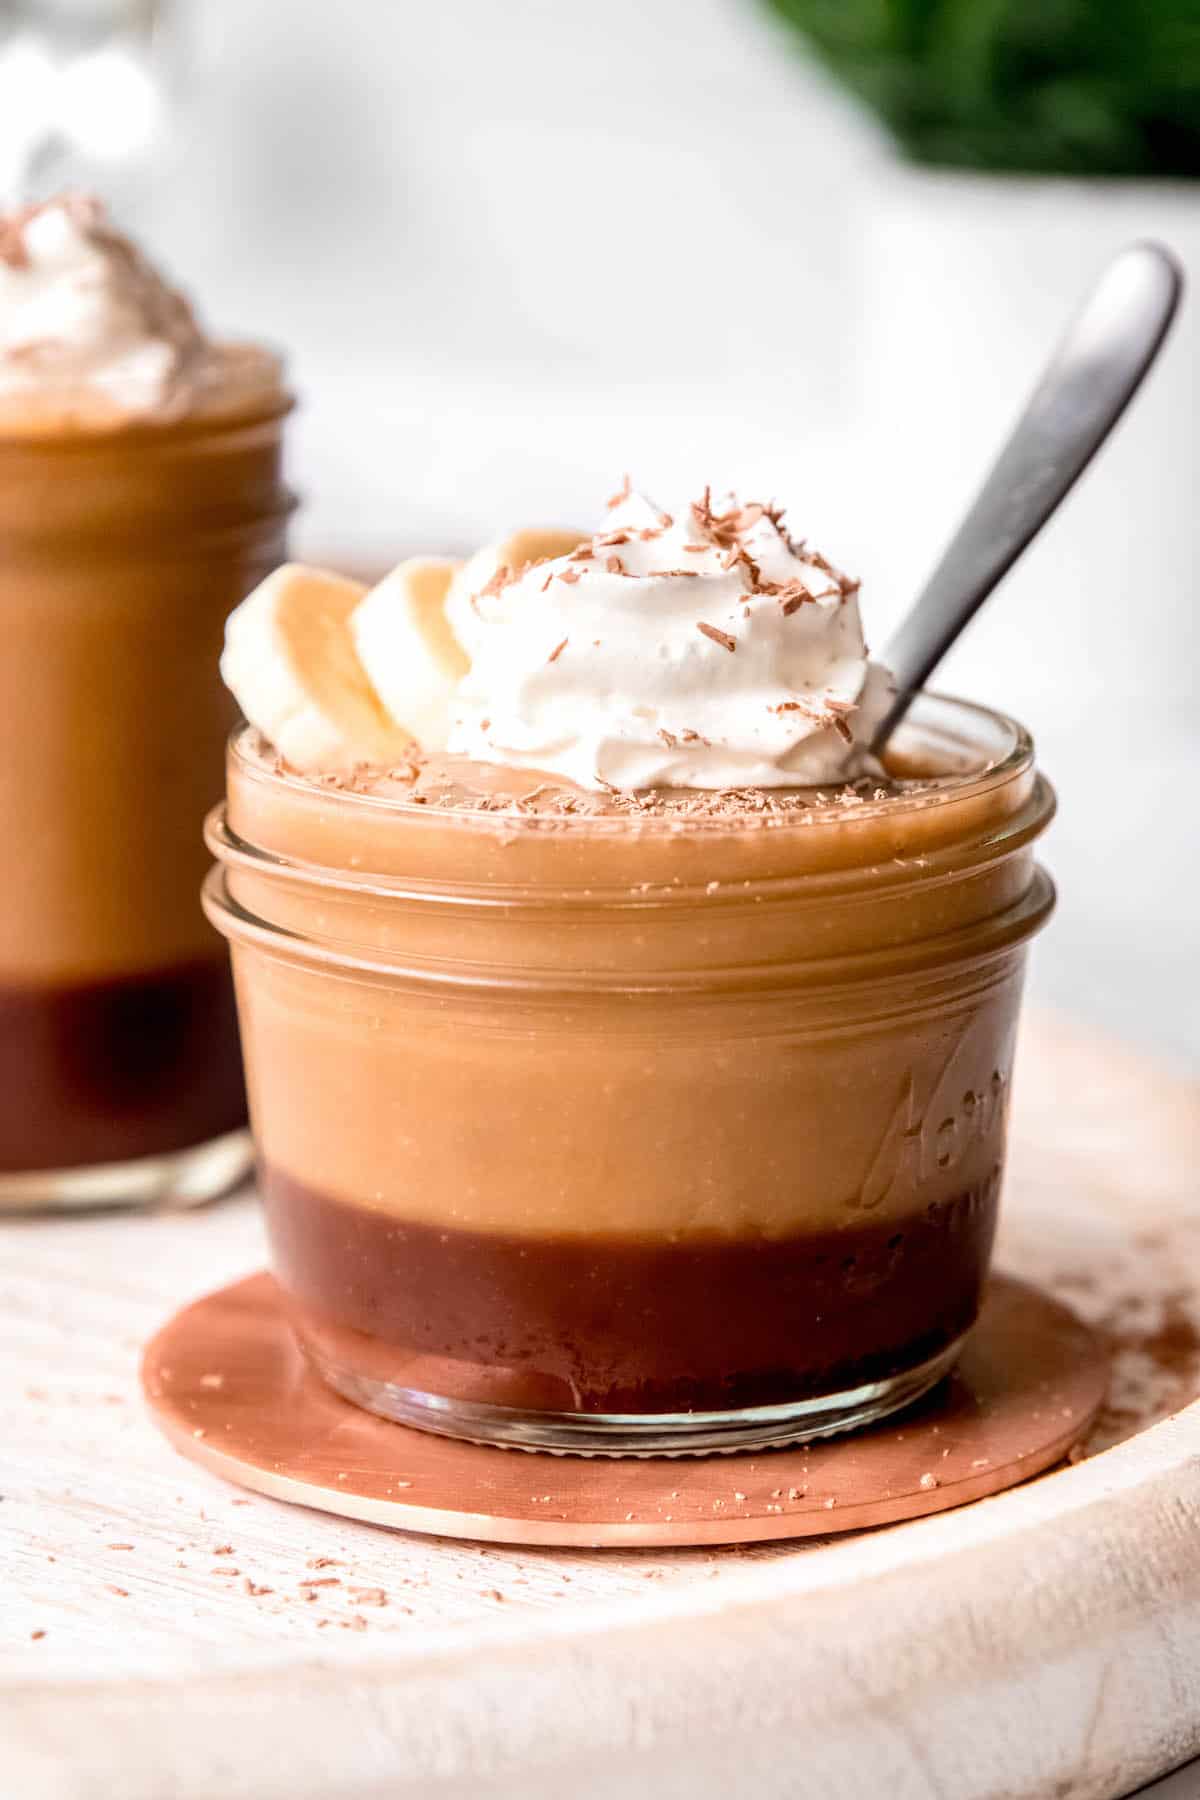
My Black-Bottomed Banana Pudding Cups with Chocolate Coffee Ganache feature deeply banana-flavored, butterscotchy pudding atop a layer of rich, fudgy goodness. In other words, these cups are NOT your Mama's saccharine sweet "banana pudding" with vanilla pudding, vanilla wafers, and a few measly banana slices. Rather, they have more of a “banana foster” pudding vibe that celebrates the rich, caramelly taste of sautéed bananas paired with an intense chocolate fudge layer.
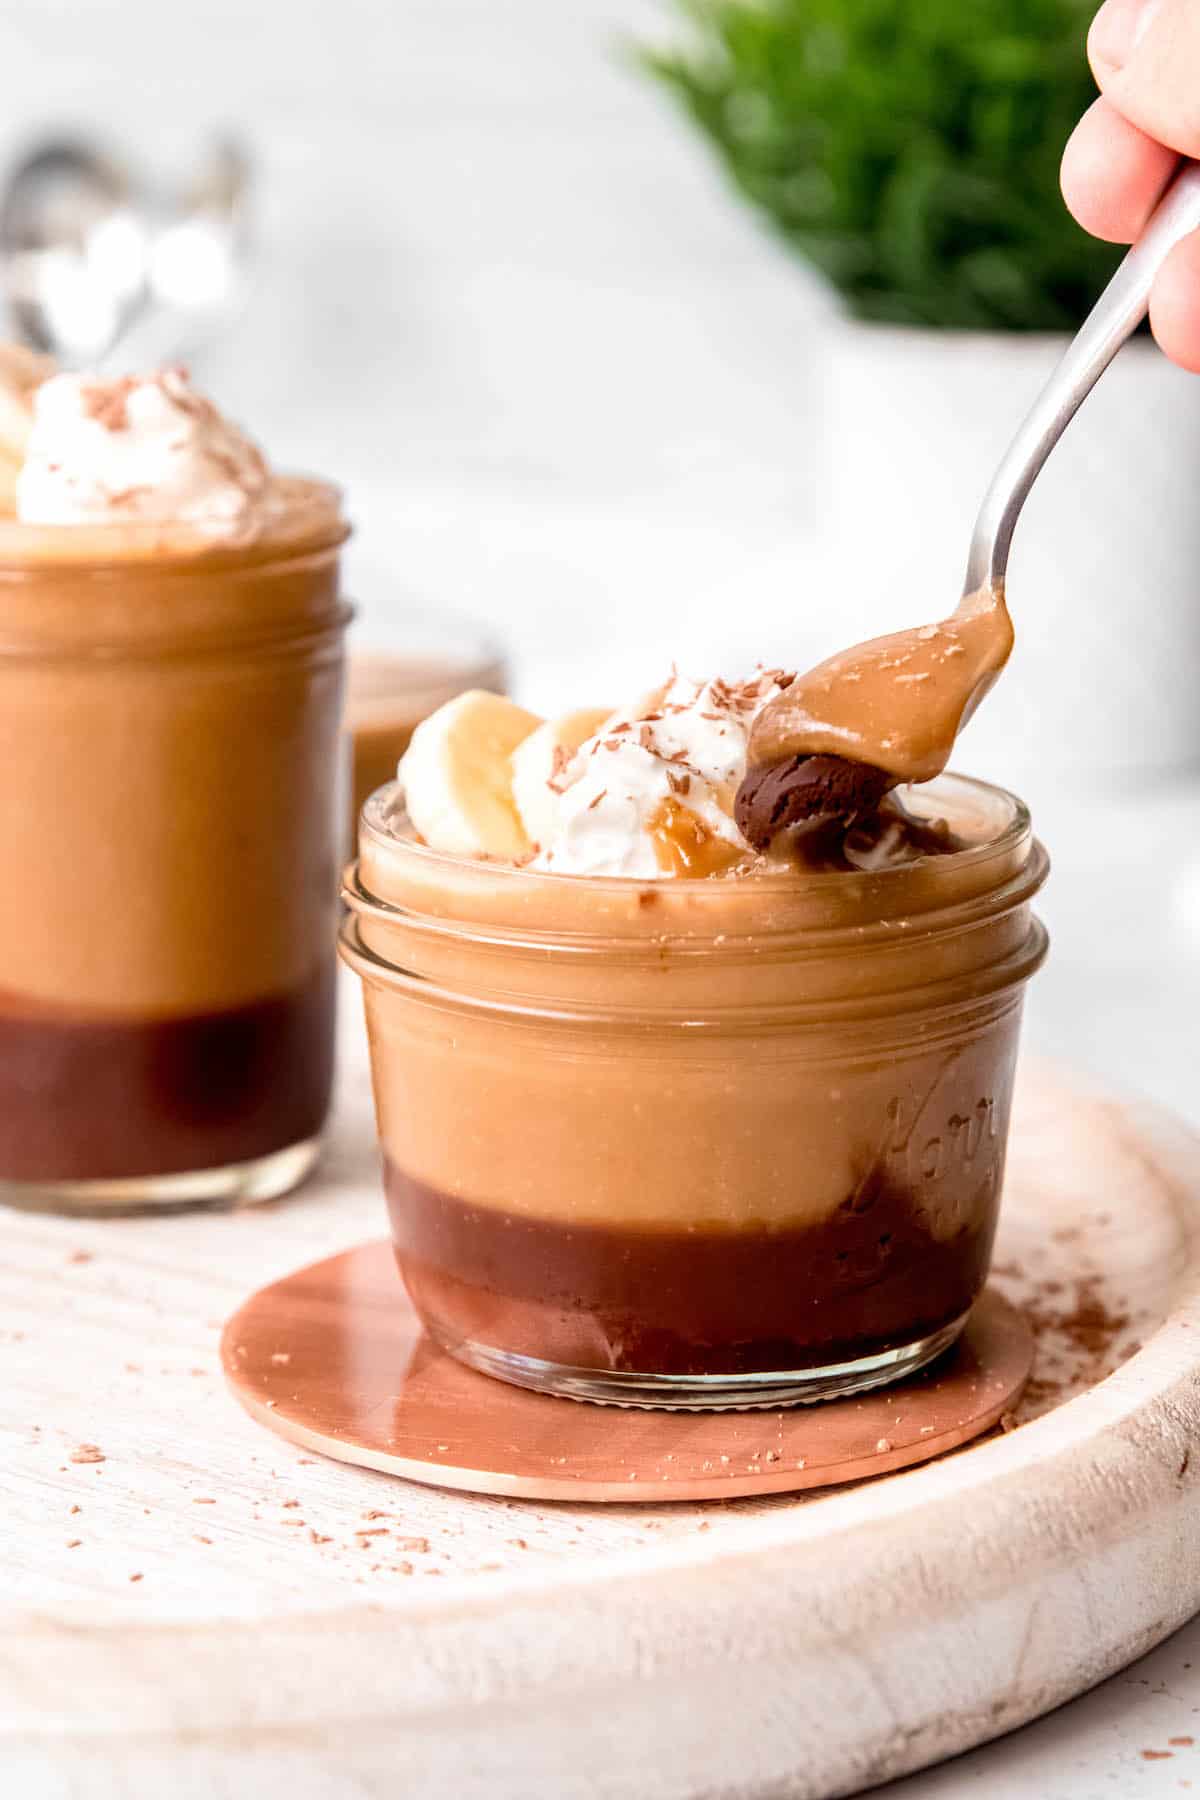
While I love the texture of homemade custard, to me, old-school "banana pudding" lacks any complexity and is cloyingly sweet. The vanilla pudding doesn’t have any banana flavor, and the Nilla wafers and raw bananas have just one note — sweetness. This banana pudding jar recipe breaks that tired old mold.
Modeled after Tommy Bahama’s Blackbeard Butterscotch Pudding, this black-bottomed banana pudding cup recipe relies on dark brown sugar and plenty of salt to create a rich, salty-sweet butterscotch undertone. I also infuse the milk with real bananas, so you get the essence of banana in every bite. After all, it’s called banana pudding.
Then, to balance out all the sweetness, I took a cue from Mr. Bahama and added a thick layer of rum and coffee-infused fudge. As a bonus, the ganache recipe makes a full 24 ounces extra. It makes for a delightful hostess gift (you can divvy it up into three 8-ounce jars to spread the love), and also happens to be my all-time favorite hot fudge — perfect for serving over a scoop of chocolate marshmallow ice cream or mint cookies and cream ice cream.
If you’re feeling extra, a dollop of lightly sweetened, freshly whipped cream and a few chocolate shavings add some serious panache. The resulting chocolate banana pudding parfaits are infinitely more sophisticated than the dessert we grew up with. Trust me — one bite and you’ll be smitten.
Jump to:
- How I’ve updated the recipe since 2020
- Ingredients & Substitutions
- How to Make Banana Pudding Cups
- Dietary Adaptations
- Expert Tips
- Other Uses for Homemade Banana Pudding and Coffee Rum Fudge
- Frequently Asked Questions
- More Dinner Party-Worthy Desserts
- Homemade Banana Pudding Cups with Chocolate Coffee Ganache
- 💬 Reviews
How I’ve updated the recipe since 2020
When I originally created this banana pudding mason jar recipe back in 2020, I used 10 egg yolks. 🤯 I know, I know. That’s WAY too many eggs! In my defense, back then the average cost of a dozen eggs was just $1.51. By January 2023, they had risen to the astronomical price of $4.82.
And, while the costs have come down a bit since then, using nearly a whole carton of eggs on a single dessert no longer seems reasonable. As such, I’ve updated the banana pudding fudge cups recipe to use just 2 whole eggs, so not only is it cheaper, but is also much less fussy — no separating necessary!
I also reduced the number of bananas used from 5 to 3, again in an effort to reduce the cost of making these banana pudding jars. Not to worry though — even with these frugal changes, the texture is still dreamy and the banana flavor is on point.
Ingredients & Substitutions
To make the homemade banana pudding, you’ll need:
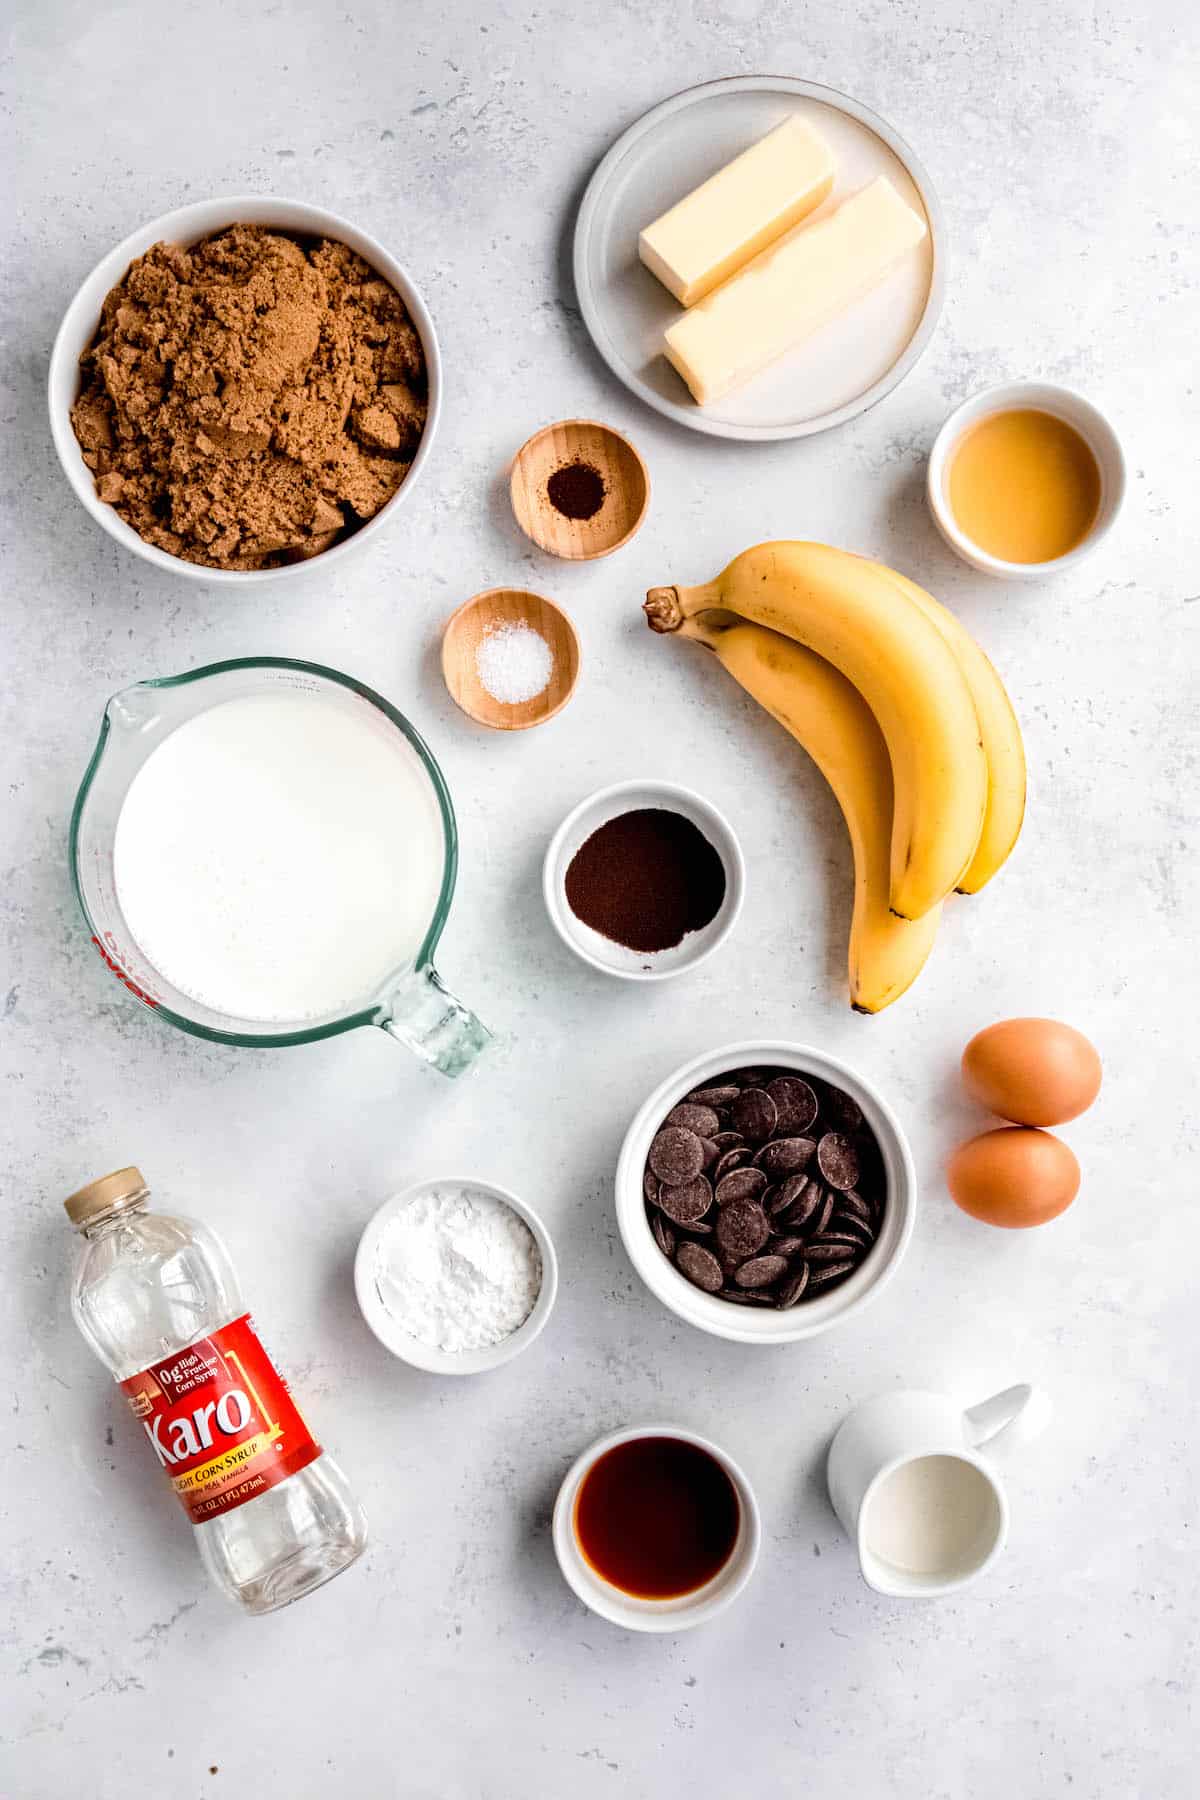
- Milk - I prefer using whole milk for the best mouthfeel, but you are welcome to swap in lower-fat milk if you prefer. Alternatively, make your banana pudding dairy-free by swapping in the unsweetened plant-based milk of your choice (e.g. soy or oat milk).
- Bananas - Keep in mind that we’re only infusing the banana flavor into the milk, not adding the “meat” of the bananas to the pudding. Make sure to save the resulting banana mash to add to smoothies, banana bread, pancakes, etc.
- Dark Brown Sugar - While light brown sugar will also work, it won’t have quite the same caramelly punch of dark brown sugar. That said, use what you’ve got.
- Cornstarch - Swapping out more than half the eggs for extra cornstarch substantially cuts back on costs while still maintaining a thick, custardy consistency. If you can’t eat corn, potato starch is a perfect 1-to-1 substitute.
- Kosher Salt - Fair warning — salty-sweet is my favorite dessert profile, especially when caramelization is involved. As such, I used both salted butter and added kosher salt. If you’re watching your salt intake or prefer more classically sweet desserts, use unsalted butter instead.
- Ground Cloves - A hint of warmth from cloves helps emphasize the “bananas foster” vibe I was after. If you don’t have any on hand, you’re welcome to omit it.
- Eggs - Two whole eggs add just the right amount of body, plus you won’t have any whites left over to figure out how to use.
- Vanilla Extract - For aromatic warmth. Feel free to use an equal amount of vanilla paste or vanilla powder, half as much ground vanilla, or ½ of a vanilla pod.
- Butter - As I mentioned above, I’m a salt fanatic. Feel free to use unsalted butter if you prefer. Vegan butter also works!
To make the Rum & Coffee Ganache layer, you’ll also need:
- Dark Chocolate - Feel free to use either semisweet or bittersweet depending on how intense you like your chocolate. You can also use a 50/50 split!
- Dark Rum - The rum flavor is an essential part of bananas foster in my book. It’s also super yummy in hot fudge. Feel free to swap in half as much rum extract, or use an equal amount of bourbon instead. If you’re not a booze-drinker, vanilla extract will also do.
- Instant Espresso - Coffee is often added to chocolate desserts to help emphasize the chocolate flavor. Feel free to use decaf instant espresso or regular instant coffee instead.
- Light Corn Syrup - Using corn syrup gives the ganache a lovely chewy quality and helps prevent crystallization. If you’re corn-free, agave nectar or tapioca syrup will do the trick.
- Heavy Cream - Fat is essential to getting the right fudgy consistency. If you’re dairy-free, coconut cream or vegan whipping cream are perfect substitutes.
How to Make Banana Pudding Cups
These delightful chocolate butterscotch banana pudding parfaits come together in just a few simple steps:
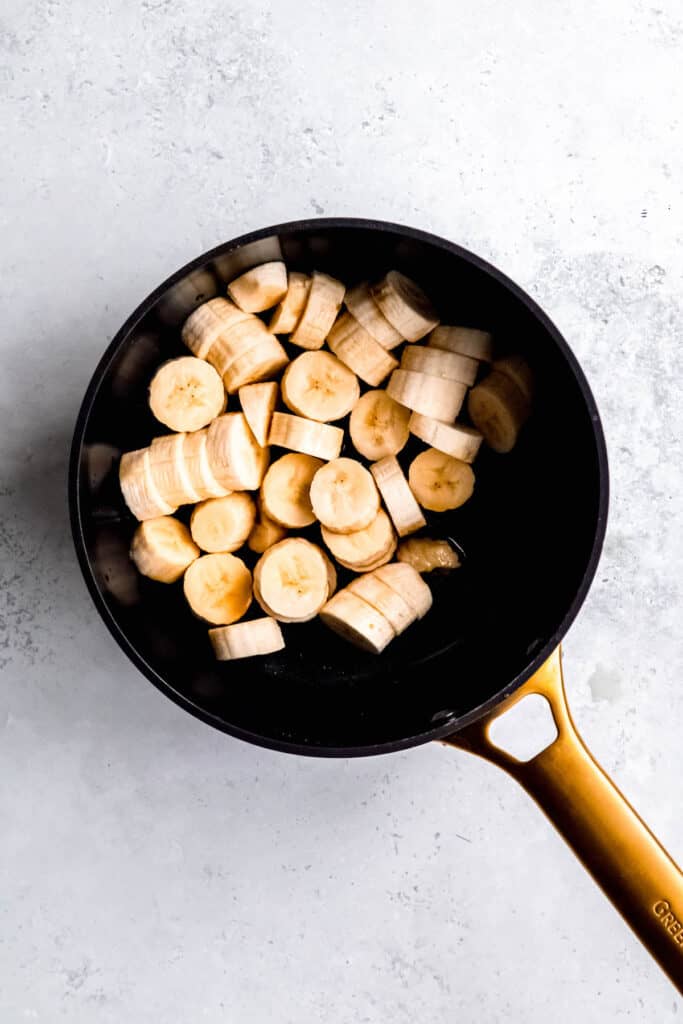
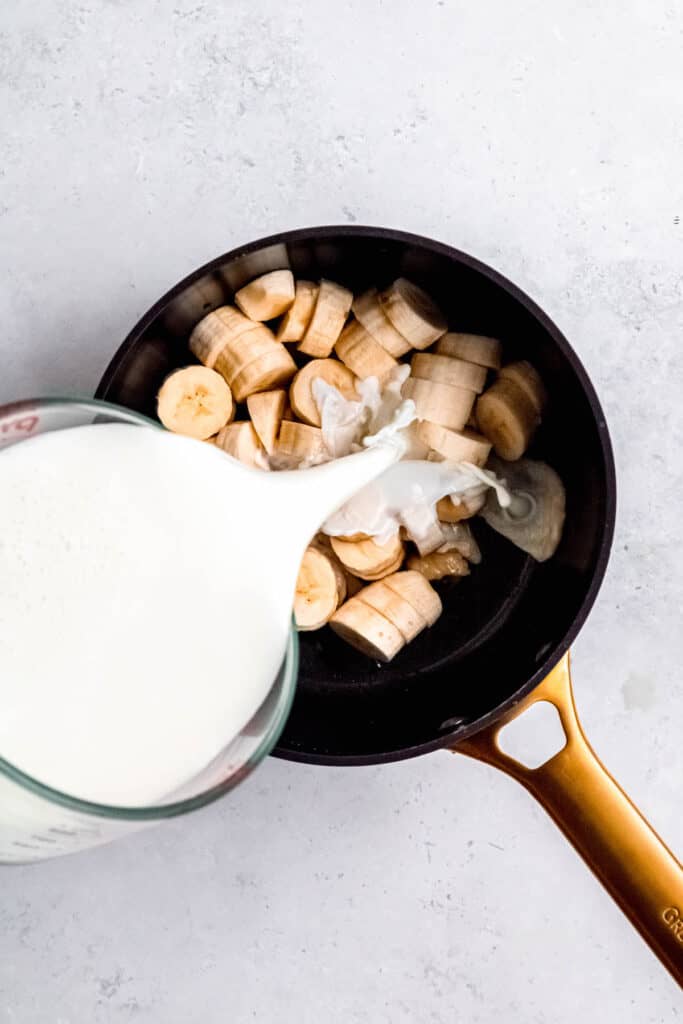
Step 1: Infuse Flavored Milk. For this homemade banana pudding, I used 3 ripe bananas that I peeled and cut into roughly ½" slices. Add the bananas, vanilla paste or pod, and milk to a saucepan. Bring the milk to a simmer, then remove from heat. Allow the milk to steep for at least 4 hours (at room temp), or, if you get busy like I did, up to 5 days (in the refrigerator).
Pro Tip: Leftover banana paste may be used in muffins/cakes/pancakes or in smoothies. Feel free to freeze it for future use! It will keep in the freezer for up to 3 months.
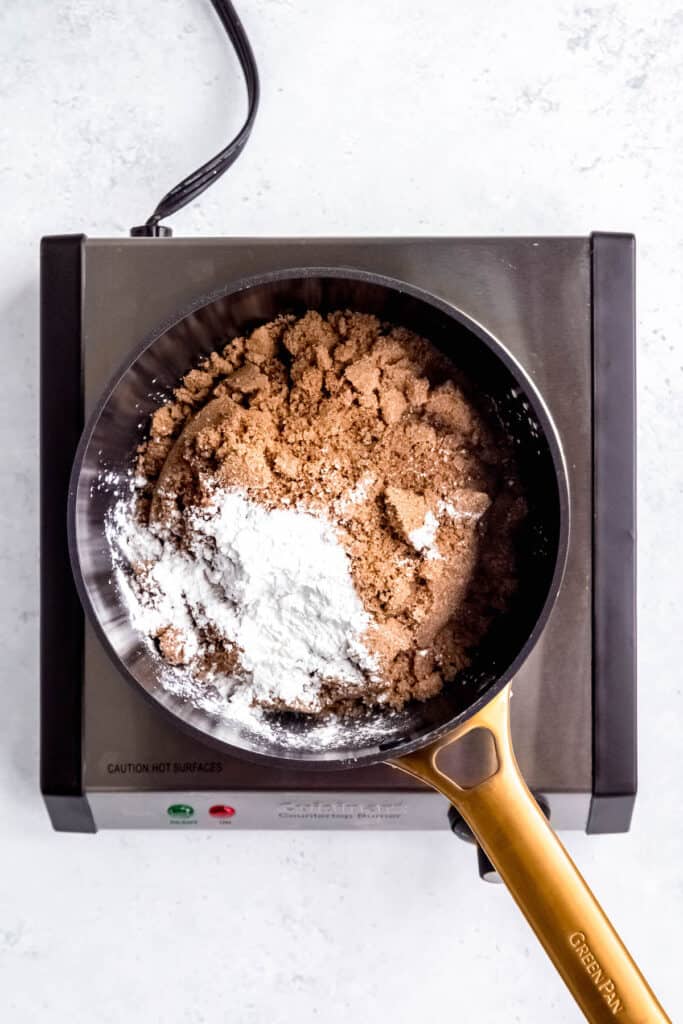
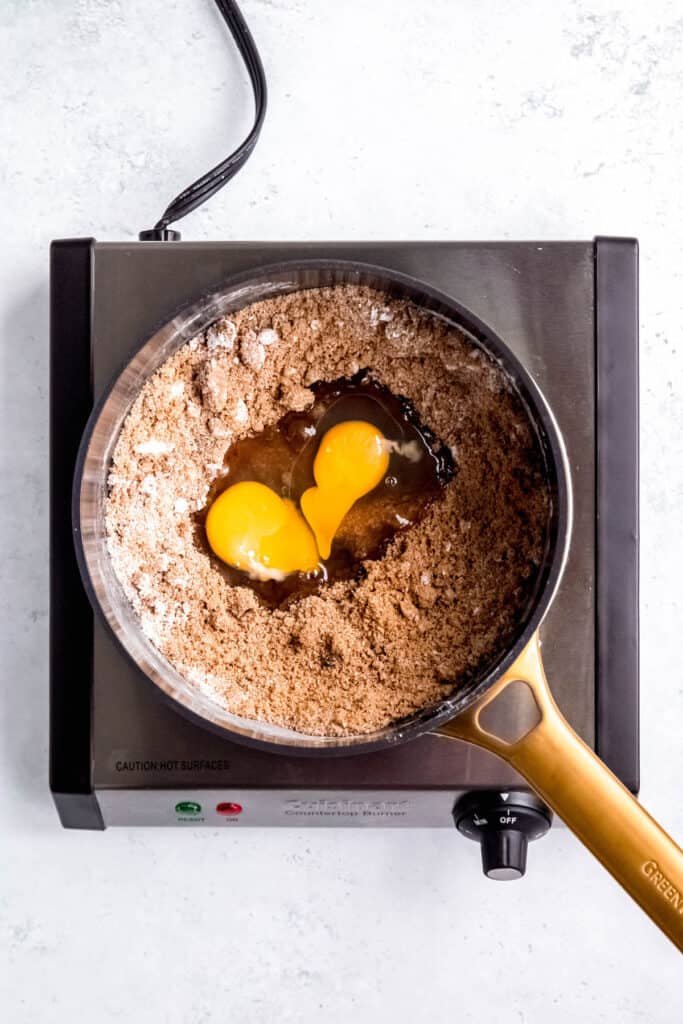
Step 2: Make Banana Pudding Custard Base. In a medium saucepan, whisk together coconut sugar, brown sugar, cornstarch, salt and cloves. Add eggs, then whisk to combine. There should be no streaks of egg left!
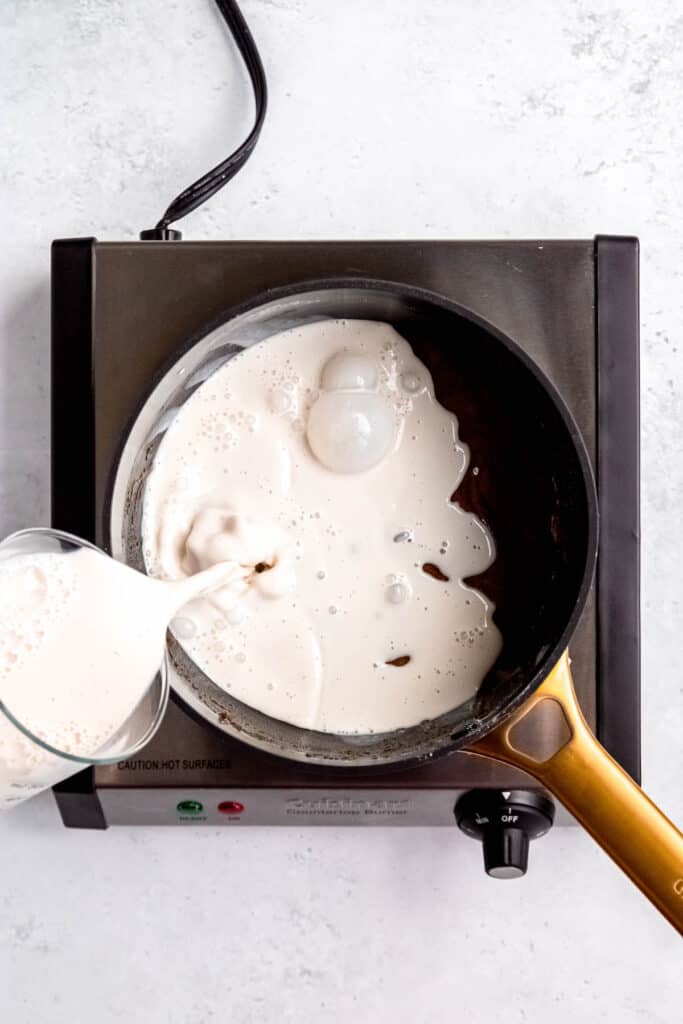
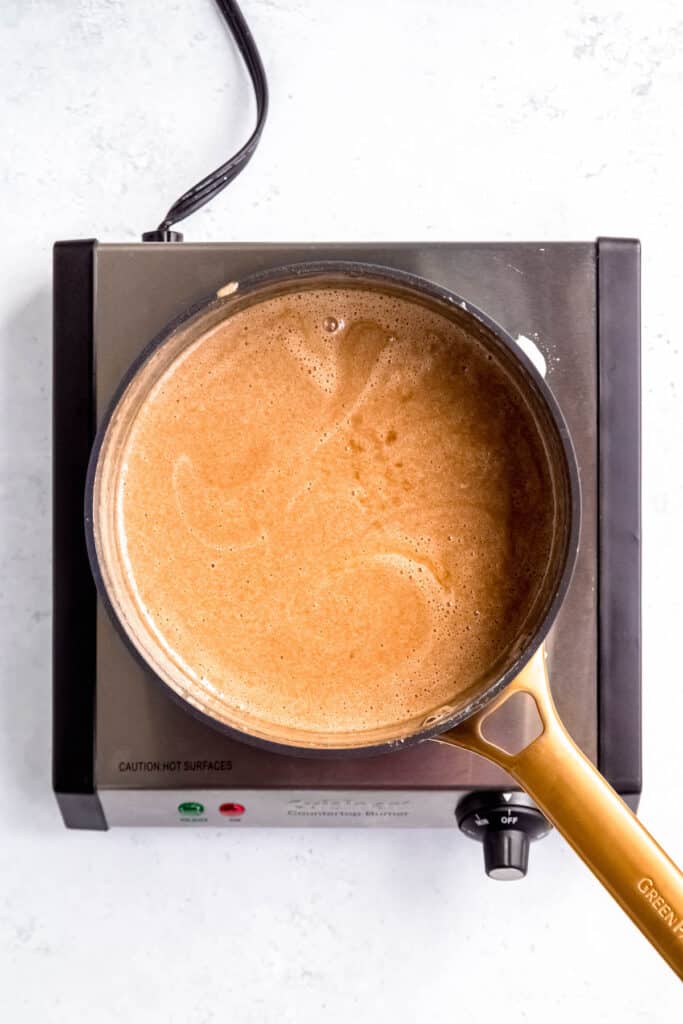
Step 3: Add the Banana Milk mixture and whisk to combine. Return the saucepan to medium-low heat, whisking constantly. After the mixture begins to steam, turn the heat up to medium. Continue whisking constantly. Once the bubbles disappear, set a timer for 90 seconds and continue cooking and whisking for the duration.
Step 4: Remove from the heat then add vanilla and butter. Now keep whisking for another 2-3 minutes, until the bottom of the pan has cooled enough to ensure that the banana pudding won't curdle and the vanilla and butter are incorporated. Set aside to cool a bit, stirring occasionally to keep a skin from forming.
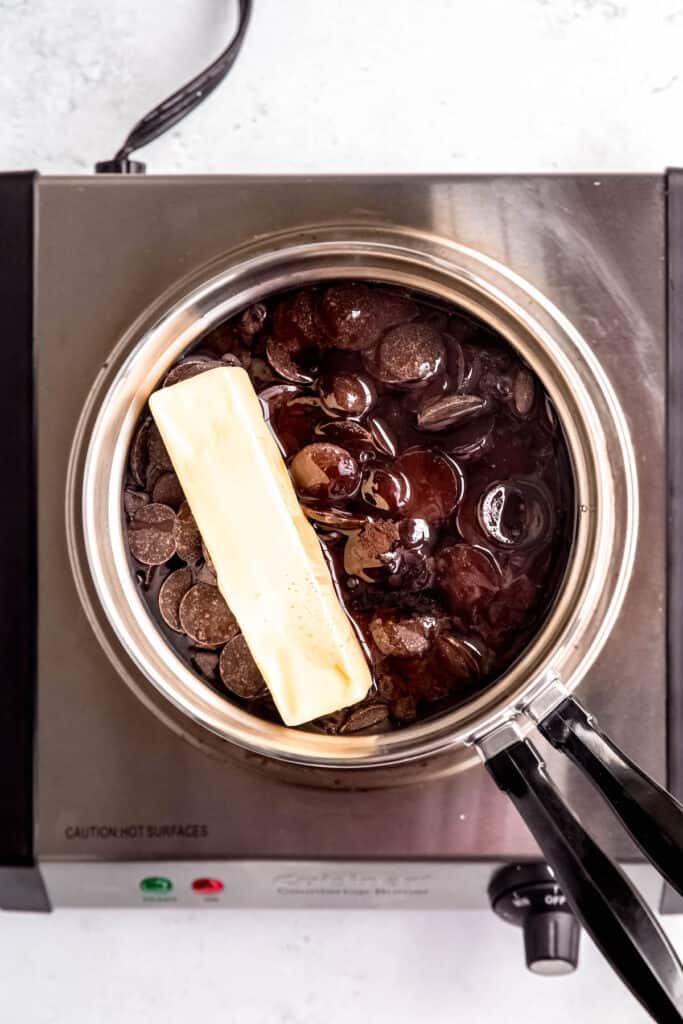
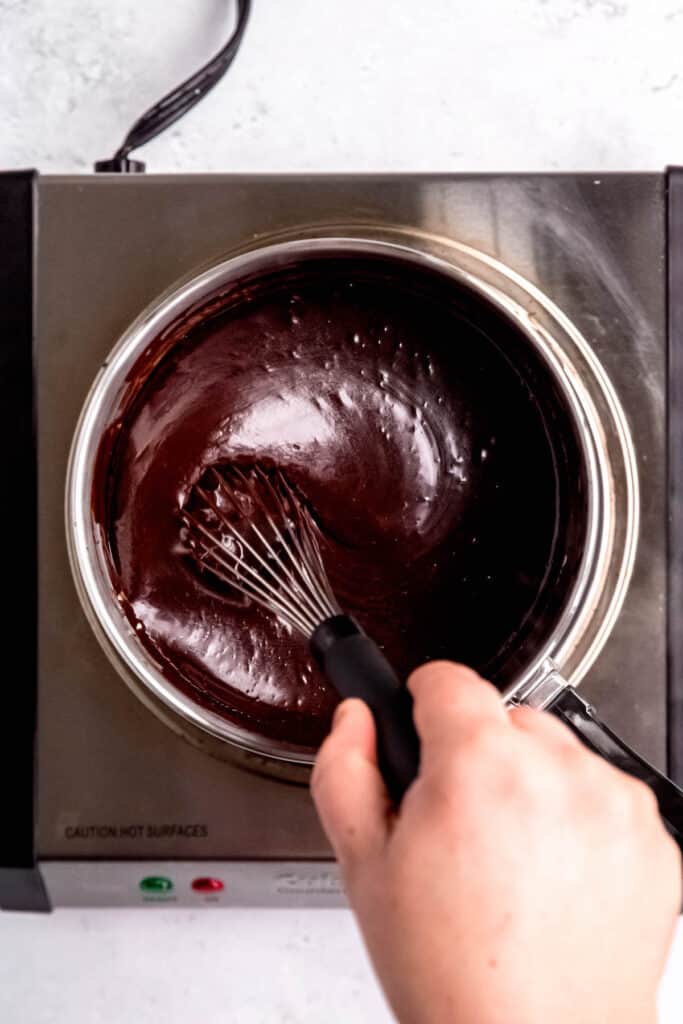
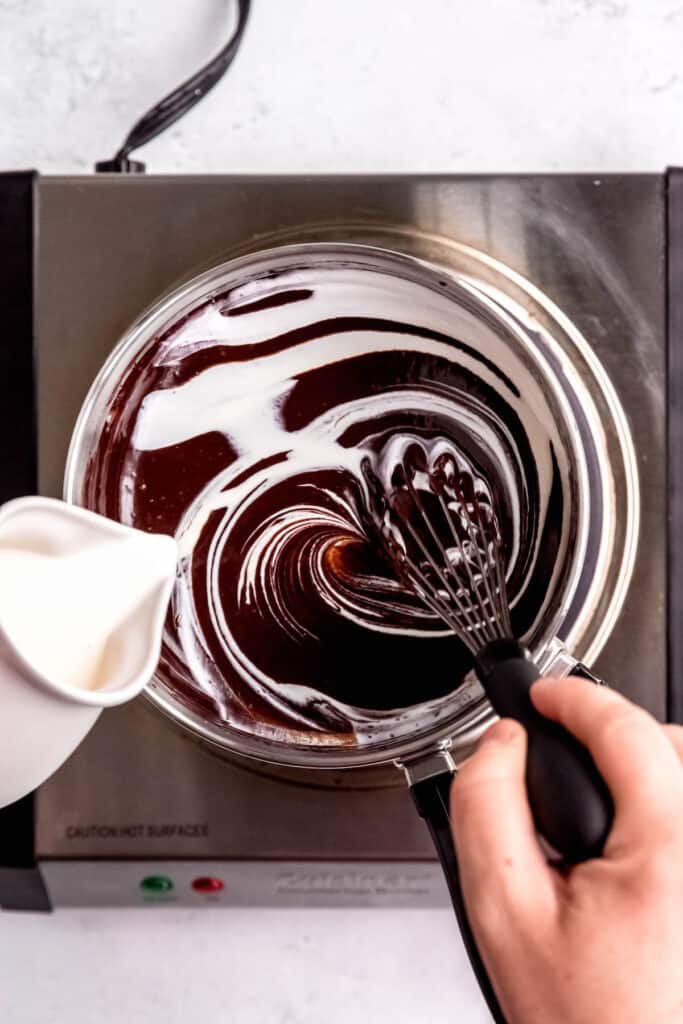
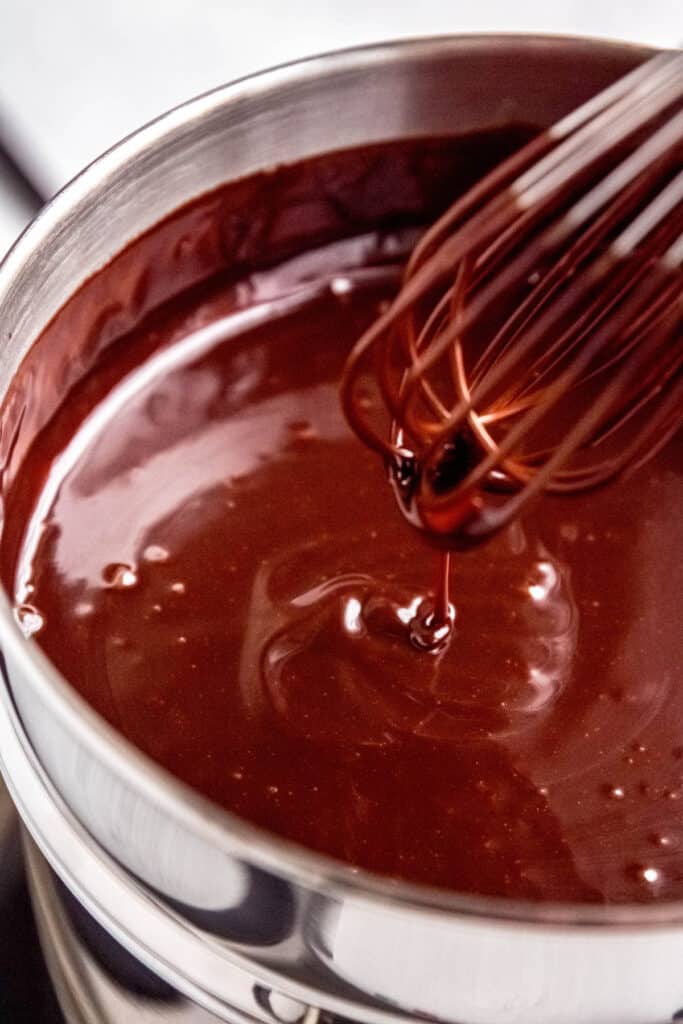
Step 5: Make Coffee Ganache. In the top of a double boiler, add all ingredients for the fudge layer except for the heavy cream. Set over medium-high heat. Once butter is melted and the chocolate chips lose their shape when touched, remove the top of the double boiler from heat. Whisk to incorporate all of the ingredients, then whisk in the cream. Set aside to cool.
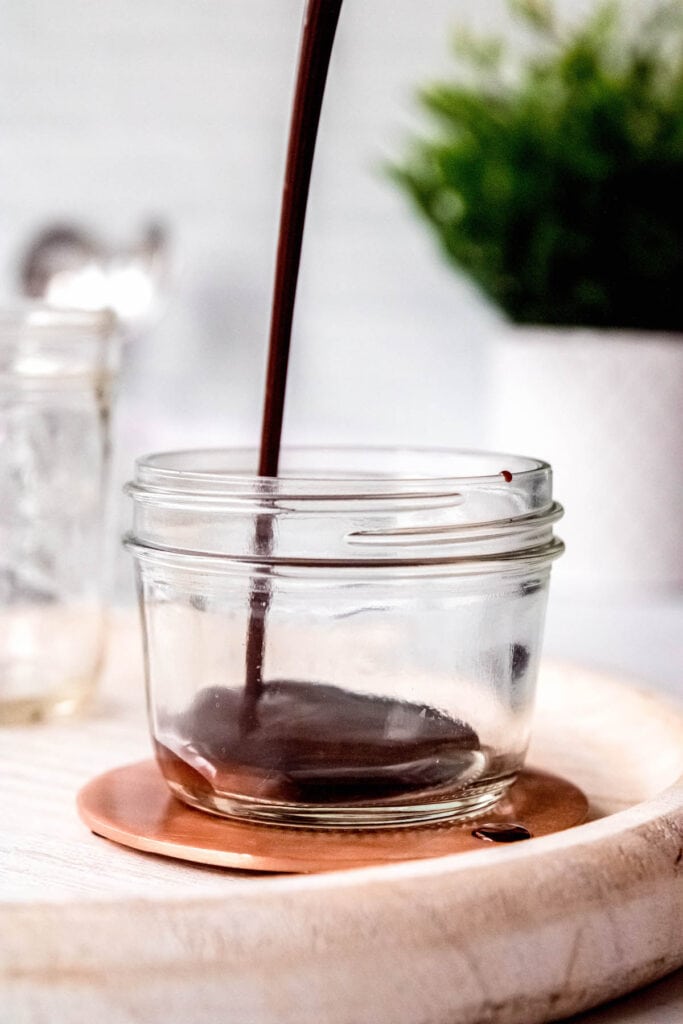
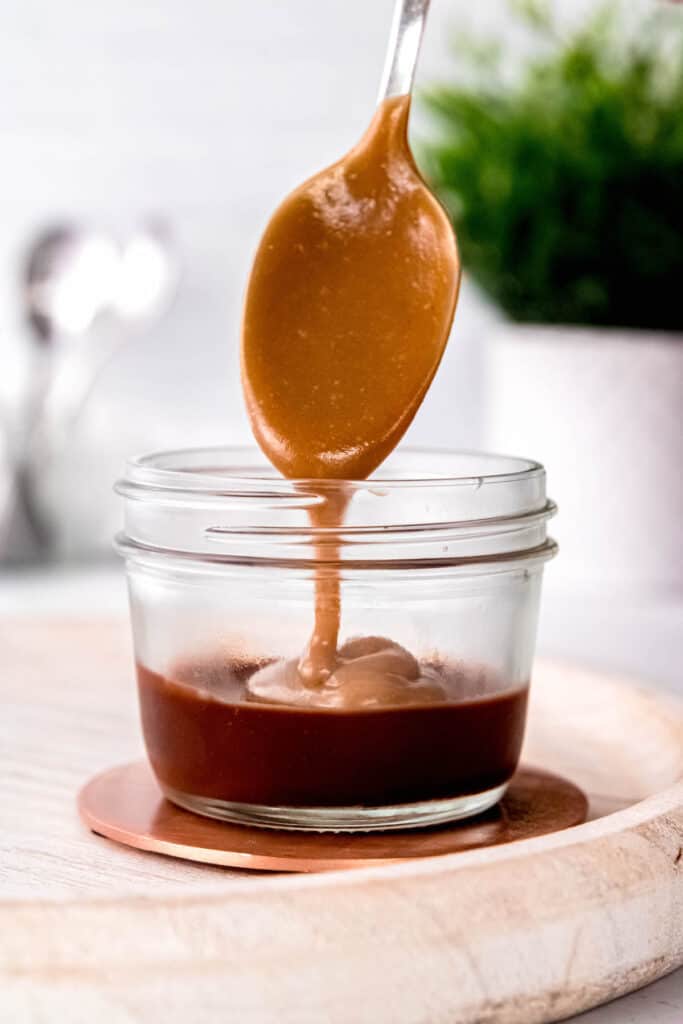
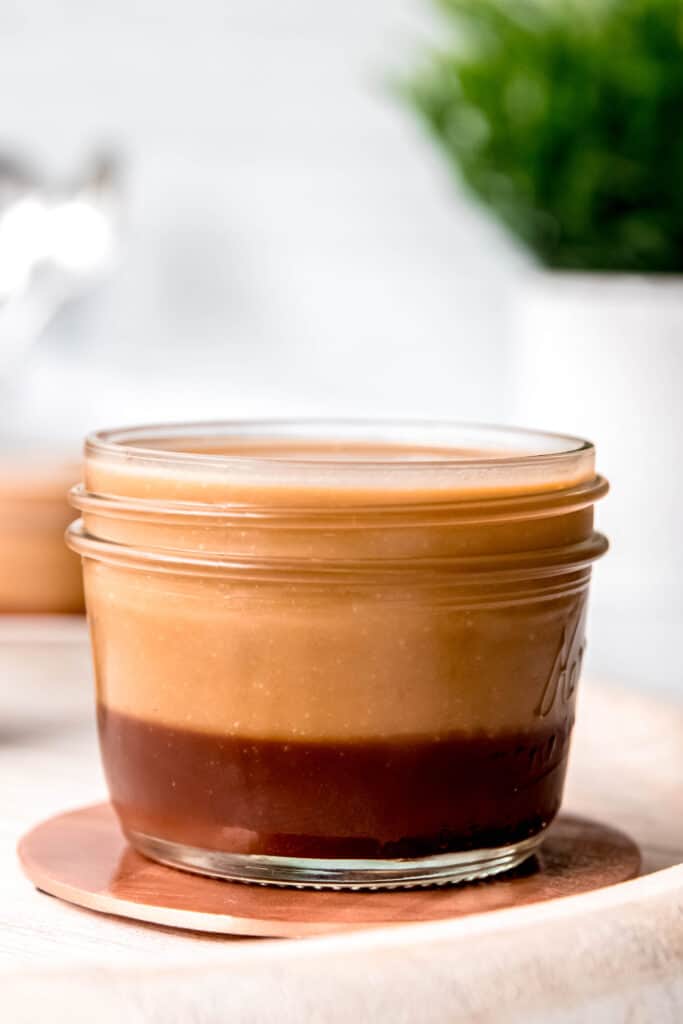
Step 6: Assemble Banana Pudding Mason Jars. Using small glasses or mason jars, pour about ¼ cup of hot fudge into the bottom of each. Put in the refrigerator to chill until hardened. Next, spoon in banana pudding until near the top of the glass. Cover with either parchment rounds or saran wrap touching the surface to prevent a skin from forming. Refrigerate for at least 4 hours and up to overnight. Top with whipped cream (made with bourbon or amaretto if you're feeling saucy) and chocolate shavings or curls. Enjoy!
Dietary Adaptations
- Dairy-Free Banana Pudding Cups - Swap out all the dairy for your favorite unsweetened plant-based alternatives. I prefer barista blend oat or soy milk for the pudding base, vegan whipping cream for the fudge, and vegan butter for both.
- Corn-Free - If you’re allergic to corn like my Mom, swap in potato starch for the cornstarch in the pudding and use tapioca syrup or agave nectar for the fudge layer.
Expert Tips
- Patience is a virtue. Custard is funny insofar as it feels like absolutely nothing is happening for a long time and then everything happens all at once. Suddenly, your pudding is going to thicken up like crazy. You will start to see trails behind your whisk, which is a good sign. KEEP WHISKING. Once the mixture begins to bubble, set a timer and keep on whisking for another 90 seconds to achieve the proper consistency.
- Don’t stop, whisk it whisk it. Keep whisking the pudding off the heat for at least 2-3 minutes to prevent the pudding from scorching on the bottom of your pan.
- Double Boiler best practices. Make sure the bottom of the double boiler is not touching the water beneath or it may scald your chocolate.
- Make-Ahead. Fudge layer can be prepared up to a month in advance and refrigerated in a mason jar until you're ready. If you’re wondering if ganache can be frozen, the answer is yes. It should last well for up to 3 months.
- Share the love. You will end up with about 24 oz of leftover fudge, which makes an excellent hostess gift in smaller mason jars. Attach a small tag with instructions: “Heat the fudge in 10-30 second intervals in the microwave (remove the metal lid!) until pourable, then serve over the ice cream of your choice for the best hot fudge ever.”
- Flavored milk is the base of this richly banana-flavored pudding. While you can follow these steps to infuse any flavor you'd like into milk for pudding (e.g. chai tea, espresso, strawberry, cereal, etc.), the quantities of your infusion ingredient will vary depending on your flavoring.
Other Uses for Homemade Banana Pudding and Coffee Rum Fudge
While turning this homemade pudding and coffee rum fudge into banana pudding jars is quite delicious, you also have other options. These elements make for a great pie, éclairs, or cream puffs, too! Read below to learn how.
To Make Banana Pudding Fudge Pie:
Step 1: Parbake Crust. Start with the fully baked pie crust of your choice. A plain butter pie dough, gingerbread, or graham cracker crust would all make wonderful bases.
Step 2: Fudge Layer. Pour a layer of fudge into the bottom of your pie shell, then refrigerate until hard. I would recommend using only about ½ of the fudge, lest your pie end up too fudgy and not banana-y enough.
Step 3: Pudding Layer. After the fudge has hardened, pour cooled banana pudding into the shell and refrigerate for about 2 hours.
Step 4: Garnish & Serve. Whip a pint of cream to stiff peaks with a 1-2 tablespoons of powdered sugar and a teaspoon of vanilla. You can either pipe or swirl the whipped cream on top of the pie to achieve the desired effect. Using a vegetable peeler on the broad side of a chocolate bar, make large chocolate curls to decorate the top. Refrigerate for up to 3 days.
To Make Banana Chocolate Éclairs (or Cream Puffs):
Step 1: Lighten up the pudding into more of a mousse-like pastry cream. Wait until the pudding has chilled completely, then beat a pint of whipped cream to stiff peaks with a 1-2 tablespoons of powdered sugar and a teaspoon of vanilla extract to stabilize and flavor it. Now gently fold in the whipped cream, stopping as soon as the mixture is uniform.
In case you're having a David and Moira moment about the word "fold," check out this blog post to help you understand.
Step 2: Make your pâte à choux dough and pipe it into éclair (or cream puff) shapes before baking. When the choux comes out of the oven, use a small paring knife to cut a small hole in the bottom of the pastries.
Step 3: Fill a piping bag with your whipped cream-lightened banana pudding and fill the éclairs until heavy, then refrigerate for about an hour.
Step 4: Dip the tops of the chilled éclairs into the fudge once it has cooled to about room temperature. You may need to refrigerate the dipped pastries for a few minutes to harden the fudge and then re-dip them for a thicker fudge layer. Refrigerate for at least an hour and up to 6 hours before serving.
Frequently Asked Questions
THIS RECIPE for black-bottomed banana pudding cups! It’s made with honest-to-goodness banana-flavored pudding, plus decadent coffee rum fudge and freshly whipped cream.
It sure is! Just make sure you avoid any cross-contamination with your other ingredients to keep it celiac-friendly.
YUP. My recipe foregoes the traditional Nilla wafers in favor of fudge, and it’s bangin’.
These assembled mini banana pudding cups keep well in the fridge for up to about 5 days. Just note that I don’t recommend adding the whipped cream layer and chocolate shavings until right before you serve it, or the whipped cream will deflate. If you want to completely assemble them in advance, use one of these methods for making stabilized whipped cream.
These little treats are perfectly indulgent on their own, so they need no accompaniments. That said, I’ve included instructions to make banana chocolate pudding pie or banana fudge éclairs and cream puffs above!
While I find that the coffee rum fudge layer goes swimmingly with the banana pudding, I totally get it if that's not your jam. In that case, you can sub in bourbon, vanilla extract, amaretto, or almond extract instead. If you use extracts, be sure to start small (maybe a teaspoon at a time) as their flavors are intense, then add more as you need it.
Heck yeah! I'm not going to judge. Just remember that hot pudding will melt through the fudge layer and may not be as pretty in the glasses. But if you want to eat the homemade banana pudding straight from the pot (zero judgment, I totally helped myself to some too), I have a feeling that appearances are less important than majorflavorinyourmouthrightnow. And I also have a feeling we would be friends.
More Dinner Party-Worthy Desserts
If you tried my recipe Black-Bottomed Banana Pudding Cups with Chocolate Coffee Ganache, please rate and review it below so I know how it turned out for you! If you want more yummy recipes, grocery reviews and store bought hacks delivered straight to your inbox, sign up for my email newsletter. You can also follow me on Instagram, Pinterest or Facebook for delicious food pics on your feed.
Homemade Banana Pudding Cups with Chocolate Coffee Ganache
Ingredients
Banana Pudding
- 3 C Milk
- 3 Bananas sliced
- 3 C Dark Brown Sugar
- 4.5 tablespoon Cornstarch
- 1 teaspoon Kosher Salt
- ⅛ teaspoon Ground Cloves
- 2 Eggs
- 1 tablespoon Vanilla Extract or sub vanilla paste, powder, or ½ vanilla bean
- 6 tablespoon Butter
Coffee Rum Hot Fudge - You Will Have Roughly 24oz Leftover for Gifting!
- 8 oz Dark Chocolate semisweet or bittersweet (or 50/50)
- 1 stick Butter (4 oz)
- 2 tablespoon Dark Rum or 1 tablespoon rum extract, or 2 tablespoon bourbon
- 1 teaspoon Instant Espresso
- ¾ C Light Corn Syrup
- ¾ C Heavy Cream
Instructions
Make Banana Pudding
- Combine milk, banana slices and vanilla paste in a saucepan. Bring to a simmer, then turn off the heat. Allow to marinate for at least 4 hours and up to 5 days in the refrigerator. Remove the banana slices and press them gently in a mesh strainer to remove any leftover juices. Leftover banana paste may be used in muffins/cakes/pancakes or in smoothies. Feel free to freeze it for future use!
- In a medium saucepan, whisk together coconut sugar, brown sugar, cornstarch, salt and cloves. Add eggs, then whisk to combine. There should be no streaks of egg left! Add banana milk mixture and whisk to combine.Return saucepan to medium low heat, whisking constantly. After mixture begins to steam, turn the heat up to medium. Continue whisking constantly.Once the bubbles disappear, set a timer for 90 seconds and continue cooking and whisking for the duration. Remove from heat, add the vanilla and butter, then continue whisking for another few minutes to prevent bits from sticking to the bottom of the hot pan. Set aside to cool.
Make Ganache
- Add chocolate, butter, rum, espresso powder and corn syrup to the top of a double boiler. Be sure the bottom of the top pan is not touching the water or you might scorch the chocolate.Set over medium heat, whisking occasionally. When all chocolate and butter is melted, remove from heat and whisk to incorporate. Add cream and whisk until uniform.
Assemble
- Add about ¼ C of hot fudge to each of your serving dishes. Place in the refrigerator to firm up. Once the fudge layer is firm, spoon in your banana pudding. Use roughly ¾ C pudding. Top with parchment or saran wrap to keep a film from forming, then refrigerate until firm.
- Top with whipped cream (bourbon, rum, or amaretto-spiked, if you're feeling boozy) and grate a bit of chocolate on top for garnish. Enjoy!
Notes
- Dairy-Free Banana Pudding Cups - Swap out all the dairy for your favorite unsweetened plant-based alternatives. I prefer barista blend oat or soy milk for the pudding base, vegan whipping cream for the fudge, and vegan butter for both.
- Corn-Free - If you’re allergic to corn like my Mom, swap in potato starch for the cornstarch in the pudding and use tapioca syrup or agave nectar for the fudge layer.
- For eclairs, wait until the pudding has chilled completely, then beat a pint of whipped cream to stiff peaks with a 1-2 tablespoons of powdered sugar and a teaspoon of vanilla extract to stabilize and flavor it. Now gently fold in the whipped cream, stopping as soon as the mixture is uniform. Use a piping bag to squirt the banana pudding filling into the baked pate a choux. Use the hot fudge as a ganache dip for the filled eclairs.
- To make this into a pie, use a pre-baked pie crust - graham, ginger, pecan or plain butter pastry would all be delightful. Layer the hot fudge on the bottom, then refrigerate to firm up. Spoon in pudding, covering with parchment or saran wrap to prevent a skin from forming. Top with pillows of whipped cream and garnish with grated chocolate.
- Patience is a virtue. Custard is funny insofar as it feels like absolutely nothing is happening for a long time and then everything happens all at once. Suddenly, your pudding is going to thicken up like crazy. You will start to see trails behind your whisk, which is a good sign. KEEP WHISKING. Once the mixture begins to bubble, set a timer and keep on whisking for another 90 seconds to achieve the proper consistency.
- Don’t stop, whisk it whisk it. Keep whisking the pudding off the heat for at least 2-3 minutes to prevent the pudding from scorching on the bottom of your pan.
- Double Boiler best practices. Make sure the bottom of the double boiler is not touching the water beneath or it may scald your chocolate.
- Make-Ahead. Fudge layer can be prepared up to a month in advance and refrigerated in a mason jar until you're ready. If you’re wondering if ganache can be frozen, the answer is yes. It should last well for up to 3 months.
- Share the love. You will end up with about 24 oz of leftover fudge, which makes an excellent hostess gift in smaller mason jars. Attach a small tag with instructions: “Heat the fudge in 10-30 second intervals in the microwave (remove the metal lid!) until pourable, then serve over the ice cream of your choice for the best hot fudge ever.”
Nutrition


Bill smothers says
Great recipe!
Ash, The Grocery Addict says
So glad you liked it! Thanks Bill!