If you’re looking to slash your grocery budget, learning How to Reduce Food Waste at Home is one of the best strategies around! As an MBA graduate with 20 years in the restaurant world, I’ve learned tons of ways to coax the most out of your food to improve your financial margins. Today, I’m going to share my hard-earned secrets with you.
Jump to:
- Why You Should Care About Food Waste
- Invest in proper storage.
- Start with a grocery list & a plan.
- Minimize weekly fresh purchases.
- Go local.
- Make a plan to use delicate items first.
- Learn storage preferences for different types of produce.
- Meal prep.
- Introduce the concept of next-overs to your meal prep.
- Learn how to freeze, can, and dry fresh foods.
- Only buy in bulk if it makes sense.
- Know the difference between expiry dates, "best by" dates, and "sell by" dates.
- Implement FIFO (first in, first out).
- Use hygienic practices.
- Learn how to use your scraps.
- Compost!
- More Food Budgeting Resources
- 💬 Reviews
Why You Should Care About Food Waste
Nobody can argue the moral or environmental effects of food waste in America. 30-40% of our food supply ends up in the wastebin, which is a major contributor to greenhouse gasses. Worse, 34 million Americans are food insecure, with 1 in 5-8 kids (dependingon who you talk to) unsure of where their next meal comes from.
That said, I’d imagine the primary concern for *most* Americans is the major waste of money food waste represents. Recent studies indicate the average food waste per person has risen from 250 pounds per year in 2020 to a whopping 325 pounds per year in 2023.
And, considering that food prices have increased by 25% in recent years, that's hundreds if not thousands of dollars of food being tossed every single year by the average household. 🤯(On that note, check out my post on How to Combat Grocery Inflation next!)
Here are some of my personal favorite tips for cutting way back on food waste at home:
Invest in proper storage.
Keeping your food fresh requires that you store it well. This means:
- Getting pest-free storage (e.g. hard-sided containers, mason jars, detainers, Snapware-style containers, etc.) for your pantry items and leftovers. I also like to use all-natural pest repellent (e.g. cotton balls soaked with peppermint essential oil) to keep rodents and insects away.
- Creating a labeling system. I keep a roll of masking tape and a Sharpie in the kitchen to label all leftovers and decanted goods. When you label, include what the item is and the date that you packed it, ensuring you always use the oldest items first. This is a practical application of the FIFO (First In, First Out) method, which I'll discuss in more detail below.
- Cleaning & organizing your pantry, fridge, and freezer. Not only does this help in minimizing waste by ensuring you use what you have, but it also reduces the chance of buying duplicates or items you don’t need and opens up valuable storage space.
- Be ruthless. All those random things that you don’t know what they are? Toss ‘em. Anything in the freezer that you keep putting off using? Get rid of it. You might be wondering “why toss things if we’re trying to minimize waste?” If you’re not going to eat it, it’s just taking up valuable storage space. Better to start with the space than to have something you’ll never use staring you down every time you open your fridge.
- Consider getting a backup fridge and/or deep freezer. I've found that my chest freezer comes in VERY useful for any overflow. Wait for big sales weekends to buy large appliances — you can often get great deals. Otherwise, look on Facebook marketplace or auction websites like McLemore for discounts.
- I can’t praise Blue Apples enough. Toss them in your crisper drawer and change the packets every few months. They help to absorb the ethylene gas that fruits and veggies emit as they ripen, helping to prevent that gas from causing your other produce to ripen too quickly.
Start with a grocery list & a plan.
Step 1: Consider your schedule. How many meals will you cook at home, and how many times will you eat out? Once you know the nights you’ll likely be cooking, review what your days will look like. Are you gonna be working until late on one of the nights? If so, mark that day as an “Easy” meal (e.g. ramen glow-ups, tuna salad sandwiches, leftovers, or “cheat” meals like frozen pizza and salad kits).
Step 2: Create a meal plan with recipes you know you want to make, then shop your fridge, freezer, and pantry before writing out what you need. Fun hack? Copy and paste the ingredients from the recipes into ChatGPT, then ask it to make a shopping list with the amounts needed. Cross out anything you already have.
Step 3: Learn seasonal patterns. By familiarizing yourself with local growing seasons, you can anticipate sale items and plan meals to incorporate them.
Step 4: Consider a reverse shopping list. If you’re a creature of habit like I am, there are certain essential items that I turn to time and again to make quick meals. Download my free grocery shopping guide to get the full run-down, then tailor the list to fit your needs. Alternatively, do a complete inventory of your pantry, fridge, and freezer, sorting the items as you go. Add all of them to a Google Sheet (or create a list you can print). Every time you run out of something, either mark it/highlight it if you want to buy it again, or delete it from the list. (You can also sign up for Meals Hero, a smart tool that allows you to easily create grocery lists using recipe URLs, a "favorites" for your go-to groceries, and even one-click shopping!)
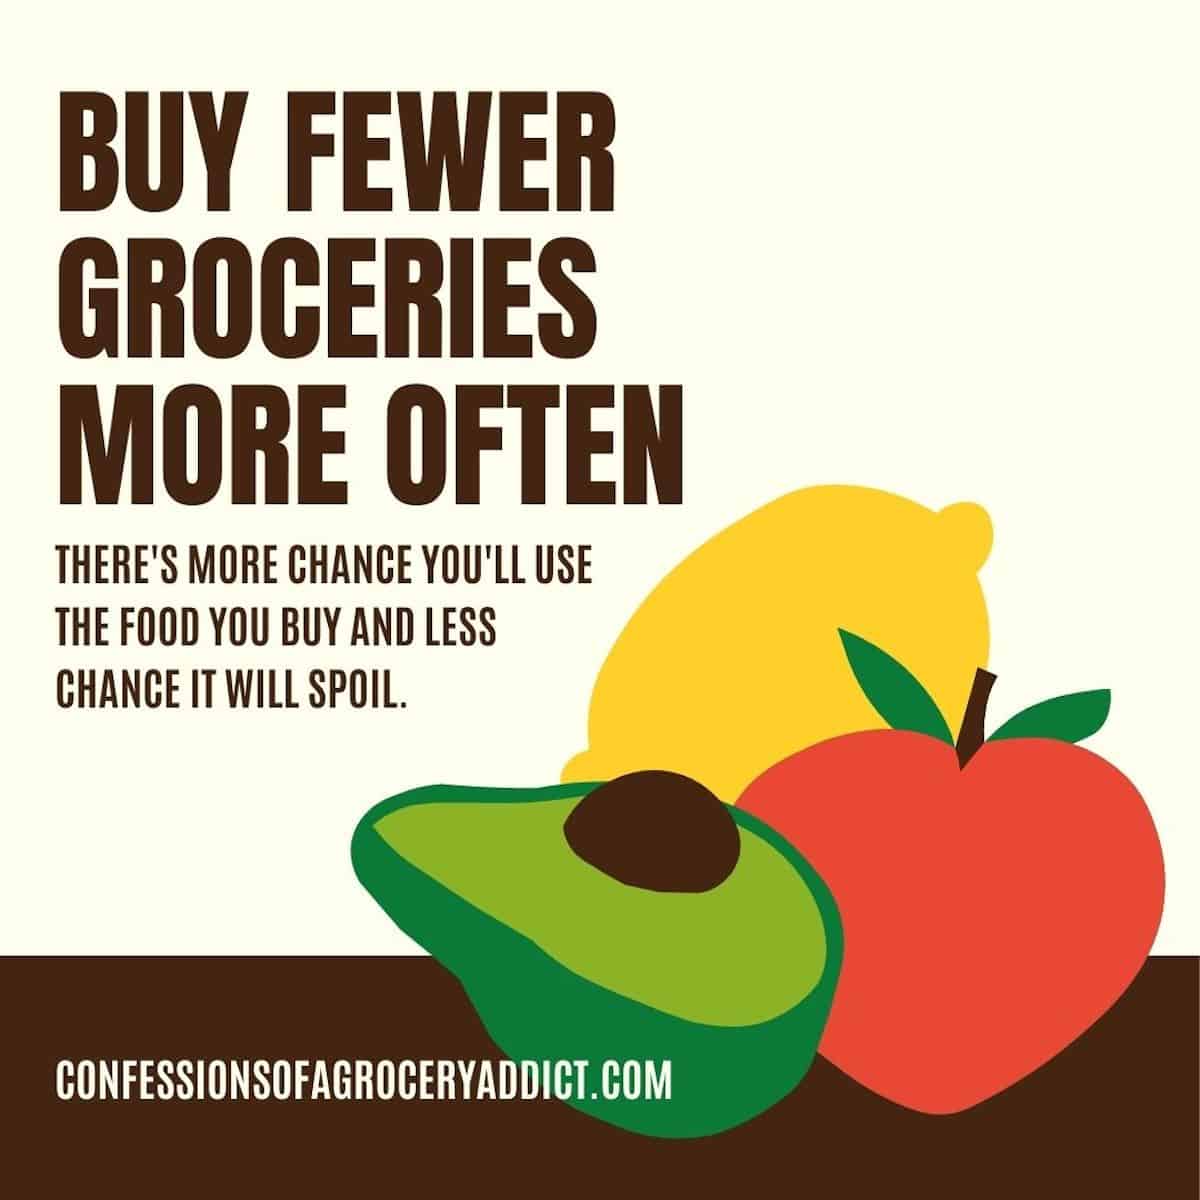
Minimize weekly fresh purchases.
I think a lot of folks get carried away with buying fresh produce without having a solid plan in place for it. I used to be guilty of that myself! Here are some strategies to help you:
- Make sure your fridge and freezer have sufficient space before making any grocery hauls. This is why the clean-out process is so important! You can also snap a picture of your fridge or freezer before heading to the store to help you remember how much space you have and also prevent you from buying duplicates.
- If you don't have a set use for something, consider getting a very small amount. Otherwise, opt for longer-lasting produce options (e.g. apples instead of berries, cabbage instead of lettuce), or reach for canned or frozen produce instead.
Go local.
The produce you get from farmer’s markets and CSAs will generally last longer than if you were to buy it from the store. Why? Non-local food travels an average of 1500 miles before getting to the store, and then usually sits on the shelves for at least a day or two before coming home with you.
My $30 CSA share comes from a farm less than 50 miles from me, is packed within a day of me picking it up, and always has enough produce to last my 2-person household longer than a week. And, since it’s so fresh when I get it, it lasts for weeks in the fridge (thanks in part to using my crisper drawers properly and adding Blue Apple pods for freshness).
Alternatively, grow some of your own food.
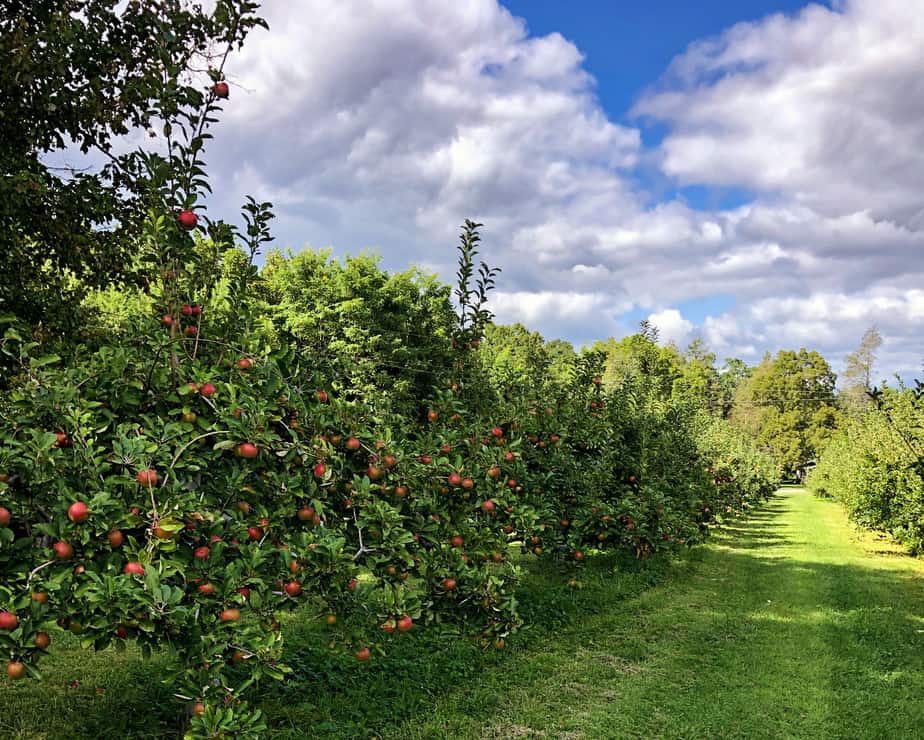
Nothing is more local than your yard! I have an herbs and lettuce table growing 9 months out of the year so I can always snip fresh herbs or salad greens right when I need them. I also grow tomatoes, runner beans, cabbages, and more during peak growing season. If your harvest is ready before you are, you can always use the fridge or other preservation methods to your advantage.
Make a plan to use delicate items first.
Not all produce or meats behave the same in storage. A few rules to keep in mind:
- Use tender leafy greens like arugula or spinach before digging into heartier items like kale.
- Use fish or chicken before semi-preserved meats like sausages or bacon.
- Eat berries and peaches before apples or citrus.
Learn storage preferences for different types of produce.
Know your fridge. Most refrigerators come with at least two produce drawers, often with adjustable settings for humidity. Use these settings to your advantage:
- High-Humidity Drawer: This setting is ideal for items that wilt, such as leafy greens, broccoli, carrots, and berries. The high-humidity environment helps prevent them from drying out and wilting.
- Low-Humidity Drawer: Use this drawer for produce that emits ethylene gas as it ripens, like apples, pears, avocados, and peaches. The lower humidity helps to keep these fruits from rotting too quickly.
- Don’t overpack or underpack: Overpacking the drawers can restrict airflow and lead to uneven cooling and accelerated spoilage. Give your produce a bit of breathing room to ensure it stays fresh longer. That said, crisper drawers are like your car’s gas tank — they operate best when they’re at least half full.
Store herbs like a bouquet of flowers. When you get back from the store, cut off the bottom ½ inch of stems, then stick them in a glass of water, cover them with a plastic bag, and for most herbs, stick them in the fridge. (Basil is the exception and prefers to be at room temp.) If you use this method, they should last for upwards of 10 days.
Wrap all your bunched greens and veggies in damp towels when you get home from the market to keep them fresh and crisp for longer. This works for heads of lettuce, celery hearts, and more.
Soak berries in a 1:3 solution of vinegar and water for 10 minutes before rinsing, spinning in a salad spinner, and gently patting dry, then stick them in a paper towel-lined container for longer storage. This helps keep the mold at bay and keeps the berries fresh for a week or more.
Keep onions and potatoes at a cool room temperature. They prefer having airflow, so if they came in a plastic bag, leave the top undone and maybe poke a few holes in it. Also, while both taters and onions like the same storage conditions, they don’t like to be stored near each other. I keep the potatoes on one side of my pantry and the onions on the other.
Meal prep.
Step 1: Prioritize versatility. Choose recipes and meal ideas that can be modified to incorporate whatever produce is on sale or to use up whatever bits and bobs are floating in your produce drawers. Having a repertoire of such flexible recipes means you can switch ingredients in and out depending on what’s available and affordable.
Here are some of my favorites:
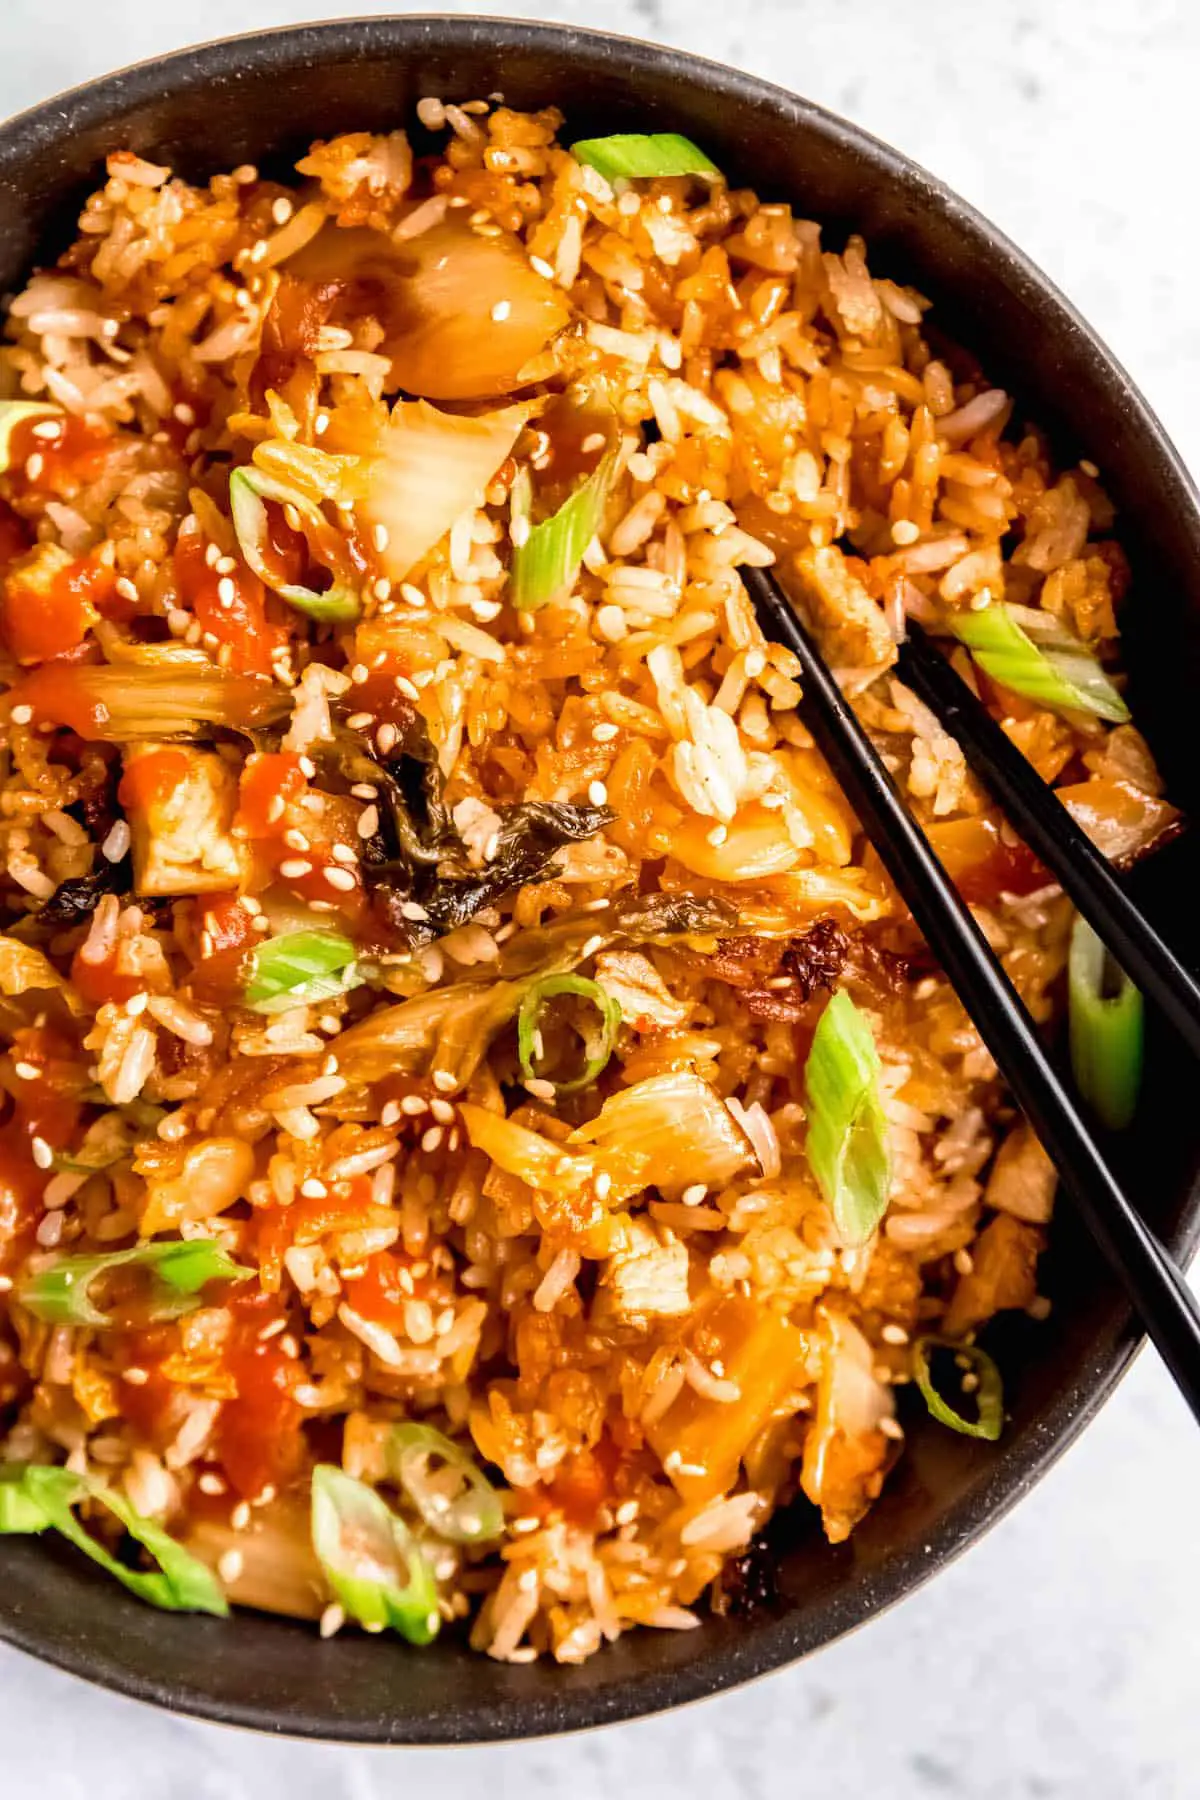
- Stir-fries like my easy hibachi at home, breakfast fried rice, or BBQ pork fried rice,
- Soups & chilis,
- Pizzas, sandwiches, & pita wraps,
- Salads
Step 2: Shop with flexibility in mind. Building off of step 1, go to the store with a basic framework of meals in mind, but leave room to adjust based on what produce is available at a discount. This strategy allows you to take advantage of markdowns on fresh items that stores need to sell quickly, which not only saves you money but also helps reduce waste at the retail level. 💪
Step 3: Make time to prep. This can look different for everyone.
I like to prep my produce as soon as I get home from the market so I can toss together a salad or stir-fry at the drop of a hat. I also like to make a large batch of pizza dough (enough for 3-4 pizzas), as well as a loaf or two of sourdough sandwich bread per week. These carby bases mean that I always have something easy to throw together (pizzas and sandwiches are my go-to lazy meals), and they don’t take much active time to make. Then, whenever I cook a full recipe during the week, I make enough to have leftovers at least once.
My friend Amy likes to batch cook one day per week. This is when she makes grab-and-go breakfasts like muffins, healthy sweet treats like High-Protein Berry Cheesecake Overnight Oats , a pot of grains or beans, and some kind of meat. She usually only leaves out 2-3 days' of meals worth in the fridge, then puts everything else up in the freezer to keep her from getting bored. Her freezer is always stocked with tasty homemade things that she can defrost or reheat.
Introduce the concept of next-overs to your meal prep.
David Tamarkin from Epicurious came up with the catchy moniker, but it's a long-held practice. The idea is to make a big batch of something (e.g. a sauce, grain, or protein), but use it in 2 completely different meals. Using this kind of modular approach means you can meal prep without getting bored by eating the same meal too many nights in a row.
For example,
- Make my spicy butternut squash apple soup, then use the leftovers as a simmer sauce for a veggie curry.
- Roast a whole chicken (or buy a rotisserie chicken). Serve it with healthy Greek yogurt mashed potatoes and ratatouille, use it for chicken divan casserole, then add it to your soup or sandwiches. When you’re done picking off all the meat, use the carcass to make homemade chicken stock.
- Make a big pot of dried beans or lentils, then use them to make soup, beans & greens on toast, and salads.
- Use leftover holiday ham to make cheesy ham delights, a ham and swiss breakfast strata, or split pea ham soup.
- Make my creamy jalapeño cilantro lime sauce and use it for spicy avocado tuna salad. Then, drizzle that ish on EVERYTHING. It’s great on beans, sweet potato salmon cakes, pizza, zhoug chicken, avocado toasts, you name it.
For lots of excellent inspiration on how to implement batch cooking and “next-overs,” Cook90, Grist, and One Pot, One Pan, One Planet are incredible resources. Don’t want to buy them? Check your local library catalog.
Learn how to freeze, can, and dry fresh foods.
Even if you start with the best of intentions and plan everything out to a T, life has a tendency to throw some curveballs. When this happens, knowing these basic food preservation tactics can help you extend the shelf-life of your food.
Freezing
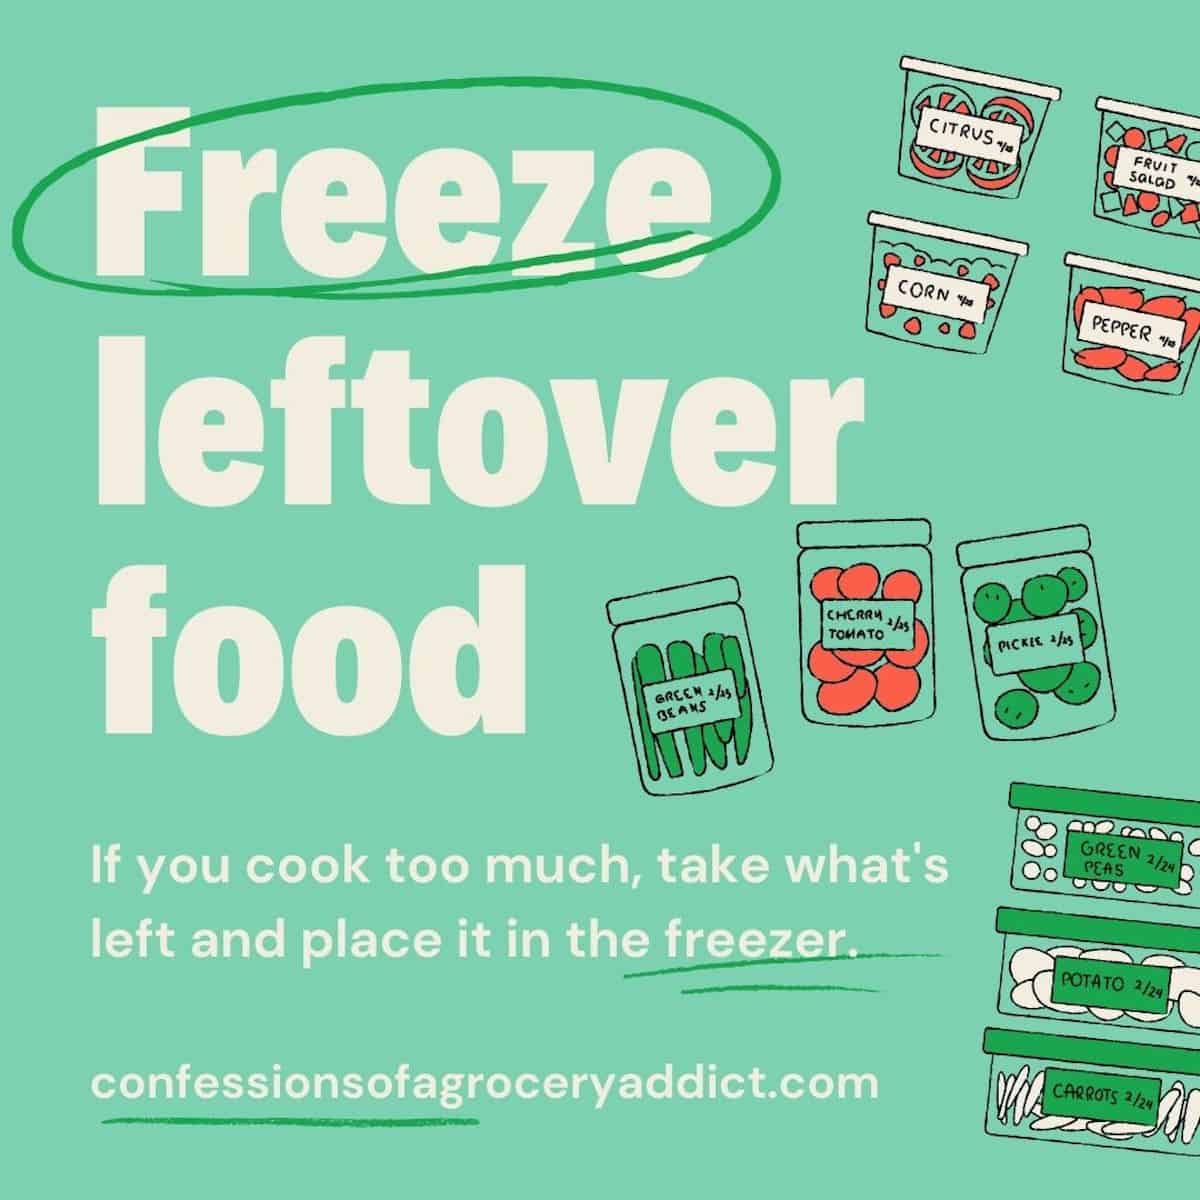
- Use freezer bags coupled with the water displacement method (or use a vacuum sealer) to protect against freezer burn.
- Label and date EVERYTHING. Masking tape and a sharpie are my go-tos.
- Keep em separate. For frozen veggies, fruits, cookie dough balls, egg bites, or anything else you don’t want stick together, freeze in a single layer on a baking sheet until solid, then transfer to the storage container of your choice.
- Freeze bagged items flat, then store like books on a shelf.
As far as what you can freeze:
- DIY Dorot Cubes. Fresh herbs can be chopped finely and added to ice cube trays with oil or mashed into compound butter to keep in the freezer. You can also freeze cubes of garlic or ginger paste, with or without oil.
- Some produce prefers a quick blanch before freezing. If you’re keeping veggie scraps for broth, this isn’t necessary. You can also freeze berries and bananas without blanching.
- Some pantry items love the freezer. Store yeast, whole grain flours, and nuts in the freezer to significantly extend their usable life beyond expiration and best by dates.
- Bread, flatbreads (e.g. tortillas, keto egg wraps, naan), protein pancakes, waffles, and many other baked goods (or not-yet-baked doughs) can be frozen for the future. This includes pie/tart dough and/or baked pie/tart crusts; cookies and/or cookie dough; baked or unbaked & unproofed croissants; baked brownies & blondies; pizza dough; etc.
- Unless you want to defrost an entire loaf of bread, make sure to slice it before freezing.
- For tortillas, flatbreads, pancakes, and waffles, separate them with pieces of parchment paper before freezing. This keeps them from sticking together and makes it easier to pull out just one at a time as you need them.
- For drop cookie dough, roll or scoop into balls, freeze in a flat layer, then transfer to a storage container.
- Pizza dough should be stored in lightly oiled containers that are at least 2x as big as the ball of dough to leave room for it to proof when you defrost it.
- Many leftovers can be frozen for the future. I recommend checking specific recipe posts for instructions on how to store leftovers.
- Dairy including butter and cheese, as well as eggs and egg whites, are great candidates for freezing. You can also freeze milk and cream, but the texture may suffer if you do.
Canning
There is a lot to consider when canning foods. This is an excellent resource for beginners. A few things to keep in mind:
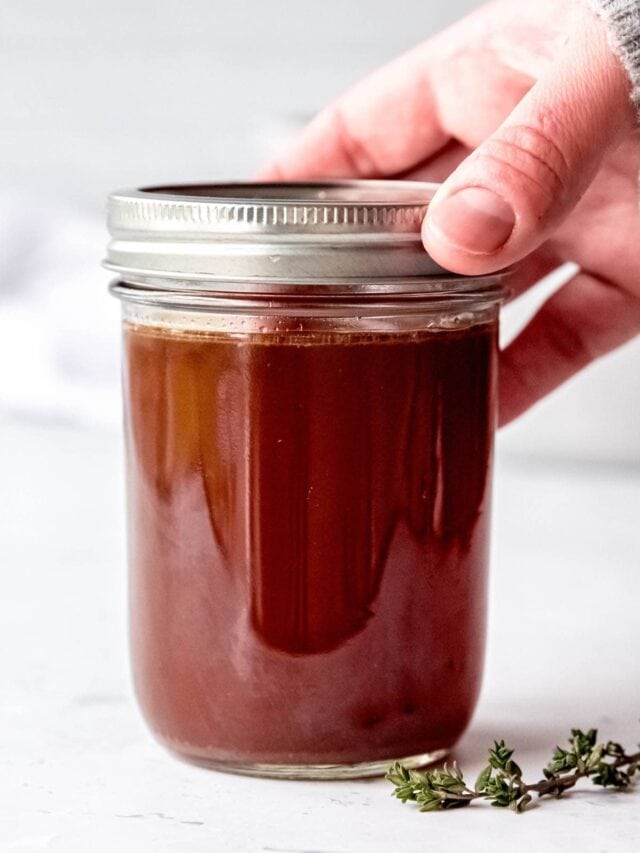
- Start with sterilized jars and lids.
- Follow time, temperature, and pressure recommendations for the item you’re canning and the altitude you’re at.
- Water bath canning is usually sufficient for making jams & preserves shelf-stable, but pressure canning is necessary for low-acidity foods.
- Higher altitudes require longer cooking times.
Dehydrating
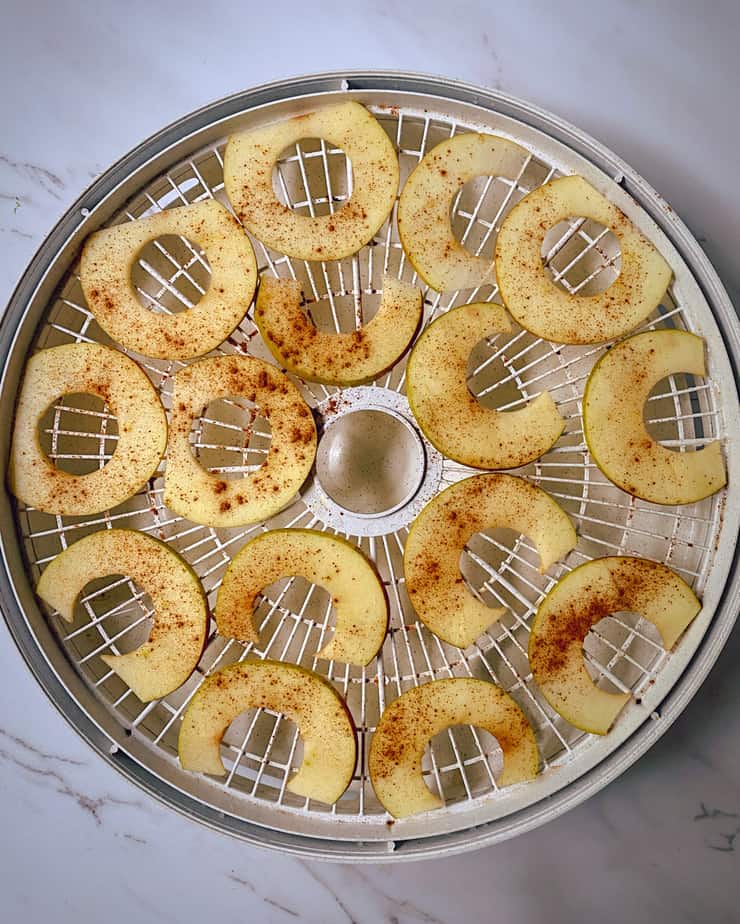
This age-old method has been used to preserve food for millennia. Dehydrating is great for making snacks like banana or apple chips, fruit leather, jerky, and more. It can also be used for preserving end-of-season crops like fresh herbs or mushrooms.
- While having a dehydrator is convenient, there are many other ways to dehydrate your food.
- If you dehydrate your food, consider grabbing some silica packs to help ward off any moisture and extend the shelf-life.
Only buy in bulk if it makes sense.
Bulk buying is a popular strategy for saving money on groceries—often, the price per unit or ounce is significantly lower when items are purchased in larger quantities. But, if the food spoils before you can get to it, that defeats the whole purpose!
Here's how to determine when bulk buying makes sense for you:
Step 1: Evaluate your consumption habits
Before purchasing anything in bulk, consider:
- How frequently you use the item,
- If you have a plan to use it, and
- Whether it has a long shelf life.
- Staple goods like rice, dried beans, and pasta are usually safe bets because they can be stored for a long time without deteriorating.
- Perishable items like fresh produce, dairy, and meats might not be wise bulk purchases unless you're sure you can consume them quickly or have a way to preserve them.
Step 2: Be cautious with sales and promotions
It's easy to be tempted by sales or special bulk promotions. Always ask yourself: "Do I need this much of this item, or am I being swayed by the deal?" If the promotional items align with your regular needs or are good candidates for long-term storage, then it's a good buy. If not, don’t buy it.
Step 3: Go halvsies.
If a bulk deal is too good to pass up but you’re not sure if you can use it all in a reasonable time frame, consider splitting the purchase with friends or family. This way, you can still benefit from the lower price per unit without risking waste.
Know the difference between expiry dates, "best by" dates, and "sell by" dates.
A crucial step in reducing food waste at home involves understanding the various types of dates you might find on food packaging. Treating these dates as gospel often leads to unnecessary food waste, as many people discard food that is still perfectly safe to consume.
Furthermore, "best by" and "sell by" dates are not regulated by federal authorities, with the exception of baby formula. Because there's no uniform system governing how these dates are set, they can vary greatly from one manufacturer to another, based purely on their own internal standards for peak quality.
Confused yet? Here's a breakdown of what these dates really mean:
Expiration Dates
"Expiration" or "Use By" dates are used as safety indicators and are typically found on highly perishable products, such as meat, seafood, and dairy products. They indicate the last day the product is expected to be at its peak quality and safety. After this date, the safety of the product can no longer be guaranteed.
That said, some items expire well before their expiration date, and some last far beyond it. I’ve opened packages of meat that say they’re good for another week but are clearly rotten. On the other hand, I’ve also opened a brand new container of yogurt that was several months “expired,” but it was still completely edible with no mold, bubbling, gas buildup, or other signs of spoilage.
Best By Dates
"Best by" dates indicate when a manufacturer believes a product will start to decline in quality. However, this doesn't necessarily mean the food will become unsafe to eat after the date. In many cases, foods remain perfectly safe and tasty well past this mark.
For instance, pantry staples like pasta, rice, dried beans, and canned goods often last much longer than their labeled dates suggest. That’s why these items are so popular with preppers!
It will also depend on your climate — I’ve found that boxes of cereal or crackers tend to go stale more quickly after their best-by dates in humid environments like Nashville, Chicago, and Philly than they do in more temperate climates like L.A.
Sell By Dates
"Sell by" dates are primarily for inventory management by retailers. They tell the store how long to display the product for sale to ensure it's sold at its best quality. As a general rule, you can expect foods to last about a week after their sell-by dates.
Use Your Judgment
Since there is so much variability in how these dates are used, I generally turn to my senses to help me make informed decisions. Here are a few tips to keep in mind:
- If something smells off, it probably is. That said, keep in mind that some foods are just kinda stinky — many cheeses (e.g. taleggio or camembert) and fermented items (e.g. fish sauce, kimchi, sauerkraut) have a strong smell, but that’s normal.
- If it’s molding, it’s likely done for. (Unless we’re talking about hard cheese, in which case you can just cut off the bad parts.)
- When veggies or fruits are wilting, they’re on the way out, but you can still use them. Cook them, toss them in smoothies, or freeze for later.
- Fermented foods like yogurt, kefir, buttermilk, and anything pickled usually last longer than you’d imagine.
- I’m typically more squeamish about meats and seafood that are beyond their use by dates, but again, I use my nose and eyes to make the final call.
Please note that if you have a fragile constitution, or if you are pregnant, or feeding the elderly, small children, or the infirm, you should proceed with caution.
Implement FIFO (first in, first out).
Implementing the FIFO method is a fundamental practice for managing inventory. And if you keep a well-stocked larder, this becomes even more important. The idea is simple: use the oldest items in your pantry and freezer first to ensure nothing goes to waste. Here's how to effectively implement this system in your home:
Step 1: Organize for Visibility and Accessibility
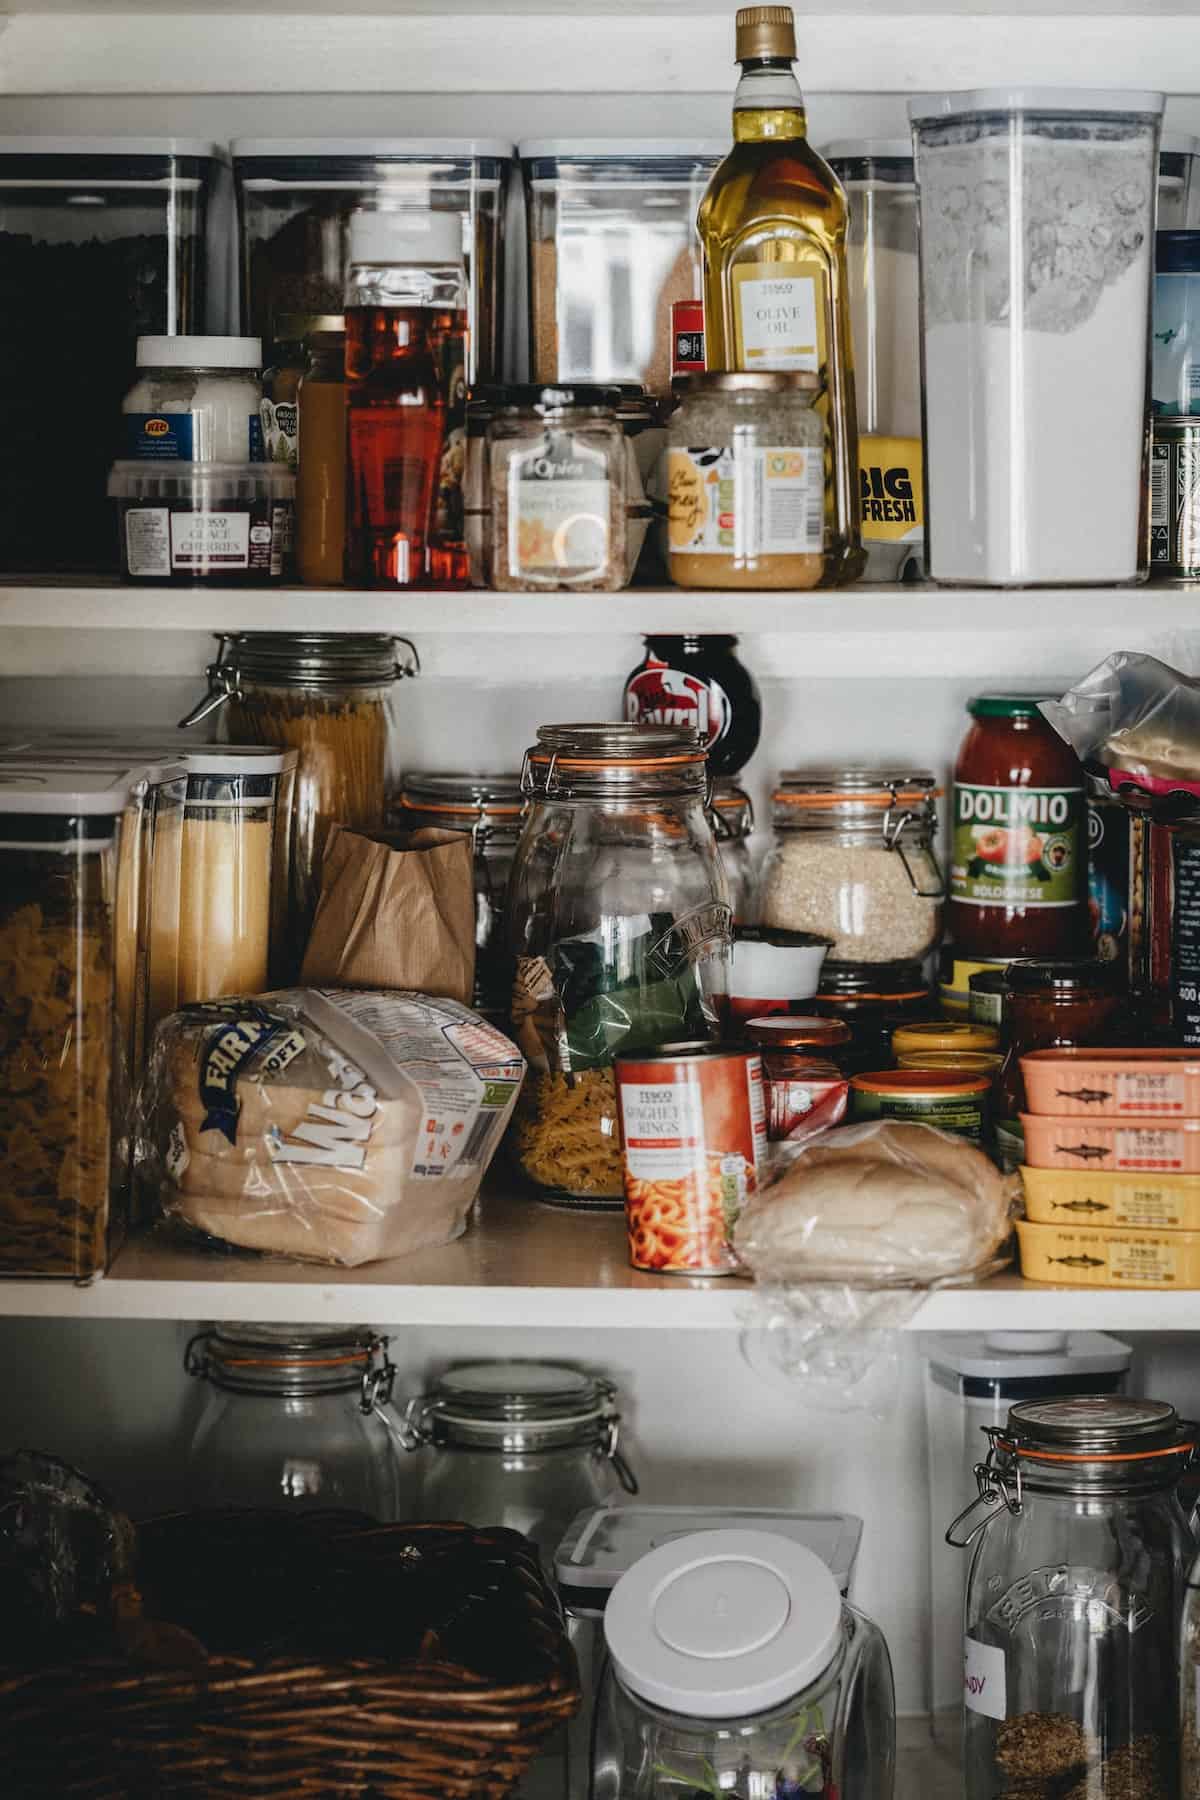
Start by organizing your pantry and freezer so that you can easily see everything you have. This might mean investing in shelf organizers or clear storage bins. They don't have to be fancy! I bought mine at Dollar Tree.
Make sure everything is labeled clearly with dates of purchase or expiration. When restocking, always place newer items behind the older ones, making the older items more accessible and likely to be used first.
Step 2: Practice Proper Rotation Techniques
When you buy new groceries, take a moment to rotate your stock.
- For pantry items like flour, rice, or beans, pour the last remaining amount from your current hard-sided container into a bowl, then add the fresh supply to the bottom and put the older product back on top. This ensures that you finish the older stock before moving on to the newer one.
- For canned goods, always move older cans to the front and place new purchases in the back of your pantry.
Pro Tip: Customize Your Approach
Depending on what you're storing and where you're storing it, your approach may need to be adjusted. For example:
- I have different colored bins for my deep freezer to separate meat (red), fish (blue) and veggies/fruits/grains (green.) For each category, I have 2 stacking bins. The oldest items go in the top bin, the newest in the bottom.
- For the fridge, I make sure all leftovers are in one area at eye level, with the oldest items in the front. This makes it easy for my hubby or me to grab and heat up in a jiffy. I also have an area designated for “use me ASAP” ingredients so they don’t get forgotten.
- In our pantry, we have a big bin with all of our opened snacks that have been decanted into hard-sided containers, and another with not-yet-opened ones.
Make It a Habit
Integrate FIFO into your regular kitchen routine. Each time you shop, take a few minutes to rotate and organize your supplies. It takes a bit more effort upfront, but it prevents the heartache of tossing food (and with it, the money you spent to buy it) in the trash.
Use hygienic practices.
This should go without saying, but being clean and hygienic in the kitchen is super important. When foods expire before they should, it’s typically because of poor handling.

Here are some things you should always do to keep your food fresh and healthy:
- Pour your drinks into glasses instead of sipping from the container.
- Portion out the food you want to eat, using clean implements every time.
- Use clean containers to put leftovers in.
- Wash your hands before handling food to minimize any microbial contamination.
- Cook food to safe internal temperatures.
- Consider food safety temps and timelines:
- Hot food should be kept at 130F or above.
- Cold food should be kept at or below 40F.
- You need to cool hot foods to 40F within 4 hours.
Learn how to use your scraps.
Make the most of every bit of your food by:
- rendering excess chicken fat into schmaltz,
- pickling swiss chard stems,
- saving aquafaba to make meringues,
- saving pickle juice or feta brine to marinate meat or make salad dressing, or
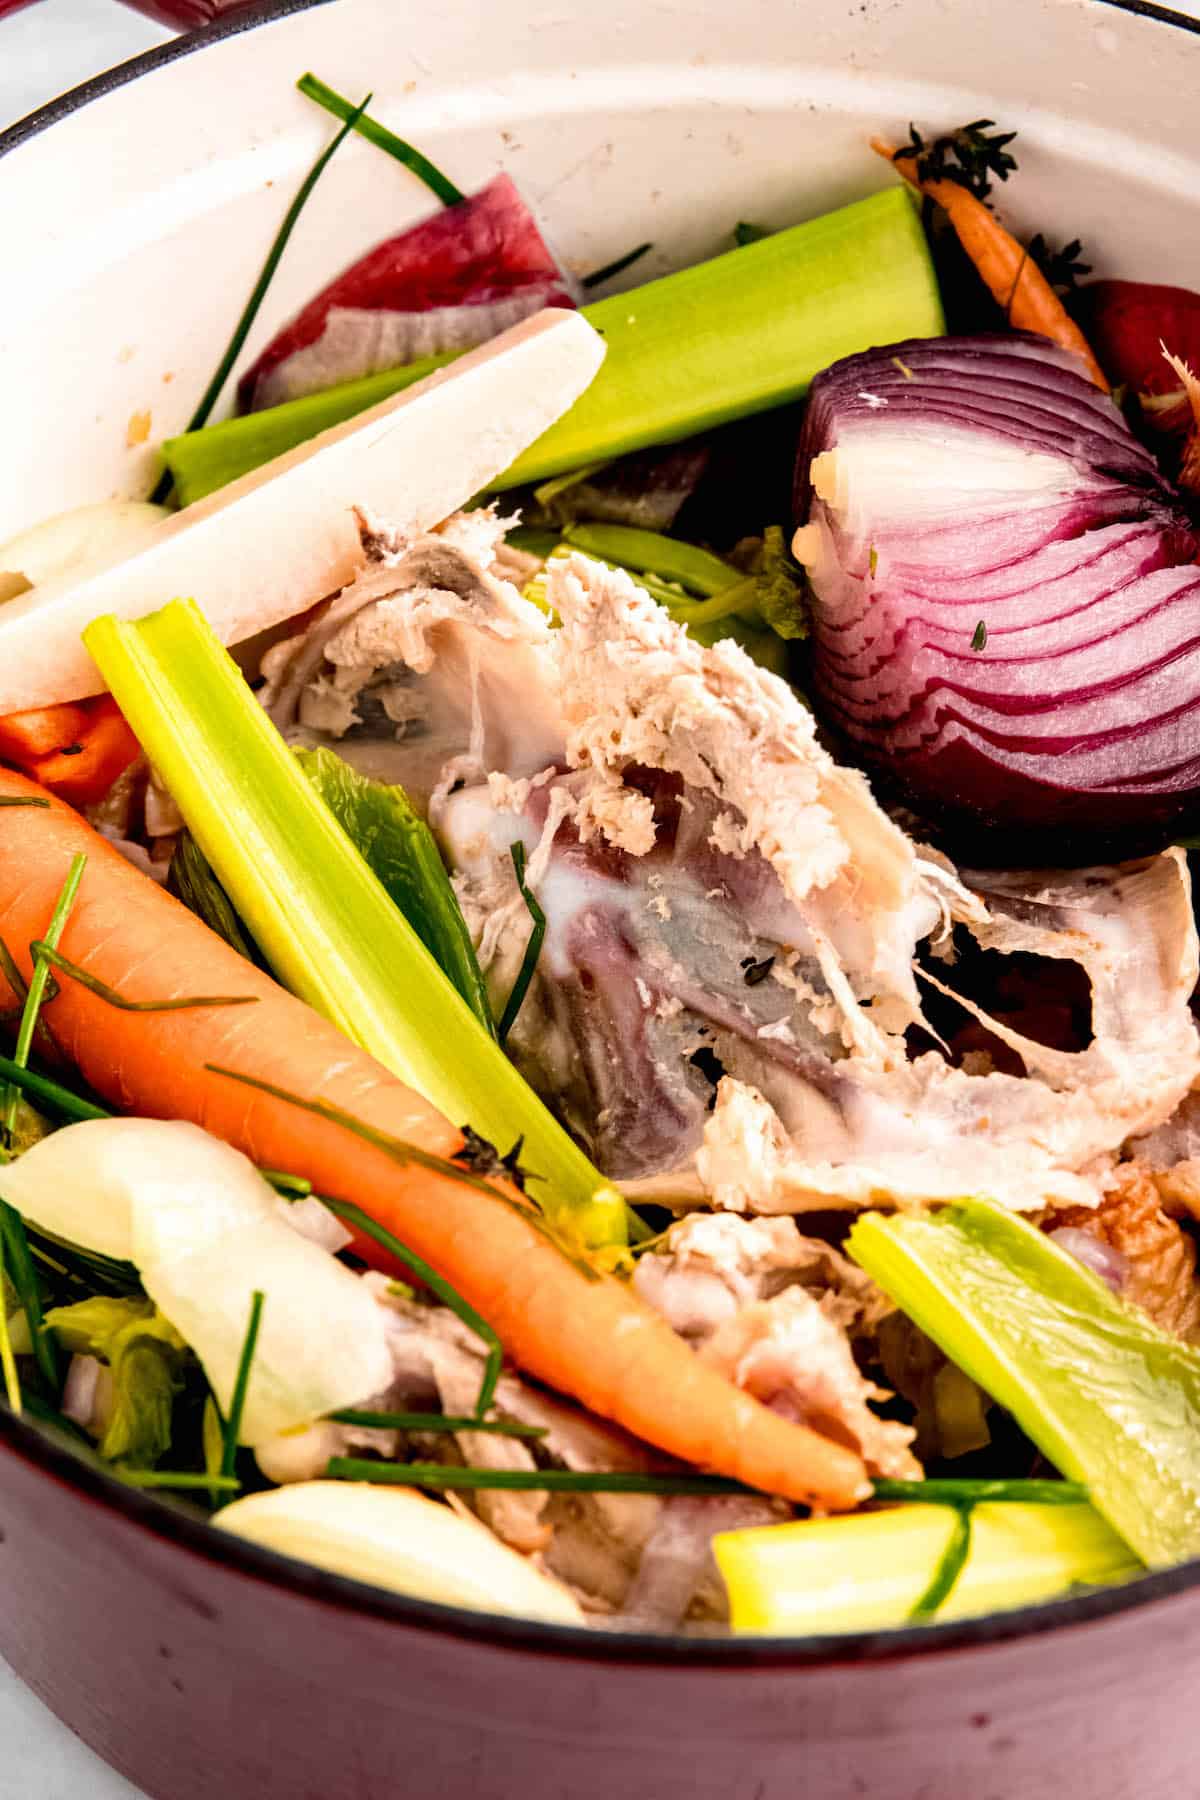
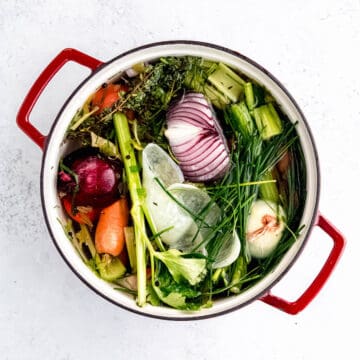
- making waste-free spa water with fruit scraps and waste-free vegetable or bone broth with veggie and meat/fish scraps.
Need more inspiration? Read anti-waste cookbooks like Cooking with Scraps by Lindsay Jean-Hard, The Zero Waste Chef by Anne-Marie Bonneau or The Everlasting Meal by Tamar Adler. And don't forget about the library as a resource!
Compost!
After you’ve exhausted your scraps’ useful life, turn them into brown gold. My hubby and I used the early days of the pandemic as an excuse to figure out our composting situation. Spoiler alert: It was SUPER easy.
We grabbed a cheap lidded trashcan from Walmart, drilled holes on the sides and bottom, and propped it up on a cinder block for drainage. Eventually, we added a second and a third, which we now rotate. Bucket 1 is where we toss our new compost, Bucket 2 is to be left alone until it finishes the composting process, and Bucket 3 is our usable compost.
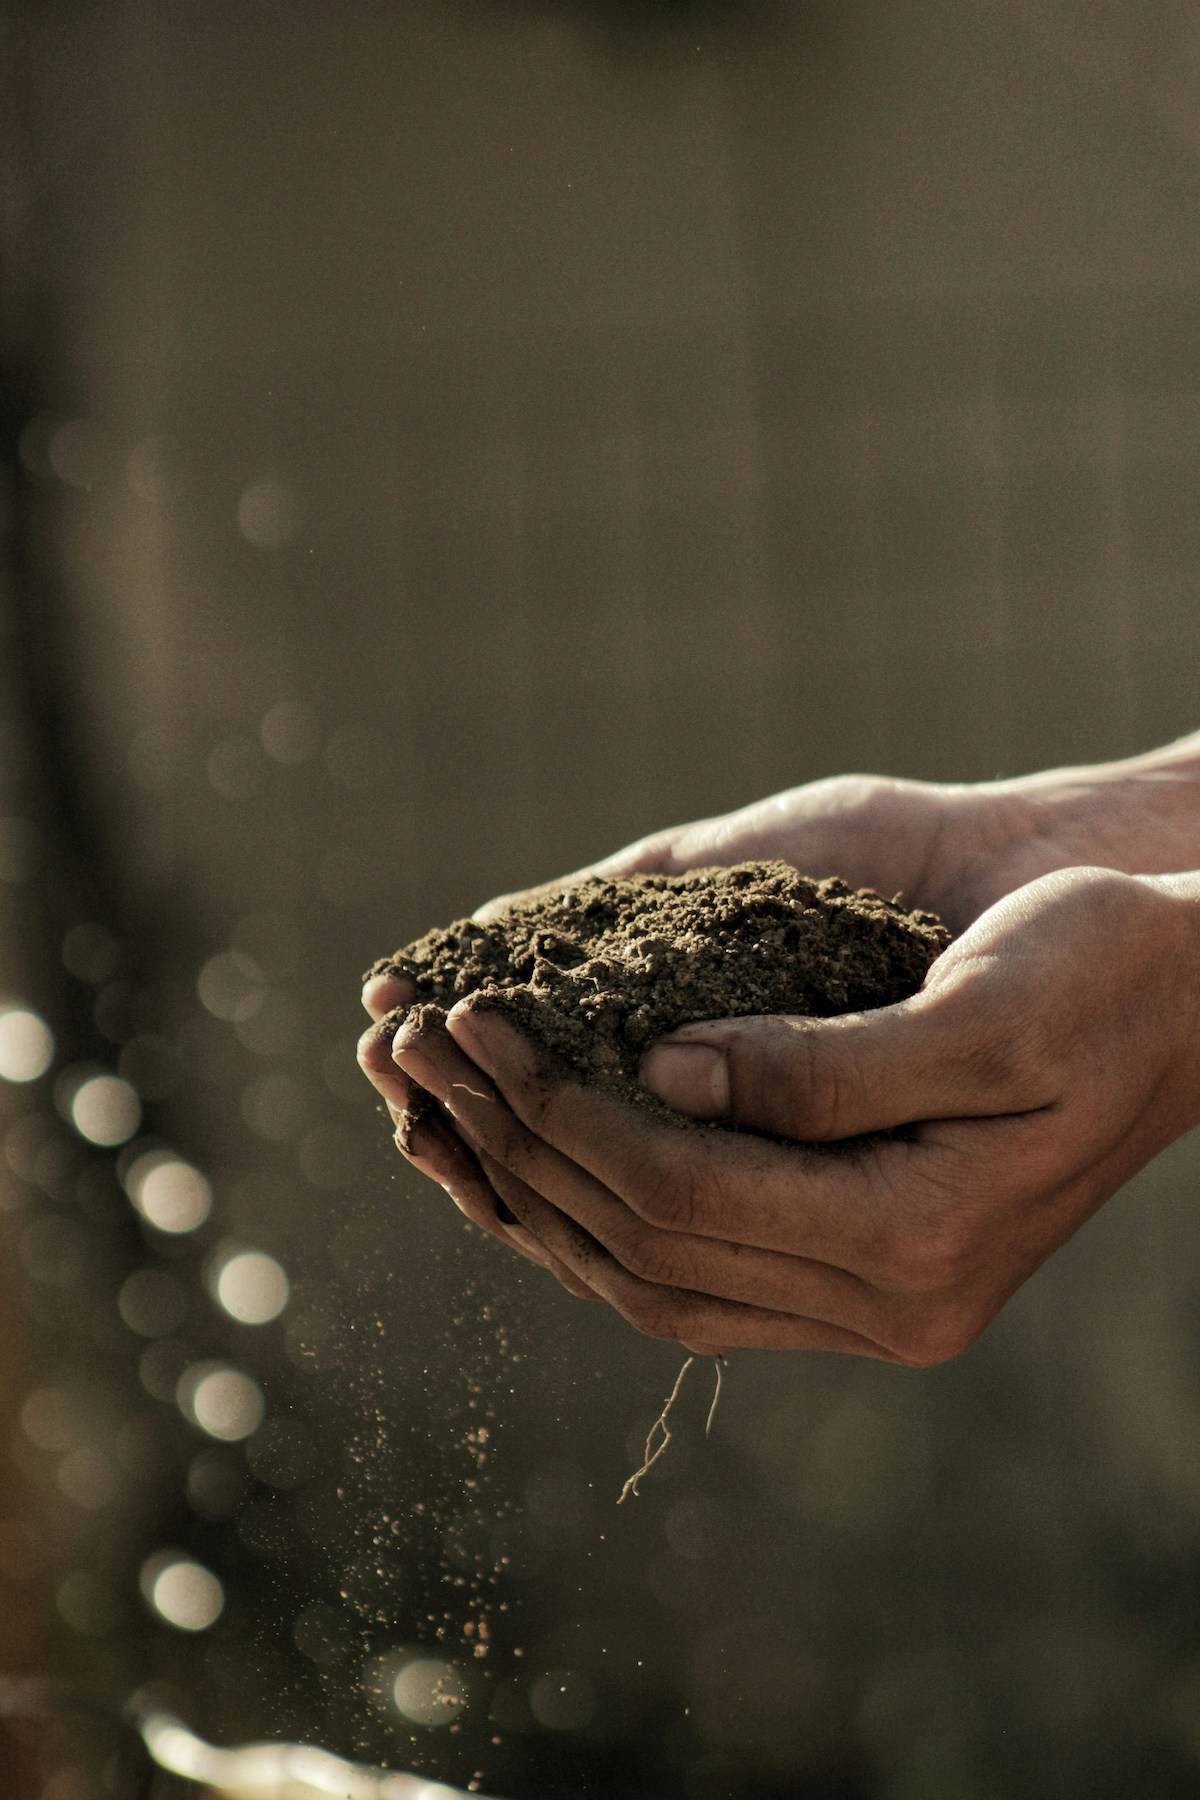
I recommend getting a countertop compost bucket with compostable liners. All egg shells and unusable produce scraps (no dairy, bones, or meat) get tossed in the countertop bucket, and when the bucket is full, take it outside to the composting trashcan.
The main thing to remember: if the compost gets super smelly, it means you need more brown material. I buy a $7 bale of hay each year and keep it nearby to help balance things out when I have too much green material.
Once you get in the habit, it is SO EASY to do. And it saves a ton of money if you’re a gardener — no more expensive soil amendments! When we have excess compost, we give it away to friends, but you can also sell it on Facebook Marketplace to make a little extra dough.
And, if you don't want to deal with a backyard compost heap, consider outsourcing it to a paid service. Here in Nashville, we have a company that will come pick up your weekly compost bin (which can also handle meat, bones, dairy, and compostable takeout containers, "silverware" and straws) and return a share of compost to you every month.
More Food Budgeting Resources
And there you have it, friends—you've got all the secrets to turn your kitchen from a place where leftovers go to die into a veritable fortress against food waste. Remember, a penny saved is a penny earned, and a scrap reused is smarter than scrapping it altogether. Until next time, keep cooking, keep saving, and keep smiling—because every little bit(e) helps!
Did I miss anything? What are your favorite ways to combat food waste at home? Let me know in the comments below!




Comments
No Comments