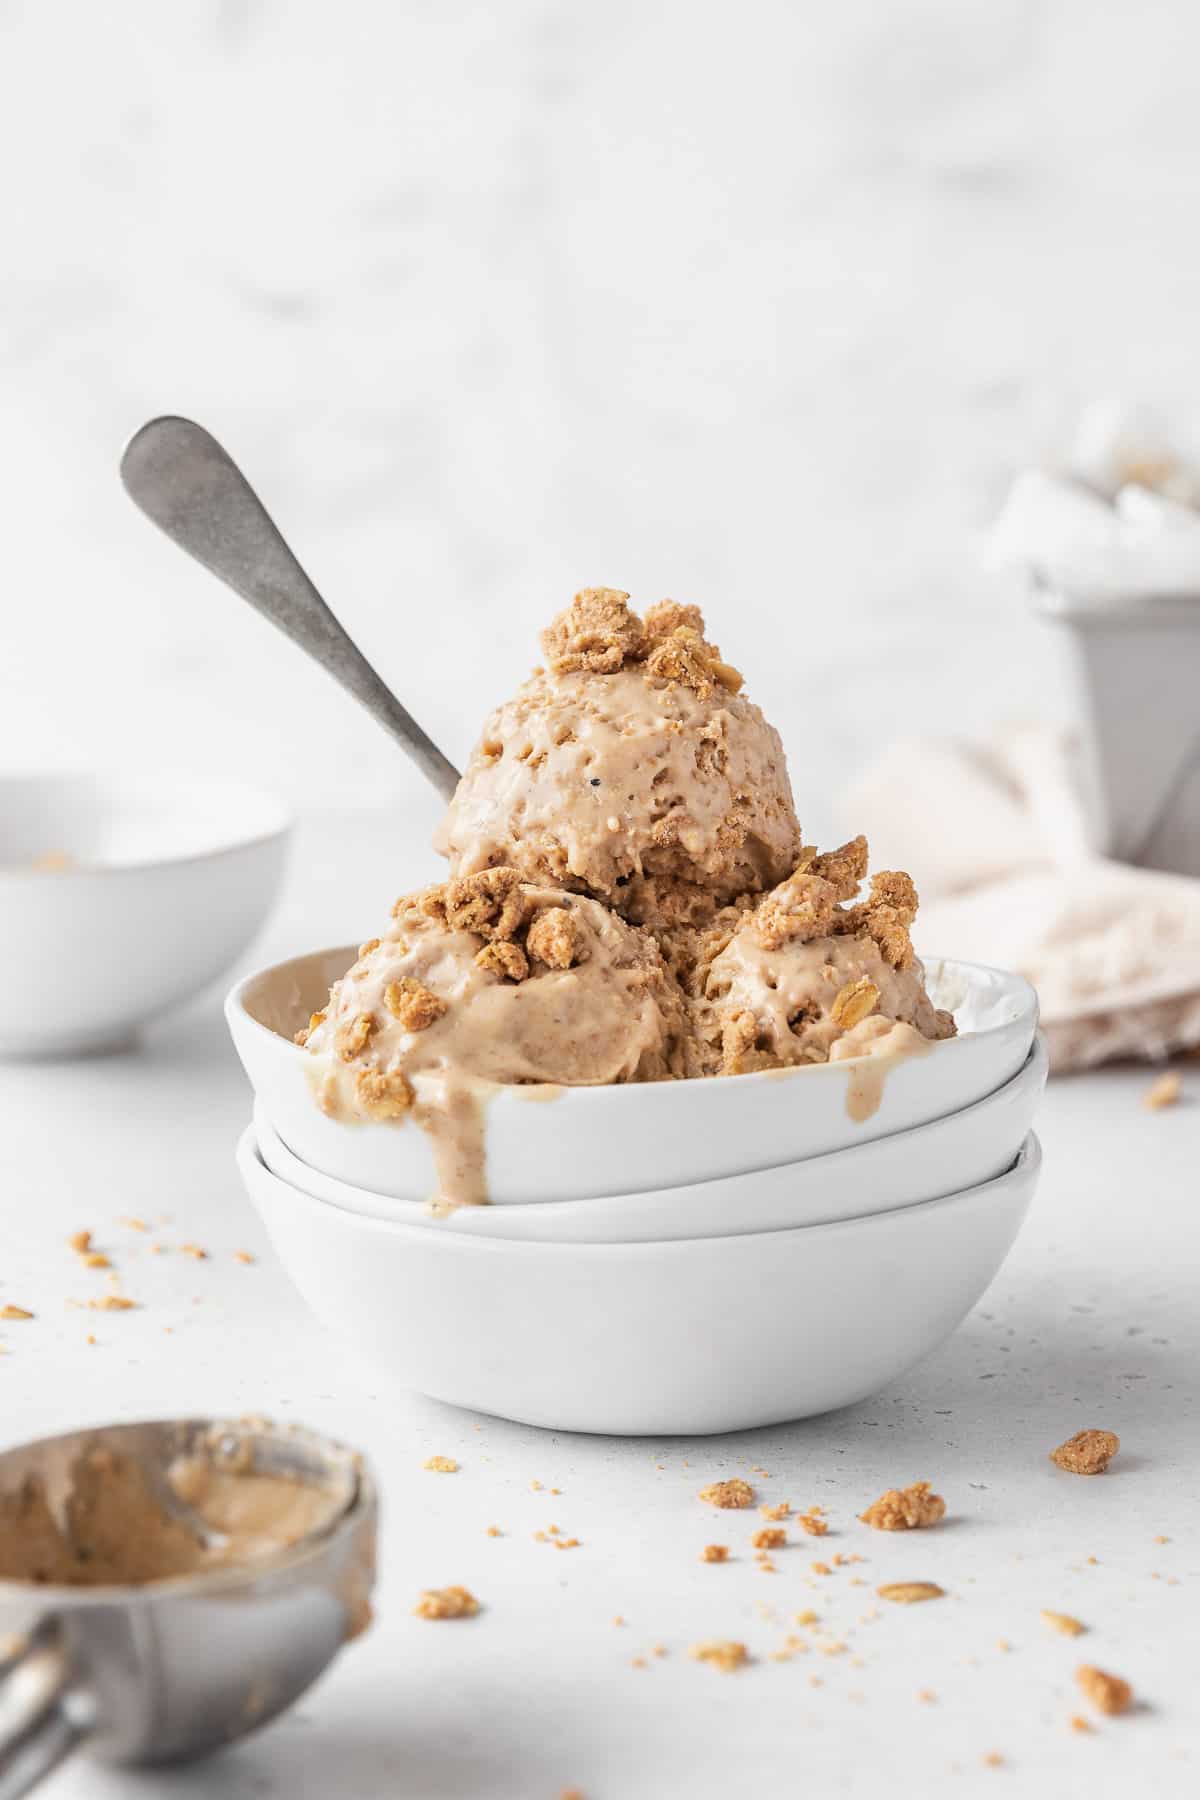
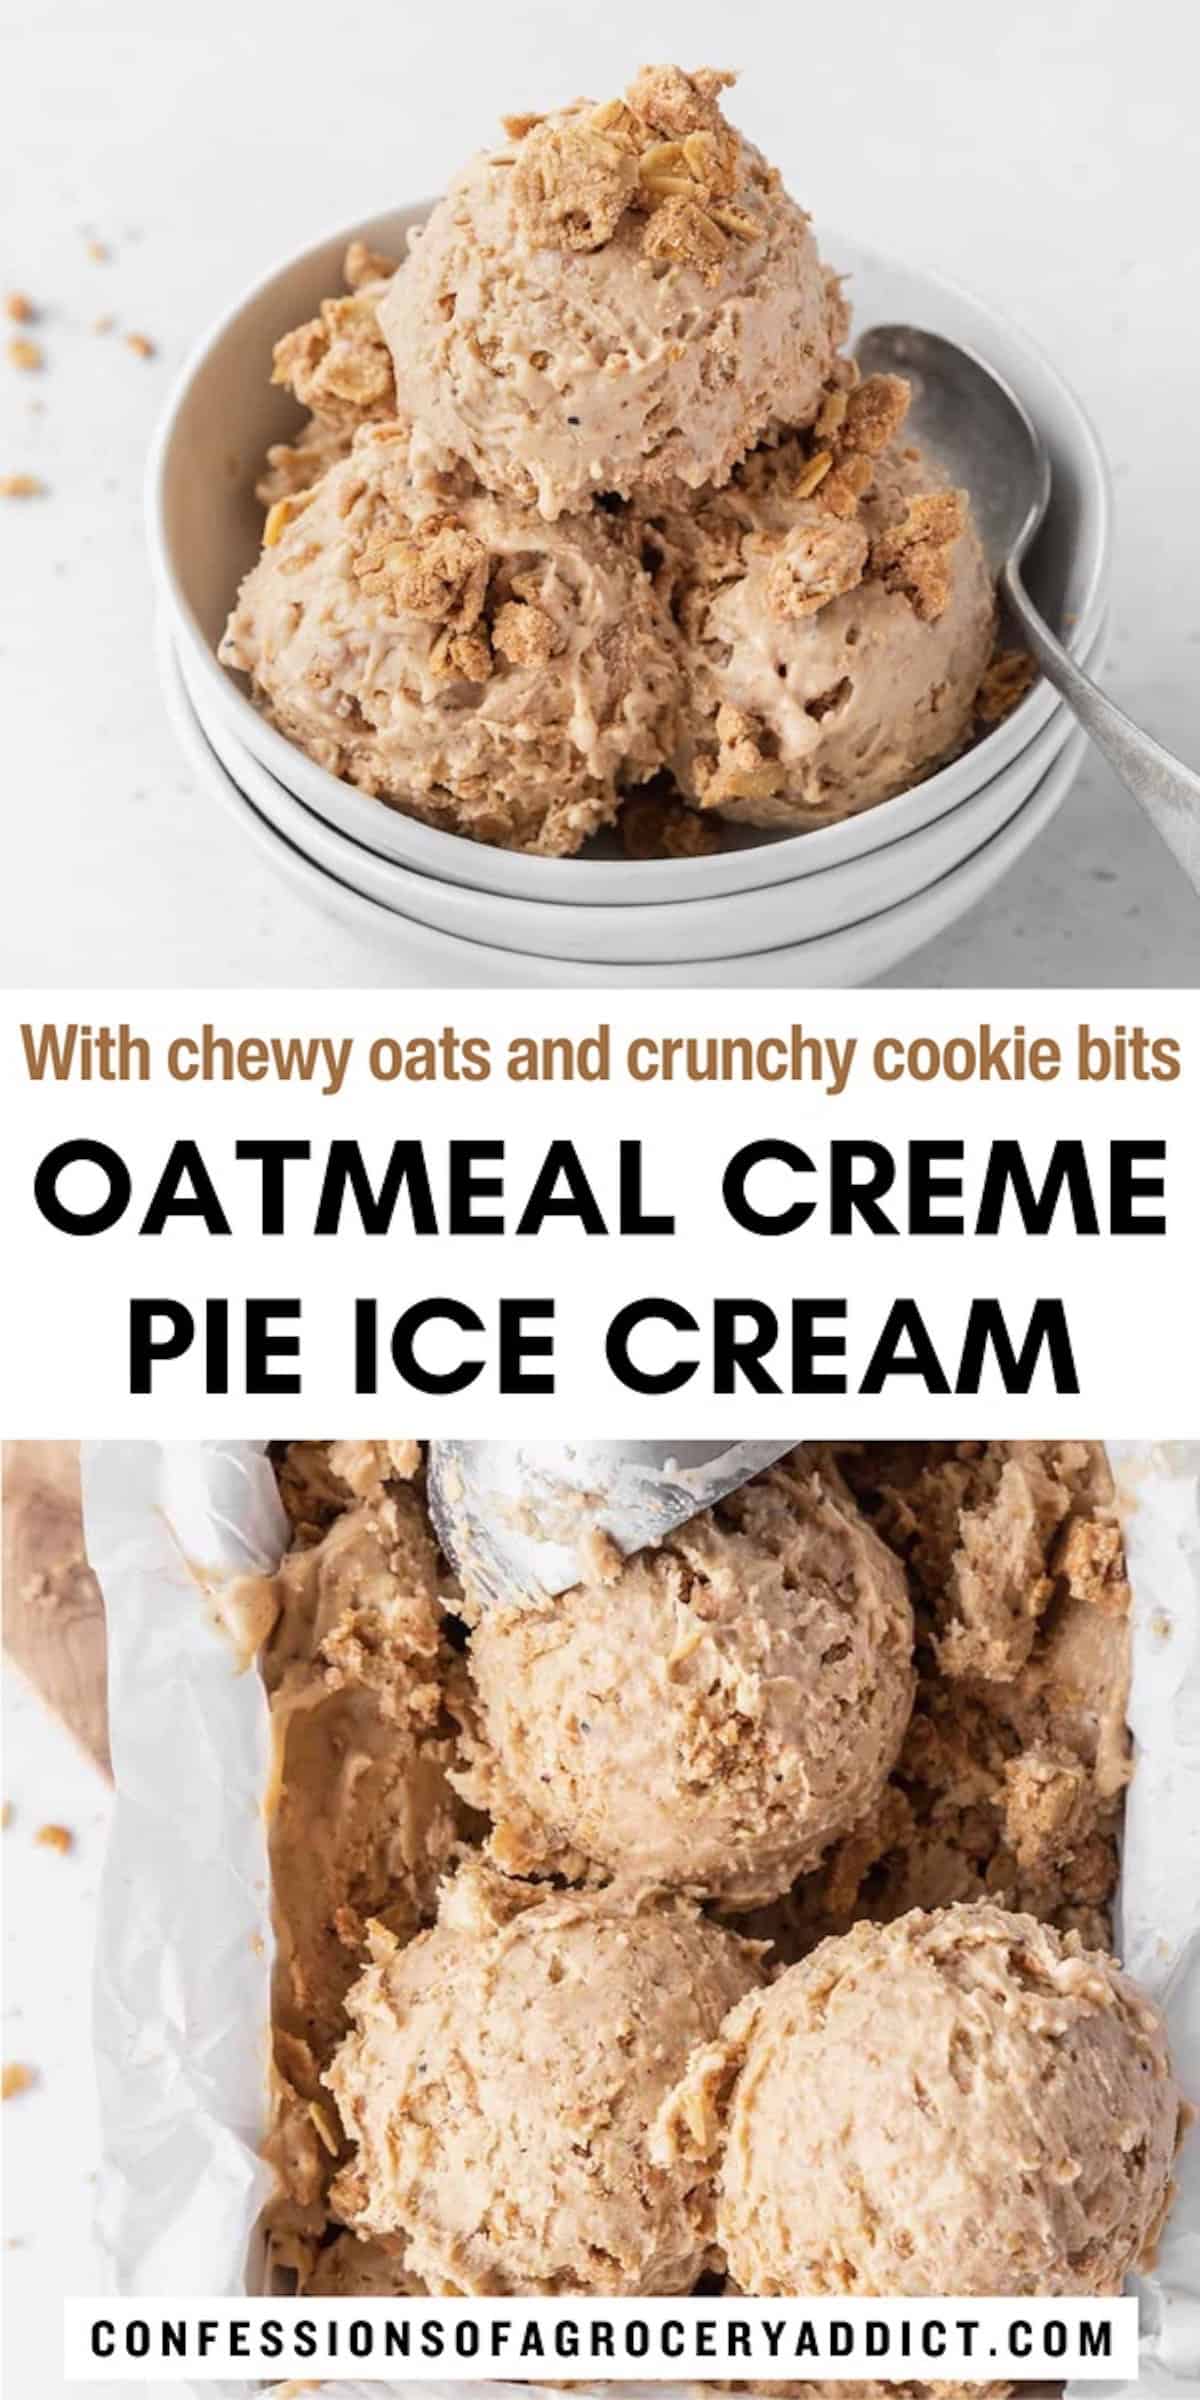
Rich, cinnamon-y sweet, and flecked with both chewy oats and crunchy cookie bits, this Oatmeal Creme Pie Ice Cream recipe is one of my favorite frozen treats. If you love ice cream but can't stomach the crazy $5/pint (or more!) price tag, this one's for you.
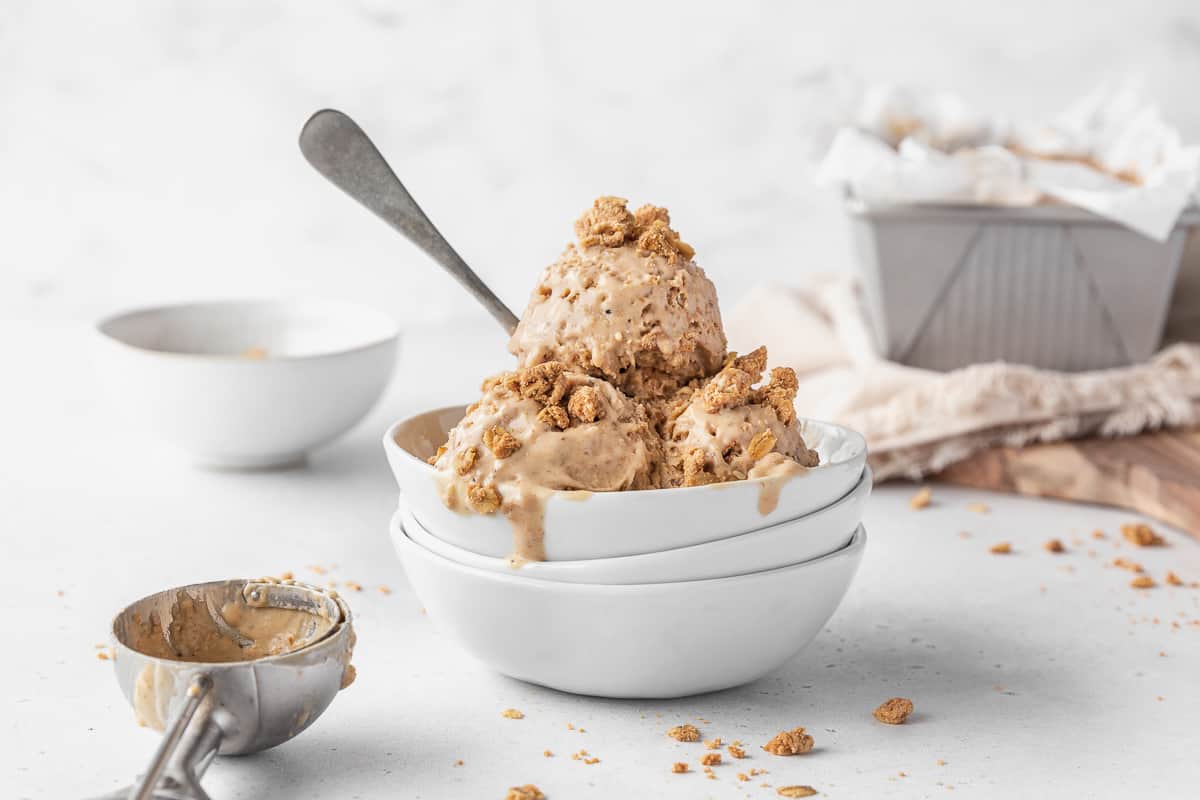
Featuring a brown sugar & toasted oatmeal ice cream base and chunky bits of homemade cinnamon oatmeal streusel, this inexpensive, egg-free ice cream definitely deserves a spot in your freezer. Not only does it taste better than store-bought, but it's also about half as expensive!
Jump to:
Egg-Free Ice Cream FTW
Now that the temps are rising, my insatiable cravings for ice cream are starting to appear more and more frequently. Last time I walked the ice cream aisle, though, I was kinda shocked — some pints of ice cream were going for well over $8. Not to brag or anything, but I've been known to eat a whole pint in a sitting. 😂
About 12 years ago, I set myself to the task of learning how to make ice cream. At that point in time, Jeni's Splendid Ice Cream was not out in Philly where I was living at the time, so I couldn't get myself a part-time job to learn the tricks.
Luckily, however, she had a new (at the time) cookbook so I dedicated an entire summer to making my way through the whole dang thing. Needless to say, it was a very tasty summer.
Perhaps the thing I love most about all of Jeni's recipes is that they are entirely egg-free. While I love a real, French custard-style ice cream made with crème anglaise — the way I learned to make it when I was working in the pastry department of a charming French restaurant — tempering eggs requires a little know-how and a lot of dishes.
I learned from Jeni's technique that the ticket to good ice cream is ensuring there's enough protein (which egg yolks generally provide). In her recipes, however, cream cheese (or sometimes evaporated milk) were used in concert with a cornstarch slurry to give the ice cream a sumptuous texture.
Now that eggs are off-the-charts expensive, Jeni's method is more relevant and useful to the average home cook than ever!
Why You'll Love This Recipe
This yummy oatmeal cream pie ice cream is loosely based on a few recipes from Jeni's first cookbook. (Although, I also recommend her second book, especially for those of you who are dairy-free. The crème sans lait section is worth the purchase alone!)
Aside from tasting like a frozen, slightly grown-up version of Little Debbie's Oatmeal Cream Pies, this cinnamon oatmeal pie ice cream recipe is also:
- Decadent & Delicious - Made with a simple combination of milk, cream, and evaporated milk, it's hard to believe this rich & creamy ice cream recipe has no eggs. The salty-sweet swirl of oatmeal cookie crumble takes it totally over the top!
- Egg-Free - Ice cream made with egg custard is legitimately delicious, but it's also a little fussy since you have to temper the eggs. On top of that, egg prices have gone off the charts lately, so adding a half-dozen to a quart of ice cream is quite expensive. Luckily, this better-than-Blue Bell dupe is made entirely sans oeufs.
- Budget-Friendly - Since this is a no-egg ice cream recipe, you can easily whip up a generous quart (that's a little more than 2 pints) of gourmet ice cream for less than $5.
- Wholesome - With exactly zero artificial ingredients, coloring, or preservatives, this from-scratch oatmeal pie ice cream is a definite upgrade over Blue Bell. In fact, it's made with just 12 easy-to-pronounce ingredients you probably already have on hand.
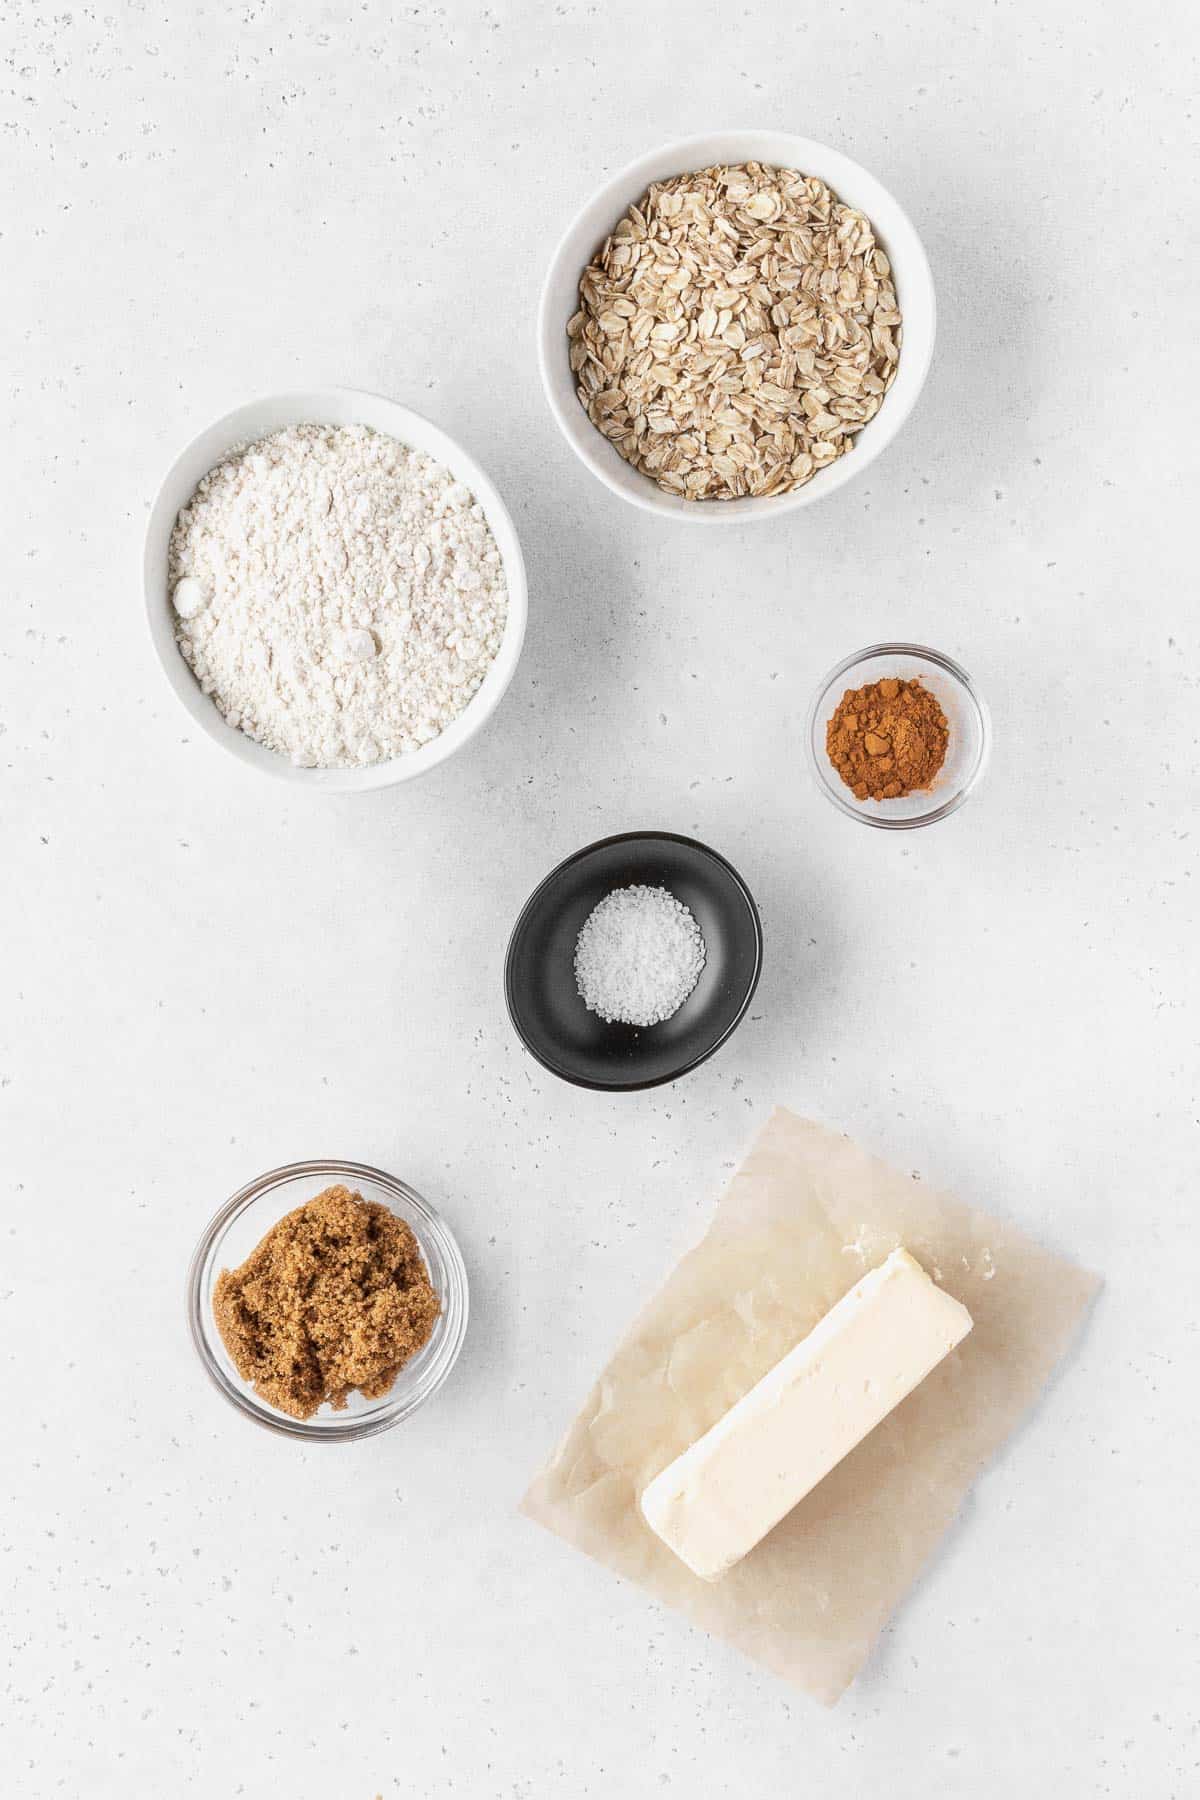
Ingredients & Substitutions
You only need a few ingredients to make this Blue Bell oatmeal cream pie ice cream copycat at home. Chances are, you already have most of them in the pantry!
- Rolled Oats - Also known as old-fashioned oats, these are essential to giving the ice cream the right amount of soft, chewy, oat-y bits. In a pinch, I suppose you could use quick-cooking oats, but they won't have the same toothsome quality.
- Evaporated Milk - Evaporated milk is just what it sounds like — milk that's been simmered and reduced via evaporation. It's slightly sweeter than regular milk and has a light caramelly undertone from the sugars concentrating during cooking.
- Brown Sugar - Feel free to use either dark brown sugar for a more pronounced molasses flavor, or light brown sugar for a milder flavor. Less-processed alternatives like muscovado sugar, grated jaggery, or piloncillo will all work as well.
- Vanilla Extract - For a warm, complex undertone that gives serious cream-filling vibes. You're also welcome to use an equal amount of vanilla paste or vanilla powder, or swap in half as much ground vanilla bean.
- Whole Milk - Ice cream is not the time to worry about fat. Fat is ice cream's friend and will result in a softer, richer ice cream.
- Cornstarch - For thickening and stabilizing the ice cream base. If corn is a no-no, feel free to swap in an equal amount of potato starch or tapioca starch.
- Heavy Cream - Remember how I said fat was important? Heavy cream (or at least whipping cream) is a must here.
- Kosher Salt - This is my go-to seasoning salt. If you're using a different variety, refer to a conversion chart for proper measurement.
- Corn Syrup - Different than HFCS (which is far more refined), a few tablespoons of corn syrup are added to prevent the sugars from crystallizing. If you are allergic to corn, you can use an equal amount of other invert sugars like brown rice syrup, golden syrup, or tapioca syrup.
- Cinnamon & Nutmeg - For warmth. If you don't have nutmeg on hand, feel free to omit it.
- Butter - For a rich, buttery cookie crumble. YUM. I used salted butter because it has a longer shelf life and I love salty sweets. Feel free to swap in unsalted butter if you prefer.
- All-Purpose Flour - For binding the cookie swirl together. Cake flour will also work.
How To Make Oatmeal Creme Pie Ice Cream
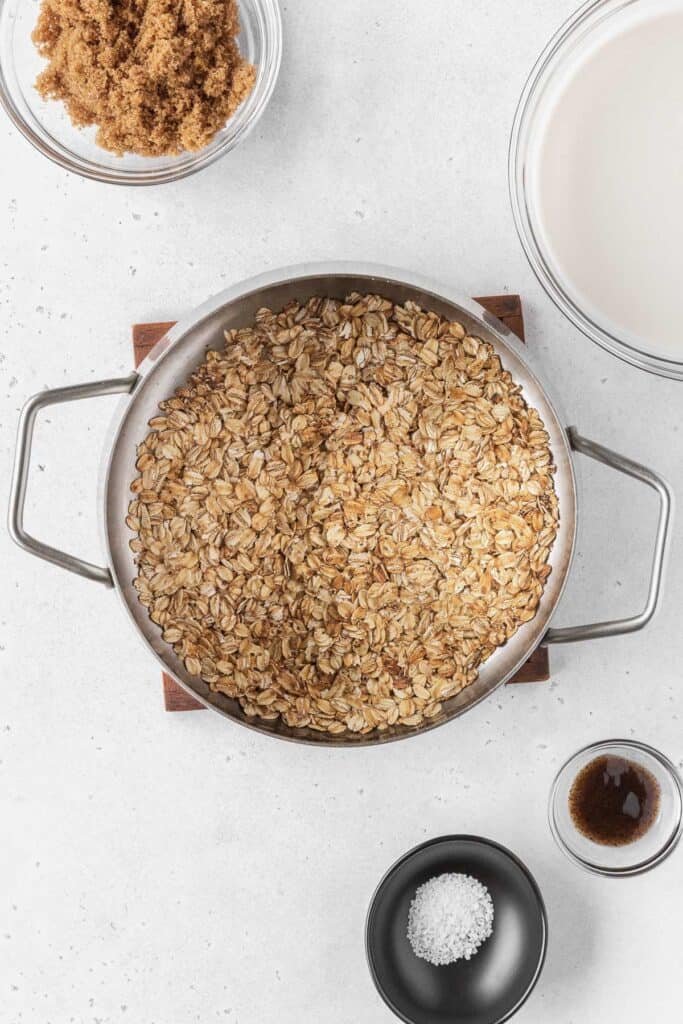
Step 1: Make Toasted Oatmeal Pudding.
- Toast the oats in the dry saucepan over medium-low heat until slightly golden and fragrant, about 5-7 minutes.
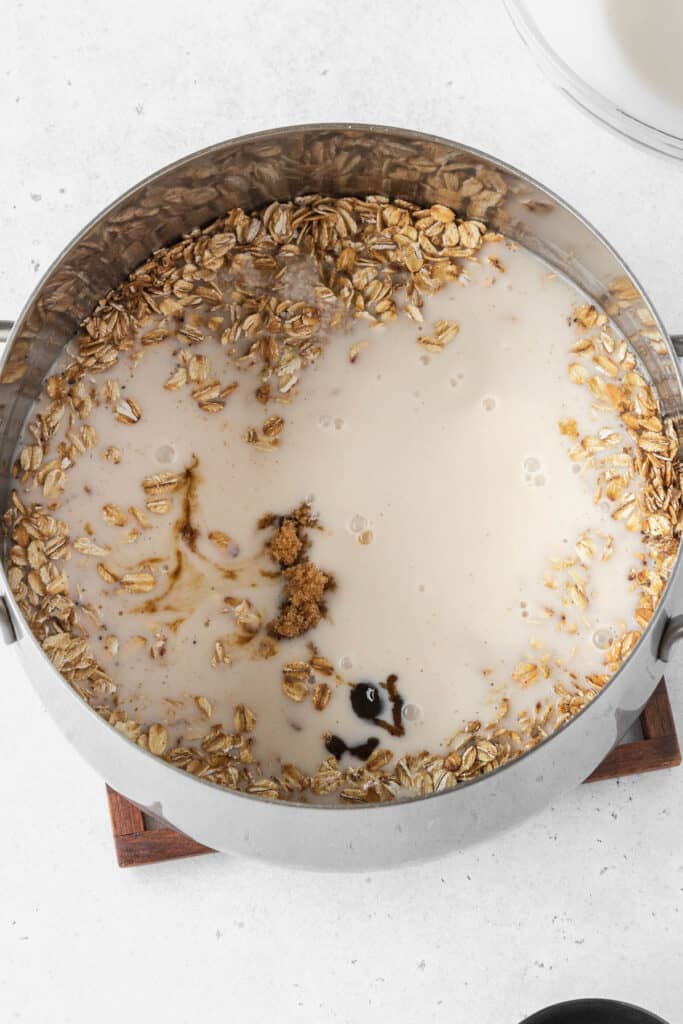
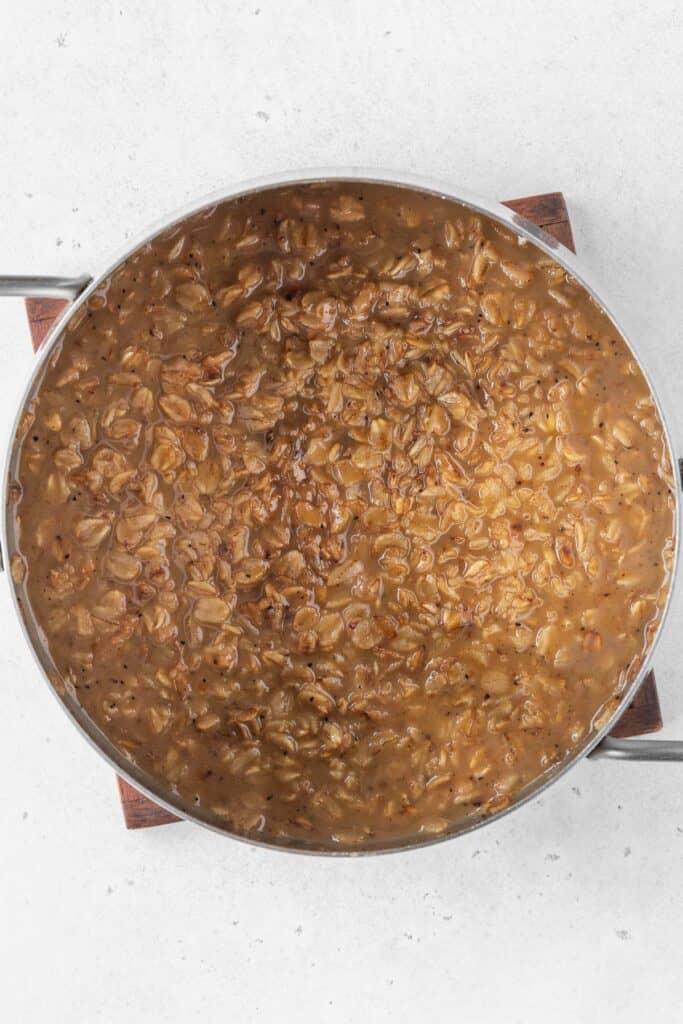
- Add the remaining ingredients (evaporated milk, brown sugar, vanilla, salt) and stir to combine. Bring to a simmer and cook for 5-7 minutes, until thick and the oats are cooked through. Remove to a bowl and set aside. (Don't bother washing the saucepan.)
Step 2: Make Cinnamon Ice Cream Base.
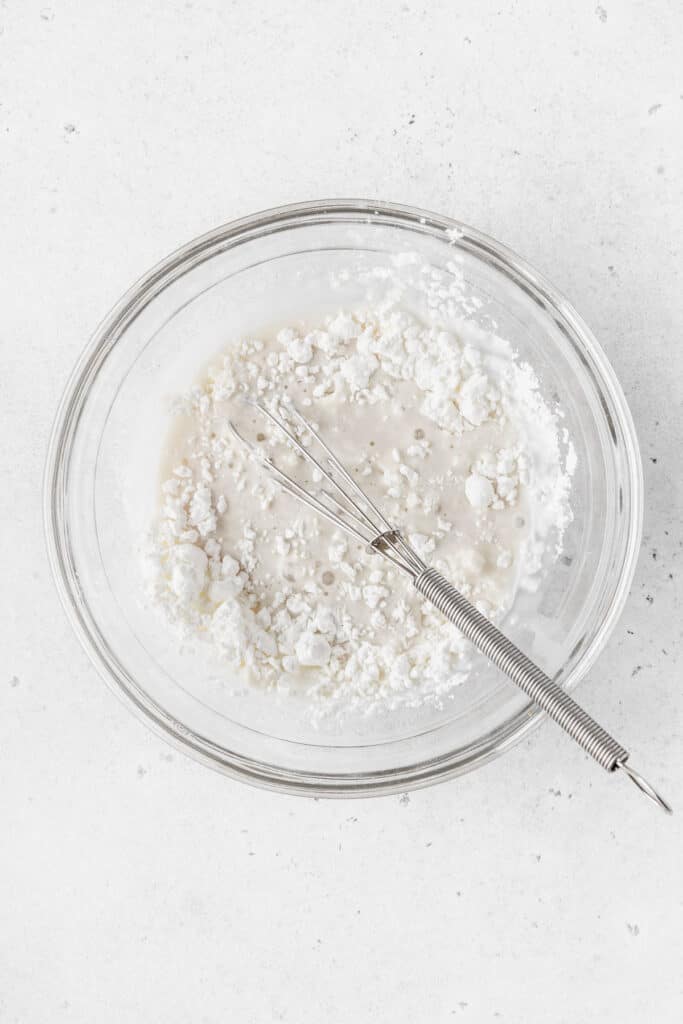
- Make a cornstarch slurry by mixing a couple of tablespoons of the milk and cornstarch in a small bowl until well combined. Set aside.
- Add the remaining milk, cream, salt, sugar, cornstarch, and spices to the saucepan. Set over medium heat, whisk to combine, and bring to a boil. Reduce the heat slightly and set the timer for 4 minutes.
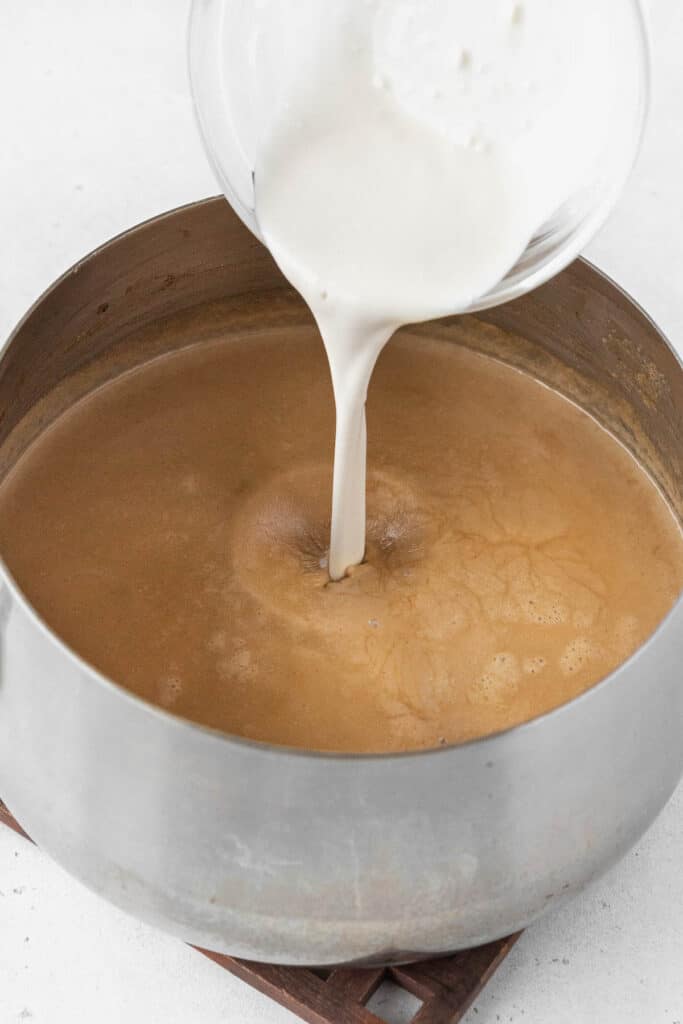
- When the timer goes off, remove the pan from heat and whisk in the reserved cornstarch slurry. Return the pan to heat and cook, stirring constantly, until the mixture thickens, about 2 minutes. Turn off the stove and remove from heat.

Step 3: Mix & Chill.
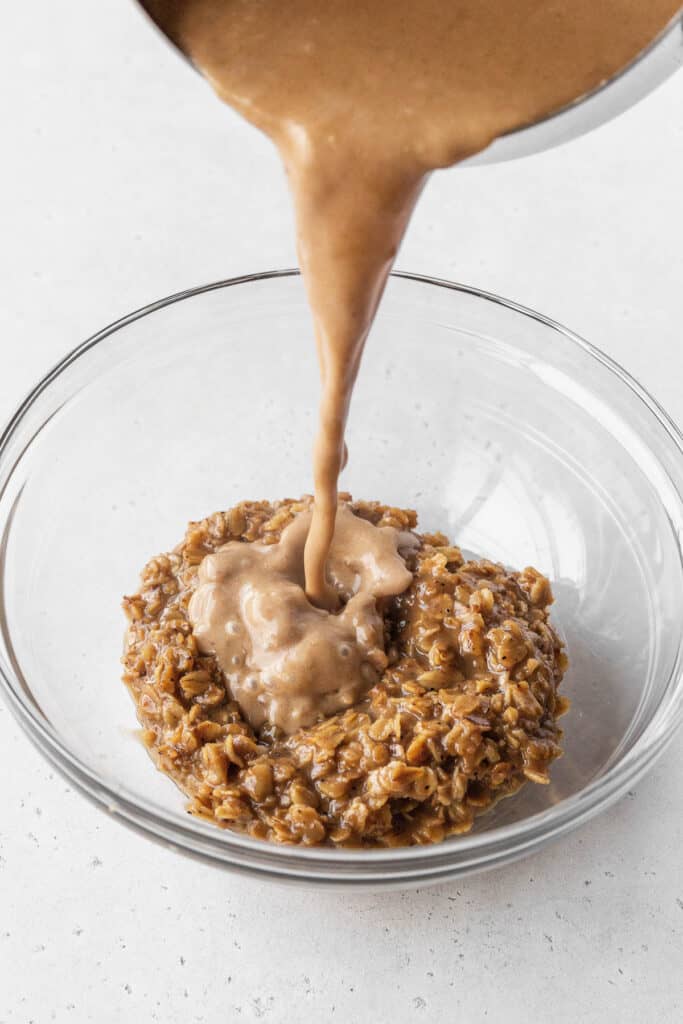
- Mix the ice cream base and oatmeal pudding together, stirring to combine. Pour into a container and allow to chill for a minimum of 2-3 hours in the fridge.

Step 4: Make Oatmeal Cookie Crumble.
- Preheat the oven to 350F.
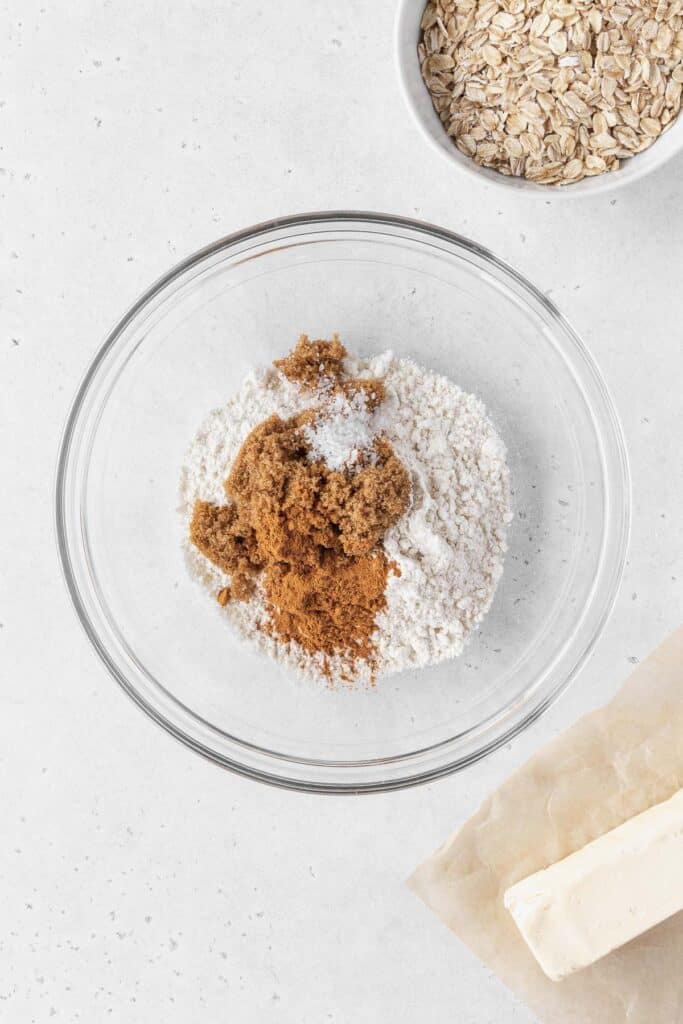
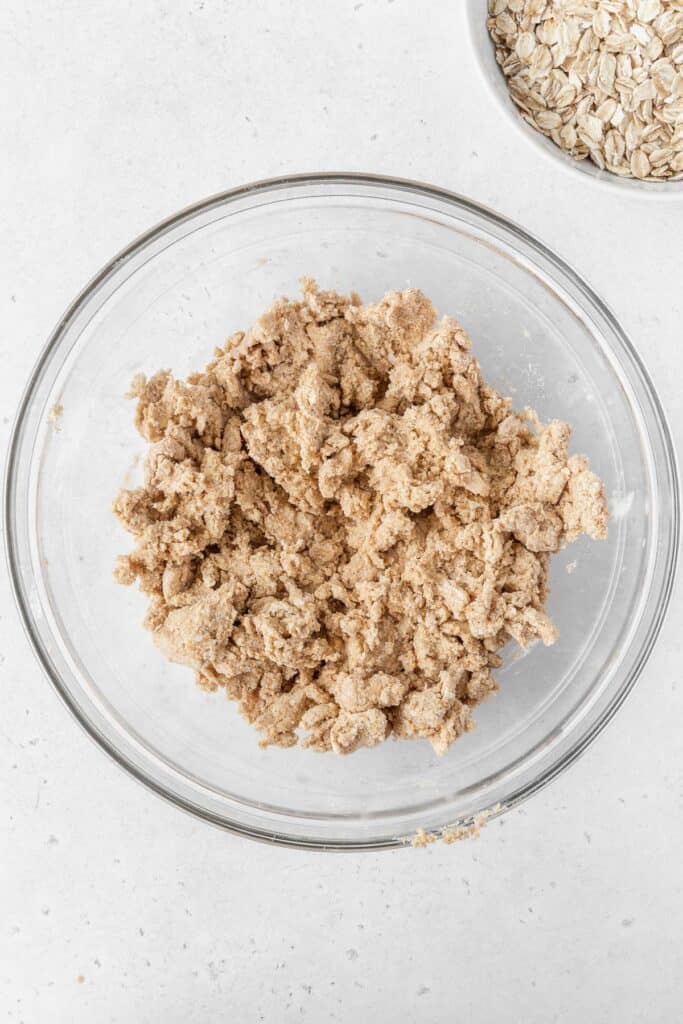
- Add flour, cinnamon, brown sugar, and salt to a medium mixing bowl and stir to combine. Grate the butter into the mixture.
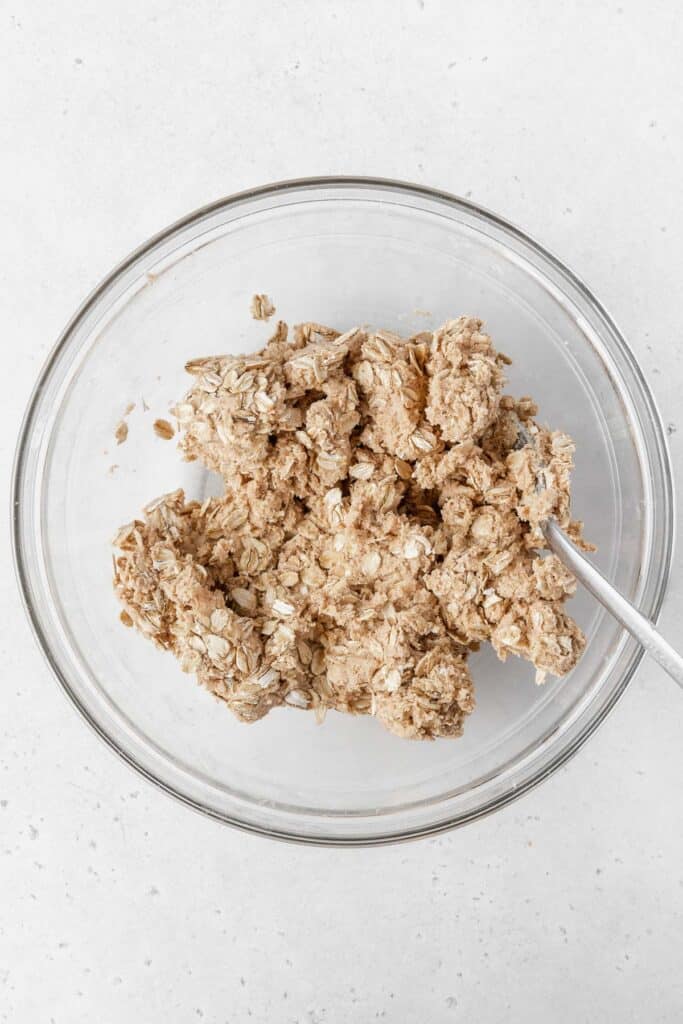
- Working quickly, use your fingers to rub the dry ingredients into the butter until the mixture looks like coarse sand. Add the oats and mix to combine.
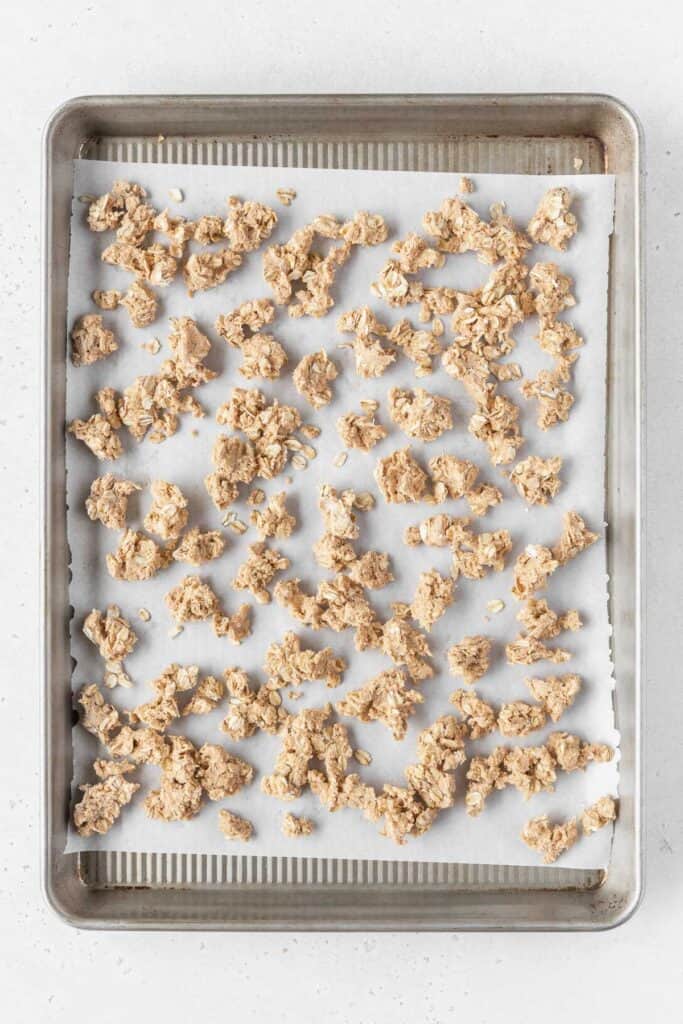
- Spread the crumble mixture onto a parchment-lined sheet pan in a single layer, breaking any large clumps up to no larger than ½-inch in size.
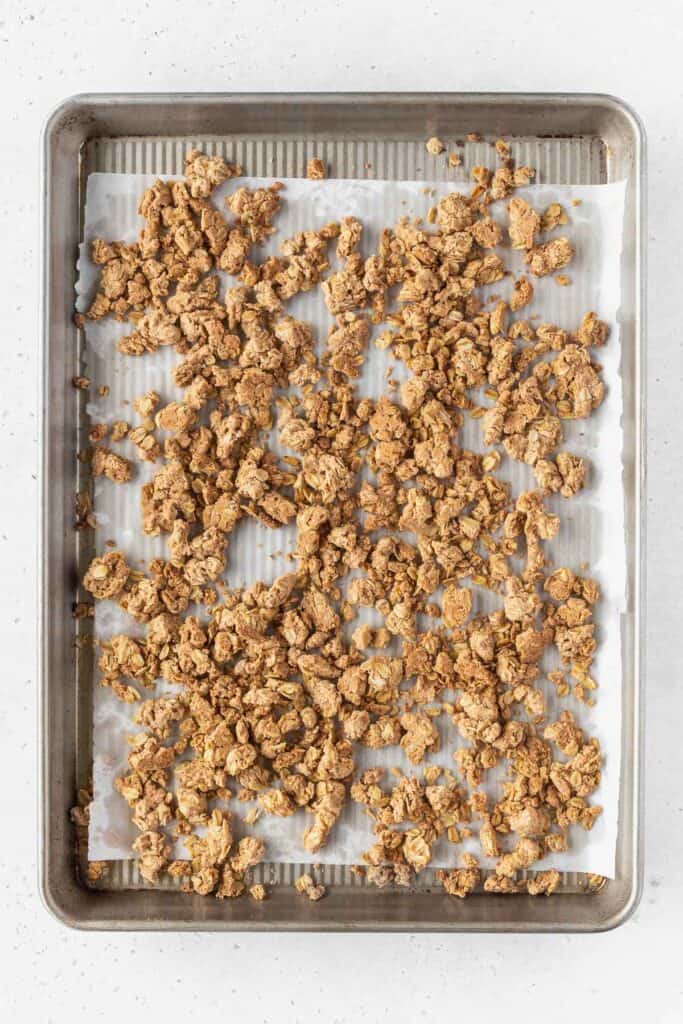
- Bake for about 20-25 minutes, stirring occasionally to prevent burning (especially at the edges) and to flip over any uncooked pieces. The crumble is done when golden and crisp. Cool completely.
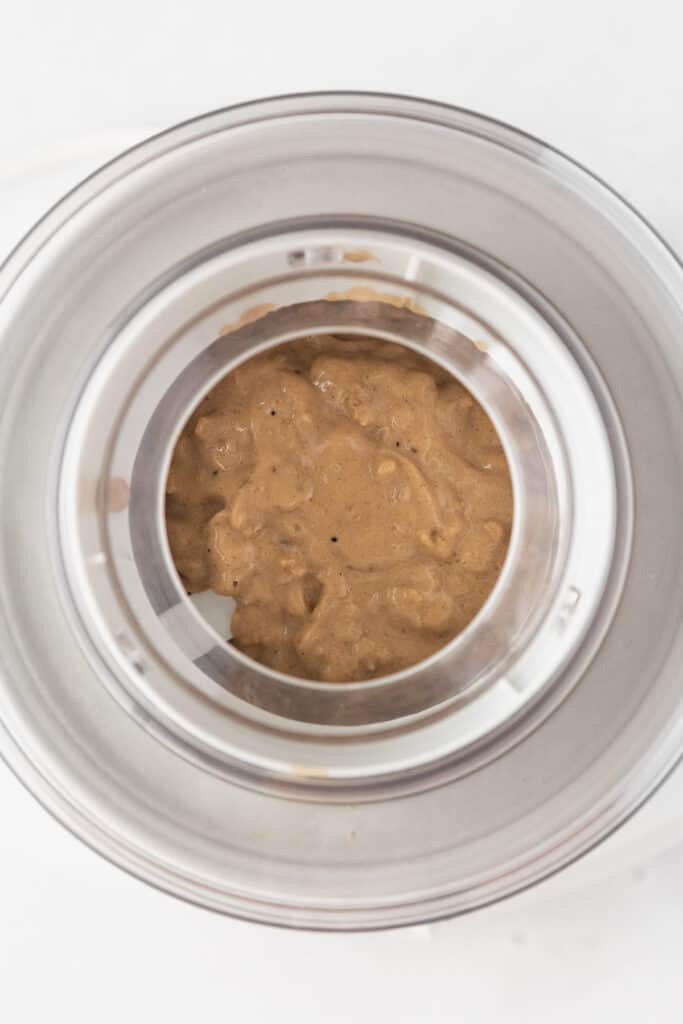
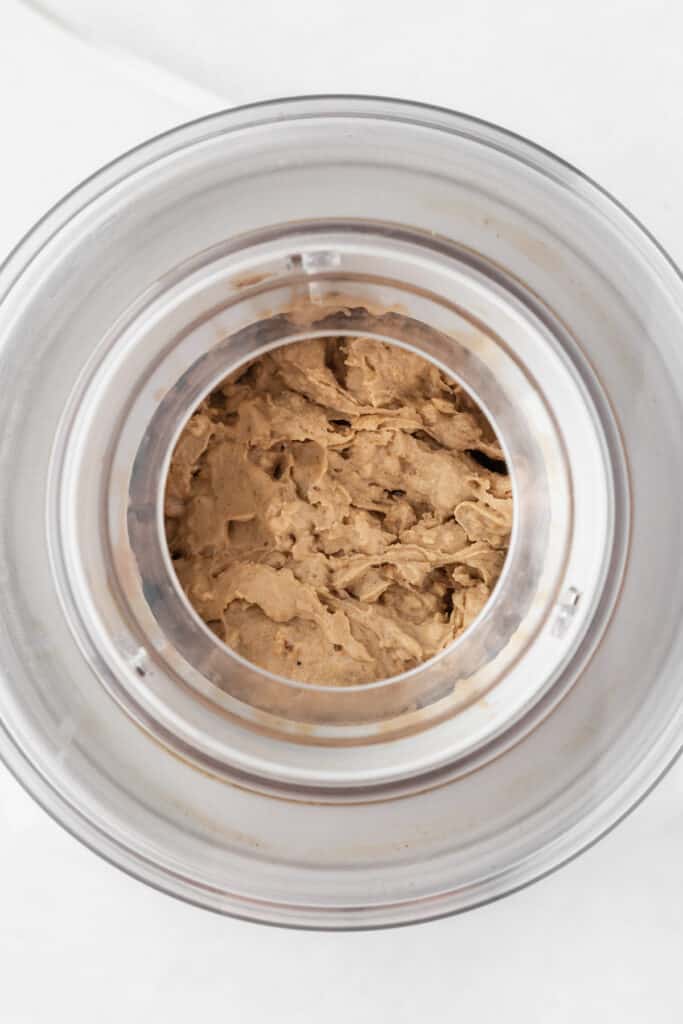
Step 5: Spin Ice Cream.
- Spin the ice cream according to the manufacturer's directions.
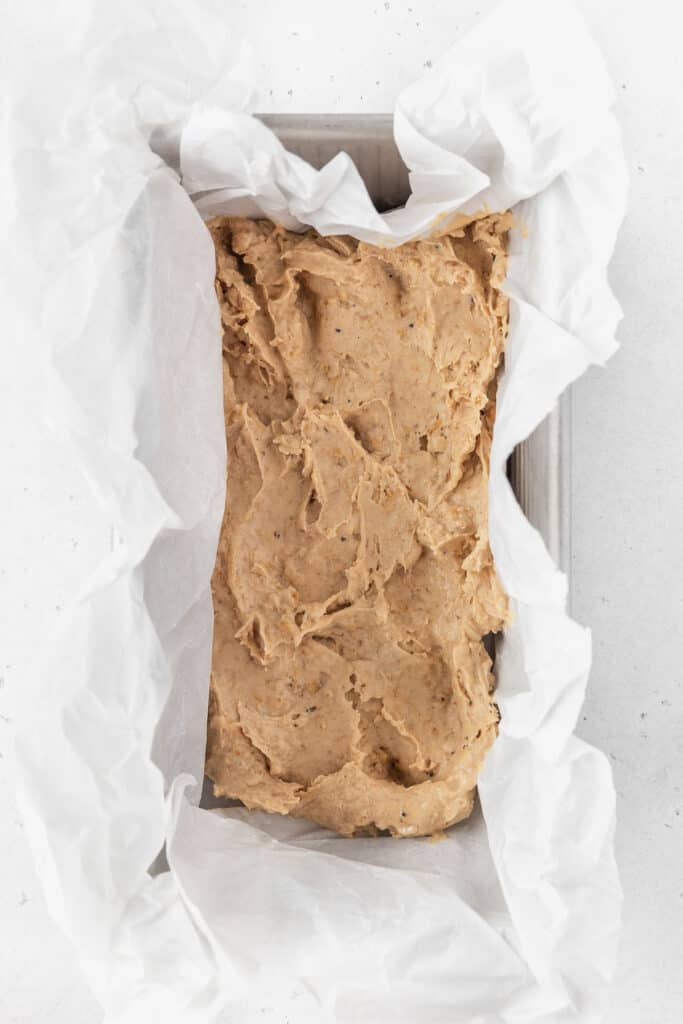
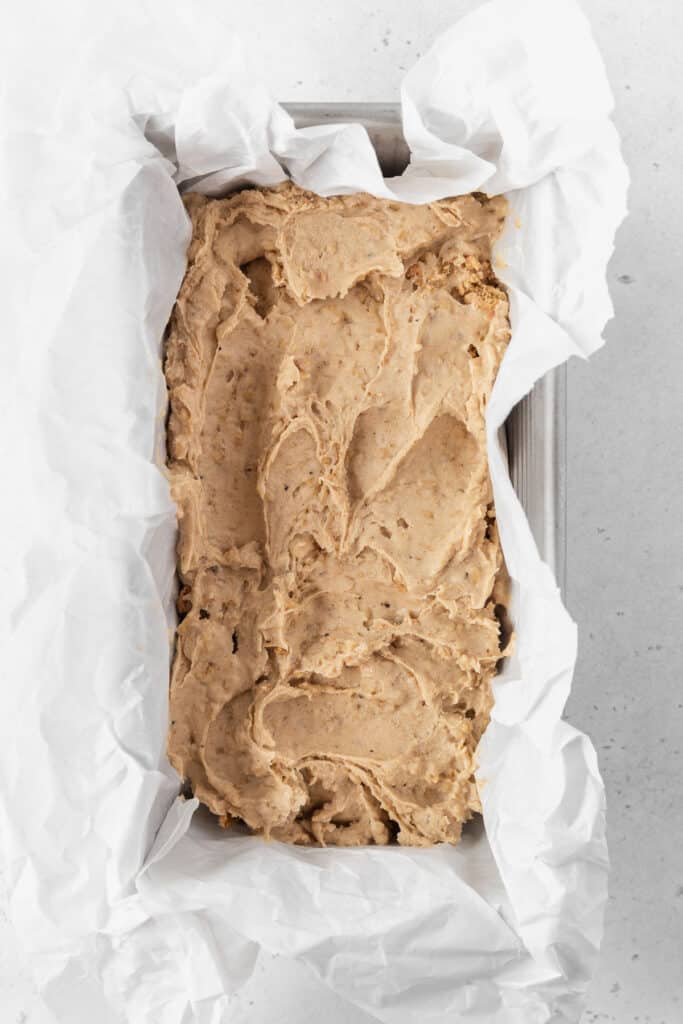
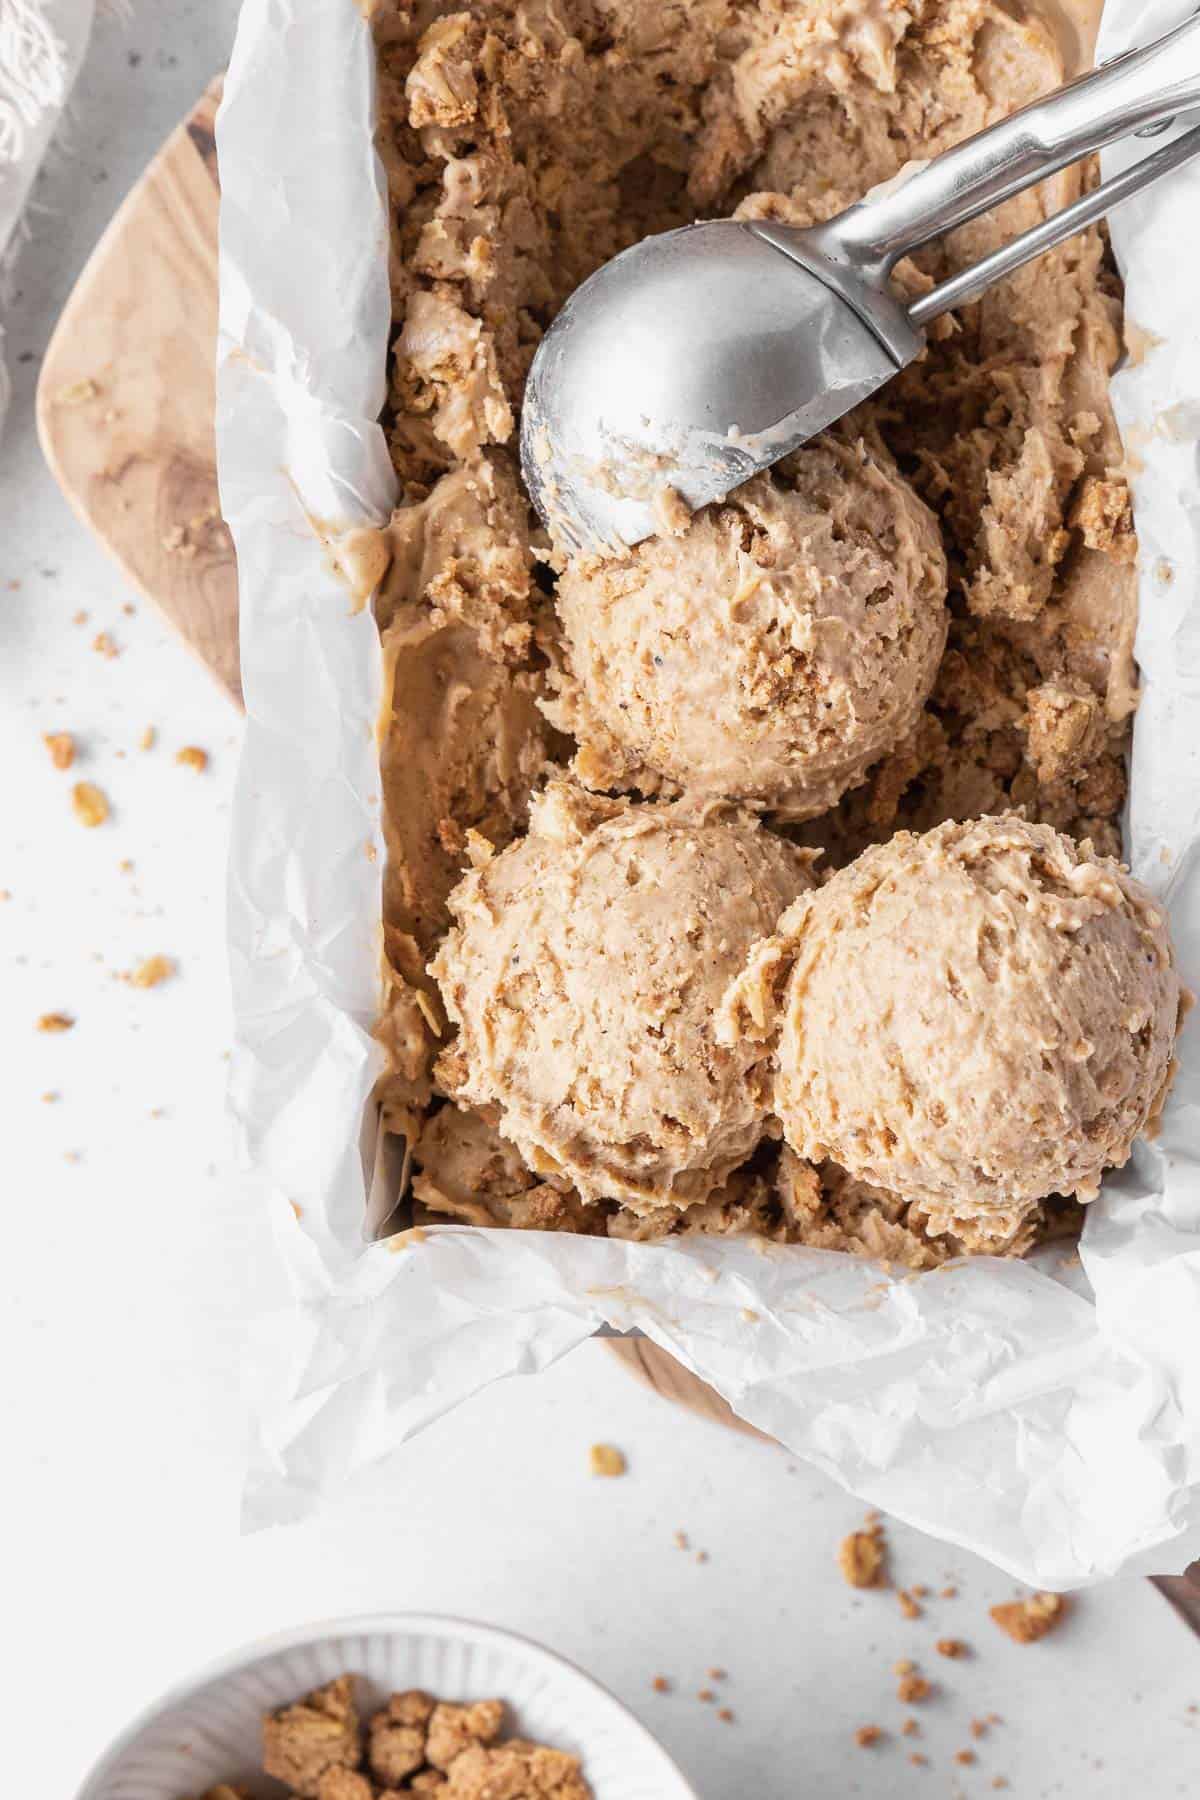
Step 6: Pack & Freeze.
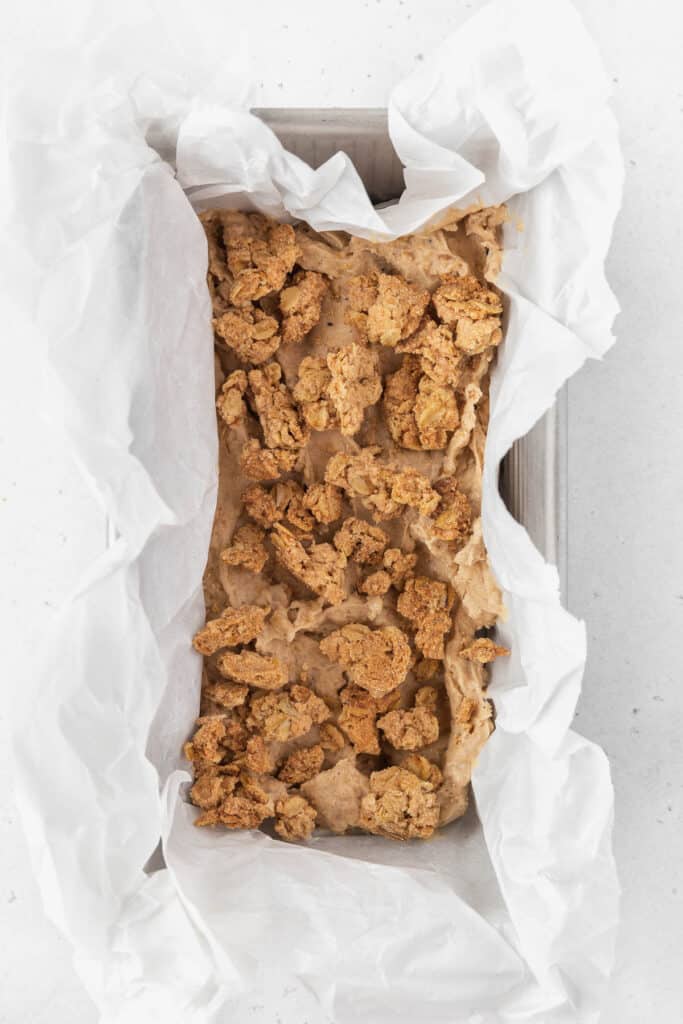
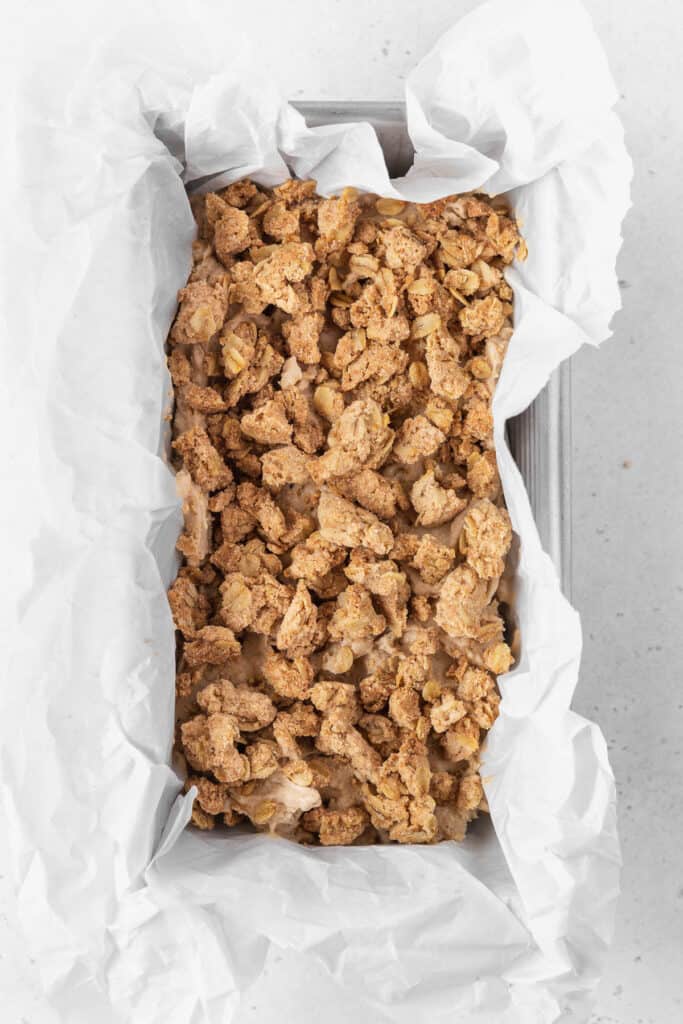
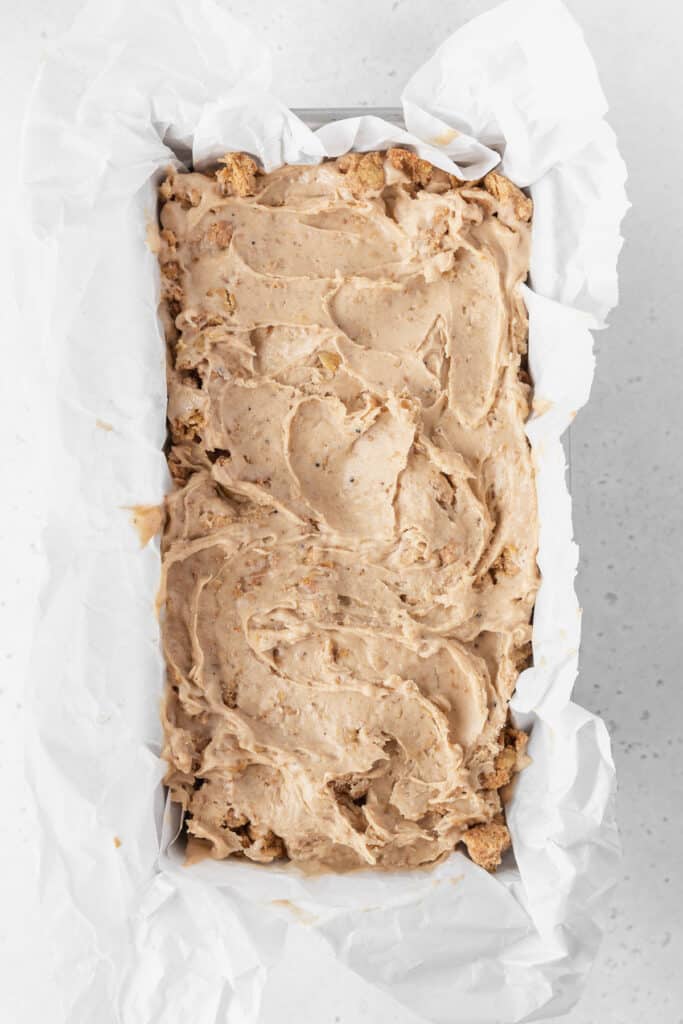
- Scoop a few spoonfuls of ice cream into a freezer-safe container (enough to cover the bottom), then layer with a few handfuls of cookie crumble (enough to cover the ice cream layer). Repeat with remaining ice cream and crumble, layering ice cream as the top layer. (You may have leftover crumble — that's okay! Use it for topping sundaes or adding crunch to your yogurt.)
- Freeze for a minimum of 2-3 hours to firm up, then scoop and enjoy!
Optional Variations
As much as I love this Little Debbie oatmeal creme pie ice cream recipe just the way it's written, there are plenty of opportunities to make it according to your family's needs and preferences. Here are a few variations to consider:
- Gluten-Free - Feel free to swap in your favorite all-purpose cup-for-cup gluten-free flour mix in the cookie crumble. Just make sure to let the dough rest for about 30 minutes before baking to give the flour time to rehydrate and prevent a gritty consistency. You can also use oat flour to double down on the oatmeal flavor instead — no rest time necessary. Also, make sure you're reaching for certified gluten-free oats, as others may be processed on the same surfaces as wheat products and might have cross-contamination issues.
- Dairy-Free/Vegan - Use evaporated plant-based milk, your choice of creamy, full-fat plant-based milk, coconut cream (NOT sweetened cream of coconut), and vegan butter in place of the dairy. You'll also want to whisk in 3 tablespoons of vegan cream cheese into the base.
- Corn-Free - Swap in tapioca starch or potato starch and use an alternative invert sugar like tapioca syrup or brown rice syrup.
- Swap In Store-Bought Cookies - Making the cookie crumble from scratch is easy and requires just 2 extra ingredients. But, if you're short on time, there's exactly ZERO shame reaching for your favorite store-bought oatmeal cookies. Obviously, eponymous Oatmeal Creme Pies are a good choice, but you can also use crunchier oatmeal cookies. Alternatively, substitute your favorite warmly spiced granola instead.
- Add-Ins - If you're an oatmeal cream pie purist, this recipe requires nothing else. However, if you want a sort of chunky oatmeal cookie–oatmeal creme pie hybrid, consider adding in rum-soaked raisins or some stracciatella-style melted chocolate mixed with a bit of coconut oil. Toasted nuts are also a great addition!
Expert Tips & Tricks
- Invest in freezer-safe storage. When I first started making ice cream, I tried packing it in my trusty delitainers. As it turns out, those are NOT intended for the freezer. I cracked several before I finally sprung for real ice cream containers. Y'all, the mess just isn't worth it. Get the right equipment and it'll last you forever.
- Depending on the type of ice cream maker you have, remember to either
- Freeze the drum at least 24 hours ahead of time, or
- Continue to add lots of ice and rock salt.
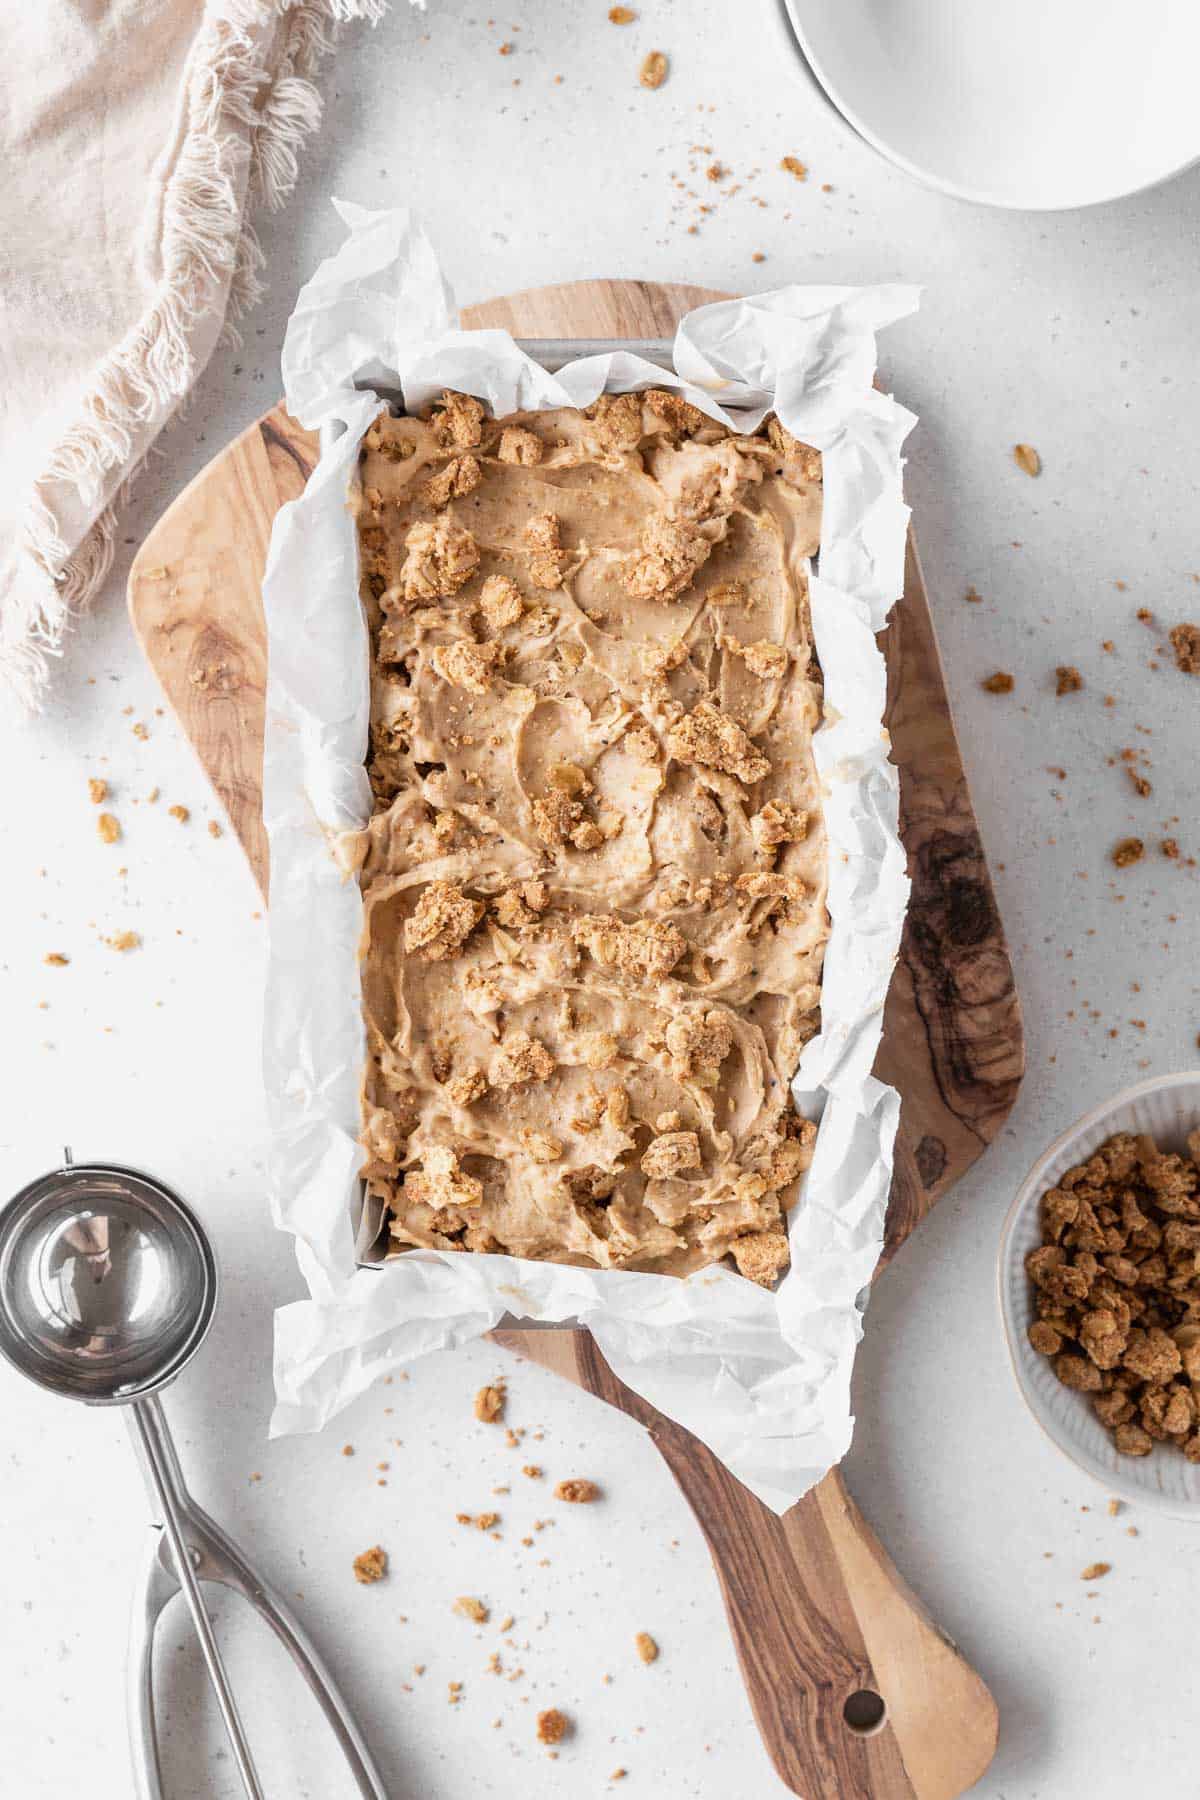
- Layer in the cookie crumble for a delectable (and attractive) swirl. While you're welcome to just spin the streusel bits into the ice cream, I find that packing the frozen ice cream base in layers with the crumble adds more texture.
Storage Instructions
Proper storage is important to maintain the texture and flavor of homemade ice cream. Here's how you do it:
- Once the ice cream is churned, transfer it to airtight, freezer-safe containers. Make sure to leave a little room at the top to allow for expansion as it freezes.
- Place the containers of ice cream in the coldest part of the freezer, preferably at a temperature of 0°F (-18°C) or below. Keep the containers away from the freezer door to prevent temperature fluctuations.
- Cover the surface of the ice cream with a piece of parchment or plastic wrap before sealing the container. This will prevent ice crystals from forming on the surface and keep the ice cream smooth and creamy. Alternatively, you can try storing the ice cream upside down, but don't try that until it's frozen first!
- Homemade ice cream is best eaten within 2-3 weeks of freezing. After that, the texture and flavor may begin to deteriorate.
Serving Suggestions
This homemade, egg-free ice cream has a tendency to get a little firmer than some store-bought brands. As such, I recommend letting it hang out on the counter at room temp for about 10 minutes to make it a little more scoopable. If you don't have the patience for that, dip your scoop into hot water to assist.
While it's delightful on its own, this sweet treat is also perfectly suited for serving in a waffle cone or waffle bowl (preferably homemade — Jeni's recipe can't be beat!). It's also a fun addition for a banana split. Save a little of the cookie crumble as a garnish if you want!
In terms of when to serve it, I counter with the question: when is the WRONG time for ice cream? In my opinion, never. I'll grab a few spoonfuls for midnight snacks, post-workout treats, or as an avoidance tactic when I'm faced with a deadline.
I have also found that if you really want to impress your friends with your culinary prowess, you should serve them homemade ice cream in homemade ice cream cones. Seriously. People lose it.
Frequently Asked Questions
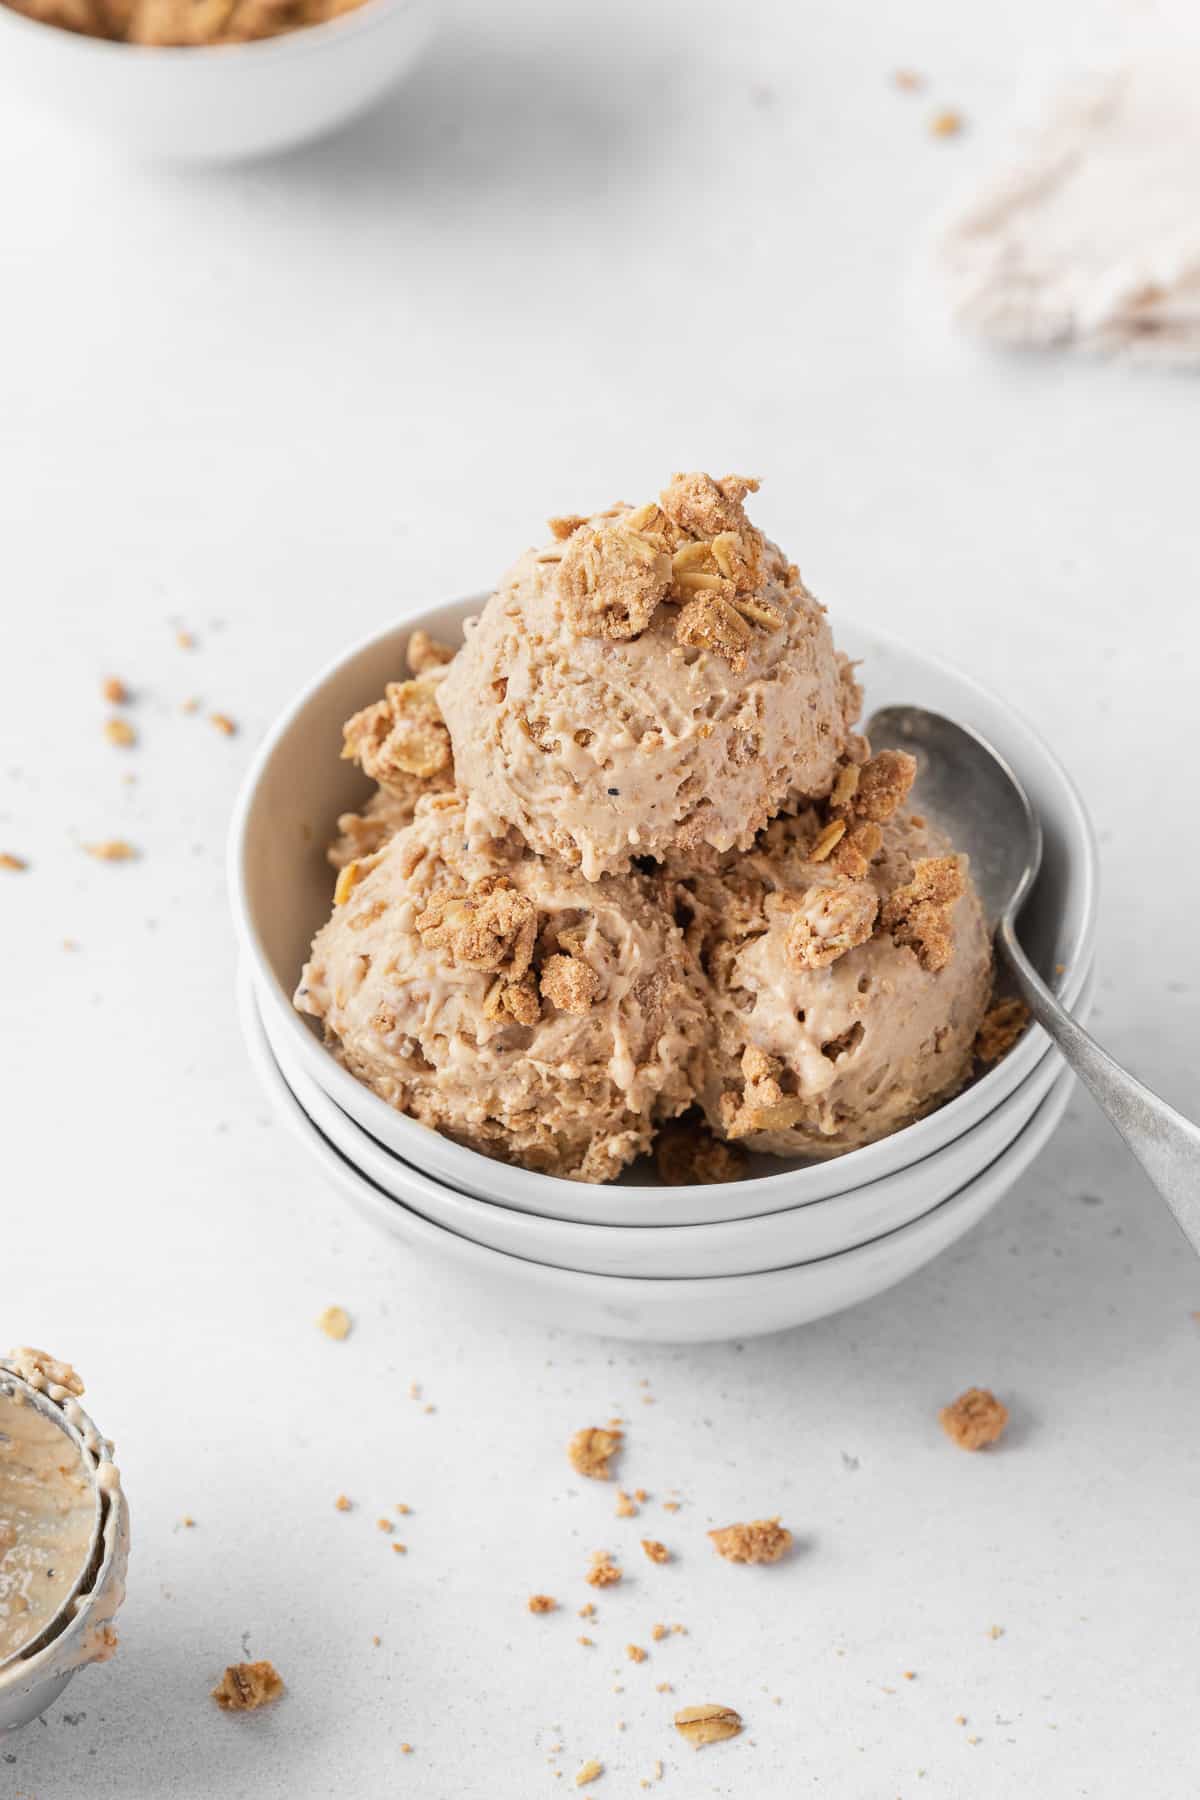
Homemade oatmeal cream pie ice cream is like a cozy hug in a bowl, with a perfect combo of soft and chewy bits of oatmeal, crunchy cookie chunks, and cinnamon-brown sugar ice cream swirled together.
It's the perfect way to transport yourself back to childhood when after-school snack time was a highlight of the day. Just one bite and you'll feel like you're sitting in your Nana's kitchen, enjoying a freshly unwrapped Little Debbie's oatmeal cream pie dunked in milk while she teaches you to play gin rummy.
While I haven't tried it myself, I *think* this recipe should work if you swap in plant-based evaporated milk, full-fat unsweetened oat milk, coconut cream (or oat or soy cream), and vegan butter.
That said, you'll need a bit of a protein boost for the ice cream to have the right texture, so add 2-3 tablespoons of vegan cream cheese to the ice cream base. To do this, soften the cream cheese to room temp in a small mixing bowl, then whisk in about ½ cup of the warm ice cream base in Step 2 until well combined. Pour this mixture back into the pot with the remaining ice cream base, mix to combine, and continue with the recipe as written.
If you try making this vegan alternative, let me know how it works out in the comments below!
If you tried this recipe and loved it, be sure to rate and review it below! For more inexpensive and delicious recipe inspiration, be sure to follow me on Pinterest. You can also get all of my newest content delivered straight to your inbox by signing up for my email newsletter!
Little Debbie's Oatmeal Creme Pie Ice Cream (Better Than Blue Bell!)
Equipment
- 4-quart Saucepan
Ingredients
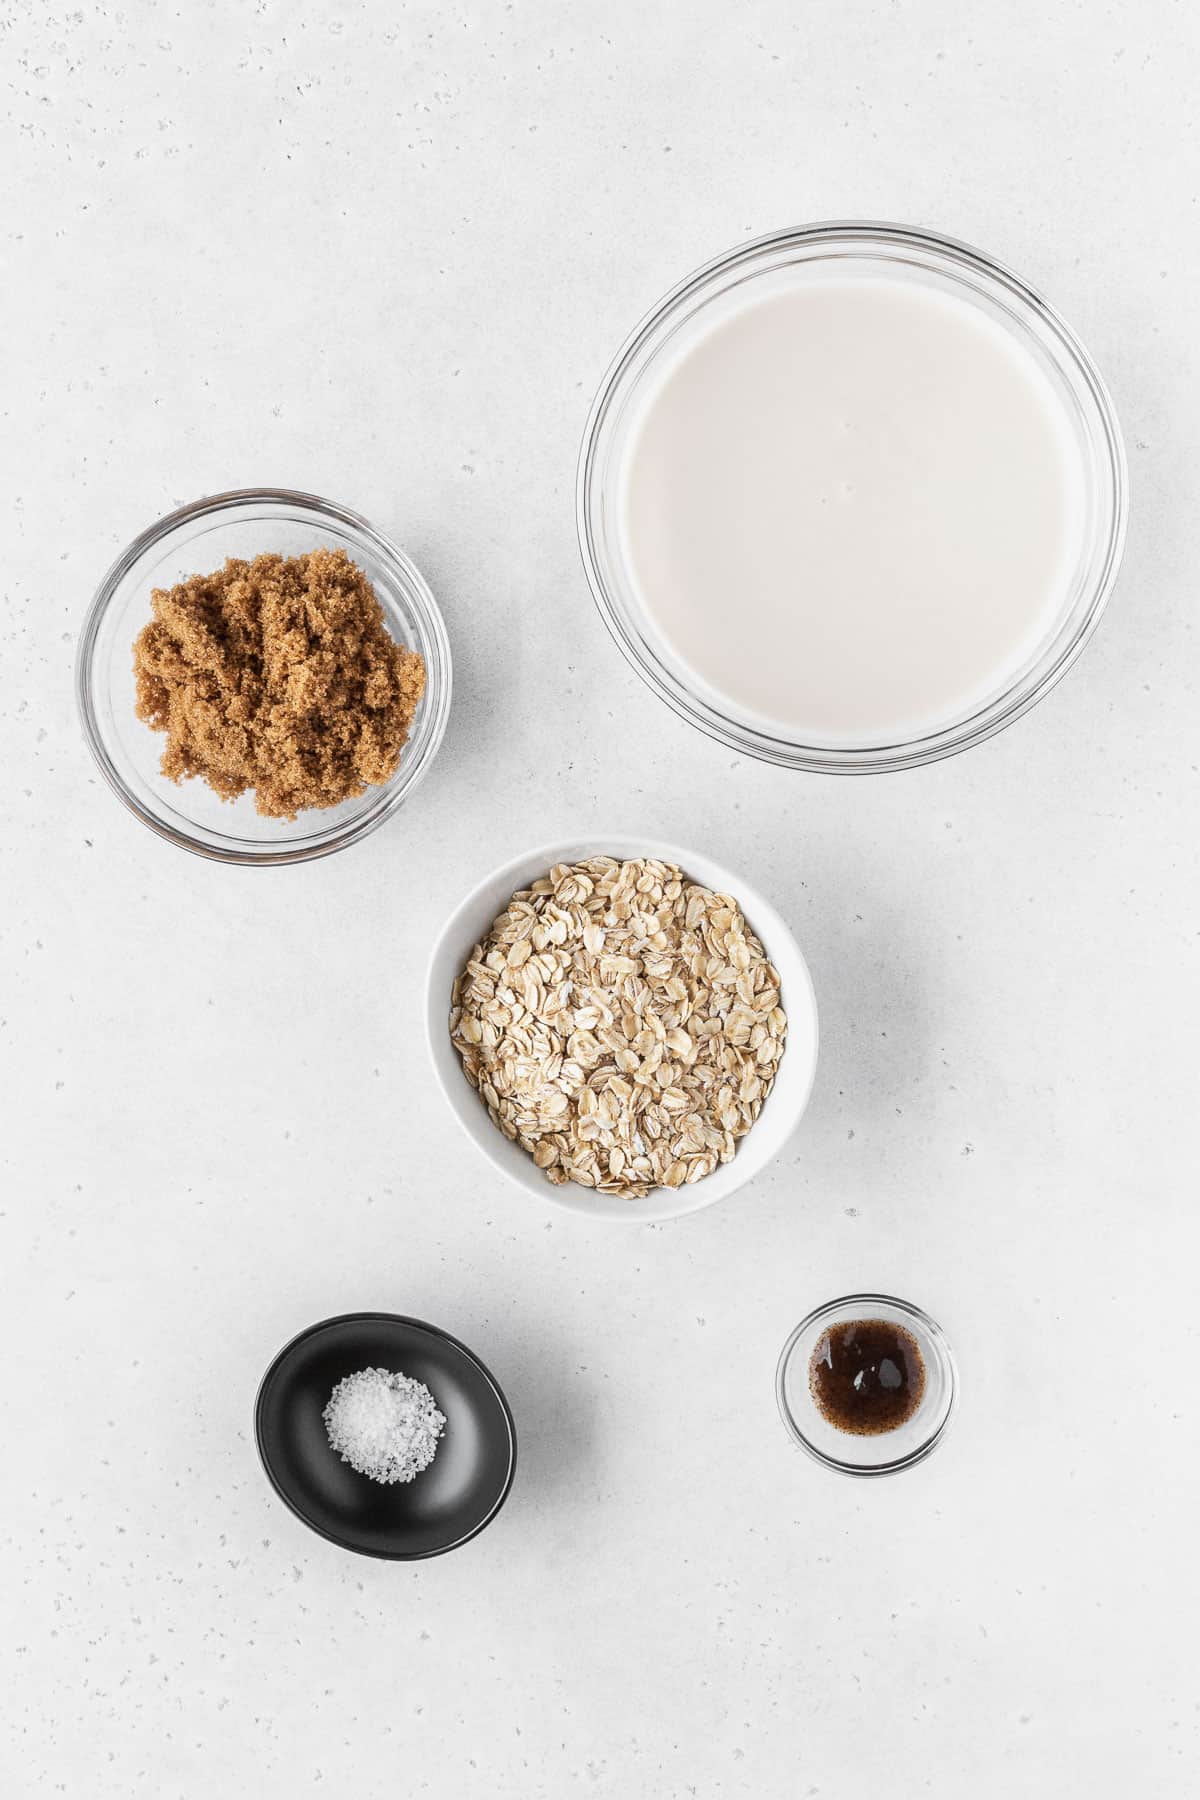
Toasted Oat Pudding
- ¾ C Rolled Oats
- 12 oz Can Evaporated Milk
- ⅓ C Brown Sugar
- 1 teaspoon Vanilla Extract
- ½ teaspoon Kosher Salt
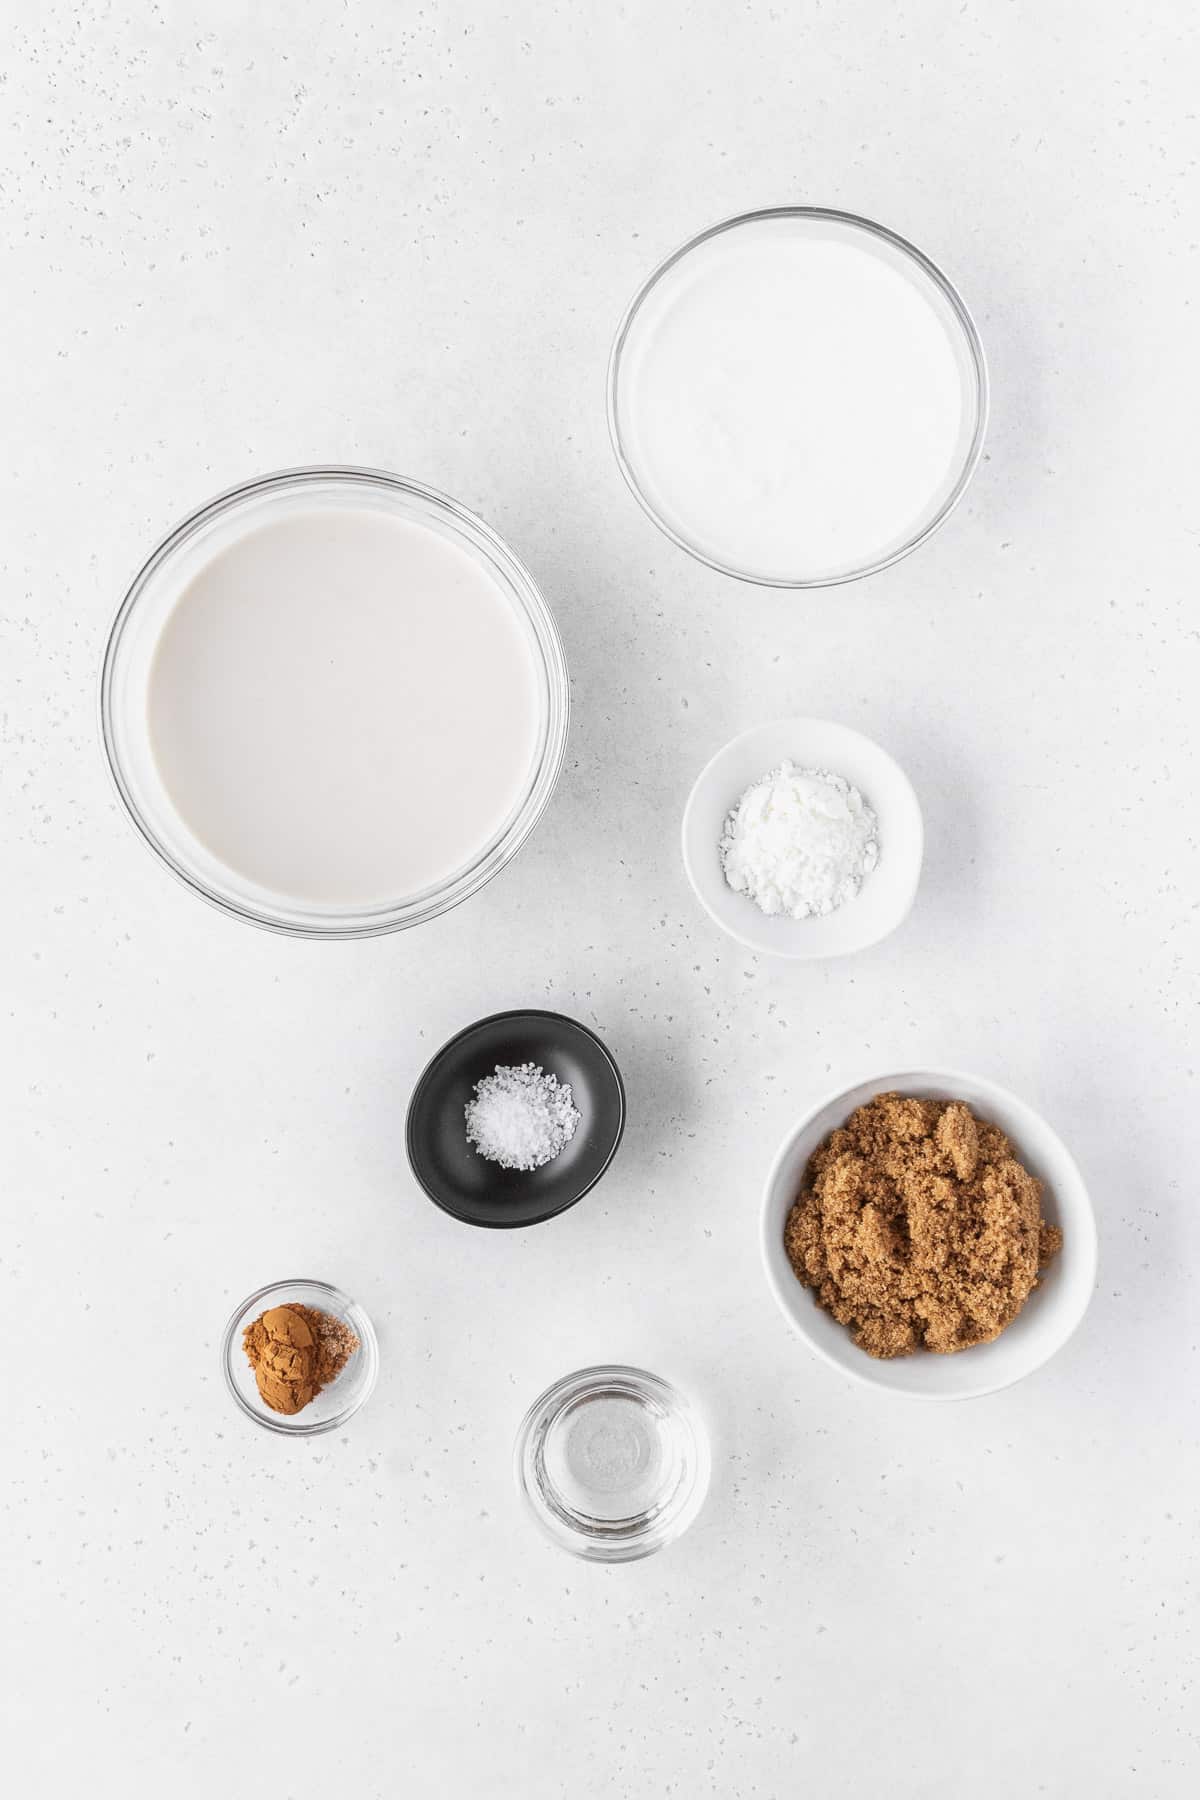
Ice Cream Base
- 1 ¾ C Whole Milk
- 1 Tbsp + 1 tsp Corn Starch
- ½ teaspoon Kosher Salt
- 1 C Heavy Cream
- ½ C Brown Sugar
- 2 tablespoon Light Corn Syrup
- 1.5 teaspoon Ground Cinnamon
- 1 pinch Ground Nutmeg
Cookie Crumble
- ¾ C All-Purpose Flour
- 1 teaspoon Ground Cinnamon
- 6 tablespoon Brown Sugar
- ½ teaspoon salt
- 1 stick Butter chilled
- ¾ C Rolled Oats
Instructions
Make Toasted Oat Pudding
- Toast the oats in the dry saucepan over medium-low heat until slightly golden and fragrant, about 5-7 minutes.
- Add the remaining ingredients (evaporated milk, brown sugar, vanilla, salt) and stir to combine. Bring to a simmer and cook for 5-7 minutes, until thick and the oats are cooked through. Remove to a bowl and set aside. (Don't bother washing the saucepan.)
Make Ice Cream Base
- Make a cornstarch slurry by mixing a couple of tablespoons of the milk and cornstarch in a small bowl until well combined. Set aside.
- Add the remaining milk, cream, salt, sugar, cornstarch, and spices to the saucepan. Set over medium heat, whisk to combine, and bring to a boil. Reduce the heat slightly and set the timer for 4 minutes.
- When the timer goes off, remove the pan from heat and whisk in the reserved cornstarch slurry. Return the pan to heat and cook, stirring constantly, until the mixture thickens, about 2 minutes. Turn off the stove and remove from heat.
- Mix the ice cream base and oatmeal pudding together, stirring to combine. Pour into a container and allow to chill for a minimum of 2-3 hours in the fridge.
Make Cookie Crumble.
- Preheat the oven to 350F.
- Add flour, cinnamon, brown sugar, and salt to a medium mixing bowl and stir to combine. Grate the butter into the mixture.
- Working quickly, use your fingers to rub the dry ingredients into the butter until the mixture looks like coarse sand. Add the oats and mix to combine.
- Spread the crumble mixture onto a parchment-lined sheet pan in a single layer, breaking any large clumps up to no larger than ½-inch in size.
- Bake for about 20-25 minutes, stirring occasionally to prevent burning (especially at the edges) and to flip over any uncooked pieces. The crumble is done when golden and crisp. Cool completely.
Spin, Pack, & Freeze
- Spin the ice cream according to the manufacturer's directions.
- Scoop a few spoonfuls of ice cream into a freezer-safe container (enough to cover the bottom), then layer with a few handfuls of cookie crumble (enough to cover the ice cream layer). Repeat with remaining ice cream and crumble, layering ice cream as the top layer. (You may have leftover crumble — that's okay!)
- Freeze for a minimum of 2-3 hours to firm up, then scoop and enjoy!
Notes
- You may have a bit of leftover cookie crumble after packing the ice cream. If so, feel free to freeze it for up to a month for later use. It's also delicious crumbled over yogurt or as an added boost of texture in ice cream sundaes.
- Gluten-Free - Feel free to swap in your favorite all-purpose cup-for-cup gluten-free flour mix in the cookie crumble. Just make sure to let the dough rest for about 30 minutes before baking to give the flour time to rehydrate and prevent a gritty consistency. You can also use oat flour to double down on the oatmeal flavor instead — no rest time necessary. Also, make sure you're reaching for certified gluten-free oats, as others may be processed on the same surfaces as wheat products and might have cross-contamination issues.
- Dairy-Free/Vegan - Use evaporated plant-based milk, your choice of creamy, full-fat plant-based milk, coconut cream (NOT sweetened cream of coconut), and vegan butter in place of the dairy. You'll also want to whisk in 3 tablespoons of vegan cream cheese into the base.
- Corn-Free - Swap in tapioca starch or potato starch and use an alternative invert sugar like tapioca syrup or brown rice syrup.
- Swap In Store-Bought Cookies - Making the cookie crumble from scratch is easy and requires just 2 extra ingredients. But, if you're short on time, there's exactly ZERO shame reaching for your favorite store-bought oatmeal cookies. Obviously, eponymous Oatmeal Creme Pies are a good choice, but you can also use crunchier oatmeal cookies. Alternatively, substitute your favorite warmly spiced granola instead.
- Add-Ins - If you're an oatmeal cream pie purist, this recipe requires nothing else. However, if you want a sort of chunky oatmeal cookie–oatmeal creme pie hybrid, consider adding in rum-soaked raisins or some stracciatella-style melted chocolate mixed with a bit of coconut oil. Toasted nuts are also a great addition!
- Once the ice cream is churned, transfer it to airtight, freezer-safe containers. Make sure to leave a little room at the top to allow for expansion as it freezes.
- Place the containers of ice cream in the coldest part of the freezer, preferably at a temperature of 0°F (-18°C) or below. Keep the containers away from the freezer door to prevent temperature fluctuations.
- Cover the surface of the ice cream with a piece of parchment or plastic wrap before sealing the container. This will prevent ice crystals from forming on the surface and keep the ice cream smooth and creamy. Alternatively, you can try storing the ice cream upside down, but don't try that until it's frozen first!
- Homemade ice cream is best eaten within 2-3 weeks of freezing. After that, the texture and flavor may begin to deteriorate.
Nutrition

Comments
No Comments