
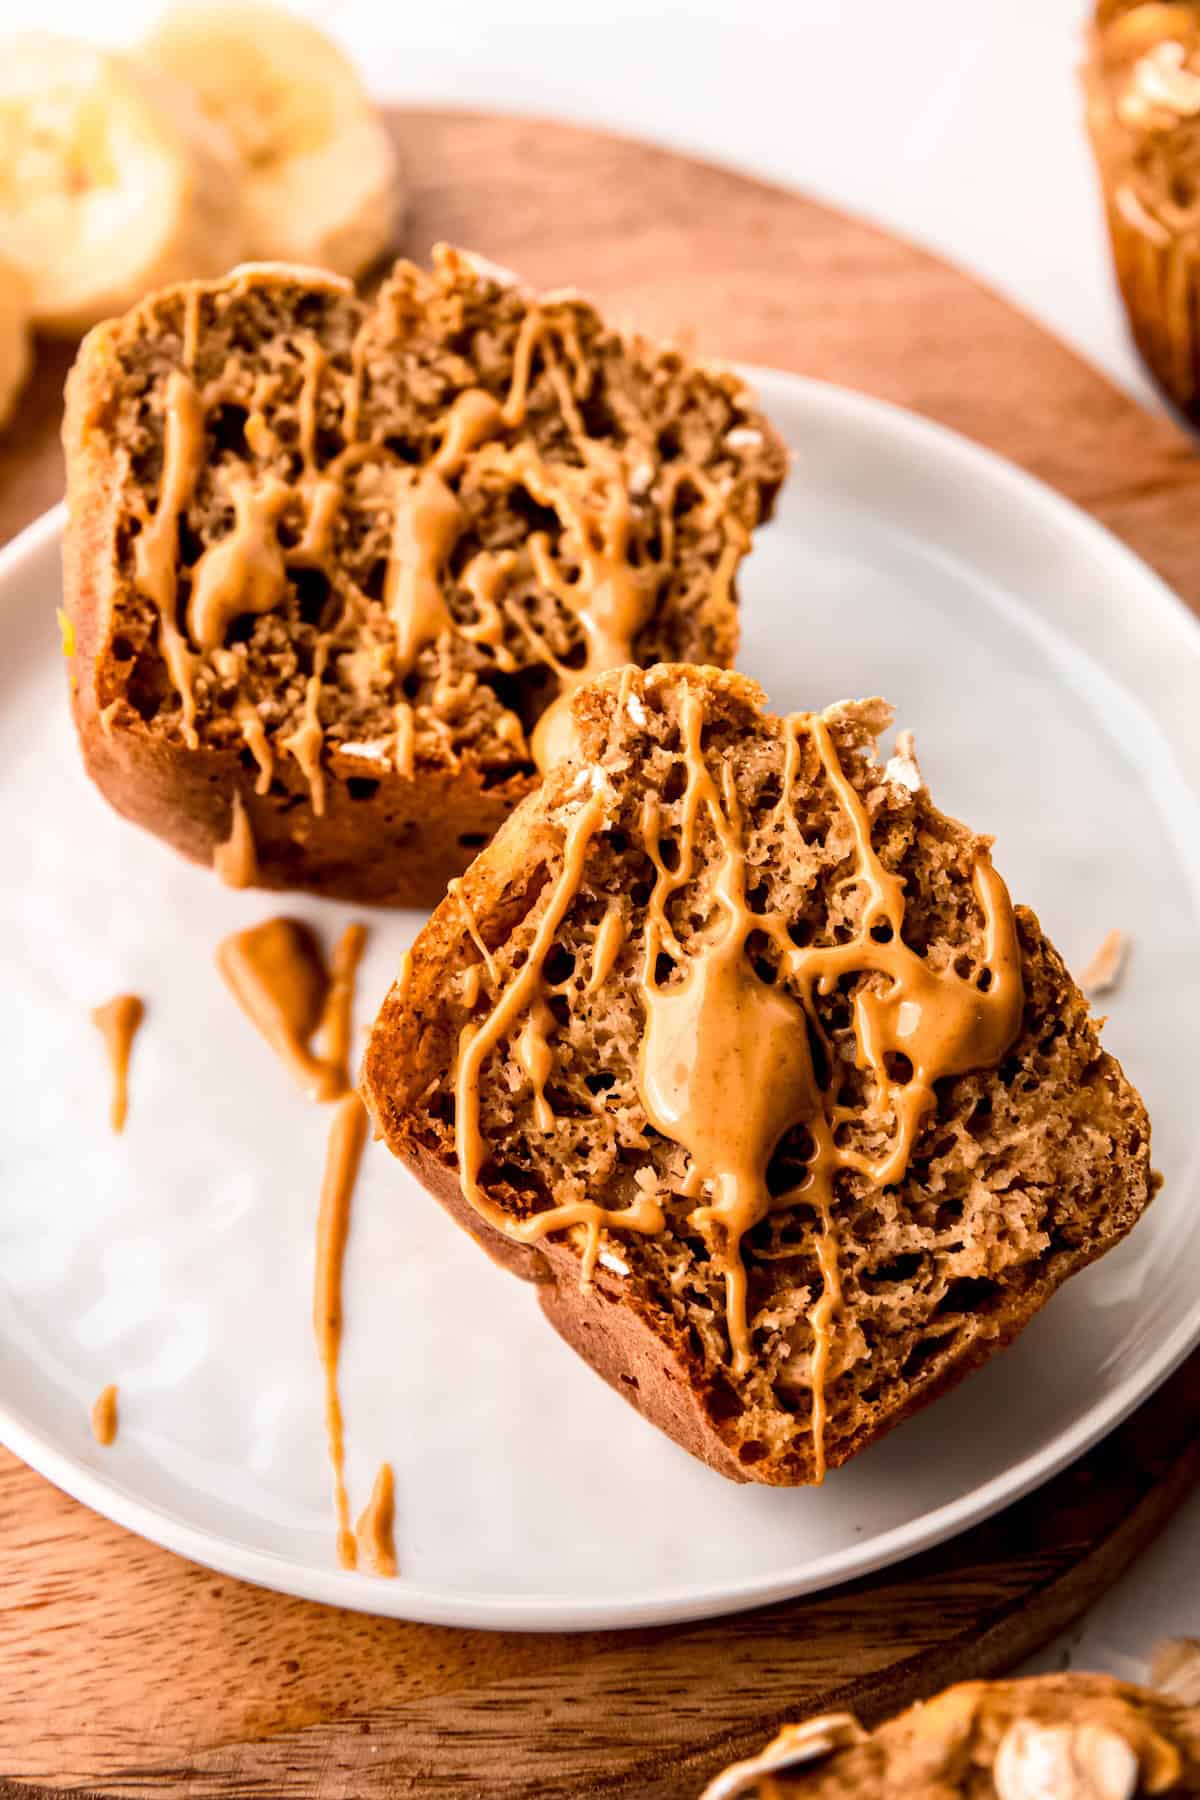
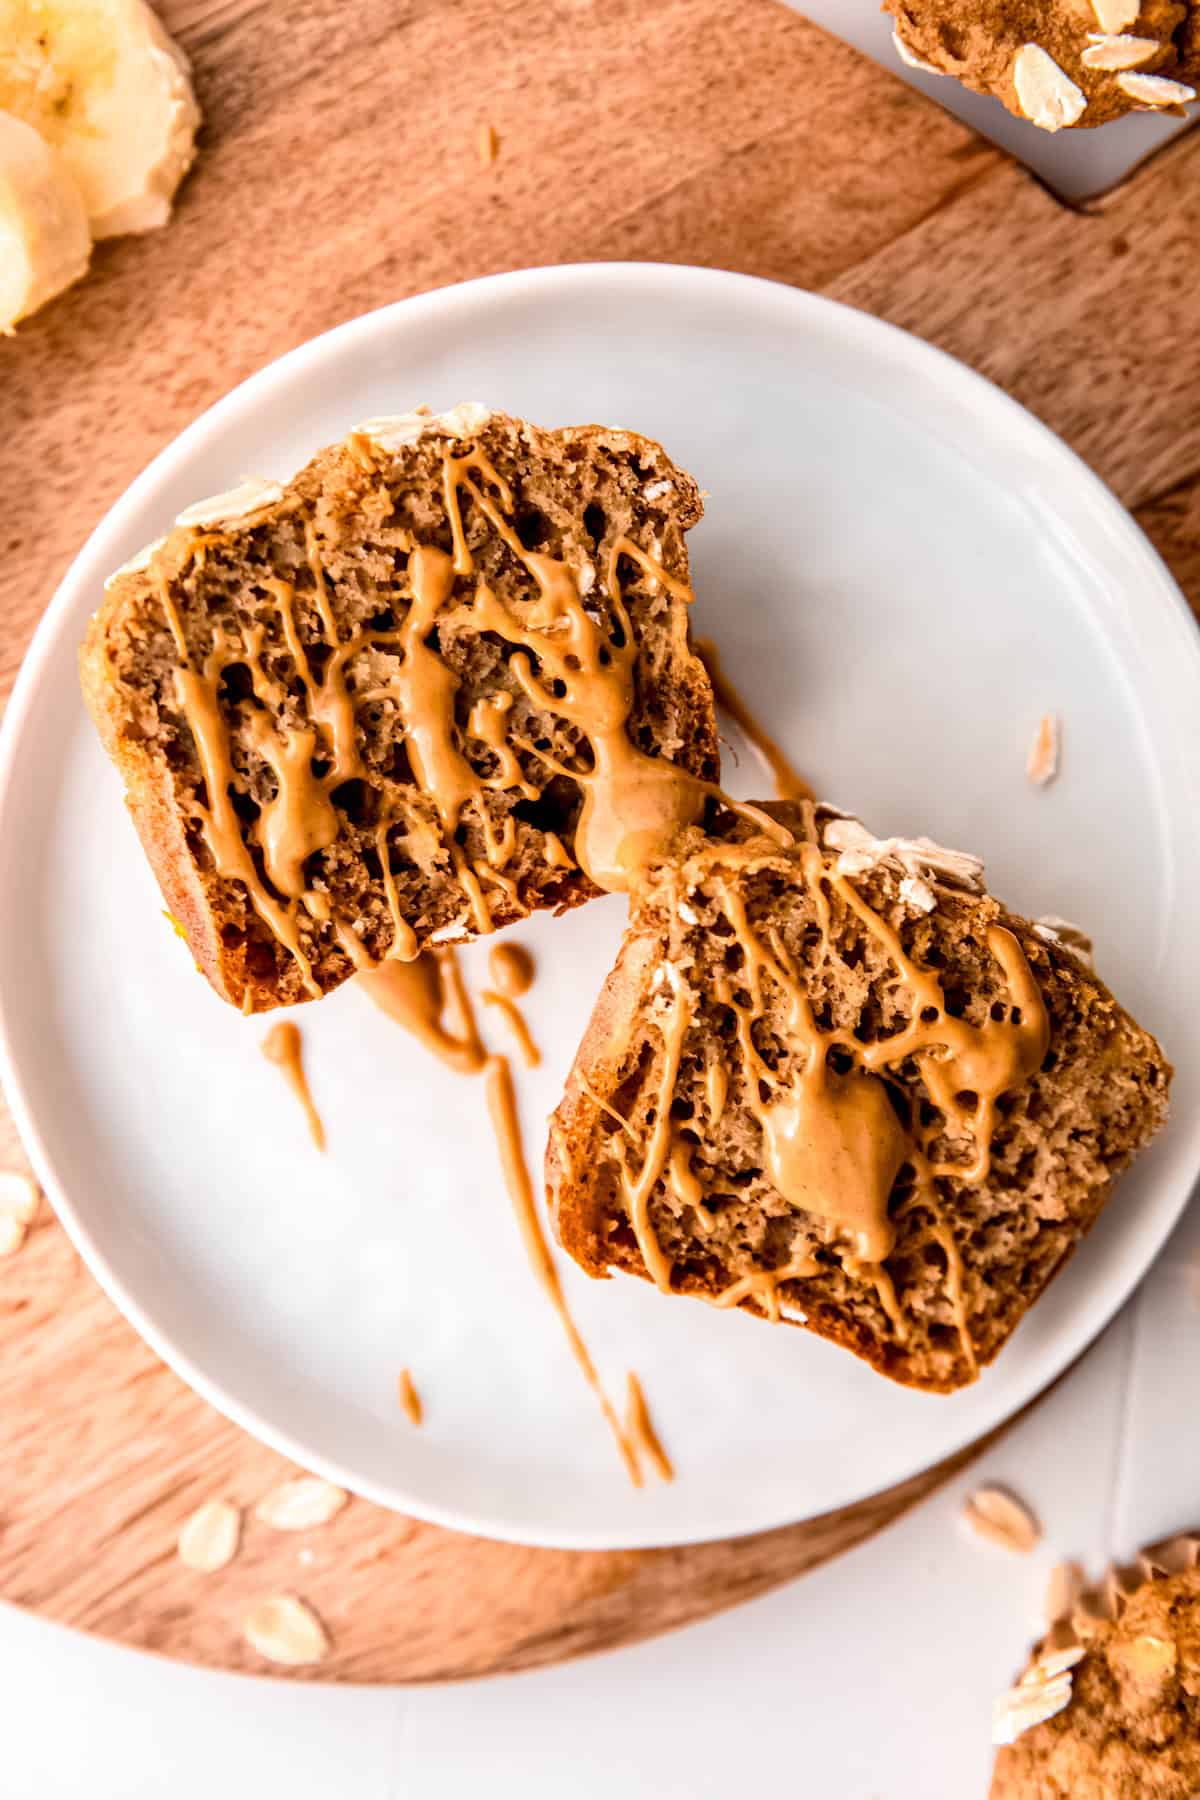
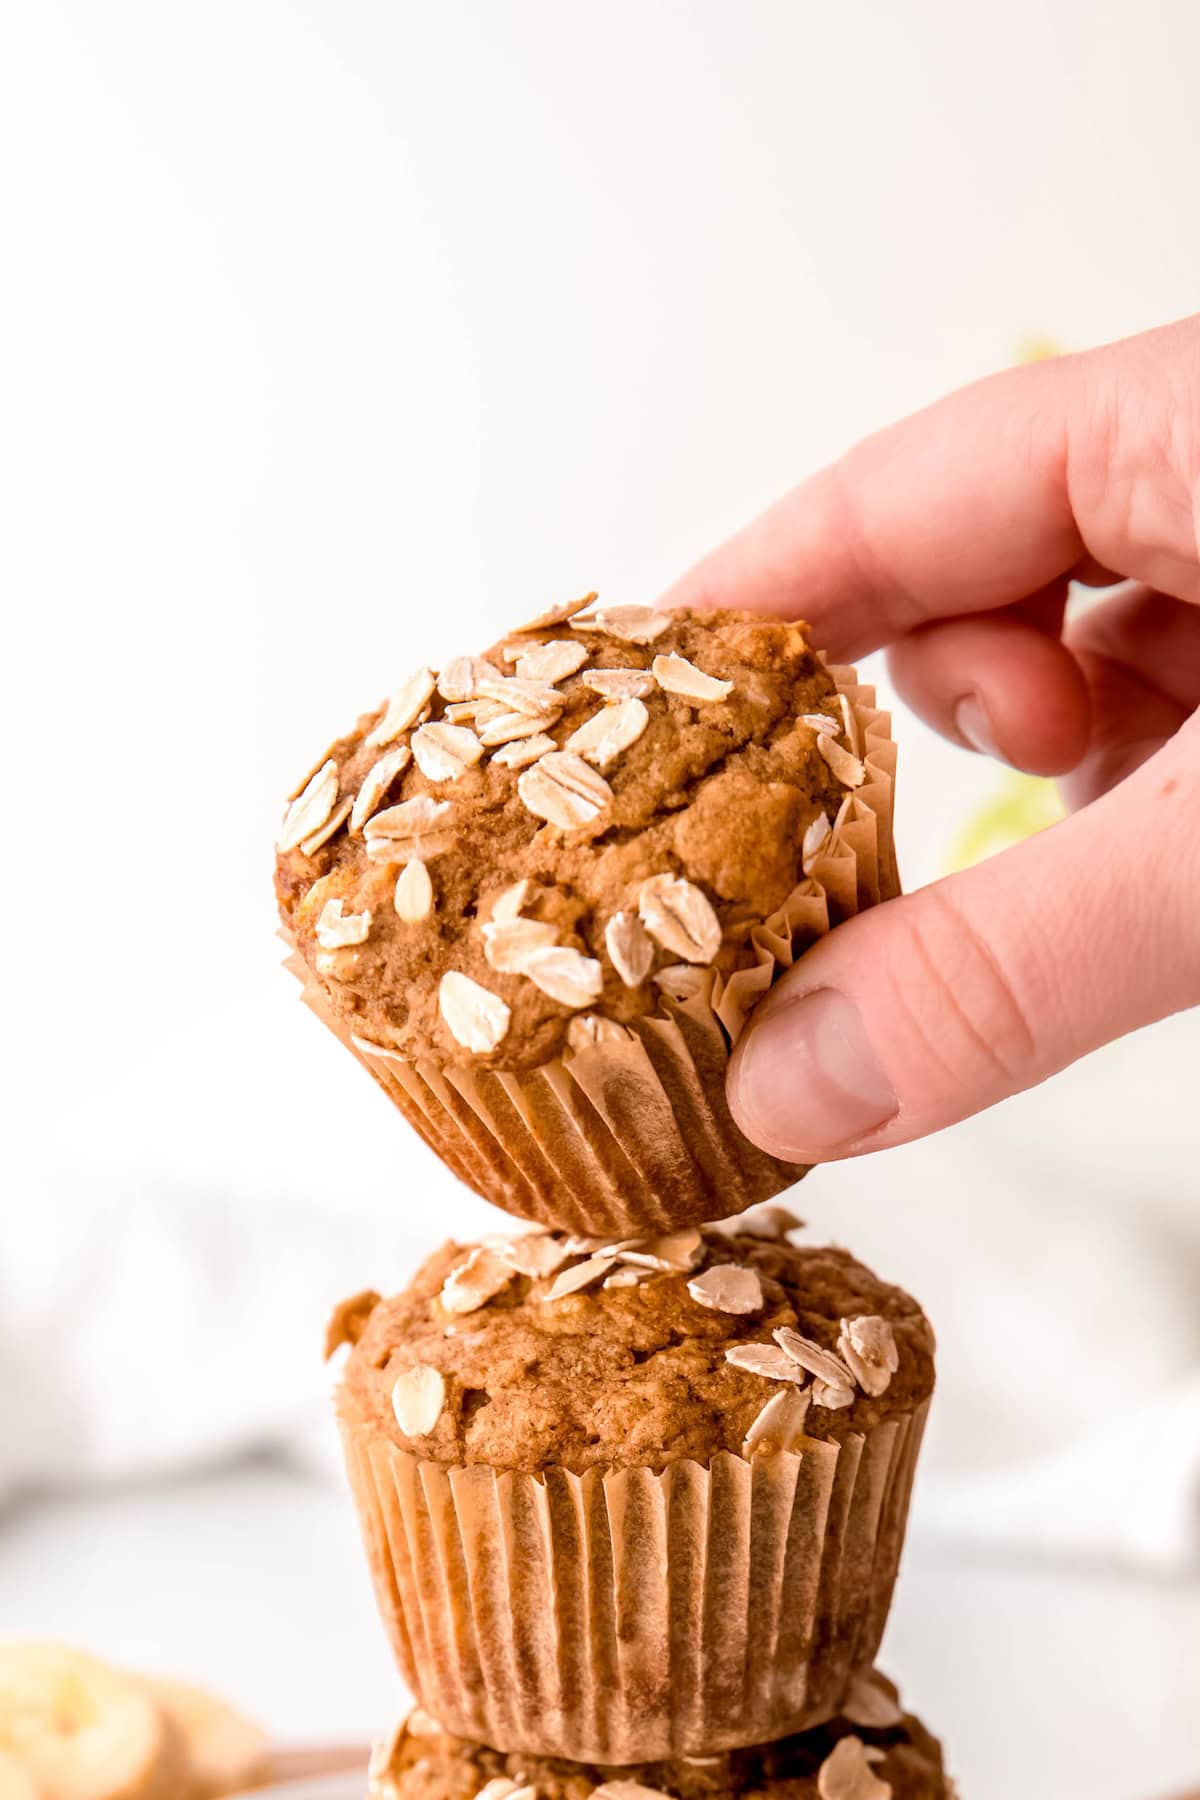
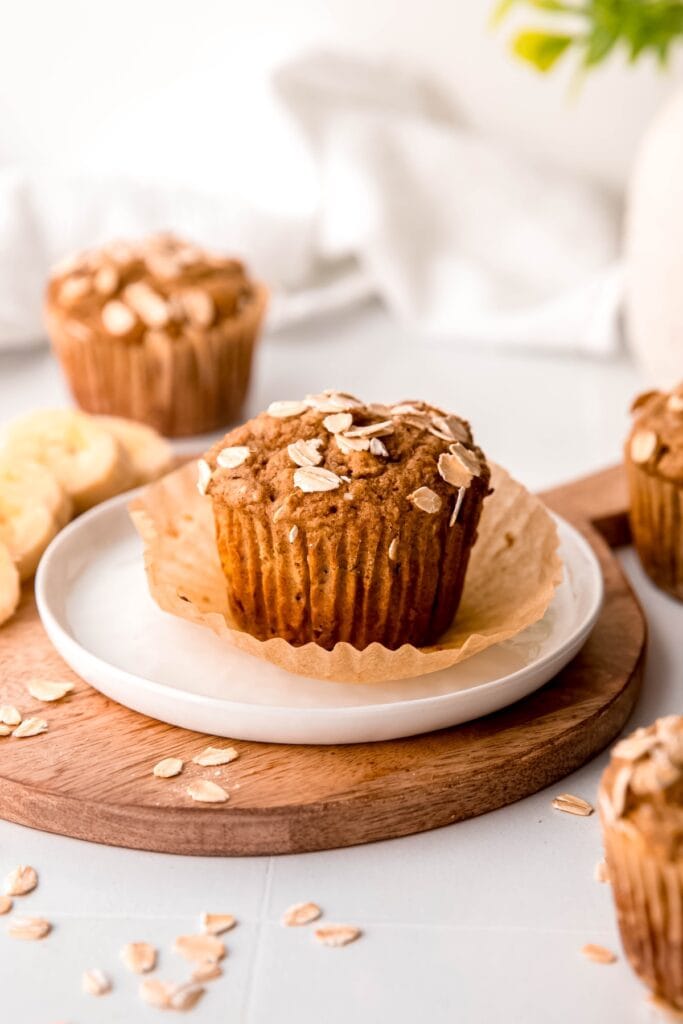
These absurdly moist and flavorful Healthy Whole Wheat Banana Bread Muffins are my current make-ahead breakfast obsession. Packed with a double whammy of whole grains, they're also entirely free of oil and refined sugar. Paired with a tablespoon of nut butter, they've become my go-to post-workout snack!
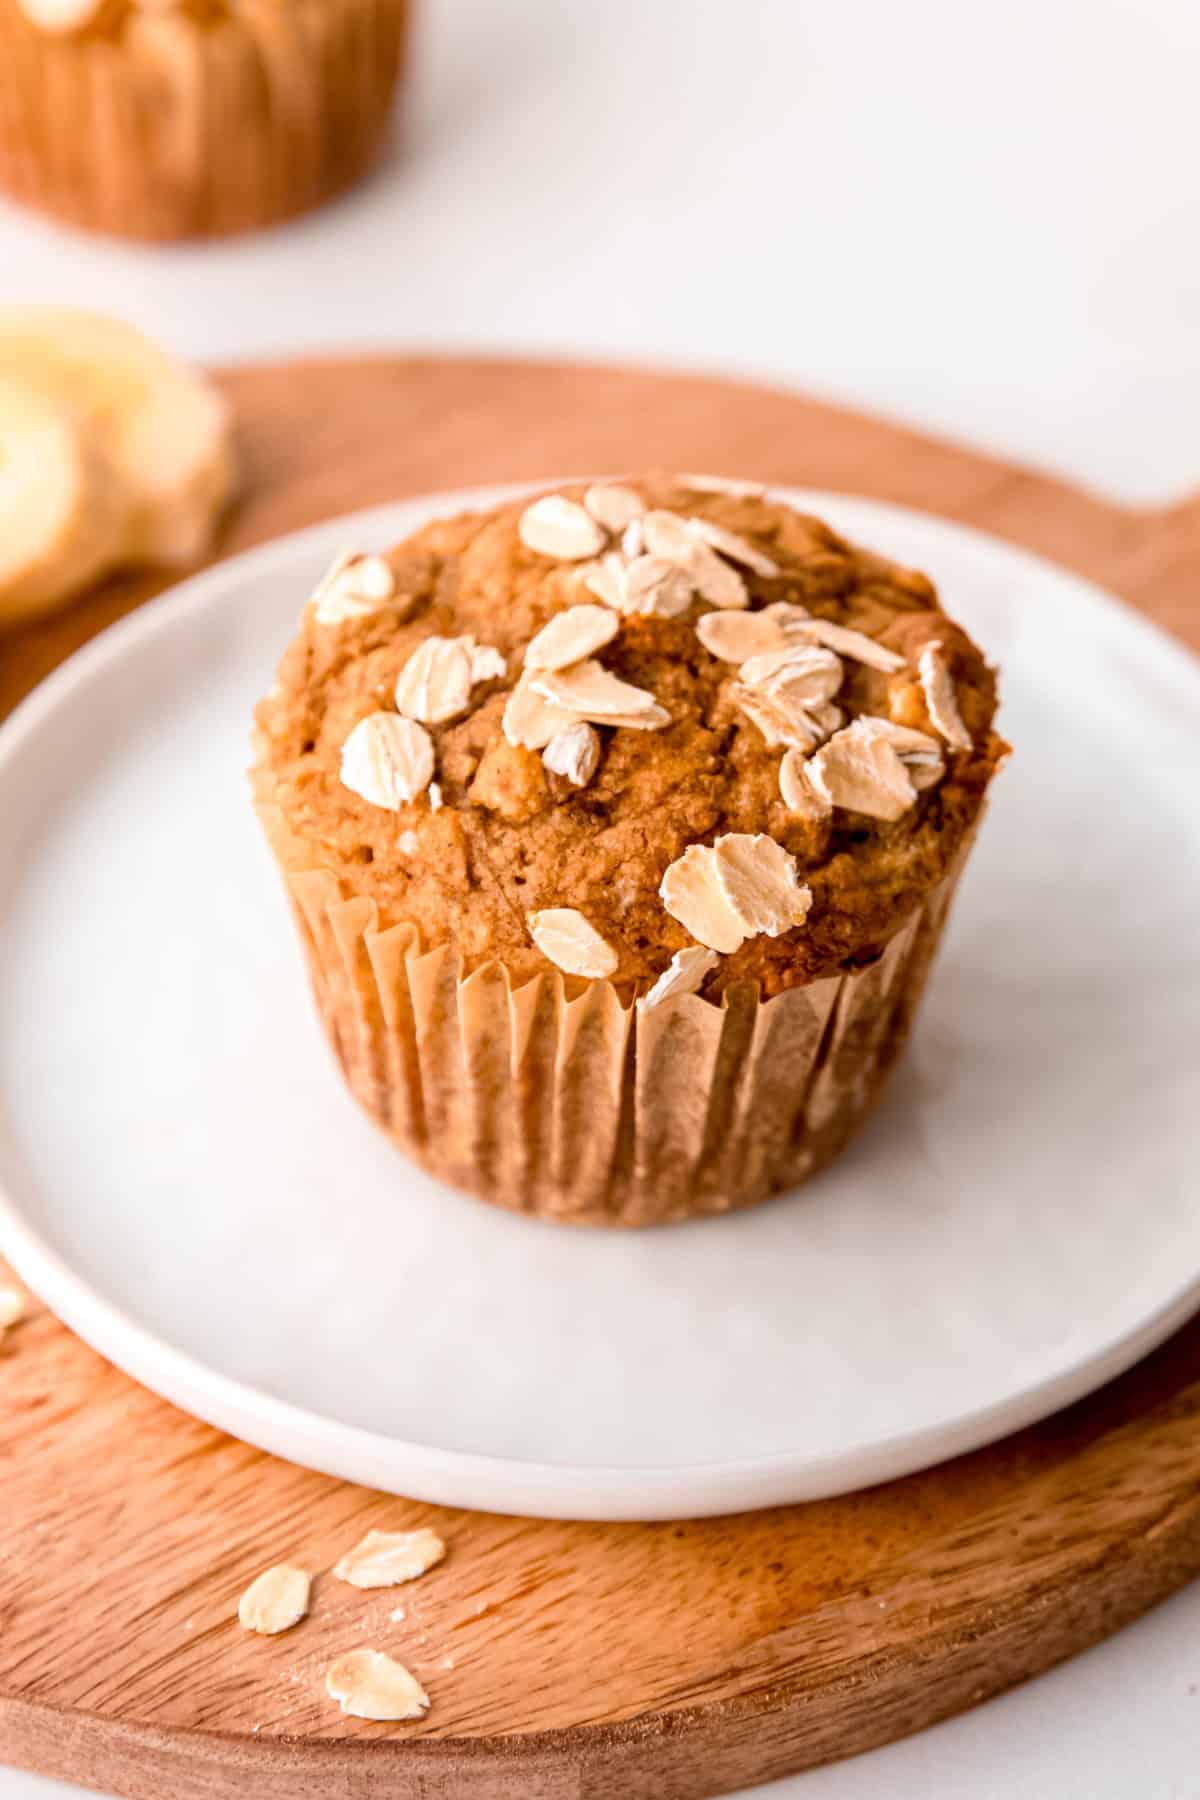
If you're someone who believes the word "muffin" is just clever marketing for a cupcake that's socially acceptable to eat for breakfast, I feel ya. So many muffins are loaded with butter and sugar, then topped with delicious-but-not-exactly-healthy add-ins like streusel. This recipe for whole grain banana muffins bucks that trend entirely, while still packing a delightfully sweet punch.
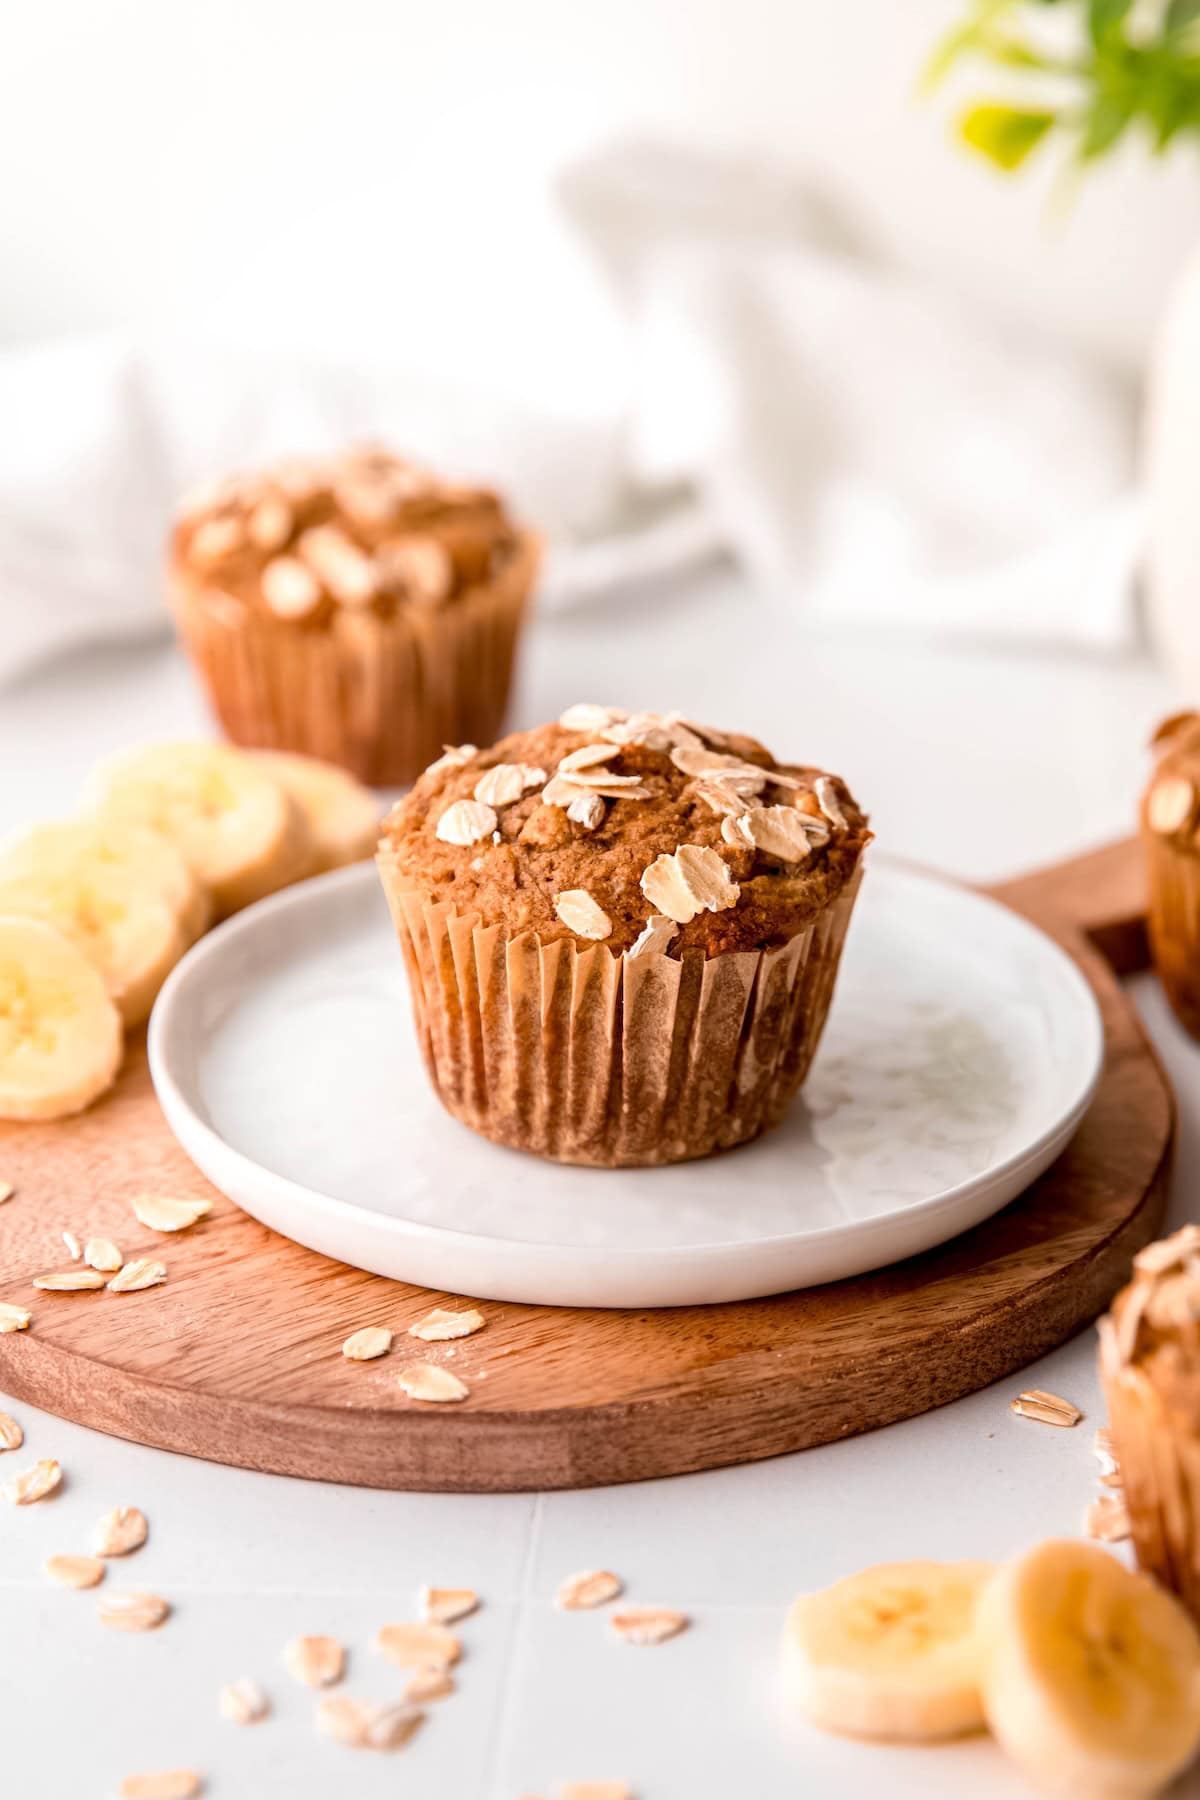
These whole wheat banana muffins might taste like they belong in the "cupcake for breakfast" category, but they're decidedly nutritious. Made with just ripe bananas, whole wheat flour, rolled oats, Greek yogurt, applesauce, an egg, and just a touch of agave syrup for sweetness, they're a gee-dang A+ when it comes to a healthy grab-and-go snack.
Love a healthy make-ahead breakfast recipe as much as I do? Check out my protein-packed banana pumpkin muffins, instant pot copycat Costco egg bites, and high-protein berry cheesecake overnight oats next!
Jump to:
Why You’ll Love These Easy, Healthy Banana Bread Muffins
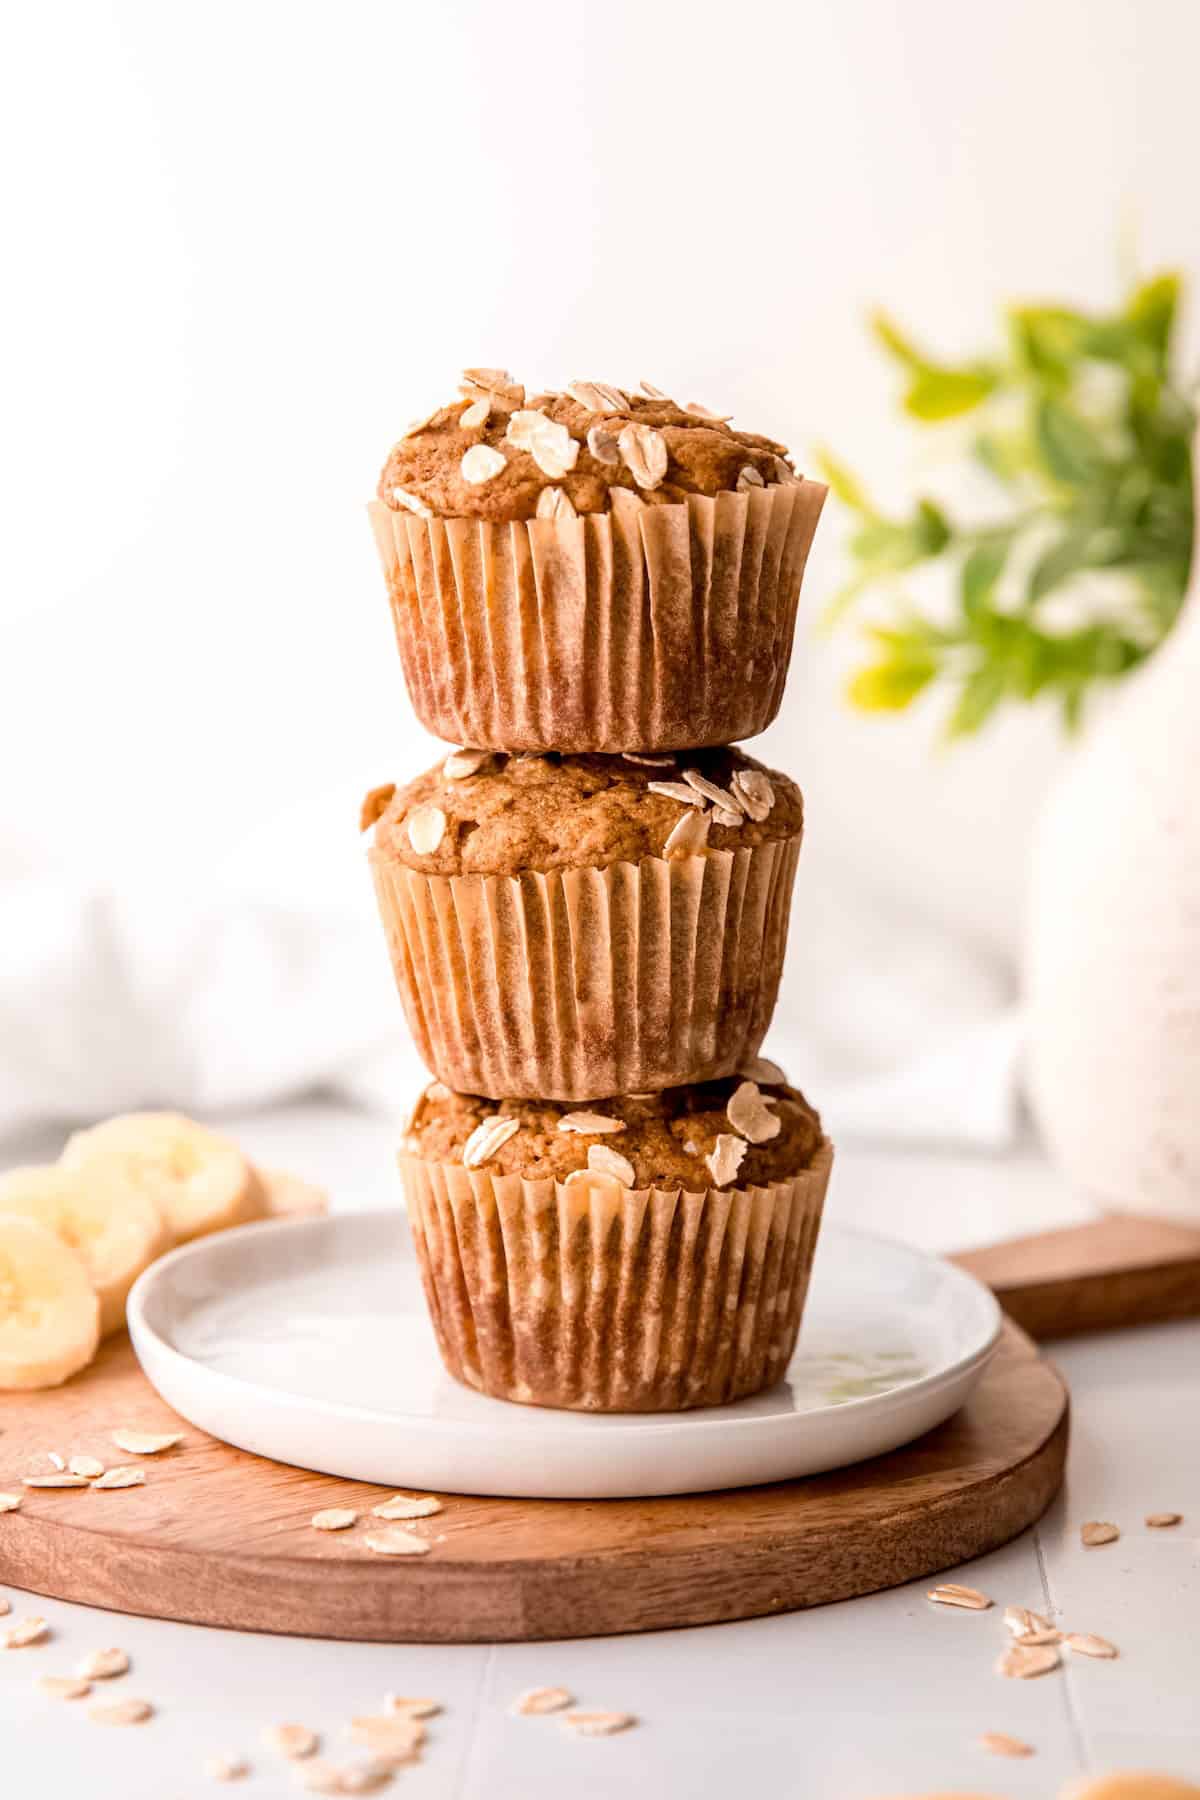
- Nutritious & Delicious - These muffins prove healthy and delicious aren't mutually exclusive. Between the whole wheat flour and rolled oats, you're getting a solid dose of fiber and whole grains, while the ripe bananas, Greek yogurt, and applesauce keep every bite incredibly moist without needing a drop of oil or refined sugar.
- Quick & Easy - Aside from being packed with good-for-you ingredients, they're a snap to make. They take a single bowl and you don't even have to get the hand mixer out. You can literally stir them up with a fork! The whole process takes under 30 minutes, start to finish.
- Meal Prep Magic - Once they're baked, these whole grain banana muffins are perfect candidates for freezing. Let them cool and pop into a freezer safe container. When you're ready to eat one, just pop out a muffin and let it defrost (or slice it in half and toast it up). Future You is going to be so stoked!
- Customizable - These healthy banana muffins are super easy to turn into vegan snacks. Simply swap the egg for a flax egg and opt for a dairy free yogurt. Oh, and feel free to customize them with tasty add-ins like toasted nuts, fresh or frozen berries, or cacao nibs.
Ingredients & Substitutions
You only need a few simple ingredients to make these healthy banana muffins:
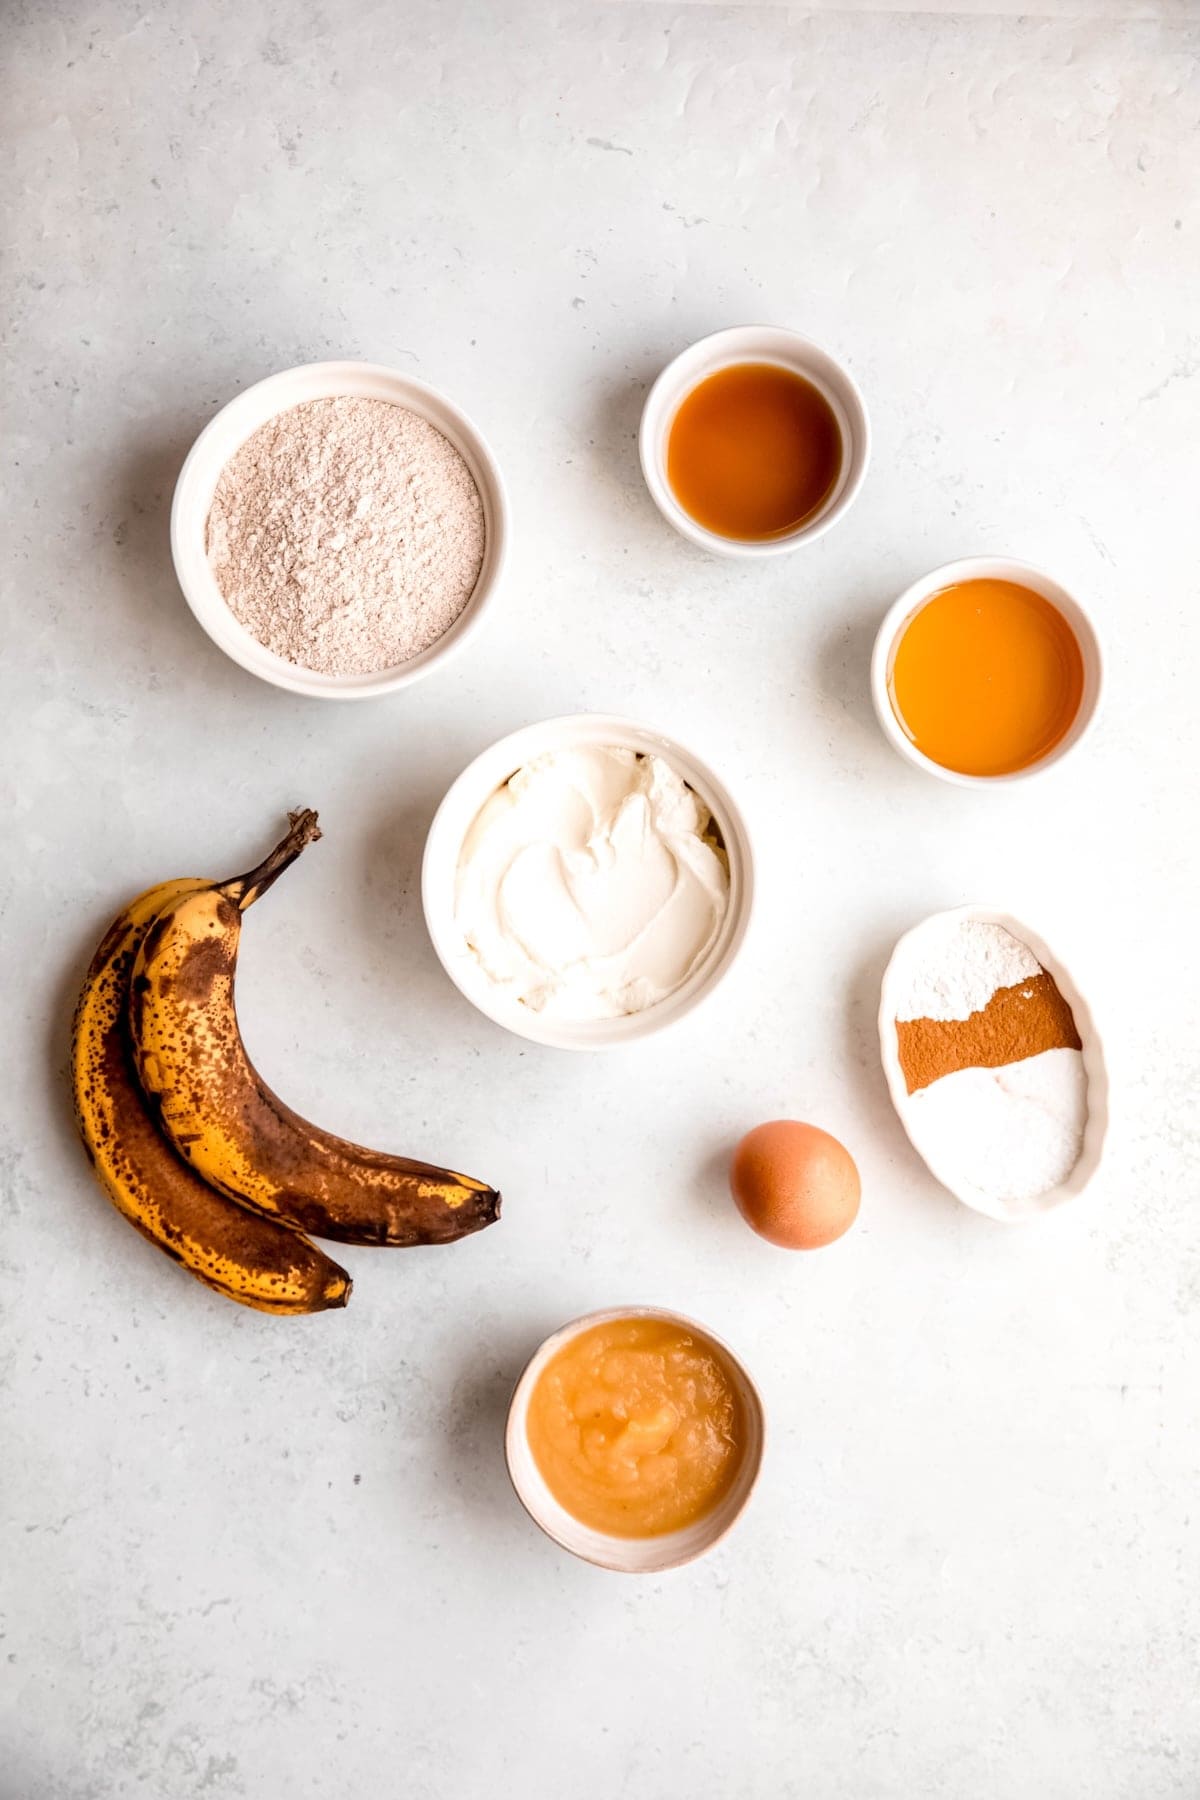
- Whole Wheat Flour - This is what gives these muffins their hearty, wholesome texture and a nice fiber boost. If you only have all-purpose flour on hand, that'll work in a pinch, but you'll lose a bit of that nutty whole grain flavor. White whole wheat flour is also a great option if you want the nutrition without quite as much density.
- Baking Powder & Baking Soda - These two work together to give your muffins the perfect rise and fluffy texture, so don't skip either one! Just double check they're not expired — old leaveners are one of the sneakiest culprits behind flat, dense muffins.
- Ground Cinnamon - Adds warmth and coziness to every bite. Feel free to add a little extra if you're a cinnamon fanatic (no judgment here).
- Kosher Salt - Just a pinch to balance out the sweetness and make all the other flavors pop. Don't skip it, even in a "sweet" recipe like this one!
- Large Bananas - The riper, the better here — you want them speckled brown and almost embarrassing to look at. Overripe bananas are sweeter and mash up easily, which means less added sugar needed and more natural banana flavor in every muffin.
- Greek Yogurt - This is your secret weapon for moist, tender muffins without any oil. Plain, full-fat or 2% both work great. For a dairy-free option, swap in your favorite unsweetened dairy-free yogurt.
- Large Egg - Helps bind everything together. To make these vegan, swap in a flax egg (1 tablespoon ground flaxseed mixed with 3 tablespoons water, left to sit for 5 minutes until gel-like).
- Unsweetened Applesauce - Another moisture-boosting, oil-replacing hero. It adds natural sweetness without any refined sugar, so make sure to grab the unsweetened kind.
- Agave - Just a touch for sweetness. Maple syrup, honey, or date syrup all work beautifully as substitutes if that's what you've got in your pantry.
- Vanilla Extract - Because banana bread just isn't banana bread without it. Adds warmth and rounds out all the other flavors.
- Non-Stick Cooking Spray - Keeps your muffins from sticking to the pan so they pop right out. You can also use paper liners if you prefer, or a light brushing of oil if that's what you have on hand.
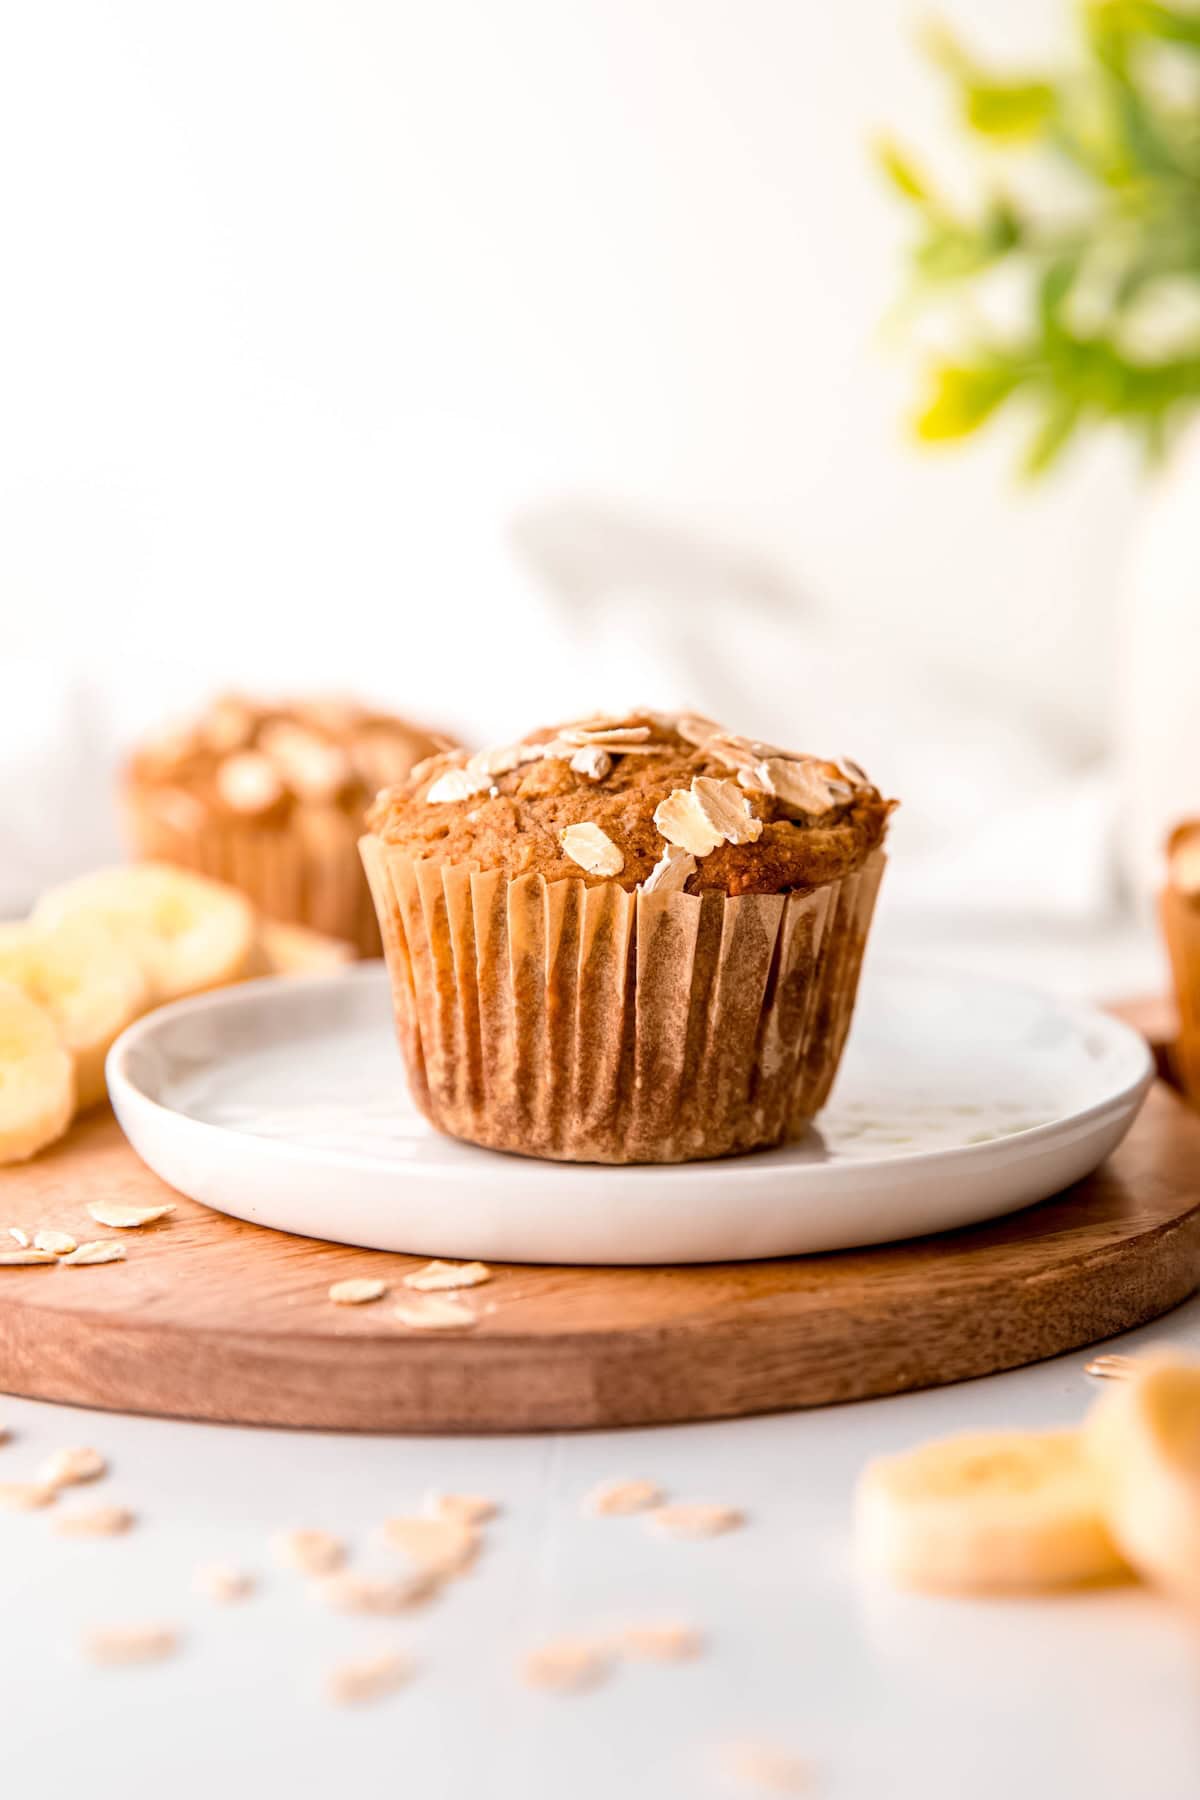
How to Make Whole Wheat Banana Bread Muffins
Step 1: Preheat the Oven. Before you get too involved in prep, preheat the oven to 375°F. You're going to want to get these bad boys in the oven as quickly as possible after mixing to ensure that the leavening can do its job.
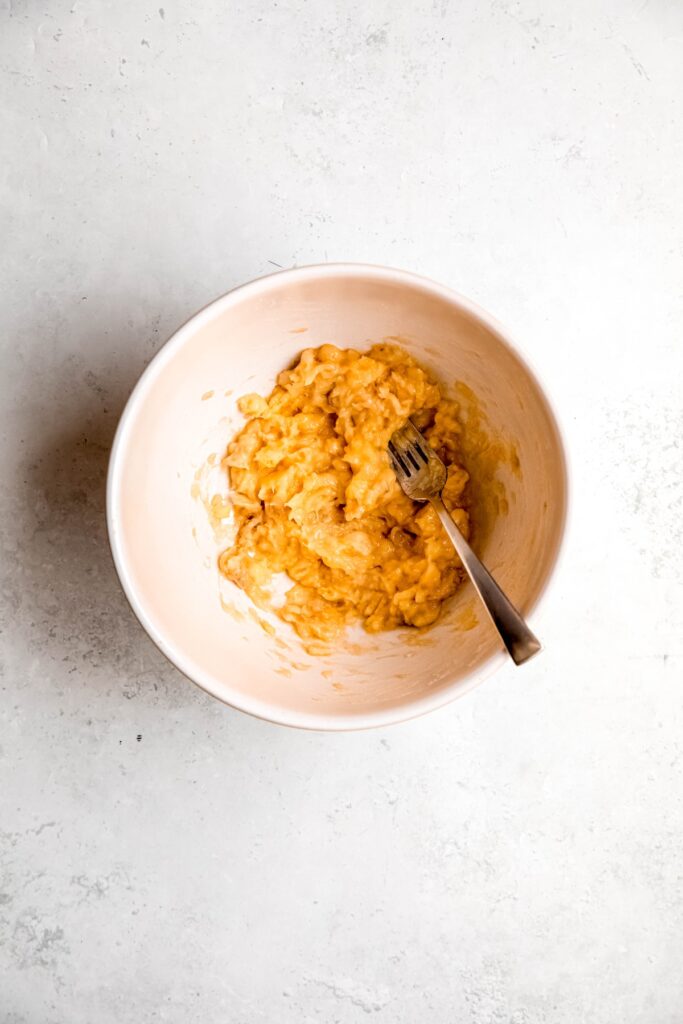
Step 2: Mash the Bananas. Peel the bananas into a large mixing bowl. Using a regular ol' table fork, mash them until pulpy.
Step 3: Mix in the Wet Ingredients. Add the applesauce, egg, yogurt, vanilla, and agave. Stir vigorously with the fork until your batter is mostly uniform with a few chunks of banana.

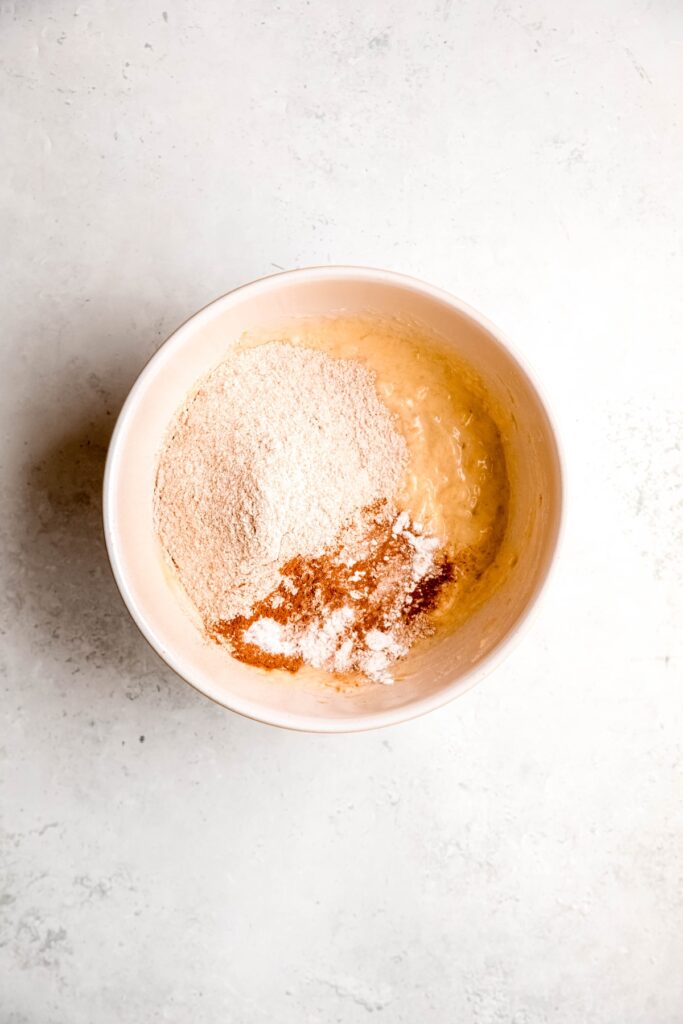
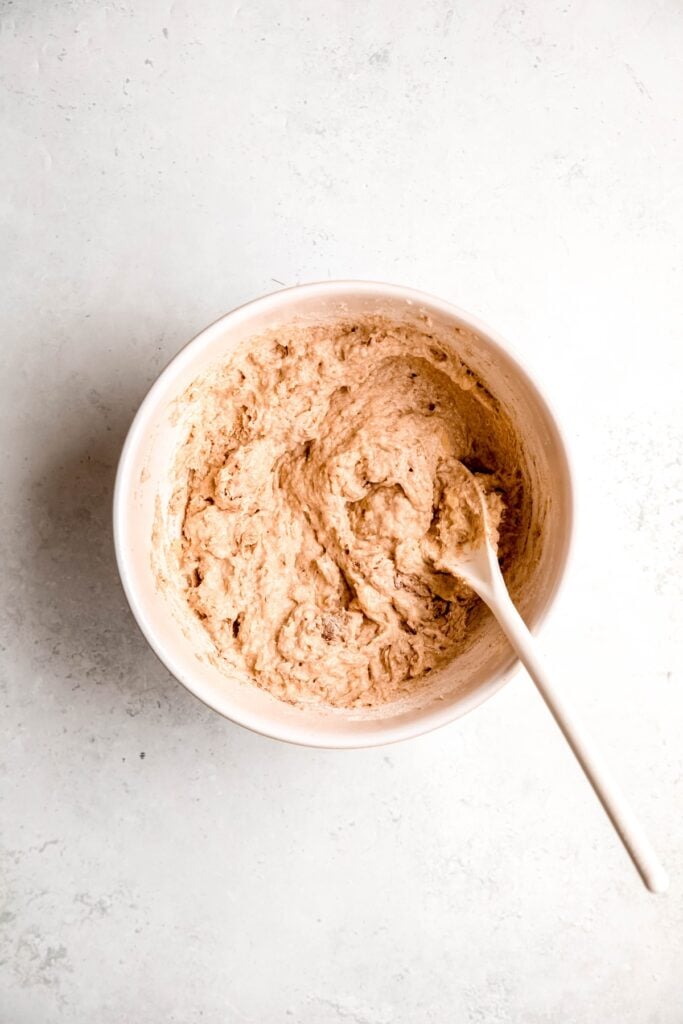
Step 4: Add the Dry Ingredients. Add your dry ingredients to the batter. I might get in pastry trouble for saying this, but I often don't mix my dry ingredients in a separate bowl before adding. I don't want to have to clean the extra bowl! I personally sprinkle the cinnamon and salt over the wet ingredients and stir them in first. I then toss in the whole wheat flour and sprinkle my leaveners on top. Stir everything together until mixed well and there are no pockets of dry ingredients left.
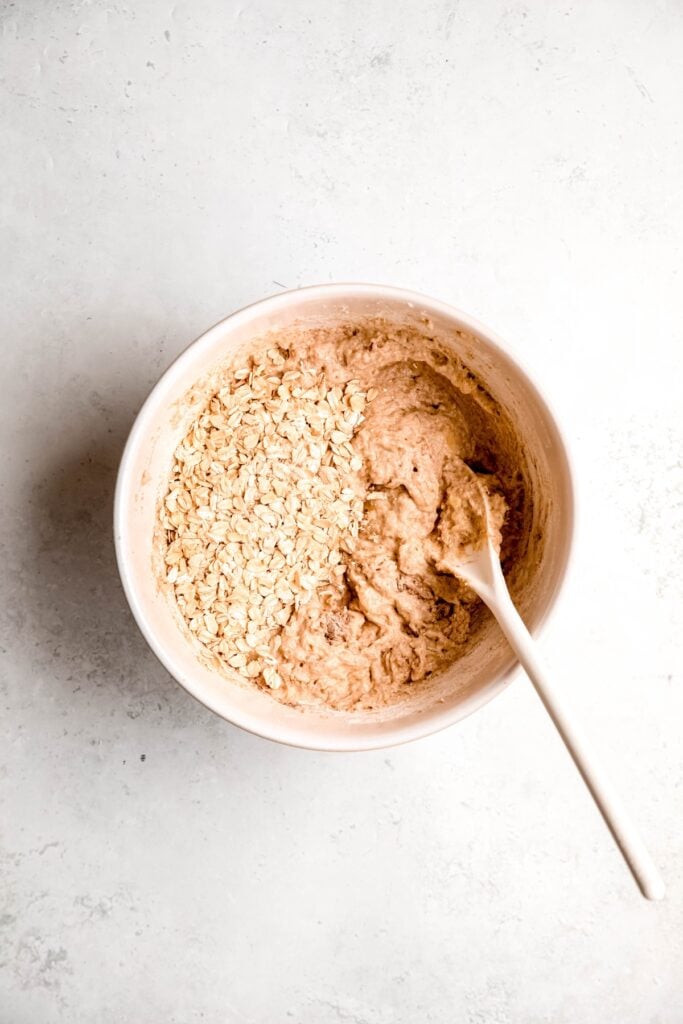
Step 5: Stir in Your Texture. Finally, stir in your texture. I added just the oats at this step, but if you're using nuts, seeds, granola, or berries, this is a great place to fold them in. NOTE: I have a list of optional mix-ins listed in the section after this one.
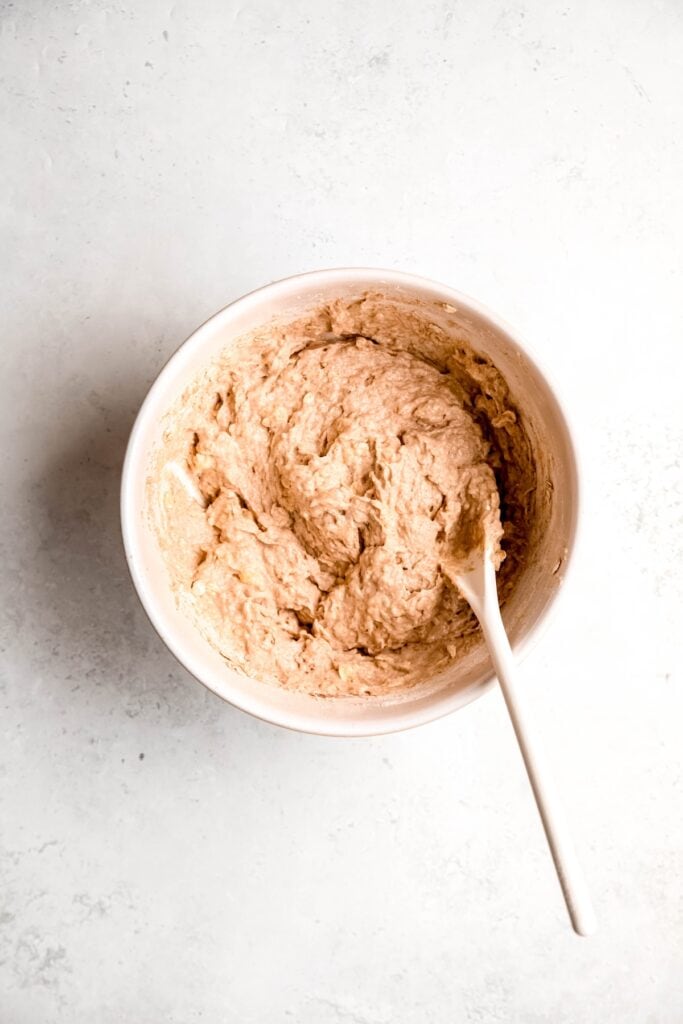
Step 6: Prep Your Muffin Tin. Line a muffin tin with paper liners (optional, but it makes clean up easier) and spray with non-stick cooking spray.
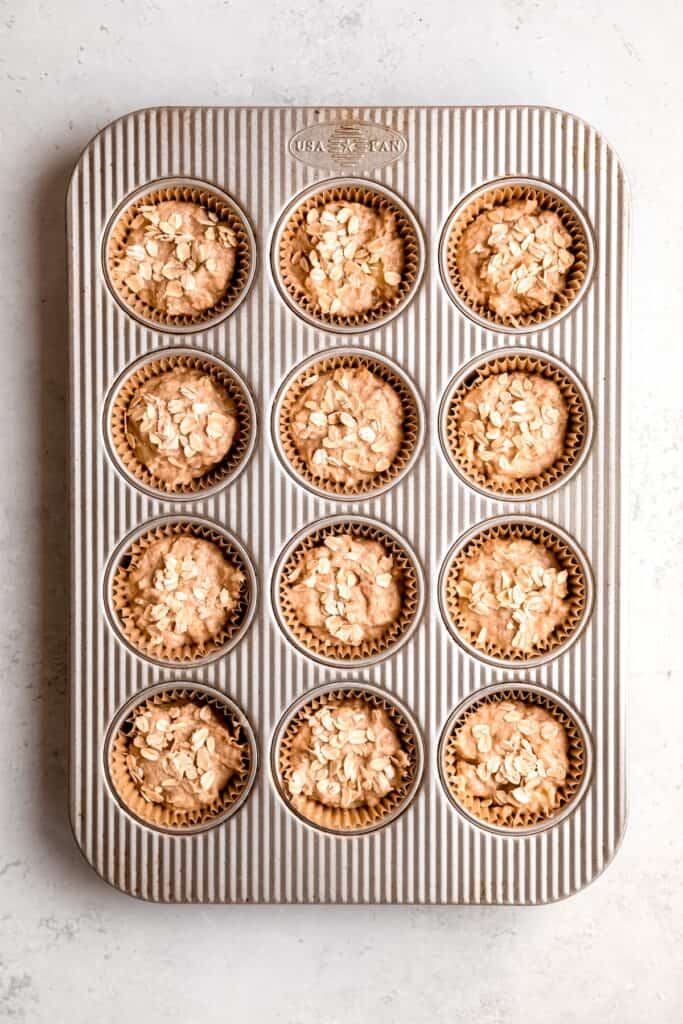
Step 7: Portion the Batter. Scoop batter evenly between the muffin cups. I find that using a spring-loaded disher makes the job faster and more accurate.
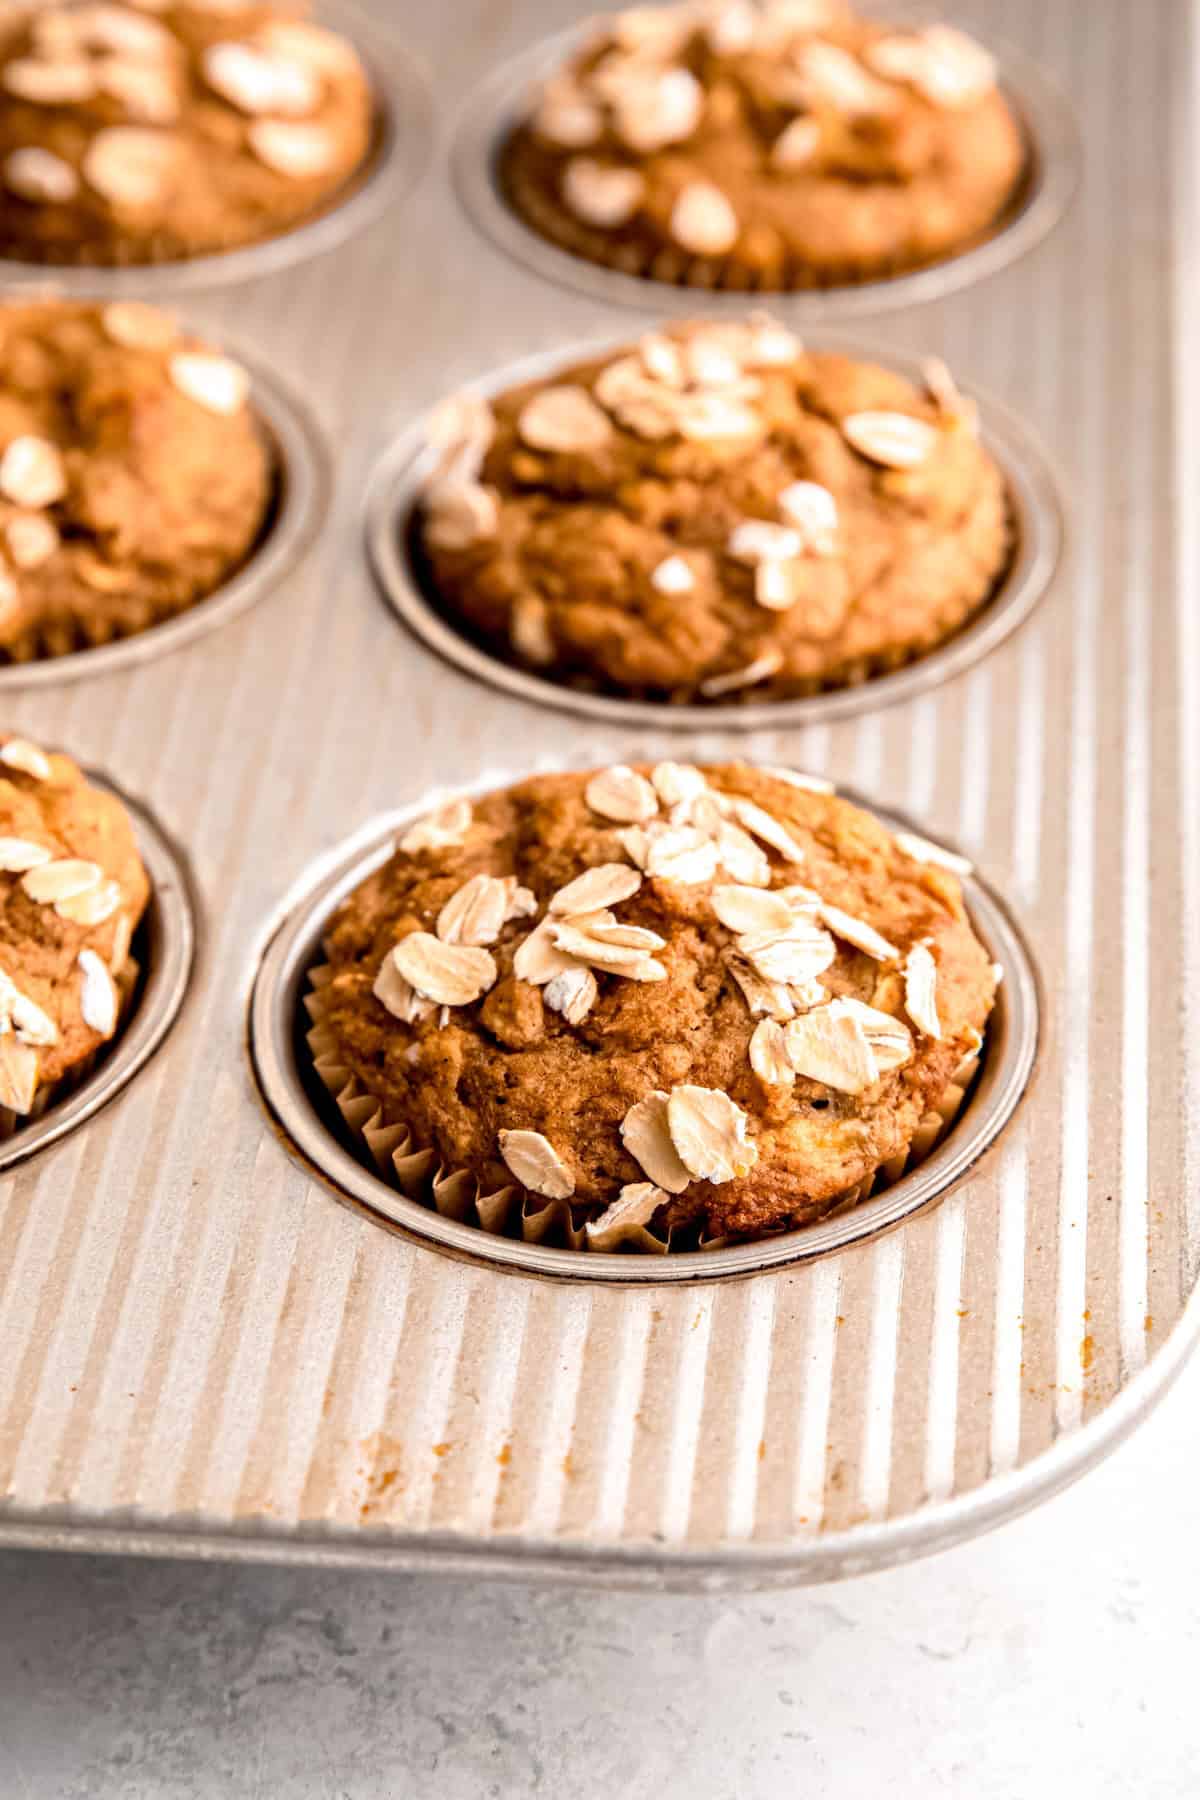
Step 8: Add Toppings (Optional). Once the batter is evenly distributed, you can either bake the whole wheat muffins straightaway or opt to top them with a little more good stuff. Below, I sprinkled half with rolled oats and the other half with walnut pieces.
Step 9: Bake the Muffins. Bake at 375°F for 20-23 minutes, until a toothpick comes out clean.
TIP: Check several muffins from different spots on your pan to ensure that they baked evenly. If some are still gooey, simply remove the "done" ones to a rack to cool and return the pan to the oven for another minute or so.
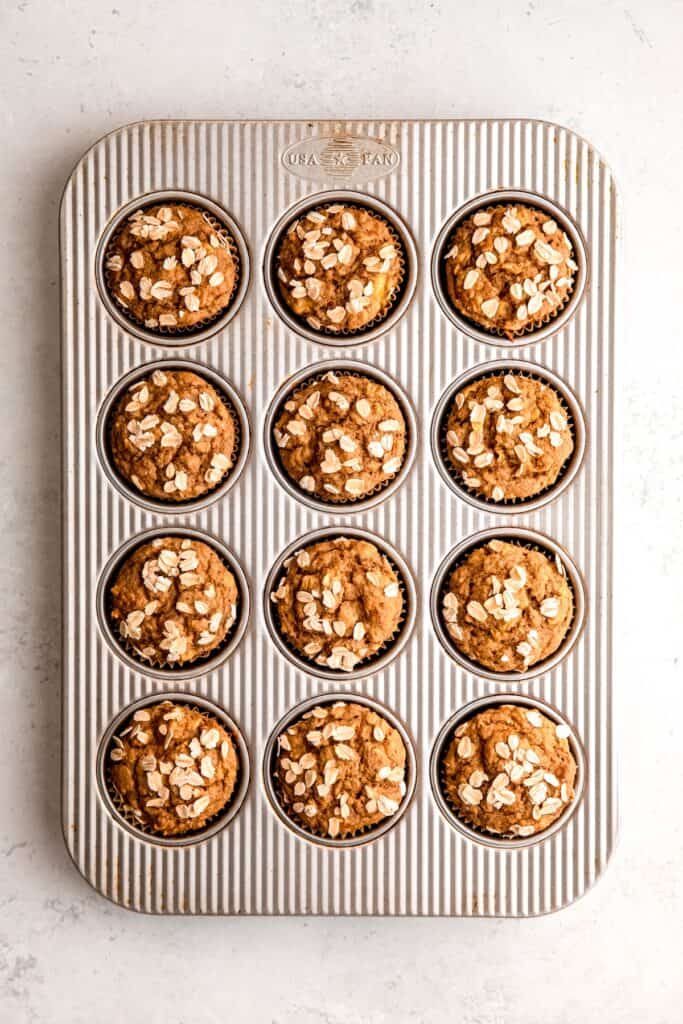
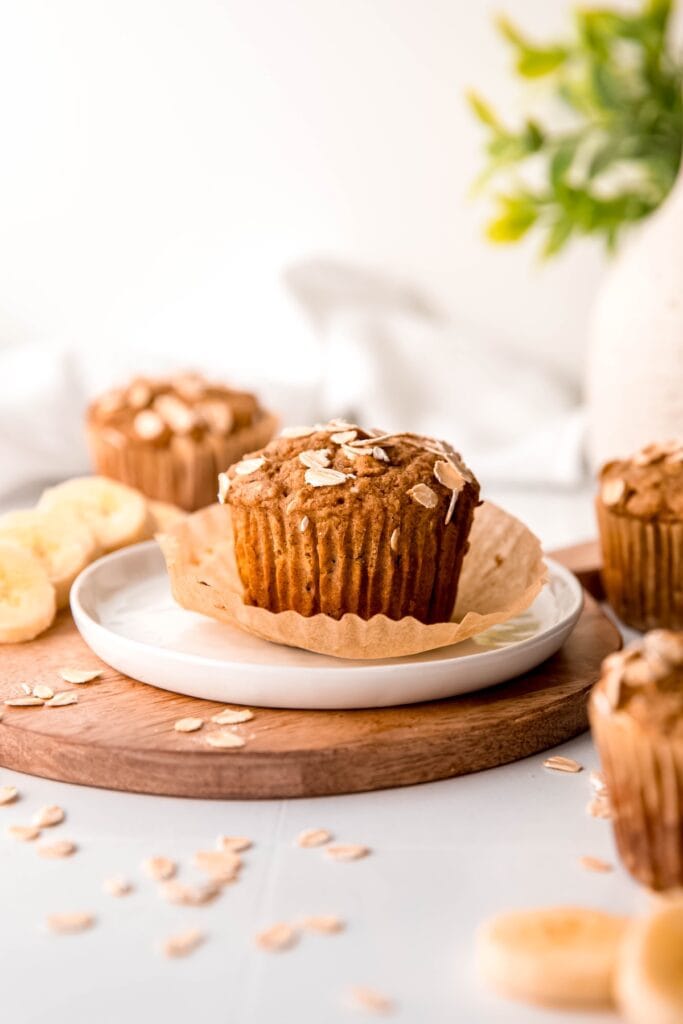
Step 10: Cool the Muffins. Allow the muffins to cool in the pan for about 10 minutes. You can then remove them to a cooling rack.
Step 11: Cool Completely Before Storing. I love eating these healthy whole wheat banana muffins while they're warm (especially with a bit of nut butter). That said, it's important to let them cool entirely before storing them. If you don't, the heat will cause condensation in your container, which will then rain down on the muffins and leave them soggy.
Optional Variations & Dietary Adaptations
One of the great things about baked goods like these healthy banana muffins is that they are super easy to customize. If you'd like to shake things up a bit, try using the recipe below as a "base," then add in some extra flavor and texture. While this list is in no way comprehensive, here are some nutritious add-in ideas to get you started:
- Banana Nut Bread Muffins - Add some extra protein, fat, and fiber using nuts or seeds! I love adding walnuts, pecans, peanuts, sunflower seeds, hemp hearts, flax seeds, or chia seeds to my muffin batter. You can also add a dollop of nut or seed butter on top of the muffins before baking to create a little pocket of yumminess!
- Oats - I usually toss a few extra oats on top of the muffins before baking just because it looks cute, but don't feel like you have to stop there. If you're looking for a healthier alternative to streusel or crumble toppings, turning to oat-based granolas is an easy swap to make!
- Coconut - If chewy texture is what you're after, some unsweetened flaked or shredded coconut could be a great solution. Coconut and banana also taste really great together, so it's a match made in heaven.
- Cacao Nibs or Semi-Sweet Chocolate Chips - Whether you opt to add crunchy nibs for some crunch or prefer to add melty chocolate chips to give the muffins a sweet, chocolate-y makeover is entirely up to you.
- Berries - Berries are an awesome addition to muffins! Try folding in some fresh or frozen blueberries or raspberries prior to baking.
- Vegan - Simply swap in a flax egg (1 tablespoon ground flax + 3 tablespoons water, mixed together and left to sit until gel-like) and opt for a dairy-free yogurt substitute.
Expert Tips
- Use ripe, spotty bananas. The riper the banana, the sweeter and more flavorful your muffins will be. Look for bananas with plenty of brown spots (or even mostly black peels). They'll mash easier and pack way more natural sweetness into every bite than a yellow, firm banana ever could.
- Don't overmix the batter. Once you add the dry ingredients, stir just until everything is combined. Overmixing develops the gluten in the flour, which can leave you with dense, tough, or rubbery muffins instead of a light, tender crumb.
- Measure your flour correctly. Spoon the flour into your measuring cup and level it off with a knife, rather than scooping directly from the bag. Scooping compacts the flour and can add way more than you intend, leading to dry, dense muffins.
- Room temperature ingredients blend better. When a muffin recipe calls for eggs, yogurt, or milk, let them sit out for about 20-30 minutes before mixing. Cold ingredients can cause the batter to seize up or mix unevenly, especially when combined with melted butter or oil.
- Fill each muffin top generously. Fill your muffin liners about ¾ of the way full. This gives the batter enough room to rise without overflowing.
- Don't skip the toothpick test. Ovens vary, so start checking for doneness a couple of minutes before the recipe's minimum bake time. Insert a toothpick into the center of a muffin. A few moist crumbs clinging to it means they're done; wet batter means they need more time.
- Let them rest in the pan first. Give your muffins about 5 minutes in the tin before transferring them to a wire rack. This lets them firm up just enough so they don't fall apart, without steaming and going soggy on the bottom.
- Storage matters. Make sure muffins are completely cool before storing. Trapping warmth in a container creates condensation, which leads to soggy tops and a shorter shelf life.
Serving Suggestions
These banana muffins are delicious on their own, but pairing them with the right spread or drink can turn a quick snack into something special.
- Spread it on. A warm whole wheat banana muffin is the perfect canvas for something sweet and fruity. Try slathering one with homemade strawberry jam or apple butter for a cozy, fruit-forward pairing that takes just a minute to prep.
- Pair with coffee. Banana nut muffins and coffee are a classic combo, and these banana muffins are no exception. If you're in the mood for something festive, whip up a sugar-free pumpkin spice latte or get creative with a spicy Mexican mocha — the warm spices pair beautifully with the banana flavor. Hosting during the holidays? A boozy Christmas coffee with amaretto whipped cream alongside a plate of these muffins makes for a lovely morning spread. And if you want to up your coffee game in general, check out my guide on how to make fancy coffee at home.
- Cozy up with hot chocolate. If coffee's not your thing, these muffins pair just as well with a mug of spicy Aztec hot chocolate for a sweet-and-spicy combo that feels like a treat.
- Top it off. No matter which drink or spread you choose, a dollop of homemade whipped cream never hurts! Learn how to whip it up fast with my dispenser whipped cream recipe.
Storage Instructions
- Room Temperature - Store cooled banana bread muffins in an airtight container at room temperature for up to 3-4 days. Make sure they're completely cool before sealing them up, since trapped heat creates condensation and can make the tops turn soggy. If you live somewhere warm or humid, you can line the container with a paper towel to help absorb excess moisture.
- Refrigeration - While not necessary, you can refrigerate these muffins in an airtight container for up to a week if you need to extend their shelf life. Keep in mind that refrigeration tends to dry out baked goods faster than room temperature storage, so freezing is preferred.
- Freezing - These muffins freeze beautifully for up to 3 months. Let them cool completely, then wrap each muffin individually in plastic wrap before placing them in a freezer-safe bag or airtight container. Individually wrapping them prevents freezer burn and makes it easy to grab just one at a time.
- Reheating - For a fresh-from-the-oven taste, microwave a room-temperature muffin for 15-20 seconds, or a frozen muffin for 30-45 seconds (no need to thaw first). If you prefer, you can also warm them in a 300°F oven for about 10 minutes. This works especially well for frozen muffins and helps restore a slightly crisp top.
FAQs
Yes, though it'll change the texture if you swap it in a recipe that calls for all-purpose flour. Whole wheat flour absorbs more liquid and has a denser structure, so a 1:1 swap will give you a heartier, slightly denser muffin with a nuttier flavor. For best results, either use white whole wheat flour (milder taste, lighter texture) or start with a half-and-half mix of whole wheat and all-purpose flour to ease into it. You may also want to add a tablespoon or two of extra liquid (milk or mashed banana) since whole wheat flour tends to soak up more moisture.
Yes! Whole wheat flour works well in banana bread, giving it a denser, heartier crumb than all-purpose flour and adds a slightly nutty flavor.
Generally speaking, yes. Whole wheat muffins tend to be more nutritious than those made with all-purpose flour. Since whole wheat flour retains the bran and germ of the wheat kernel, it has more fiber, protein, and micronutrients (like B vitamins, iron, and magnesium) than refined white flour, which has those parts stripped away. The extra fiber also helps with satiety and digestion, and can slow sugar absorption a bit, which is a plus if the muffins are on the sweeter side. In this healthy banana bread muffin recipe, we use the natural sweetness of applesauce, bananas, and a smidge of agave to keep things moist and lightly sweetened—no refined sugar or oil required.
It depends on the recipe, but this one falls on the healthier side. Many banana muffins are essentially cake in disguise, packed with refined sugar, oil, and white flour. This recipe skips the refined sugar and added oil in favor of the natural sweetness and moisture from bananas, applesauce, and a touch of agave, and gets an extra fiber and nutrient boost from whole wheat flour, making it a lighter, more nutrient-dense take on the classic breakfast treat.
More Muffin Recipes



Healthy Whole Wheat Banana Bread Muffins
Equipment
- Paper Muffin Liners (Optional)
Ingredients
- 1 ¼ C Whole Wheat Flour
- 1 C Rolled Oats
- 1 teaspoon Baking Powder
- 1 teaspoon Baking Soda
- 1 teaspoon Cinnamon
- 1 teaspoon Kosher Salt
- 2 large Bananas
- ¾ C Greek Yogurt non-dairy works here too
- 1 large Egg or sub flax egg
- ½ C Unsweetened Applesauce
- ¼ C Agave or maple syrup, honey or date syrup
- 1 teaspoon Vanilla Extract
- Non Stick Cooking Spray
Instructions
- Preheat the oven to 375F.
- Peel the bananas into a medium mixing bowl. Using a regular ol' table fork, mash them until pulpy.2 large Bananas
- Add remaining liquid ingredients to the bowl - applesauce, egg, yogurt, vanilla and agave. Stir vigorously with the fork until your batter is mostly uniform with a few chunks of banana.¾ C Greek Yogurt, 1 large Egg, ½ C Unsweetened Applesauce, ¼ C Agave, 1 tsp Vanilla Extract
- Add your dry ingredients to the batter. Stir everything together until mixed well and there are no pockets of dry ingredients left.1 ¼ C Whole Wheat Flour, 1 tsp Baking Powder, 1 tsp Baking Soda, 1 tsp Cinnamon, 1 tsp Kosher Salt, Non Stick Cooking Spray
- Finally, stir in your add-ons. I added just the oats at this step, but if you're using nuts, seeds, granola or berries, this is a great place to fold them in.1 C Rolled Oats
- Line a muffin tin with paper liners (optional, but it makes clean up easier) and spray with non-stick cooking spray. Portion batter evenly between the muffin cups.
- OPTIONAL: Once the batter is evenly distributed, you can either bake the whole wheat muffins straightaway or opt to top them with a little more good stuff. I sprinkled half with rolled oats and the other half with walnut pieces.
- Bake at 375F for 20-23 minutes, until a toothpick comes out clean. TIP: Check several muffins from different spots on your pan to ensure that they baked evenly. If some are still gooey, simply remove the "done" ones to a rack to cool and return the pan to the oven for another minute or so.
- Allow muffins to cool in the pan for about 10 minutes. You can then remove the muffins to a cooling rack. Enjoy!
Notes
- Room Temperature - Store cooled banana bread muffins in an airtight container at room temperature for up to 3-4 days. Make sure they're completely cool before sealing them up, since trapped heat creates condensation and can make the tops turn soggy. If you live somewhere warm or humid, you can line the container with a paper towel to help absorb excess moisture.
- Refrigeration - While not necessary, you can refrigerate these muffins in an airtight container for up to a week if you need to extend their shelf life. Keep in mind that refrigeration tends to dry out baked goods faster than room temperature storage, so freezing is preferred.
- Freezing - These muffins freeze beautifully for up to 3 months. Let them cool completely, then wrap each muffin individually in plastic wrap before placing them in a freezer-safe bag or airtight container. Individually wrapping them prevents freezer burn and makes it easy to grab just one at a time.
- Reheating - For a fresh-from-the-oven taste, microwave a room-temperature muffin for 15-20 seconds, or a frozen muffin for 30-45 seconds (no need to thaw first). If you prefer, you can also warm them in a 300°F oven for about 10 minutes. This works especially well for frozen muffins and helps restore a slightly crisp top.
- Use ripe, spotty bananas. The riper the banana, the sweeter and more flavorful your muffins will be. Look for bananas with plenty of brown spots (or even mostly black peels). They'll mash easier and pack way more natural sweetness into every bite than a yellow, firm banana ever could.
- Don't overmix the batter. Once you add the dry ingredients, stir just until everything is combined. Overmixing develops the gluten in the flour, which can leave you with dense, tough, or rubbery muffins instead of a light, tender crumb.
- Measure your flour correctly. Spoon the flour into your measuring cup and level it off with a knife, rather than scooping directly from the bag. Scooping compacts the flour and can add way more than you intend, leading to dry, dense muffins.
- Room temperature ingredients blend better. When a muffin recipe calls for eggs, yogurt, or milk, let them sit out for about 20-30 minutes before mixing. Cold ingredients can cause the batter to seize up or mix unevenly, especially when combined with melted butter or oil.
- Fill each muffin top generously. Fill your muffin liners about ¾ of the way full. This gives the batter enough room to rise without overflowing.
- Don't skip the toothpick test. Ovens vary, so start checking for doneness a couple of minutes before the recipe's minimum bake time. Insert a toothpick into the center of a muffin. A few moist crumbs clinging to it means they're done; wet batter means they need more time.
- Let them rest in the pan first. Give your muffins about 5 minutes in the tin before transferring them to a wire rack. This lets them firm up just enough so they don't fall apart, without steaming and going soggy on the bottom.
- Storage matters. Make sure muffins are completely cool before storing. Trapping warmth in a container creates condensation, which leads to soggy tops and a shorter shelf life.
- Nuts & Seeds - Add some extra protein, fat and fiber using nuts or seeds! I love adding walnuts, pecans, peanuts, sunflower seeds, hemp hearts, flax seeds or chia seeds to my muffin batter. You can also add a dollop of nut or seed butter on top of the muffins before baking to create a little pocket of yumminess!
- Oats - I usually toss a few extra oats on top of the muffins before baking just because it looks cute, but don't feel like you have to stop there. If you're looking for a healthier alternative to streusel or crumble toppings, turning to oat based granolas is an easy swap to make!
- Coconut - If chewy texture is what you're after, some unsweetened flaked or shredded coconut could be a great solution. Coconut and banana also taste really great together, so it's a match made in heaven.
- Cacao - Whether you opt to add crunchy nibs for some crunch or prefer to use ground cacao to give the muffins a chocolate-y makeover is entirely up to you.
- Berries - Berries are an awesome addition to muffins! Try folding in some fresh or frozen blueberries or raspberries prior to baking.
Nutrition



Comments
No Comments